How to Make a Welcome Sign by Hand: A Complete Guide with Tips & Techniques
Knowing how to make a welcome sign by hand allows you to create a personalized and charming decoration for your home or event. You can craft a rustic or modern design with simple wood, paint, and lettering techniques. Starting with the right materials and planning your design will save time and keep your project budget-friendly.
Key Takeaways
- Choose a wood base size between 16×20” and 24×36” for a well-proportioned welcome sign.
- Use cedar or oak boards for durability and a smooth paint surface when preparing your sign base.
- Print letters on paper, trim with spacing, and use vinyl stencils for crisp, hand-lettered designs.
- Apply transfer tape carefully at a 45-degree angle to avoid tearing or misalignment of vinyl letters.
- Keep total supply costs under $20 by selecting affordable materials like basic wood and acrylic paint.
- Allow paint and glue to dry completely before assembling the sign to ensure long-lasting craftsmanship.
Essential Materials and Tools for a Handcrafted Welcome Sign
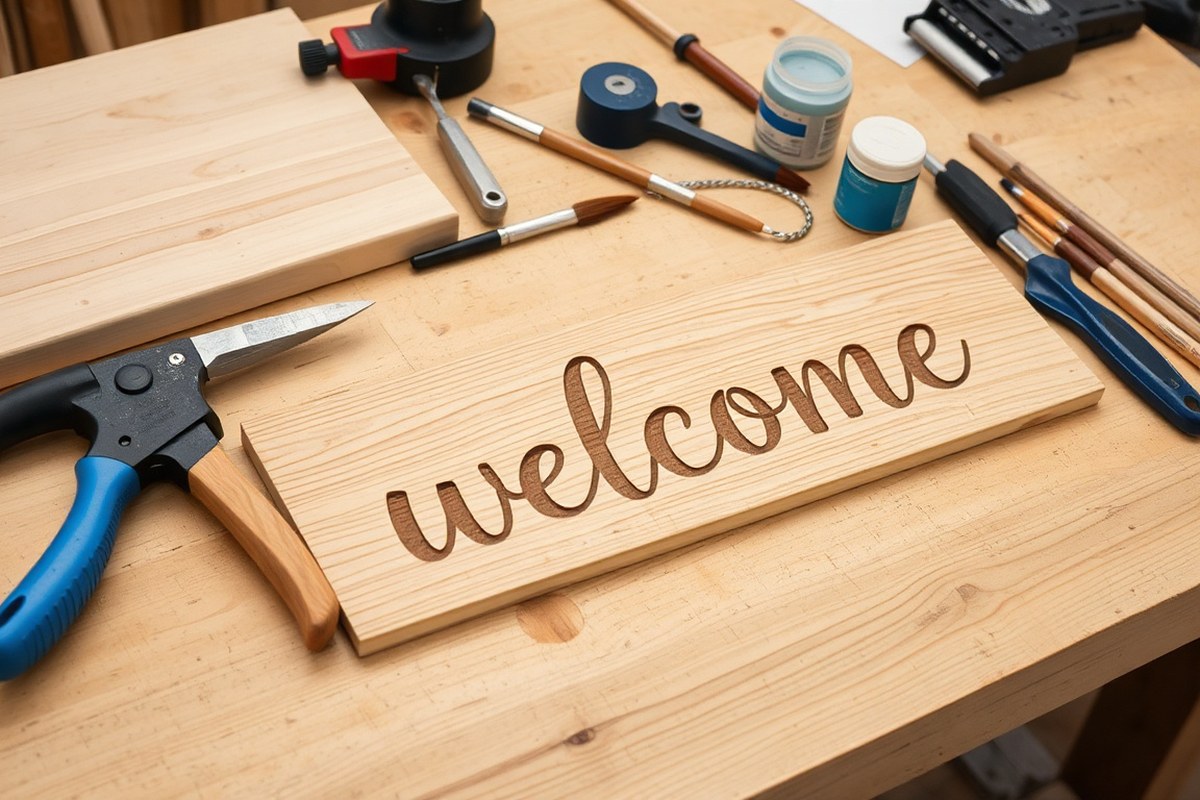
To make a welcome sign by hand, you’ll need a few basic materials and tools that fit your skill level and budget. The core materials include a sign base, paint or markers for lettering, and sealing supplies for protection. Wood is the most common base, but alternatives like sturdy cardboard, foam board, or repurposed pallets can also work well and keep costs low. Using found or scrap wood can reduce your material expenses to under $5.
Essential tools typically include a pencil for sketching your design, paintbrushes or paint pens for decorating, and sandpaper for smoothing rough edges on wood. For lettering, stencils or vinyl letter stickers provide an easy way to get clean, professional results if your handwriting skills are limited. If you prefer a more rustic look, freehand painting with acrylic paints is effective.
Optional tools can improve your process or finish but aren’t required. These include a small saw if you need to cut the wood base to size, a drill if you plan to mount the sign, and clear sealant sprays or polyurethane to protect your finished sign against weather and wear. You can skip these if making an indoor sign or a temporary decoration for a single event. For budget-friendly materials and tools:
- Use scrap wood or old pallet planks for free or low-cost sign bases.
- Choose acrylic craft paint, which costs roughly $3 to $5 per bottle and covers multiple projects.
- Repurpose markers, Sharpies, or paint pens you already own for lettering.
- Sand with a piece of fine-grit sandpaper ($1 to $3 each) rather than investing in power sanders.
- Improvise stencils by printing letters on paper and cutting them out with scissors or a craft knife.
- Use a clear acrylic spray sealant for about $5 to $10 to protect your sign if needed.
Preparing your workspace with a flat surface and some newspaper or drop cloth helps keep your project clean. Always test paints or markers on scrap material to check colors and coverage. Properly sanding wood prevents splinters and allows paint and sealant to adhere better, giving your sign a smooth, polished look. Avoid skipping sanding, especially if using rough wood, as uneven surfaces can cause paint to peel or smudge.
Starting with basic supplies keeps your project manageable and affordable. As you gain confidence, you can explore more specialized tools and finishing techniques. Matching your materials and tools to your goals and budget ensures a satisfying crafting experience and a welcome sign you’ll be proud to display.
Choosing and Preparing Your Wood or Sign Base
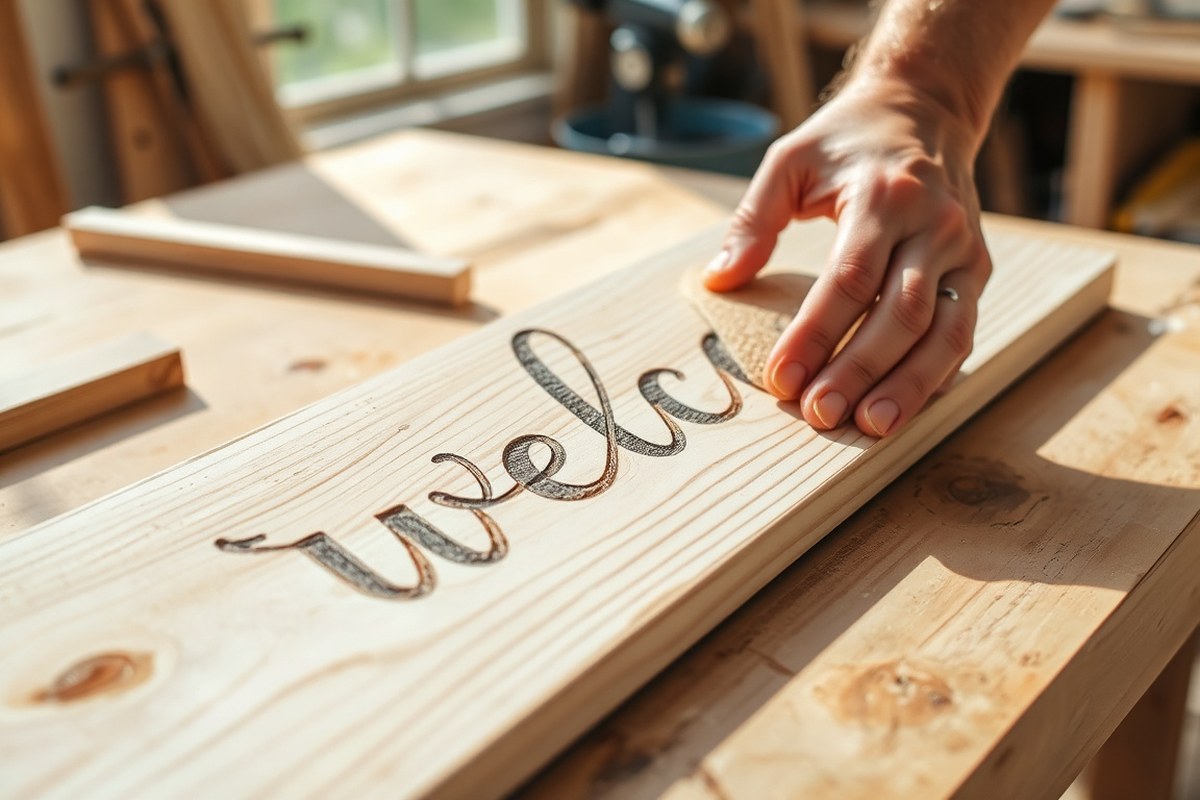
Choosing the right wood or surface for your welcome sign is key to a durable and attractive result. Pick a size that fits the spot where you want to display it, and prepare the surface by sanding and optionally staining it to get smoothness and color that support your design well.
Selecting Wood Type and Size Based on Use
Select wood based on where your sign will live and how you want it to look. Cedar is a great soft wood choice if you want a rustic look but keep in mind it’s soft enough to get slight damage from vinyl lettering. Pine, oak, or reclaimed barn wood offer better durability for outdoor or heavier use. For indoor signs or canvases, a smooth plywood or a ready-made canvas board will do.
Size depends largely on your display space and the style of sign you want. Typical welcome signs range from 12 by 24 inches to larger boards up to 24 by 36 inches for more impact. Measure your planned display area and choose the wood size accordingly. You can create a custom size by cutting wood yourself or by buying pre-cut panels from hardware stores for a budget around $10 to $30 per board, depending on type and size.
Surface Preparation: Sanding and Cleaning
Proper surface prep allows paint or stain to adhere well and helps your design transfer smoothly. You don’t need power tools; hand sanding with medium to fine grit sandpaper works fine, especially for beginners. Sand in the direction of the wood grain to avoid scratches that show up in the finish.
Before applying stain or paint, clean off all dust with a dry cloth or tack cloth. This avoids rough patches and ensures an even surface. Make sure wood is dry and free of any finishes or oils. Take your time here: well-prepared wood improves how your sign looks and lasts.
- Sand the wood surface starting with a medium-grit sandpaper (around 120 grit).
- Follow with a fine-grit sandpaper (220 grit) for a smooth finish.
- Wipe the surface clean of dust using a dry cloth or tack cloth.
- Check for any rough spots or splinters and sand again if needed.
- Ensure the wood is completely dry and free of dirt or oils.
Too rough or uneven sanding can make paint and stain pool or wipe unevenly, ruining the final look.
Staining vs. Painting the Base
Decide between staining or painting your wood base based on the style you want. Stains soak into the wood, highlighting its grain and offering a natural, warm look. Painting covers the wood, giving you a uniform background that can range from muted to bright colors. Both protect wood but have different effects on appearance and texture.
Staining takes a bit longer because you apply it with a brush or cloth and then wipe off excess. Allow stain to dry several hours or overnight before applying any lettering or decorations. Painting is simpler and quicker to dry, often taking about 1 to 2 hours for most craft paints. Remember that stained wood requires more sanding beforehand to ensure color absorbs evenly and designs transfer cleanly.
For a barn wood look, you can paint with a base color and then lightly sand edges and raised spots to reveal wood underneath for that weathered effect. This method offers charm without needing actual aged wood, suitable for beginner crafters.
Methods to Create Hand-Lettered Designs
There are three popular hand-lettering methods for welcome signs: hand painting with brushes or stencils, using vinyl stencils with transfer tape, and wood burning (etching). Each offers different levels of control, ease, and look. Your choice depends on your experience, the tools you have, and the finish you want for your sign.
Hand Painting with Brushes and Stencils
Painting letters by hand is a direct and creative method. You can freehand letters using acrylic paint and brushes or use pre-made stencils to guide your strokes. Stencils help keep the letters uniform and sharp, especially if your brush skills are developing.
To paint with stencils, first choose or print the letters you want. Cut the stencils from cardboard or buy ready-made ones. Position the stencil on the wood base, hold it firmly, and dab paint using a foam brush or small round brush to avoid bleeding. Lifting the stencil carefully before the paint dries prevents smudging. This method usually takes about 30 minutes to 1 hour for setup and application, depending on sign size.
Good results have clean edges and a smooth paint finish. Avoid using too much paint on the brush to stop dripping or bleeding under the stencil. Acrylic paints work well because they dry fast and come in many colors. If you hand paint freeform, prepare by sketching outlines lightly with pencil. Practice letters on scrap wood first.
Using Vinyl Stencils and Transfer Tape
Vinyl stencils offer a fast and precise way to add lettering and shapes to your welcome sign. You begin by cutting your letters or design in vinyl, then “weeding” them, which means removing the negative space or unwanted parts. This creates a perfect stencil for your sign.
Use transfer tape to pick up the vinyl stencil from its backing. Position the stencil on your painted or stained wooden sign base. Press the vinyl down firmly, then slowly peel off the transfer tape at a 45-degree angle, leaving only the vinyl letters stuck. This method minimizes paint bleeding and makes crisp edges. Then paint over or around the vinyl letters as needed. Prices for vinyl sheets range from $5 to $20 depending on size and quality.
Vinyl works best on flat, smooth surfaces. Make sure your sign’s base is dry and dust-free before applying. This technique requires a craft cutting machine or pre-cut vinyl letters, which can be purchased online or at craft stores. Vinyl stencils are beginner-friendly and great for those who want cleaner and quicker results than freehand painting.
Wood Burning/etching Techniques
Wood burning, also called pyrography, uses a heated tool to burn letters and graphics into the wood. It creates a rustic, tactile look with permanent marks. This technique suits people comfortable handling a wood-burning pen and looking for a natural, wood-focused finish without paint.
To start, sketch your letters lightly with pencil on the wood. Heat your wood-burning tool to about 750°F (check tool guidelines), then carefully trace over the letters. Work slowly to maintain consistent depth and avoid scorching the wood. Practice on scrap wood to control pressure and speed.
Wood burning can cost more initially because of the tool price ($20 to $50 for basic pens). It needs patience and steady hands. The results are durable and require no paint, but mistakes are difficult to fix without sanding or refinishing.
Each method has strengths and fits different skill levels and styles. The table below compares key factors for quick reference.
| Method | Skill Level | Tools Required | Cost Estimate | Surface Suitability | Finish Look | Common Issues |
|---|---|---|---|---|---|---|
| Hand painting | Beginner to intermediate | Paint, brushes, stencils | $10-$20 | All wood types, especially textured | Customizable, artistic edges | Paint bleed, uneven strokes |
| Vinyl stencils | Beginner | Vinyl sheets, transfer tape, cutting machine | $5-$20 | Flat, smooth wood | Crisp, clean letters | Vinyl lifting or misalignment |
| Wood burning | Intermediate to advanced | Wood burning pen, pencil | $20-$50 | Unfinished wood | Rustic, textured | Burn marks, tool control |
Choosing the right method depends on your comfort with each tool and the style you’re aiming to create. Vinyl stencils often offer the easiest start for beginners wanting neat letters quickly. Hand painting lets you make vibrant custom colours and freeform designs. Wood burning is a better fit if you want a classic, rustic sign that shows the wood grain and permanence without paint.
Step-by-Step Process to Assemble and Decorate Your Welcome Sign
Making a welcome sign by hand usually takes between 3 and 6 hours total, depending on the complexity of your design and drying times for paint and sealant. The process includes preparing your wood base, transferring or painting your lettering, decorating as desired, and then sealing everything to protect it outdoors. Shortcuts like using stencils or pre-made vinyl lettering can cut painting time, especially if you’re new to hand-lettering.
Preparing the Base and Workspace
Start by selecting a smooth, clean piece of wood or other sign base. Sand it thoroughly with 120- to 220-grit sandpaper to remove rough spots and splinters. Use a damp cloth to wipe away dust after sanding. Set up your workspace in a well-ventilated area with good lighting and lay down a drop cloth or newspaper to catch spills. This prep ensures your paint adheres well and your work area stays clean.
Sanding and cleaning the base usually takes 30 to 45 minutes. If using a rougher scrap wood or pallet, allow extra time to remove any nails or staples and create an even surface. Plan to apply a primer or base coat of paint to help your colors pop and prevent the wood from absorbing too much paint.
Lettering and Design Application
Apply your design once the base paint has fully dried, typically 1 to 2 hours depending on paint type and humidity. Choose hand-lettering with a fine brush or use vinyl stencils for cleaner edges and faster application. Carefully measure and sketch your lettering lightly in pencil or use transfer paper if you have a printed design.
Take your time painting each letter, allowing the paint to dry between coats for a crisp finish; this can take about 1 to 2 hours total. Adding simple decorative touches like small floral accents or seasonal symbols can improve your sign without adding much time. For beginners, stencils or pre-cut vinyl letters take roughly half the time compared to freehand painting.
Finishing Touches and Sealing
Once your lettering and decorations are completely dry, apply a clear outdoor sealant or polyurethane to protect your sign from weather and fading. Use a brush or spray sealant and cover all surfaces evenly. Two coats are recommended, with 1 to 2 hours drying time between coats. This step adds durability and helps your sign maintain its look over time.
Finishing and sealing typically take 2 to 3 hours, including drying periods. Make sure to place your sign in a dust-free, dry space during this time. After sealing, allow your sign to cure for at least 24 hours before mounting or exposing it to rain and sun for the best results.
- Sand the wood base smooth and clean away dust.
- Apply a primer or base coat; let dry 1-2 hours.
- Plan and lightly sketch your lettering design.
- Paint your letters and any decorations in layers; allow drying between coats.
- Apply first coat of clear sealant; let dry 1-2 hours.
- Apply a second sealant coat for extra protection.
- Let the finished sign cure for 24 hours before use.
Personalizing Your Welcome Sign for Style and Season
Choosing colors and design elements that suit your personal taste and the season is the best way to make a welcome sign truly yours. For instance, warm colors like burnt orange, deep reds, and golds work well for fall, giving a cozy and inviting atmosphere. During winter or the holidays, cool colors such as snowy white, icy blue, and silver paired with faux pine, berries, or evergreen sprigs create a festive vibe. To make a summer or spring sign, use fresh pastel shades and add faux flowers or small wooden butterflies that stand up to outdoor conditions.
Embellishments can bring your welcome sign to life but keep durability in mind, especially if the sign stays outside. Use weather-resistant materials like acrylic paint rated for outdoor use and synthetic floral picks sealed with a waterproof spray. Natural materials like real flowers or leaves won’t last long outdoors and can damage the wood if moist. Instead, choose high-quality artificial alternatives or consider metal accents for a longer-lasting effect. Attach embellishments securely with hot glue or outdoor-rated adhesive and reinforce with small brads or nails if necessary to withstand wind and rain.
Adding personal touches like your family name or initials helps make your sign unique and memorable. Measure your sign carefully and space letters evenly; for example, on a 12-inch by 24-inch board, center your text with margins of about 1.5 to 2 inches on each side for balance. Using stencils or vinyl lettering can achieve clean lines if you’re not confident with freehand painting. Hand-lettered fonts bring charm but use a pencil to sketch first and erase guidelines after painting dries. If you want seasonal flexibility, consider attaching interchangeable embellishments or a small chalkboard section where you can write your own messages.
Personal style influences not only how your sign looks but also how long it remains in good condition. Signs with too many delicate pieces can deteriorate quickly outdoors, while simpler designs with durable paints and sealed surfaces withstand weather better. Adding a thin coat of clear outdoor polyurethane or varnish after painting can protect the wood and colors from UV fading and moisture. Expect to reapply the sealant every 12 to 18 months to maintain the sign’s appearance. Keeping embellishments detachable allows you to update your sign for different seasons without risking wear on more permanent parts.
Test your outdoor paints and adhesives on a scrap piece of wood before applying them to your welcome sign to ensure they can handle the weather and won’t peel or fade quickly.
Protecting and Maintaining Your Handcrafted Welcome Sign
Sealing your handcrafted welcome sign is essential to protect it from moisture, sunlight, and temperature changes that can cause fading, warping, or peeling. For outdoor signs, use exterior acrylic paint designed to withstand the elements, then apply a clear weather-resistant sealant specifically made for outdoor use. Polyurethane or spar urethane are good options and generally cost between $10 and $20 per quart. Apply two or three thin coats with a synthetic brush, allowing at least 24 hours drying time between coats in temperatures above 50°F. This seals the paint and wood against rain and sun damage.
If your sign will be displayed in a particularly harsh environment, such as a rainy region or direct sun exposure, adding a clear vinyl covering can provide an extra layer of protection against dirt and water. This method works well for temporary events like outdoor weddings or seasonal decor but may not be as visually smooth for permanent displays.
- Choose exterior-grade acrylic paint for durability
- Apply two to three coats of polyurethane or spar urethane sealant
- Allow each coat to dry for 24 hours at temperatures above 50°F
- Consider a clear vinyl cover for added protection in harsh weather
- Store the sign indoors during extreme winter or heavy storms
- Clean gently with a soft cloth and mild soap if dirt accumulates
- Inspect annually and retouch paint or sealer if signs of wear appear
Maintain your welcome sign by checking it every year or after severe weather events. Signs exposed to sunlight may need resealing every one to two years to keep paint colors vibrant and prevent cracking. Look out for peeling paint, faded lettering, or moisture damage as signals it’s time to refinish. In such cases, lightly sand the worn areas with 220-grit sandpaper, clean off the dust, and reapply paint and sealant as before. Consistent maintenance not only prolongs your sign’s life but preserves its handcrafted charm for your home or event.
Common Mistakes When Making Welcome Signs and How to Fix Them
One common mistake when making a welcome sign by hand is paint bleeding outside the letters or design edges. This usually happens if you apply paint too thickly or use brushes that are too large for fine details. To prevent bleeding, use high-quality, fine-tipped brushes and apply thinner coats of paint, letting each one dry for 10 to 20 minutes before adding another. When paint bleeds, wait until it fully dries, then carefully use a craft knife or fine-grit sandpaper to remove the excess paint. Touch up the cleaned area with the background color using a small brush. This method preserves the clean lines without damaging the wood surface.
Poor surface preparation causes many issues like uneven paint absorption and premature chipping. Before starting your design, sand the wood smooth with 120- to 220-grit sandpaper to remove rough spots. Dust off the surface thoroughly with a tack cloth or damp rag. Applying a primer made for wood helps paint stick better and shows the true color of your paint. Primer usually costs $5 to $10 per quart and can make a noticeable difference in durability. Skipping this step often results in blotchy finishes and more touch-ups later.
Overlooking drying times can ruin your progress. Rushing the paint to dry by touching it or applying a second coat too soon may cause smudges and lifting of the paint underneath. Allow at least 20 to 30 minutes of drying time between coats under normal indoor conditions (about 68°F and 40% humidity). You should sand the dried paint lightly and clean the area before repainting a section after a mistake to help the new paint stick well.
Another frequent error is damaging the sign while fixing mistakes, such as scratching too hard or using harsh chemicals. Repairs work best if done gently. For example, if you need to remove an area of misspelled lettering, sand only the paint layer carefully without gouging the wood. Afterward, prime the patched spot before repainting to ensure consistency. Avoid using aggressive cleaners that can discolor or warp the wood.
Fixing mistakes may add time but saves money compared to starting over. Materials like sandpaper ($3 to $7 per pack), craft knives ($5 to $12), and primer ($5 to $10) are affordable tools that will help your sign look polished. Successful repairs result in crisp edges, consistent colors, and smooth surfaces that make your sign inviting. Rushing or skipping correction steps usually leaves visible flaws that distract from the welcoming feel you want.
Mounting and Displaying Your Finished Welcome Sign
You can mount your welcome sign in several ways depending on where you want to display it and the sign’s size and weight. For indoor wall mounting, use picture hangers or adhesive strips rated for the sign’s weight. These options keep the installation simple and avoid wall damage. On drywall, a medium-duty picture hook works well for signs under 10 pounds. For heavier signs or those over 10 pounds, opt for wall anchors or toggle bolts that distribute the weight and provide secure support.
Outdoor display calls for more durable hardware like screws, hooks, or brackets made of rust-resistant materials such as stainless steel. Attaching your sign to a porch post or fence can use outdoor-rated hooks or U-shaped nails. For wooden surfaces, pre-drilling pilot holes before inserting screws can prevent splitting, especially on smaller or thinner signs. Signs that are larger than 2 feet or heavier than 15 pounds usually require multiple points of secure attachment to prevent movement and wind damage.
Placement matters for both visibility and decor impact. Position your welcome sign near the main entrance, eye-level height (about 60 to 66 inches from the ground) is ideal for easy reading. Outdoor signs mounted near pathways or on gate posts maximize guest visibility. Inside, consider the size and style of nearby decor, smaller signs blend better in tight spaces, while larger signs work well as statement pieces above a console table or mantel. Leave enough surrounding space to let your sign stand out without overcrowding the area.
For heavy or large signs, using a French cleat system is a sturdy option. This method involves two interlocking wood strips, one mounted on the wall and the matching strip glued or nailed to the sign. Once hung, it provides strong support and allows easy removal for seasonal changes or maintenance. On a budget, simple D-ring hangers combined with wire can also distribute weight evenly and lower risk of wall damage. Consider the installation surface material; brick, concrete, and stucco require masonry screws or anchors, while siding may need specialized fasteners to avoid damage.
Outdoor safety is critical to prevent damage and injury. Make sure your mounting hardware is rated for exterior use and can handle weather extremes like wind and rain. Check local temperatures, if you live in an area where temperatures drop below freezing, wood signs should be sealed with weatherproof coatings to protect against warping or cracking. Regularly inspect your mounting points to tighten loose screws or replace rusted hardware. Ensuring your sign is securely fixed reduces hazards and keeps it looking good over time.
Use hardware rated for the exact surface and weight of your welcome sign to avoid wall damage or sign failure, especially outdoors.
Step-by-Step Action Plan to Create Your Handcrafted Welcome Sign
Follow these steps in order to make your personalized welcome sign by hand with confidence.
- Day 1: Gather all materials and tools listed in your plan. Confirm you have wood, paint, brushes, stencils or pencils for lettering, sealant, and hanging hardware.
- Day 2: Choose and prepare the wood by sanding it smooth and applying a base coat if desired. Your surface should feel even and show no rough patches.
- Day 3: Sketch your hand-lettered design lightly with a pencil or use stencils. Make sure spacing and letter sizes look balanced.
- Day 4: Paint or draw your design carefully. Let it dry completely and check for any touch-ups to make the lettering clear and neat.
- Day 5: Apply a protective sealant evenly over your sign. It should dry to a clear, hard finish that guards against moisture and wear.
- Day 6: Attach mounting hardware securely to the back and test the stability on your chosen wall or surface.
- After 1 Week: Inspect your sign for any wear from handling or hanging. Reapply sealant or fix small paint imperfections as needed.
Frequently Asked Questions
What Type of Paint Works Best for a Long-Lasting Welcome Sign?
Acrylic paint offers durability and vibrant color, making it ideal for welcome signs. It adheres well to wood and, when sealed properly, can withstand outdoor conditions.
Can Stencils Help in Creating a Neat Hand-Lettered Welcome Sign?
Yes, stencils provide a guide for uniform letters and can simplify the painting process. They are helpful for beginners aiming for clean, professional-looking text without freehand challenges.
How Do I Attach Embellishments Like Flowers or Ribbons Securely?
Use a strong adhesive like hot glue or craft glue designed for wood and fabric. Ensure the surface is clean and dry before applying for better adhesion and longer-lasting decoration.
Is It Necessary to Sand the Wood Before Starting the Design?
Sanding the wood smoothens rough edges and improves paint adherence. A fine-grit sandpaper gently preps the surface without damaging it, helping the design last longer.
Can I Reuse Materials for Different Welcome Signs?
Yes, repurposing wood and embellishments saves money and offers creative flexibility. Just clean and prepare reused materials properly to ensure a good finish on each new sign.
What’s the Best Way to Fix Paint Mistakes on a Welcome Sign?
Let the paint dry fully, then lightly sand the area and repaint. This method prevents smudging and creates a smooth surface for correcting errors.
Key Points to Remember
Creating a welcome sign by hand lets you add a personal touch that fits your style perfectly. Taking it step-by-step ensures a good finish and durability. Start by picking your materials today and sketching out a design that feels just right for your space or event.