How to Make a Sign with a Projector: A Complete Guide for Clear, Professional Signs
How to make a sign with a projector means using the device to cast your design clearly onto a surface, making tracing easier and more precise. The best method is to pick a projector that fits your sign size and lighting conditions, then position it carefully for sharp images before transferring your artwork. Starting with a simple design and good contrast helps the projection stand out for easy tracing.
Key Takeaways
- Choose a projector matching your sign size: small signs fit short-throw, large signs may need long-throw setups.
- Set your projector at the right distance to get the projected image size and clarity you want for your sign.
- Use high-contrast, bold designs in digital formats to improve visibility during projection.
- Gather basic materials like paint, stain, brushes, and a smooth projection surface before starting your project.
- Test your setup in similar lighting to where the sign will hang to ensure visibility and color accuracy.
- Trace the projected image slowly and keep the projector steady to avoid distortion in your transferred design.
What Is a Sign Projector and How Does It Work?
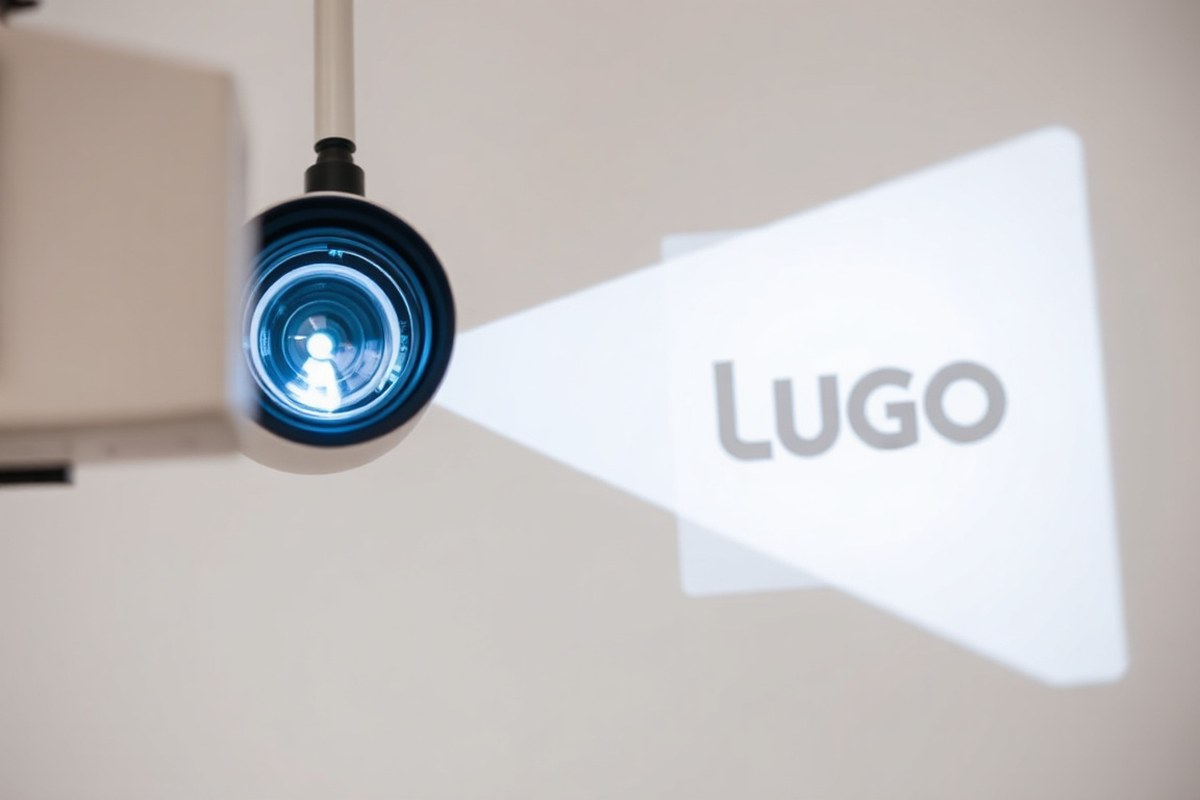
A sign projector is a specialized device that displays images, logos, or messages onto surfaces like walls, canvases, or storefront windows. It works by shining light through or reflecting it off an image source, then projecting that enlarged image onto your desired surface. This technology allows you to create clear, sharp sign designs without manually measuring or sketching, making it ideal for DIY projects, small businesses, or hobbyists who want precise layouts with less effort.
The core of a sign projector involves several key components: a light source, lenses, and sometimes mirrors. The light source can be an LED, a lamp, or a laser. Laser projectors, like the JMGO N1 Ultra, use a triple-laser light engine to produce vivid colors and strong brightness, in this case, around 2,143 ANSI lumens, resulting in sharp, business-quality images. LED and lamp light sources tend to be more affordable but may not offer the same brightness or color accuracy. You can experiment with different light sources depending on your budget and the surface you project onto.
Lenses are essential for focusing and magnifying the image. Typically, a combination of convex lenses, such as magnifying glasses or 40mm lenses, is used to enlarge the image to your preferred size. For example, placing your projector about 18 feet from a canvas can display a graphic that’s 6 ½ feet wide. Short-throw lenses allow projecting large images at closer distances, which is useful for small rooms or storefronts where space is limited. Adjusting the distance and lens choice directly affects how big and clear the projected image appears.
In practical terms, sign projectors let you transfer digital or printed designs onto a surface by projecting the image directly where you need it. This avoids errors that come with freehand drawing or stencil cutting. For a DIY setup, you may use a cardboard box or plastic container as a housing, attach a magnifying lens, position a sturdy LED or smartphone light as your source, and arrange mirrors to direct the image correctly. This simple build can cost around $50 and works well for small to medium-sized signs measuring roughly 18 by 24 inches or larger. Higher-end models and laser projectors cost more but deliver significantly better brightness and resolution if you want professional results.
Choosing the right components influences both the quality and ease of use. Good projectors provide management panels or apps to adjust brightness, sharpness, and alignment with minimal technical skill. This ease of control allows quick response to changes in lighting or sign location, keeping your signage visually engaging day or night. However, poorly aligned or low-brightness projections can look blurry or faint, defeating the purpose of using a projector at all.
Using a sign projector has become a budget-friendly alternative to traditional signage methods, offering flexibility in design changes and reducing printing or painting costs. By carefully selecting your light source, lenses, and projection distance, you can recreate professional-grade signs with a setup tailored to your workspace and budget. Experimenting with different configurations can help you find the best balance between image size, clarity, and brightness for your specific project.
Choosing the Right Projector Type for Sign Making
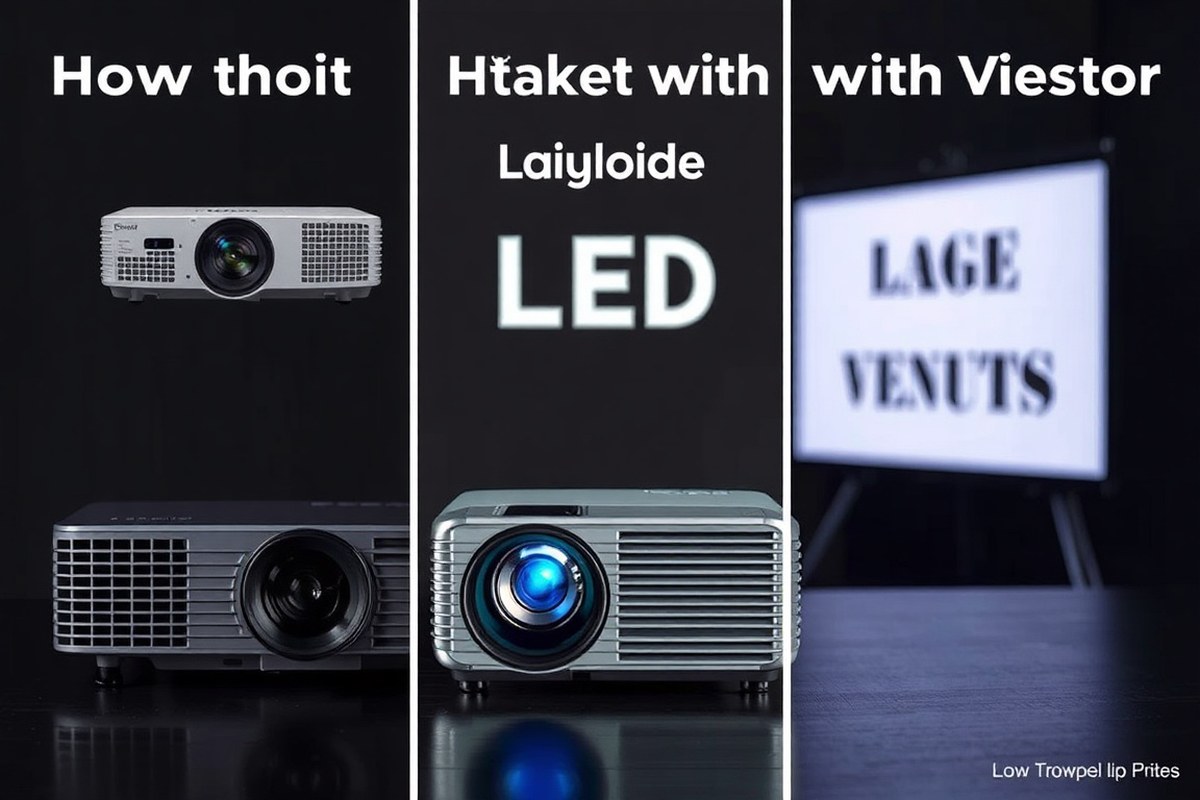
Choosing the right projector type depends on where you plan to use your sign and how big and bright you want the image to be. For indoor projects with controlled lighting, a projector with 3,000 to 4,000 lumens usually works well. Outdoor or semi-outdoor signs exposed to daylight need much brighter models, often between 8,000 and 10,000 lumens. Resolution matters for sharpness, with at least 1080p recommended, especially for detailed or small text. Throw distance also affects your choice: short-throw and ultra-short-throw projectors allow you to place the device closer to the surface, making setup easier in tight spaces or small studios.
Laser projectors tend to offer better color accuracy and longer life, which is helpful if you’re running your sign for many hours, such as at events or retail displays. These models can cost around $2,500 or more but deliver premium brightness, sharp images, and sometimes smart features like built-in content storage or Wi-Fi control. Consider the projector’s IP rating if you plan to use it outdoors, models rated IP65 or higher are dust and water resistant, which protects against weather.
| Projector Type | Brightness (Lumens) | Throw Distance | Best Use Case | Price Range | Additional Features |
|---|---|---|---|---|---|
| Standard Lamp Projector | 3,000 – 4,000 | Standard (6-12 ft) | Indoor signs with controlled lighting | $300 – $1,000 | Good color, moderate life span |
| Laser Projector | 4,000 – 10,000+ | Standard to Ultra-Short Throw | Indoor/outdoor signs, long runtime | $2,500 – $3,000+ | High brightness, long life, sharp image |
| Ultra-Short Throw Projector | 3,000 – 6,000 | Less than 3 ft | Small spaces, large image without shadows | $1,200 – $2,800 | Massive image up to 300 inches |
| Outdoor Rated Projector (IP65+) | 8,000 – 10,000+ | Varies by model | Outdoor signage exposed to weather | $2,000 – $4,000+ | Water and dust resistance, rugged design |
| Portable LED Projector | Up to 4,000 | Varies, often short throw | Event signage, easy transport | $200 – $800 | Lightweight, lower overall brightness |
The decision rule when selecting your projector is straightforward: match brightness to environment lighting, pick a throw distance that fits your projection area, and prioritize resolution for detailed signs. For example, a small retail window with ambient evening light can do well with a 3,000-lumen laser projector placed 6 feet away. For a daytime outdoor event, choose an IP65-rated model with at least 8,000 lumens to keep your sign vibrant and visible.
Always verify your projector’s throw distance measurement against your available space before purchasing, since placing the projector too close or too far changes image size and clarity.
Keep in mind that higher brightness often comes with higher costs and more power use. Portable projectors offer flexibility but usually at lower brightness levels, so prioritize them for temporary or smaller setups. Investing in laser-based technology can reduce maintenance since bulbs last longer and colors stay consistent over many hours of use.
Materials and Equipment Needed for Projector Sign Projects
To make signs with a projector, gather essential materials for tracing and building or housing your projector. You will need standard craft supplies for sign making along with key components like a light source, lens, and a sturdy box for assembling your DIY projector. Accessories for alignment and tracing help ensure clean, accurate transfers from your projected image to your working surface.
Basic Sign Making Materials
Start with the fundamentals: surfaces and the materials to mark them. Common sign surfaces include wood panels, foam board, canvas, or sturdy paper. Choose weather-resistant paint if your sign is for outdoor use. Have various pencil grades or erasable markers for preliminary sketches. Paintbrushes or permanent markers complete the process depending on your planned finish. Good lighting and protective gloves also help during painting or staining phases.
These materials set the stage for crisp, long-lasting signs that make it easier to work once your design is projected and traced. Cost varies widely, but beginner kits with paint, brushes, and boards typically range from $20 to $60 at craft stores.
DIY Projector Components
Making your own projector can save money and let you customize the size needed for your sign. Essential parts include:
- Light source: LED lamps or strong desk lamps are affordable and provide consistent illumination to project the image clearly.
- Lens: A magnifying glass or a camera lens helps focus and enlarge your image onto the working surface.
- Housing or box: Use a sturdy cardboard box or wooden case to hold the lens and light source in place. The size depends on the distance required to project your design at the desired scale.
- Transparent slide or film: Print or draw your design on transparency sheets made for overhead projectors.
- Power source and wiring: Batteries or an outlet cord compatible with your light source.
- Basic crafting tools: Glue, scissors, tape, and a ruler for assembling the parts precisely.
You assemble the projector by cutting a hole in the box for the lens and mounting the light source inside so it shines through the transparency. Adjusting the box length changes the image size. Higher powered lights enable larger projections but need better heat management with ventilation holes.
Surface Preparation and Fixing Tools
A clean, dry surface ensures the projected image and your tracing show clearly. Sand wooden or rough surfaces before starting and wipe away dust. Applying a solid base paint layer can improve contrast for projection in case of light-colored or uneven substrates. To prevent shifting during tracing, secure your surface with clamps or masking tape. Tools for alignment and tracing improve accuracy and reduce mistakes over large or complex designs:
- Measuring tape or ruler: Helps align the projected image evenly on your surface.
- Level or straight edge: Ensures horizontal and vertical lines remain true while you trace.
- Light blocking materials: Use cardboard or cloth to block ambient light and sharpen the projected image edges.
- Pencil with fine point or erasable pens: Provides detailed, removable lines for initial outlines.
Setting up a small adjustable tripod or stackable boxes lets you move the projector smoothly for focusing and scaling. Taking time with these preparations leads to signs with neat, clear designs that require less correction.
Step-By-Step Setup for Projecting Your Sign Design Accurately
Setting up your projector properly ensures your sign design appears clear, sharp, and accurately sized on the projection surface. Correct positioning, focus, and calibration prevent image distortion and help maintain the quality of your tracing or transfer work. Securing the projector and surface reduces shifting that can blur or misalign your design.
Aligning Projector Distance and Angle
Start by placing the projector at a distance that matches your desired sign size, considering the projector’s throw ratio or specifications. The projector should face the surface head-on to avoid keystoning, which distorts the image. Angle the mirror to reflect the image directly and make sure the lens is centered on the surface.
For signs on vertical surfaces, position the projector perpendicular to the surface. Avoid leaning the sign at an angle, which can cause image distortion. Projecting outdoors or in tight spaces calls for an ultra-short-throw projector to keep the device close and cut down shadows.
Calibrating Focus and Image Size
Once the projector is roughly in position, power it on to adjust the focus. Use the lens adjustment to sharpen the image, moving it closer or farther from the surface by small increments. Check the edges and center of the projected design for clarity to ensure even focus. Adjust the projector’s zoom or move it forward/backward to size the image precisely.
Correct brightness and contrast also affect legibility when tracing. When the image looks dim, boost the projector’s brightness or place a white screen on your sign surface. Regularly check focus during adjustments because size changes can alter the sharpness.
Marking and Securing Projection Spots
Keep your setup stable by marking where the projector and sign surface should be. Use painter’s tape to outline the projector’s feet or base on the floor. This helps you reposition it accurately if needed. Secure your sign surface upright and flat with clamps or a sturdy stand to maintain right angles and prevent movement.
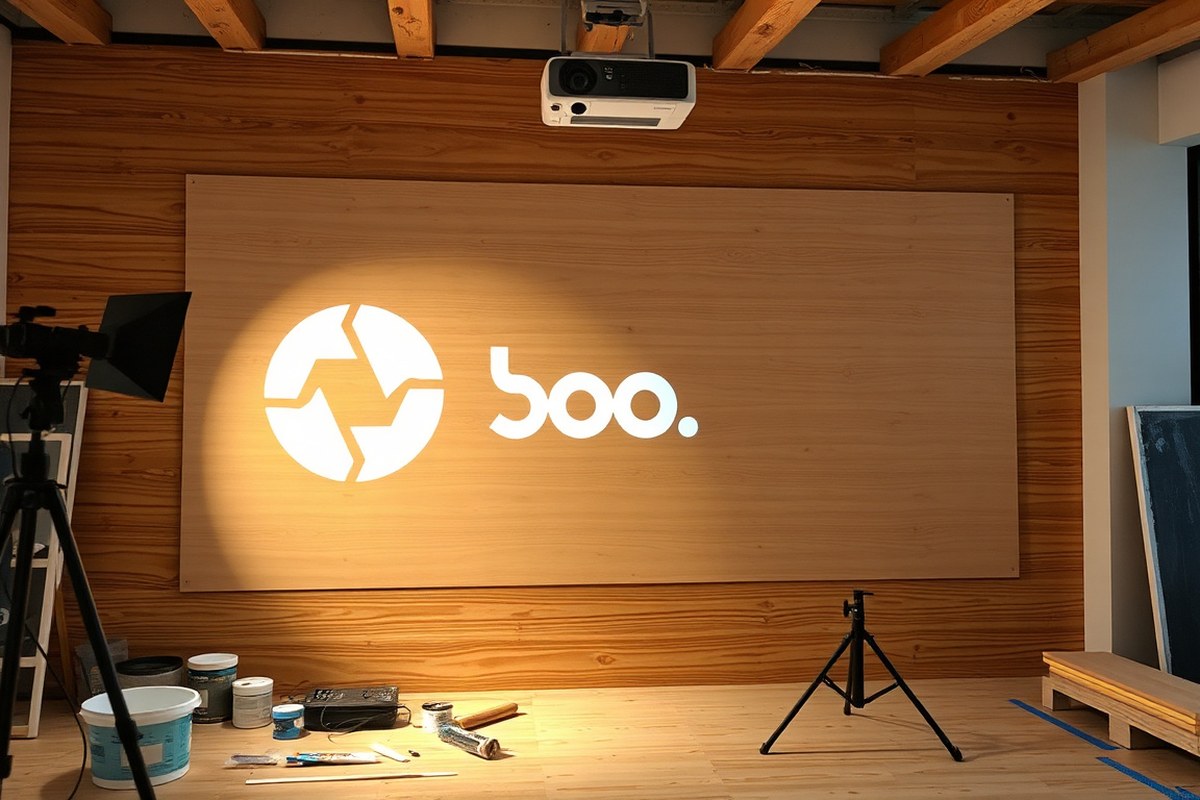
During work, avoid touching the projector or surface to prevent shifting. When projecting on delicate materials like pallets, ensure the surface is straight and stable to avoid warping the image. Proper stability ensures your tracing or painting matches the projected design exactly.
- Set the projector at a suitable distance and angle facing the sign surface straight on.
- Adjust the mirror so the image projects directly centered on the surface.
- Turn on the projector and focus the image by fine-tuning the lens.
- Resize the projected image by moving the projector closer or farther, or by adjusting zoom settings.
- Check brightness and contrast; add a white screen or surface if the image is dim.
- Mark the projector’s position on the floor with tape to keep placement consistent.
- Secure your sign surface upright and flat using clamps or supports.
- Avoid touching or moving the projector or sign surface during tracing or transfer.
How to Prepare and Create Your Sign Design for Projection
Start your sign design using vector-based software like Adobe Illustrator, CorelDRAW, or free options like Inkscape. These formats support crisp lines that maintain quality when scaled, which is important for clear projection. Save your designs as high-resolution PDFs or SVG files, as they work well with most projector systems by preserving detail and color accuracy.
Create your design with bold shapes and high contrast to make tracing easier. Use dark colors against light, or vice versa. Black or dark blue lines on a white background are ideal for printed transparencies as they produce the strongest outlines. Avoid gradients or fine details that might blur when projected. Test your image on your projector before printing to check visibility and adjust contrast settings accordingly.
For printing, transparent sheets compatible with inkjet or laser printers are a practical choice if you want to project a physical overlay for tracing. These transparencies usually cost around $10 for a pack of 10 sheets. Print your design in black ink at 600 dpi or higher to ensure sharp edges. Let the ink dry fully to prevent smudging. Cut the transparency to fit your projector’s lens or mounting area. Printing is best if you need a portable, low-tech solution or if your projector lacks direct digital display capabilities.
Choosing digital content over printed transparencies offers several advantages. You can use digital signage software to load your design files directly from a computer or cloud service. This method supports dynamic content changes, animations, or scheduled displays without reprinting. Software designed for digital signage can also optimize brightness and contrast in real time, particularly useful in well-lit environments. This requires a reliable connection between the projector and the content source, often via HDMI or Wi-Fi. A networked setup may cost more initially but saves time and materials long-term.
When working in low light or outdoor settings, adjusting your design’s brightness and contrast on screen is key to maintaining visibility. Always preview the projection to confirm the sign’s legibility from the intended viewing distance. If you plan to use AI tools for generating design elements, test the content thoroughly to ensure it translates well on your chosen background and projection scale. Effective designs usually limit detail to what can clearly resolve on the target surface, which depends on projector resolution and distance.
Test your projected image in the actual environment before finalizing your design to ensure colors and contrasts are easy to see under typical lighting conditions.
Techniques for Tracing or Transferring the Projected Sign to Your Surface
Tracing or transferring the projected sign design onto your surface starts with capturing a clear and stable image. How you capture the image depends on your materials and desired finish. Manual tracing with pencil gives you control and precision, while transfer papers offer a quicker, clean option. Painting directly over a traced design seals your work with durable, sharp lines.
Manual Tracing with Pencil or Marker
Manual tracing is the simplest and most common way to transfer a projected image. It helps you accurately capture every detail, especially on smooth surfaces like wood, canvas, or sturdy poster boards. Use a light pencil for initial tracing so you can erase mistakes easily, then switch to a fine marker for bold outlines.
Make sure the surface you’re working on is flat and perpendicular to the projector lens to avoid distortion. Adjust the projector’s focus until the image is sharp and clearly defined. This lets you trace clean edges without guesswork.
- Position your surface so it faces the projector squarely, keeping it steady with clamps or a flat table.
- Adjust the projector distance and focus until the image is clear and the size matches your desired sign dimensions.
- Lightly sketch the projected image outlines with a hard (2H to HB) pencil.
- Slowly trace detailed parts, pausing often to check proportions and alignment.
- Erase any visible distortion or unwanted marks while the image remains projected.
- Replace the pencil with a fine-tip permanent marker to finalize the outline if a sharper image is required.
- Remove the projector before adding paint or embellishments to avoid shadows or smudges.
Using Transfer Paper or Carbon Sheets
Transfer paper offers a shortcut for replicating the traced image onto textured or uneven surfaces like brick, fabric, or rough wood. This method is less reliant on pencil skill and allows you to prepare your image on paper first. Carbon paper leaves a clean, faint line that connects the projected image to the surface beneath. Choose a transfer paper weight that suits your surface, thinner papers for delicate materials to avoid tearing, thicker for rough surfaces to ensure good pressure transfer.
- Print or sketch your design on regular paper at the projector’s output size.
- Place the carbon or transfer paper face down on your surface.
- Position the design paper over the transfer paper, aligning it carefully.
- Trace over the design lines firmly with a ballpoint pen or stylus, pressing evenly.
- Lift the papers carefully; the transfer paper should have left a clear but light outline on the surface.
- Touch up any faint areas with pencil or marker before painting.
Painting over Traced Designs
Painting over a traced or transferred design adds color and texture to your sign while preserving sharp edges. Use acrylic or chalk paint for indoor signs, or oil-based outdoor paints for weather resistance. A small, angled brush offers control for fine lines, while a wider brush can quickly fill large areas.
Begin with thin paint layers to avoid pooling or drips. Multiple coats may be necessary for opacity and vibrancy without obscuring the traced outlines. Allow each layer to dry for at least 30 minutes before adding the next.
- Prepare your paint and brushes suited to your surface type.
- Outline your design with a small brush dipped in paint matching your marker lines.
- Fill larger areas with wider brushes, keeping edges clean by following pencil or marker lines closely.
- Let the paint dry several minutes to prevent smudging before applying additional coats.
- Remove any pencil marks with a gentle eraser or damp cloth if visible after painting.
- Seal the finished sign with a clear protective finish if it will be outdoors or heavily handled.
Common Problems and Troubleshooting in Projector Sign Making
A blurry or distorted projector image usually happens due to a dirty or scratched lens, incorrect focus, or uneven surface projection. Clean the lens gently with a microfiber cloth and check for scratches that might require lens replacement. Adjust the focus ring slowly until the image sharpens. Projecting onto an uneven or textured surface can cause distortion, use a flat, smooth background for best results.
Dim or washed-out sign projections often come from low projector brightness or ambient light interference. Make sure your projector has at least 2,000 lumens brightness for small indoor signs; larger or outdoor signs require 3,000 lumens or more to be visible. Reduce surrounding light by closing curtains or working at dusk if outdoors. Also, set the projector’s brightness and contrast controls higher, and try a brighter projector bulb if available.
Misalignment of the projected image is common after initial setup and can throw off your tracing or painting. Realign your projector by adjusting its position horizontally, vertically, and in distance to match your intended sign area. Use a bubble level or a smartphone level app to ensure the projector is perfectly horizontal to avoid keystone distortion. Many projectors have keystone correction features, use these carefully, as digital corrections can reduce image quality.
- Clean the projector lens with a microfiber cloth before each session
- Use a projector with at least 2,000 lumens for indoor signs
- Block ambient light to improve image visibility
- Adjust focus slowly until sharpness is perfect
- Check projector alignment with a level or grid pattern
- Use keystone correction sparingly to correct angle distortion
- Project onto flat, smooth surfaces for consistent results
Projector heat buildup can reduce image clarity and brightness after long use. To avoid this, limit continuous projection to 2-3 hours, and allow the unit to cool down. Ensure good ventilation around the projector and avoid blocking air vents. Professional-grade projectors designed for extended use come at higher prices, often over $1,000, but hobbyists can find suitable mid-range models between $300 and $700.
For consistent image quality, place the projector perpendicular to the sign surface at the recommended throw distance from the projector’s user manual. Measuring this distance precisely helps avoid distortion and misalignment. Adjust your projector’s zoom to fill the sign area without cropping edges, preserving the dimensions of your design. Test projections on scrap materials first to fine-tune settings before working on your final sign surface.
Best Practices for Indoor vs Outdoor Sign Projection and Safety Tips
Indoor and outdoor projector setups for sign making have distinct challenges that affect brightness, equipment protection, and safety. Brightness is a primary factor: indoor environments generally have controlled lighting, so a projector with 1,500 to 2,500 ANSI lumens often delivers clear projections. Outdoor signs require projectors rated above 3,000 ANSI lumens to overcome natural light and maintain sharp images. A high-brightness projector with wide color coverage, such as 107% of the BT.2020 gamut, ensures your signs stay vivid and readable even under moderate daylight or street lighting.
Weatherproofing is essential for outdoor setups. Projectors used outside should have at least an IP65 rating, which provides protection against dust and water splashes, allowing the projector to withstand rain or moisture without damage. To protect your equipment, place it under a covered structure or inside a protective enclosure designed for projectors. These enclosures often have cooling systems to prevent overheating and vents to reduce condensation. Keep in mind that most indoor projectors are not weatherproof, so avoid exposing them to moisture or extreme temperatures.
For both indoor and outdoor projects, positioning the projector on a stable surface or mounting it securely is important to prevent movement that could distort your sign image. Adjust the distance so the projected image fits your sign space clearly without excessive keystone distortion. Outdoor projections may require additional power extension cords and surge protectors designed for wet environments to ensure safe electrical connections.
Light source safety should never be overlooked. Projectors use powerful lamps or LEDs that emit intense light, which can cause eye damage if viewed directly. Avoid looking directly into the projector beam and keep it away from busy footpaths where accidental exposure is possible. Use clear warnings or barriers if the projector is accessible to passersby, especially for outdoor displays during nighttime or in public areas.
The exact setup depends on your location and project scale. For indoor sign projects in a small studio or shop, position the projector 4 to 8 feet from your surface, with ambient lights dimmed or off, to produce sharp, easy-to-trace images. Outdoor setups may require mounting the projector 10 or more feet away, depending on the size of the sign and available power sources. Weather conditions, such as wind or rain, can affect setup stability, so use weights or clamps to secure stands, and check weather forecasts to avoid sudden exposure risks.
Never look directly into the projector’s beam and shield the light path from others to prevent eye injuries.
Step-by-Step Action Plan for Your First Projected Sign
Follow these clear steps to create your sign with a projector and get professional results quickly.
- Day 1: Choose and set up your projector in a well-lit room to verify it projects a clear image on your desired surface. Adjust focus and distance until the design appears sharp.
- Day 2: Prepare your sign design using software like Adobe Illustrator or a simple image editor. Print a test on paper and compare the layout under the projector to ensure proper sizing and clarity.
- Day 3: Select your sign materials, such as wood or canvas, and gather tracing tools like pencils or paint pens. Check that the surface is smooth and clean for easy tracing.
- Day 4: Project your design onto the surface and secure your workspace to prevent movement. Trace the lines carefully with your chosen tools, verifying accuracy frequently.
- Day 5: Add filler, paint, or other finishing touches following your traced guidelines. Allow proper drying times and check your sign from different angles to confirm the design looks consistent.
- After 1 Week: Assess your sign outside if applicable, noting how visibility changes with light. Make minor touch-ups or adjust your setup for your next project based on this review.
Frequently Asked Questions
Can I Use Any Type of Projector to Make a Sign?
Not all projectors work well due to brightness and focus limits. Choose one designed for signage or with high lumens for clear projection on varied surfaces.
How Do I Create a Sign Design Suitable for Projection?
Use high-contrast, simple designs for easy tracing and clear projection. Vector graphics or bold text work best to maintain sharp edges when enlarged.
Can I Make Outdoor Signs with a Projector?
Yes, but use projectors with weather resistance and higher brightness for visibility in sunlight. Make sure the surface is smooth and the projector is protected from moisture.
What Paint Works Best for Painting Signs Traced from a Projector?
Acrylic paint dries quickly and offers good coverage on most surfaces. Pick paint with exterior durability for outdoor signs to resist fading and weather damage.
Is It Necessary to Adjust Projector Distance for Different Sign Sizes?
Yes, distance affects image size and focus. Moving the projector farther enlarges the image but may reduce brightness; test setup before starting tracing for best results.
How Do I Avoid Distortion When Projecting a Sign Onto Uneven Surfaces?
Use a projector with keystone correction or adjust the projector angle to minimize distortion. Trace carefully to compensate for any remaining image warping.
Before You Go
Creating signs with a projector is a practical way to produce sharp, professional visuals with the flexibility to customize designs easily. Start with a clear projection and careful tracing to build your skills and confidence. Try working on a simple indoor project first to get comfortable with the process before branching out to larger or outdoor signs. This hands-on practice will help you handle your equipment effectively and achieve the results you want.