How to Make a Sign Frame: Step-by-Step Guide with Best Methods and Tips
Knowing how to make a sign frame starts with choosing the right wood pieces, measuring carefully, and cutting to fit your sign’s exact size. Using 1″x2″ lumber with wood glue and nails creates a sturdy box frame that supports and highlights your sign. Accurate measurements ensure the frame fits perfectly around your sign, avoiding gaps or overlaps.
Key Takeaways
- Add 1.5 inches to the sign’s width and height to get the correct frame piece lengths.
- Cut frame sides exactly to these measurements for a snug, professional appearance.
- Use wood glue and 2-inch nails to securely attach frame pieces together without gaps.
- Measure each lumber piece before cutting since 4-foot lengths vary slightly in size.
- Clamp frame pieces during assembly to keep corners square and aligned.
- Let glued frame sections dry for 24 hours before attaching to your sign.
What Is a Sign Frame and Why Use One?
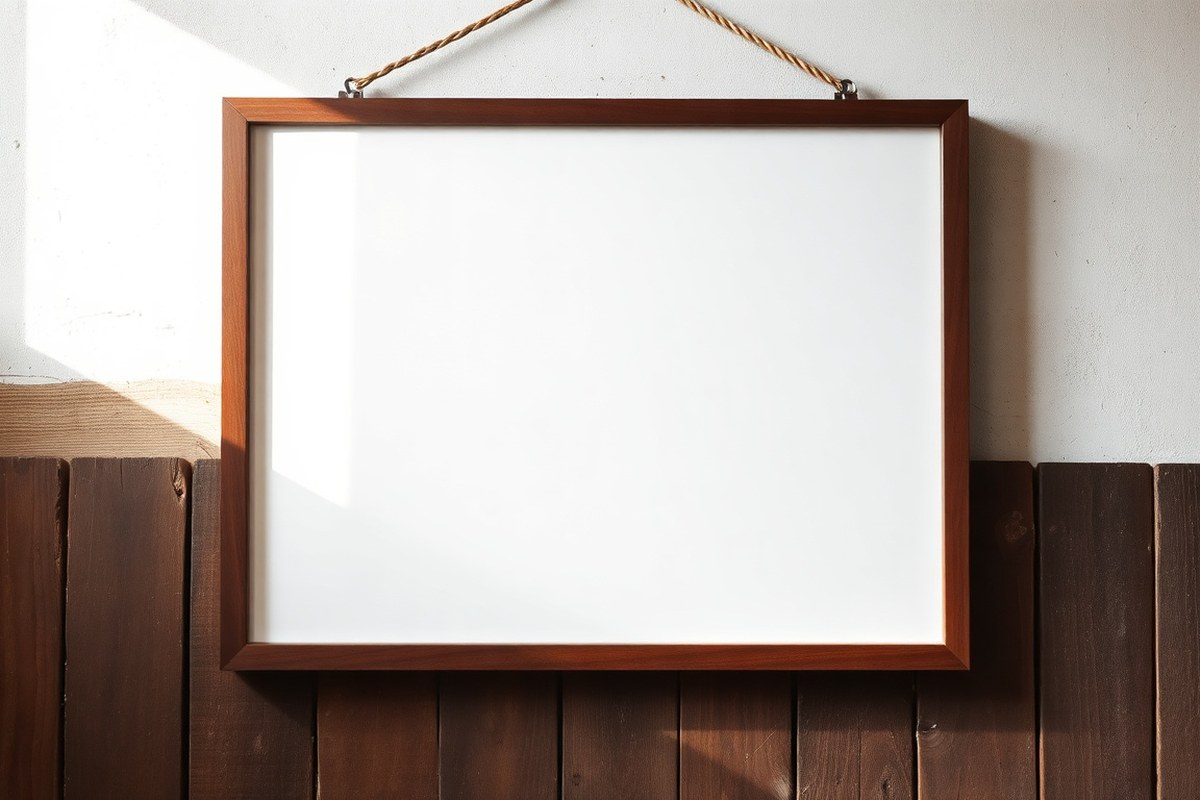
A sign frame is a wooden border built around a wooden sign, usually made from 1″x2″ pieces of wood or similar dimensions. Its main purpose is to protect the edges of the sign, improve its appearance, and provide structural support to keep the sign flat and durable over time. A well-crafted frame helps prevent warping, chipping, or damage from handling, especially if the sign will be displayed outdoors or moved frequently.
Adding a frame improves the overall look of your wooden sign by giving it a finished, polished edge that draws attention to the artwork or lettering in the center. The frame can be simple or decorative, depending on your style preferences. For example, a classic box frame created from scrap wood around a 1/4″ plywood sign base adds thickness and depth. This depth not only makes the sign easier to hang but also protects any paint or sealer you applied earlier by shielding the edges from knocks and moisture.
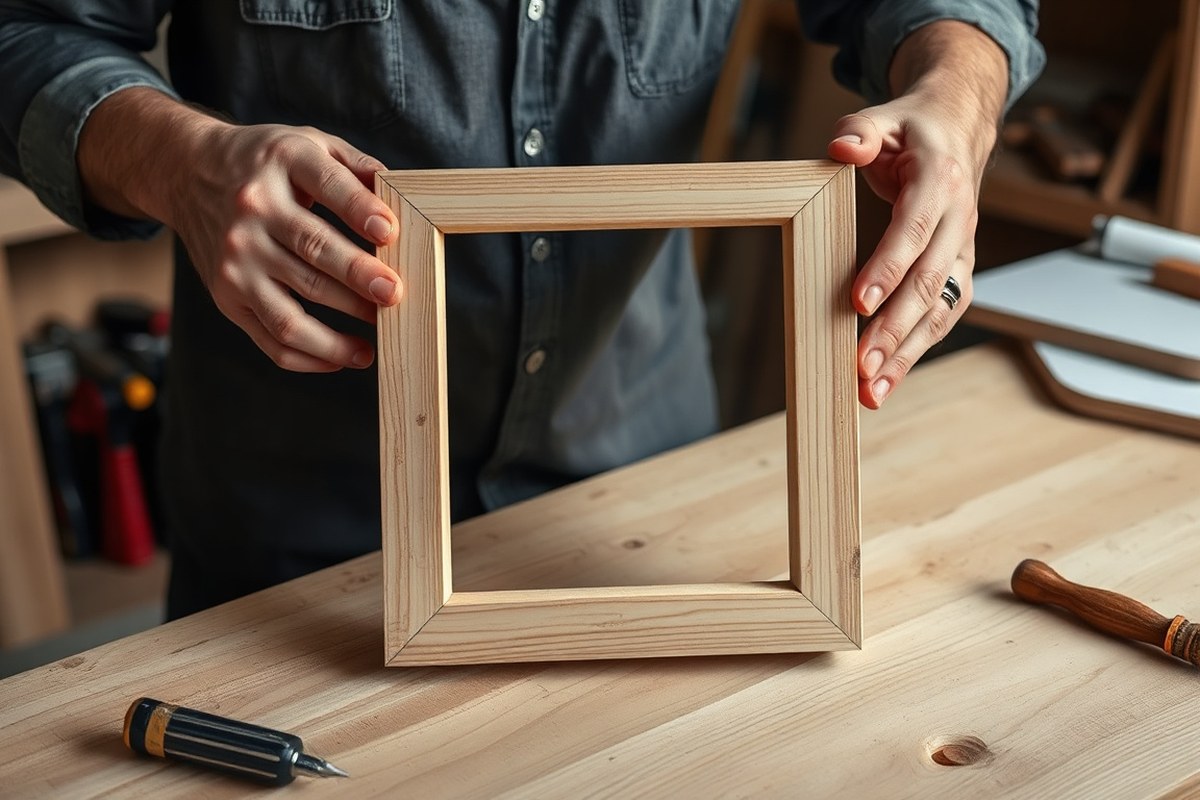
To build a typical sign frame, first measure the perimeter of your sign and then add approximately 1.5 inches to each frame piece for overlap and fit. Cut two pieces matching the height plus this extra length and two matching the width plus the extra length. The 1″x2″ wood can be glued on the sides of the sign, then secured with 2″ nails or 1¼” brad nails using a brad nailer and wood glue. Clamping the wood in place during assembly is critical to ensure the frame aligns perfectly and stays square. For added strength, you may drill and screw the frame pieces with Kreg screws, especially if the sign is large or heavy.
Frames are necessary when you want to increase the sign’s longevity or give it a professional, ready-to-display look. Framing is optional for small signs made of solid wood that already have sturdy edges, or when a rustic, frameless aesthetic is preferred. However, signs made from thin plywood or intended for outdoor use benefit greatly from framing. Frame types can vary from simple square edges to more elaborate mitered corners or layered designs, depending on your woodworking skills and desired style.
Costs for framing depend on your choice of wood and fasteners. Using scrap wood can minimize expenses, and 1″x2″ lumber is usually affordable and widely available at home centers. Materials like wood glue and nails or brad nails add only a few dollars to the project. Once assembled, sanding the frame smooth and staining or painting it complements your sign’s overall theme and protects the wood from moisture and fading.
Essential Materials and Tools for Making a Sign Frame
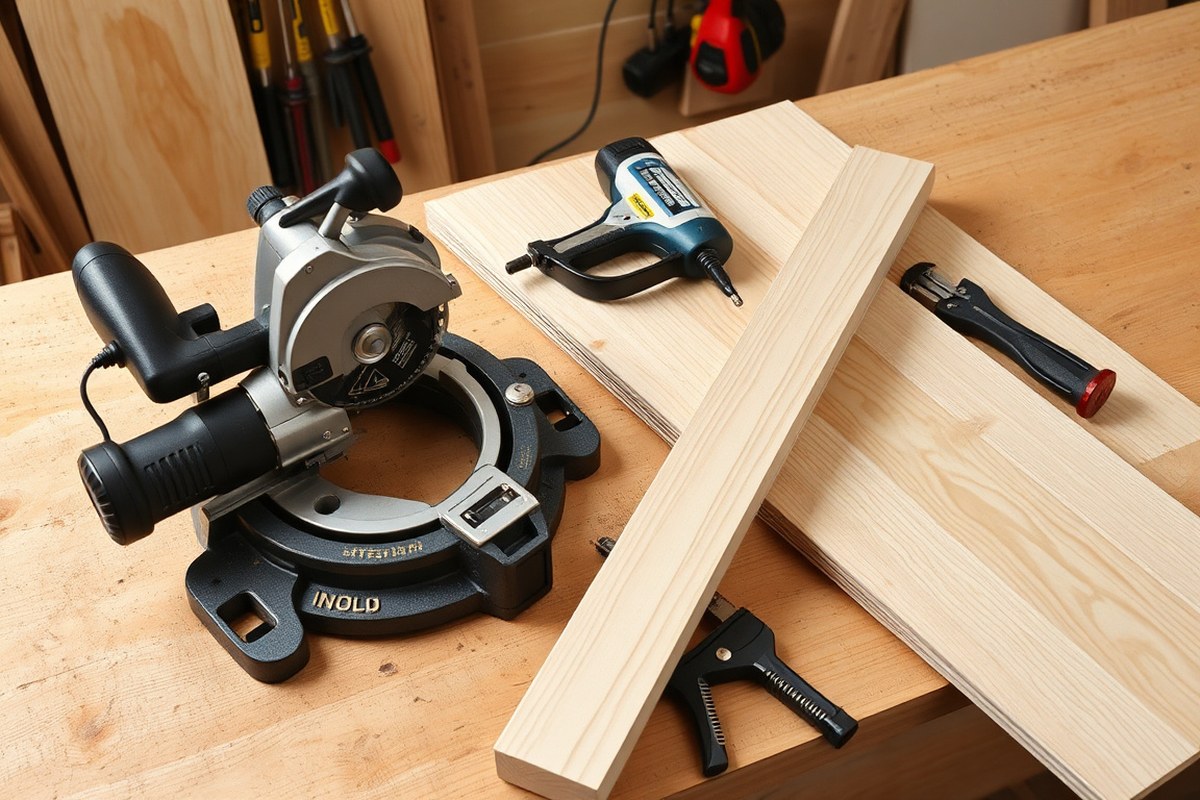
The best wood types for making a sign frame are pine, cedar, or poplar. Pine is popular because it’s affordable and easy to cut, usually costing between $2 and $4 per 1×2 board, which is a common size for frames. Cedar resists moisture and warping better, making it ideal for outdoor signs, but it costs more. Poplar offers a smooth surface for painting and is moderately priced. Generally, using 1×2 lumber works well; this means roughly ¾ inch thick by 1½ inches wide. These dimensions provide enough thickness to create a sturdy frame without overwhelming the sign.
For cutting, you’ll need a miter saw or a hand saw capable of making clean 45-degree angle cuts. Straight, precise cuts ensure the frame corners fit snugly. You can expect a decent miter saw to range from $80 to $150, while a quality hand saw costs $20 to $40. Having a measuring tape to record exact wood sign dimensions helps avoid gaps or overlaps. Clamps are essential to hold the frame pieces tightly against the sign during assembly, usually under $15 for a set.
When assembling the frame, you need fasteners like finishing nails or brad nails, and wood glue. Using a brad nailer speeds up the process, but finishing nails hammered by hand work fine too. Nails should be about 1½ inches long to securely join the frame to the sign backing and to reinforce the corners. A tube of wood glue costs around $5 to $10 and adds strength by bonding the wood. For extra durability, braid nails can reinforce the inner lath boards. They go through both the sign backing and the frame, preventing wobbling over time.
- 1×2 pine or cedar boards, cut to length with 45-degree mitered corners
- Miter saw or hand saw for precise cuts
- Measuring tape to confirm wood sign measurements
- Wood glue for bonding frame pieces
- Finishing nails or brad nails (1½ inch length recommended)
- Clamps to hold frame and sign securely during attachment
- Braid nails for reinforcing the frame to interior lath boards (optional)
Check your cuts carefully because even a ⅛ inch difference can cause your frame not to fit properly around the sign backing.
Always measure the actual dimensions of your sign backing before cutting frame pieces. Wood can vary in size slightly, especially if the sign is handmade or rough cut. Clamping the frame pieces onto the sign helps keep everything steady for nailing and gluing, which leads to cleaner joints and a professional finished look. Avoid cutting corners on tools or fasteners; quality materials last longer and make the assembly easier.
How to Measure and Cut Wood Pieces Accurately
To make a wooden sign frame, you need to measure and cut your wood pieces with accuracy to ensure a tight fit around your sign. Calculate the lengths by adding frame width allowances to your sign dimensions, then mark and cut precise 45-degree miter angles for the corners. Using the right tools and safe techniques will give you clean cuts and a professional-looking frame.
Calculating Frame Piece Lengths
Start by measuring your wooden sign’s height and width carefully. The frame pieces must extend beyond the sign’s size to wrap around it, so add twice the thickness of the wood lathe to each dimension. For example, if your sign is 20 inches wide and your 1×2 wood frame pieces are actually 3/4 inches thick, add 1.5 inches (0.75″ x 2) to the width, making the length for the horizontal frame pieces 21.5 inches.
The vertical pieces get the same treatment, adding twice the thickness of your frame material. This calculation compensates for the frame’s width that overlaps the edges of your sign, ensuring the sign fits snugly inside.
Making Precise 45-Degree Miter Cuts
Cutting the frame corners at 45 degrees allows two frame pieces to join perfectly, forming a 90-degree corner. This creates a neat, professional finish for your custom sign frame. You’ll need a miter saw, which can be set to the exact 45-degree angle for consistent cuts. Follow this step-by-step process to cut your frame pieces:
- Measure and mark the length of each wood piece, accounting for the frame width allowance as explained above.
- Set your miter saw to a 45-degree angle, ensuring the blade tilts in the right direction so the cut edge will face outward on the finished frame.
- Place the wood piece firmly against the saw’s fence for stability and align the marked cut line with the saw blade.
- Hold the wood securely and make the first 45-degree cut on one end of the piece.
- Flip the same piece and make a 45-degree cut on the opposite end, in the complementary direction, so both ends will meet at a corner.
- Repeat for all frame pieces, two long horizontal pieces and two shorter vertical pieces.
- After cutting, dry-fit the pieces around your sign to check for tight, clean corners before final assembly.
Consistent cuts at 45-degree angles mean your frame corners will fit together with minimal gaps. A sharp blade and steady control will prevent splintering or rough edges.
Safety Tips for Cutting Wood
Always wear safety goggles and hearing protection when using power saws. Secure the wood firmly to keep it from slipping during the cut. Keep your hands clear of the blade path and use clamps if needed to hold small or narrow pieces safely.
A dust mask is important when cutting wood to prevent inhalation of sawdust. Work in a well-ventilated area. Before cutting, double-check measurements and blade settings to avoid mistakes that waste material. A clean, sharp blade reduces splintering and produces safer, easier cuts.
Comparing Methods to Attach a Wooden Frame to Your Sign
Three common ways to attach a wooden frame to your sign are using a brad nailer, corner braces, or a Kreg Jig. Each method has its own benefits and drawbacks regarding cost, skill level, durability, and the tools required. Choosing the best method depends on your project size, experience, and the finish quality you want.
Brad Nailer Method Overview
The brad nailer method uses small 1 1/4 inch brad nails to fasten the frame pieces quickly and cleanly. This approach works best when combined with wood glue for extra strength. You clamp the frame pieces in place, then use the brad nailer to secure them. It is a favorite for many hobby woodworkers because it’s fast and leaves minimal visible holes.
This method is ideal for smaller or medium-sized signs that won’t face heavy stress. The tools are moderately priced: brad nailers range from $40 to $100, and 1 1/4 inch brad nails cost around $5 for a pack of 1000. Skill requirements are low to medium since you need to steady the pieces and aim carefully to avoid splitting the wood. Overall durability is good for most DIY applications.
Corner Brace Installation Process
Corner braces provide an inexpensive, beginner-friendly way to attach frames, especially if you don’t own a brad nailer or Kreg Jig. These metal braces attach to the inside corners with ¾ inch wood screws. You clamp the frame pieces, screw one side of the brace into the sign backing, then screw the other side into the frame.
For larger signs, adding 4 to 8 corner braces improves strength versus just 2. The cost is low, usually around $1 to $3 each, and screws are inexpensive as well. This method doesn’t require specialized tools beyond a drill and screwdriver. However, the braces may be visible from the back, and the overall look won’t be as clean as with nails or pocket holes.
Kreg Jig Pocket Hole Technique
The Kreg Jig creates pocket holes drilled at an angle to fasten frame pieces with screws hidden inside the joint. This method offers the strongest connection among the three, making it suitable for large or heavy signs. You drill holes with the jig, then screw the frame to the sign backing securely, often after applying wood glue.
Kreg Jigs cost about $40 to $100 depending on the model. The technique requires moderate skill to drill accurately and clamp the pieces correctly before driving in screws. The concealed screws deliver a clean finish with no visible hardware. Durability is high, and this method is best for signs that will hold up to handling or outdoor exposure. Below is a comparison table summarizing these three methods:
| Method | Tools Needed | Cost Estimate | Skill Level | Durability | Finish Quality | Best For |
|---|---|---|---|---|---|---|
| Brad Nailer | Brad nailer, clamps | $40, $100 + $5 for nails | Low to Medium | Good for small-medium signs | Minimal nail holes visible | Quick assembly, small-medium frames |
| Corner Braces | Drill, screwdriver, clamps | $1, $3 per brace + screws | Low | Moderate, use more braces for large signs | Visible hardware inside corners | Beginner, infrequent projects, low-cost |
| Kreg Jig | Kreg Jig, drill, clamps | $40, $100 + screws | Medium | High, very strong joints | No visible screws, clean finish | Large or heavy signs, long-lasting |
Choosing between these methods depends on your budget, available tools, and how much time you want to invest. Brad nailers offer fast assembly, corner braces keep costs low and simplify the job for beginners, whereas the Kreg Jig delivers professional strength and hidden hardware on bigger projects.
Finishing Techniques to Paint, Stain, and Seal Your Frame
Preparing and finishing your wooden sign frame properly improves both its appearance and durability. Start by sanding the wood with medium-grit sandpaper (around 120) to remove any rough spots and then finish with fine-grit (220) for a smooth surface. Clean off dust with a dry cloth before applying stain or paint. Choosing the right finish depends on the look you want and where the sign will be displayed. Stains highlight the wood grain and take longer to dry, usually 24 hours, while paints provide opaque color and can dry within a few hours. Sealing with a clear polyurethane or tung oil protects your frame from moisture and wear.
It’s best to finish each frame piece individually before assembling your sign. This avoids missed spots and makes touch-ups easier. Avoid attaching the frame to the sign’s backing until the finish is fully dry to prevent sticking or damage.
- Sand the wood: Use 120-grit sandpaper first to smooth out imperfections, then follow with 220-grit. Wipe away dust with a dry cloth to prepare for finishing.
- Apply stain or paint: For stain, use a foam brush or clean cloth to apply evenly, following the wood grain. For paint, any craft or chalk paint works, applied with a paintbrush or small foam roller for larger frames.
- Let the finish dry: Stains typically require 24 hours to dry completely, while most paints dry in 2 to 4 hours depending on thickness and ventilation.
- Apply a sealant: Use a clear polyurethane spray or brush-on tung oil. This layer seals in your color and protects the wood from moisture and damage.
- Allow the sealant to cure: Let the sealed pieces dry at least 24 hours before handling or assembling to ensure full protection.
- Assemble the frame: After all pieces are dry and sealed, attach the frame to the sign backing carefully to avoid scratching or denting the finish.
Don’t attach a stained frame to your sign until the stain is completely dry, doing so might cause the wood or backing to stick and ruin your finish.
How to Assemble and Align the Frame for a Perfect Fit
Assembling and aligning a wooden sign frame requires careful positioning, clamping for stability, and precise checking of angles to ensure the frame fits perfectly and looks professional. Attaching the frame securely to the sign backing completes the build and ready the piece for finishing or hanging.
Using Clamps to Hold Frame Pieces
Clamping frame pieces during assembly keeps the wood steady and aligned while adhesives or fasteners set, preventing gaps or slippage. Bar clamps or corner clamps work best for right-angled frames, holding two pieces firmly together at the joint.
Apply wood glue along the edges that will join, then use clamps to press these pieces to the top edges of the sign base or around the sign’s perimeter. Painter’s tape can supplement clamps by holding parts together where clamps cannot reach. Dry fitting before applying glue ensures the frame pieces fit snugly without forcing them.
Checking and Correcting 90-Degree Corners
Confirming the frame’s corners are exactly square guarantees a professional finish and prevents twisting or warping later. Use a carpenter’s square or a speed square at each joint to measure the angle. Adjust the pieces while clamped if they are not 90 degrees.
For slightly off corners, tap the frame gently with a rubber mallet or loosen clamps and realign. A square block of wood cut with a perfect 90-degree angle can serve as a wedge or guide to hold pieces flush while glue sets. Accurate corner angles avoid visible gaps and ensure the sign frame sits evenly on flat surfaces or walls.
Securing Frame to the Sign Backing
After assembling the frame, attach it securely to the sign backing for stability and durability. Glue the frame pieces to the top surface of the base board rather than the edges to increase contact area and strength. Apply an even bead of wood glue along the frame edges touching the sign backing.
Once glued, clamp or tape the frame in place and allow drying for at least 30 minutes or per glue manufacturer instructions. For extra reinforcement, countersink small finishing nails or brad nails through the frame into the backing. Avoid large nails that can split the frame or backing.
As a last step, place a backing mat over the sign and use adjustable turn buttons around the perimeter to hold everything firmly. This method lets you remove or replace the framed sign easily if needed.
- Dry fit all frame pieces around the sign backing to check size and fit.
- Apply wood glue along the edges of each frame piece that will contact the sign backing.
- Use corner clamps or bar clamps to hold two adjacent frame pieces together at a 90-degree angle.
- Check corners with a carpenter’s square. Adjust if angles are off before the glue dries.
- Clamp the entire frame to the sign backing, ensuring flush and aligned edges.
- Secure additional stability by adding painter’s tape around frame joints where clamps don’t reach.
- Optionally, insert finishing nails or brad nails through the frame into the backing for extra hold.
- After drying, place the backing mat on top and fasten with turn buttons for removable security.
Tips for Hanging and Displaying Your Framed Wooden Sign Safely
Preparing your wooden sign frame for hanging starts with choosing the right hardware to fit your wall type and avoid damage. For drywall, 3M Command strips offer a damage-free option. These adhesive strips hold well for frames up to about 5 pounds and peel off cleanly without leaving marks, which means no drilling or wall damage. For heavier frames or plaster and brick walls, use wall anchors paired with screws or masonry anchors, respectively. Always pick anchors and screws rated for the combined weight of your frame and sign to ensure safety.
To attach hanging hardware, measure and mark the frame’s back at equal distances from the top edge to ensure balance. Install D-ring hangers or sawtooth hangers about one-third down from the top of the frame’s sides for stability. These types of hangers distribute weight evenly. Use a drill or screwdriver to fasten them securely. For extra security when using Command strips, clean the frame’s back and wall surface with rubbing alcohol to ensure good adhesion.
- Use 3M Command strips for lightweight signs on drywall (up to 5 pounds)
- Install wall anchors and screws for medium to heavy frames
- Choose masonry anchors for brick or concrete walls
- Place D-ring or sawtooth hangers evenly for a balanced hang
- Wipe surfaces with rubbing alcohol before applying adhesive strips
- Consider picture hanging wire for heavier frames, attached to D-rings
- For outdoor signs, use rust-resistant hardware and sealants
Protecting your frame while displaying it involves sealing the wood with an exterior-grade polyurethane if the sign will be outdoors. This prevents moisture damage and sun fading. Hardware for outdoor installation should be stainless steel or galvanized to resist rust. Mount outdoor signs on surfaces that allow drainage and won’t trap water behind the frame, such as wood siding or a screened-in porch wall. If mounting on metal or vinyl siding, use specialized fasteners designed for those materials to avoid loosening over time.
To avoid wall damage during hanging, handle placement carefully. Consider the thickness and texture of your frame, lightweight frames handle adhesive strips well, while heavier frames require secure fastening. Double-check the weight ratings of your chosen hardware and anchors. Before drilling, use a stud finder to locate studs; mounting on studs greatly increases load capacity compared to drywall anchors alone. When removing frames, do so slowly to prevent paint peeling or drywall surface damage.
Common Mistakes When Making Sign Frames and How to Fix Them
Inaccurate cuts are a common setback when making sign frames and often lead to gaps at the corners. You might notice that the frame pieces don’t line up perfectly, which usually means the cuts are not square or measurements are off. Checking for square can be done with a carpenter’s square or by measuring diagonals; if the diagonals of the assembled frame aren’t equal within 1/16 of an inch, the pieces are out of square. Fix minor misalignment by sanding or trimming small amounts, but for significant errors, recutting the wood to exact lengths is necessary. Using a miter saw with a reliable angle guide can help improve cut accuracy.
Loose joints can cause the frame to feel unstable or make the corners separate over time. This typically happens when glue is applied unevenly or there’s insufficient clamping during assembly. To prevent this, spread a thin, even layer of wood glue on all joining surfaces and clamp each corner firmly for at least 30 minutes to an hour. When you find loose joints after assembly, adding finishing nails or small brad nails at the corners reinforces the connection without damaging the appearance.
Wood warping affects how flat and stable your frame sits on the sign. Warping happens when wood is exposed to moisture or not properly dried before use. It’s best to choose kiln-dried wood and store it flat in a dry place. Warping can be fixed by weighting the frame flat over several days or gently steaming and clamping the wood straight. Persistent warping might require replacing the warped sections entirely. To reduce gaps caused by wood movement, leave a small expansion space of about 1/16 inch when fitting frame parts.
Finish-related problems like blotching, peeling, or uneven color often result from applying paint or stain on untreated wood or insufficient surface preparation. Sanding the frame with fine-grit sandpaper (around 220 grit) before finishing helps achieve a smooth base. Using a wood conditioner before staining can reduce blotches by promoting even absorption. For peeling finishes, make sure the surface is clean, dry, and free of dust before painting or staining. Applying thin coats and allowing each to dry fully, usually 4 to 6 hours between coats, improve adhesion and durability.
Always check each frame corner for square before gluing, and clamp pieces firmly to prevent gaps and loose joints.
Step-by-Step Action Plan for Crafting Your Wooden Sign Frame
Follow these steps to create a strong and attractive wooden frame for your sign that fits perfectly and displays well.
- Before you start: Gather all necessary materials and tools, including wood, saw, drill, clamps, paint or stain, and sealant. Having everything ready helps you work efficiently.
- Day 1: Measure your sign precisely and mark your wood pieces for cutting. Accurate measurements ensure the frame fits your sign snugly.
- Day 2: Cut the wood pieces carefully using a miter saw or hand saw. Check for clean, straight edges to avoid gaps in the frame corners.
- Day 3: Assemble and align the frame pieces using clamps and wood glue or screws. Use a square to verify right-angled corners for a perfect fit.
- Day 4: Apply your chosen paint, stain, or sealant to the frame. Confirm even coverage and allow adequate drying time between coats.
- Day 5: Attach the frame to your sign using the selected method, such as brad nails or corner brackets. Make sure the frame is flush and secure before proceeding.
- Day 6: Prepare your hanging hardware based on the sign’s weight and location. Test the hanging strength and adjust as needed to ensure safe display.
Frequently Asked Questions
What Is the Best Wood Dimension for a Sturdy Sign Frame?
Using 1″x2″ wood pieces is ideal because they provide enough thickness for strength and support when glued and nailed to your sign backing. This dimension works well for most DIY wooden signs and frames.
How Do I Properly Clamp the Frame Pieces Before Attaching?
Clamp one frame piece to your work surface aligned with the sign edge, ensuring it doesn’t shift when you attach the frame with nails or screws. Proper clamping keeps the frame square and flush for a neat finish.
Is a Box Frame Necessary for All Types of Wooden Signs?
A box frame is recommended if your sign uses 1/4″ plywood as the backing, as it adds depth and support. For thicker boards, a flat frame may suffice, but box frames improve durability.
What Nail Size Should I Use to Attach the Frame to the Sign?
Use 1 1/4″ brad nails with a brad nailer along with wood glue for the best hold without splitting the wood. This size nails the frame securely without going too deep.
Can I Use Screws Instead of Nails to Assemble the Frame?
Yes, 1 1/4″ Kreg screws work well for attaching frame pieces and the frame to the sign backing, providing a strong mechanical bond, especially when combined with glue.
How Do I Finish the Frame to Protect It from Weathering?
Sand with 220 grit sandpaper, then apply stain like Minwax dark walnut, followed by a clear sealer to protect and prolong your frame’s life outdoors or indoors.
Final Thoughts
Creating your own wooden sign frame lets you customize the look and ensures a sturdy display for your sign. Starting with precise measurements and proper assembly will set you up for success. Take your time with finishing to protect your frame and highlight the wood’s natural beauty. Begin today by cutting your first wood pieces and see how well your sign starts to take shape.