How to Make a Sandwich Board Sign: A Complete Guide with Tips & Materials
How to make a sandwich board sign starts with choosing the right materials and dimensions to suit your message and location. Build two sturdy panels around 24 inches wide by 36 inches tall, hinge them at the top, and add a chain or rope to keep the sign open at about a 90 to 100-degree angle. This setup makes your sign stable and easy to read from a distance.
Key Takeaways
- Use ½-inch thick plywood or MDF boards sized 24 by 36 inches for durable sandwich board panels.
- Attach nylon webbing or sturdy ribbon as straps to make the sandwich board easy to carry and wear.
- Create letters at least 2 inches tall for readability from about 25 feet away on streets and sidewalks.
- Secure a chain or rope between panels at the top for stability and to maintain the correct angle when open.
- Corrugated plastic sheets (coroplast) offer a lightweight option for sign faces in the same 24×36-inch size.
- Consider reclaimed lumber for budget-friendly boards that add rustic charm and can sell for a good price.
What Is a Sandwich Board Sign and How It Works
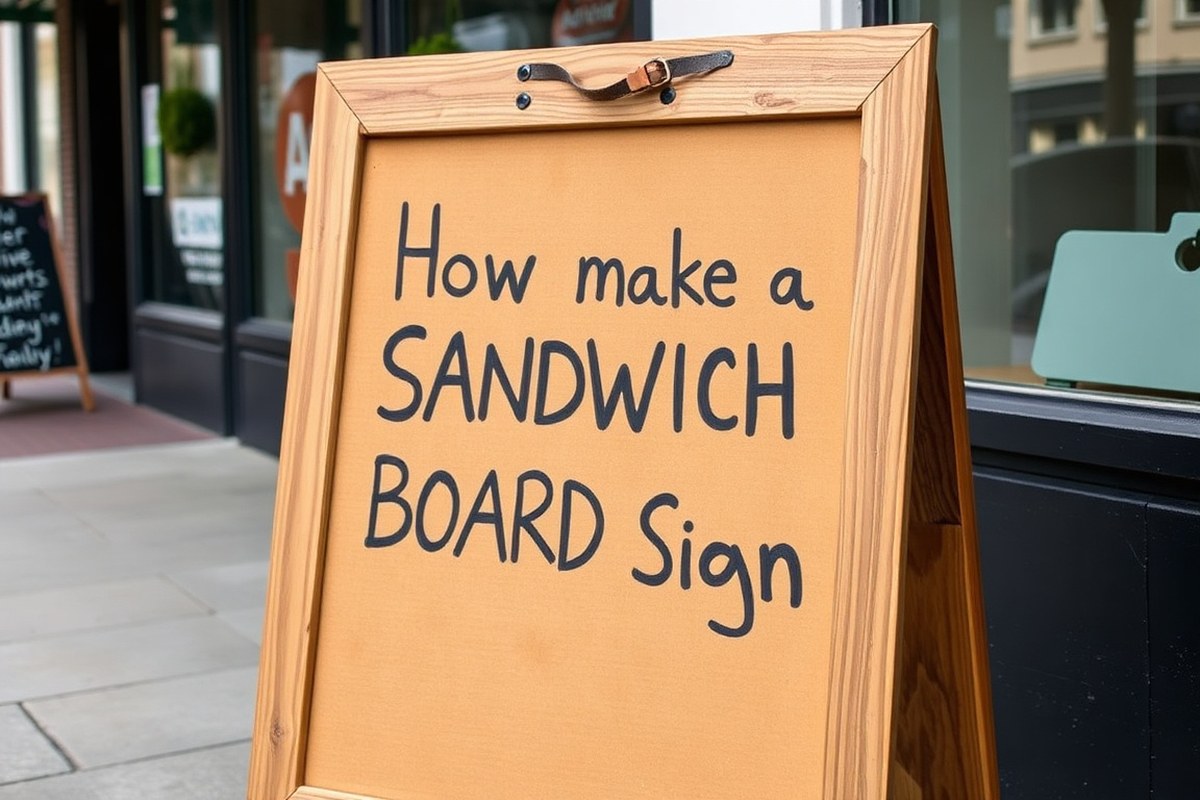
A sandwich board sign is a portable advertising tool made of two flat boards connected at the top by a hinge. These boards stand on the ground in an A-frame shape, allowing messages to show on both sides. Each board typically measures about 24 inches wide by 36 inches tall, providing enough space to display clear, eye-catching text or images. The design makes it easy to set up and move, which is why such signs are often seen outside shops, restaurants, and event venues.
Sandwich boards communicate messages effectively by placing them directly in the path of foot traffic. People passing by can quickly read promotions, directions, or announcements without entering the store or venue. The double-sided display doubles your visibility, reaching customers from both directions. A good sandwich board is positioned open around a 90- to 100-degree angle and secured with a chain or rope to prevent the legs from spreading too far. This setup keeps the sign stable even on breezy days.
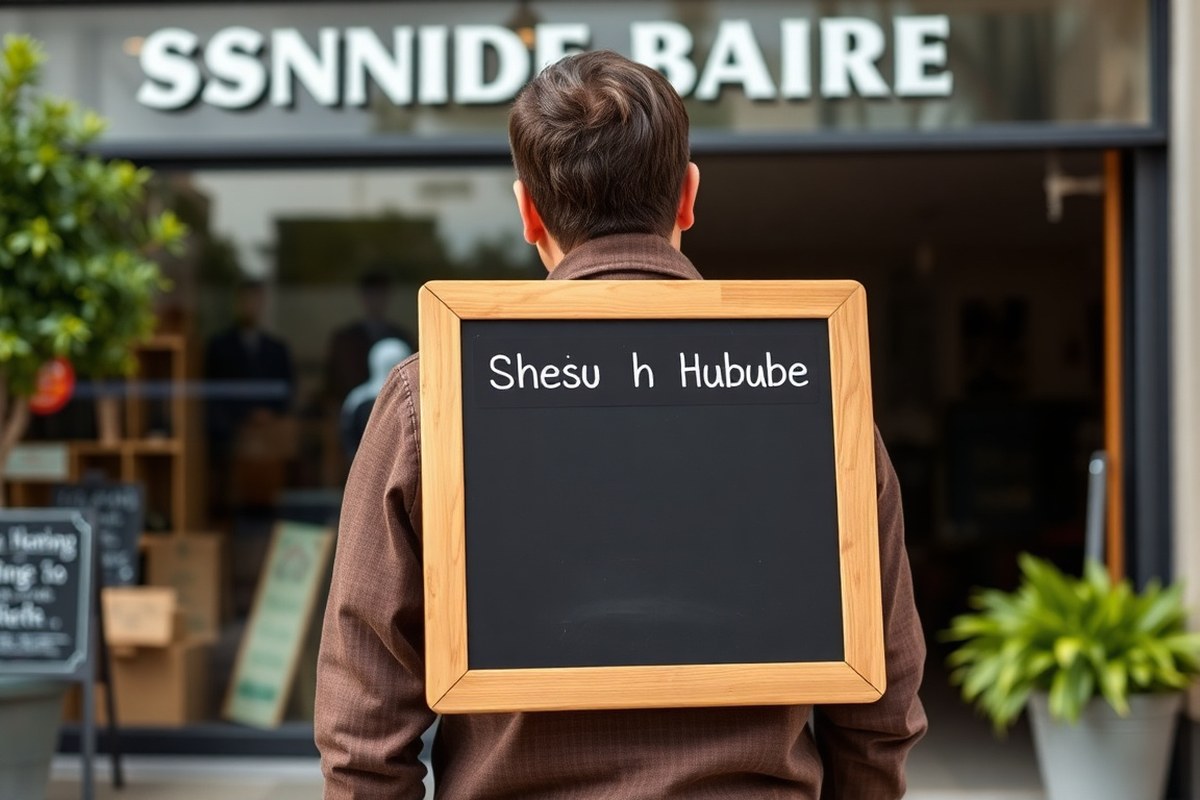
Businesses use sandwich board signs primarily to attract nearby pedestrians to a storefront or event. They work well on sidewalks, at farmers markets, or outside pop-up shops. These signs are ideal for temporary messages like daily specials, sale alerts, or directional instructions during events. A wearable sandwich board variation, connected by shoulder straps with one panel in front and one behind, is sometimes used for mobile advertising or promotional stunts. This type fits different needs but follows the same fundamental idea – placing your message where people notice it.
The simplicity of sandwich boards means you don’t need expensive equipment or materials to make one. Basic plywood, about ½ inch thick and 2 feet by 3 feet per panel, works well and keeps costs low. Making your own sign from scrap wood could cost as little as $15 to $30, compared to around $100 for a ready-made option. Durability varies with material choice, but exterior-grade plywood can last through multiple seasons if weatherproofed. The ultimate goal is a sturdy, clear sign that stays upright, attracts attention, and quickly shares your message with passersby.
Choosing Materials and Tools for Your Sandwich Board
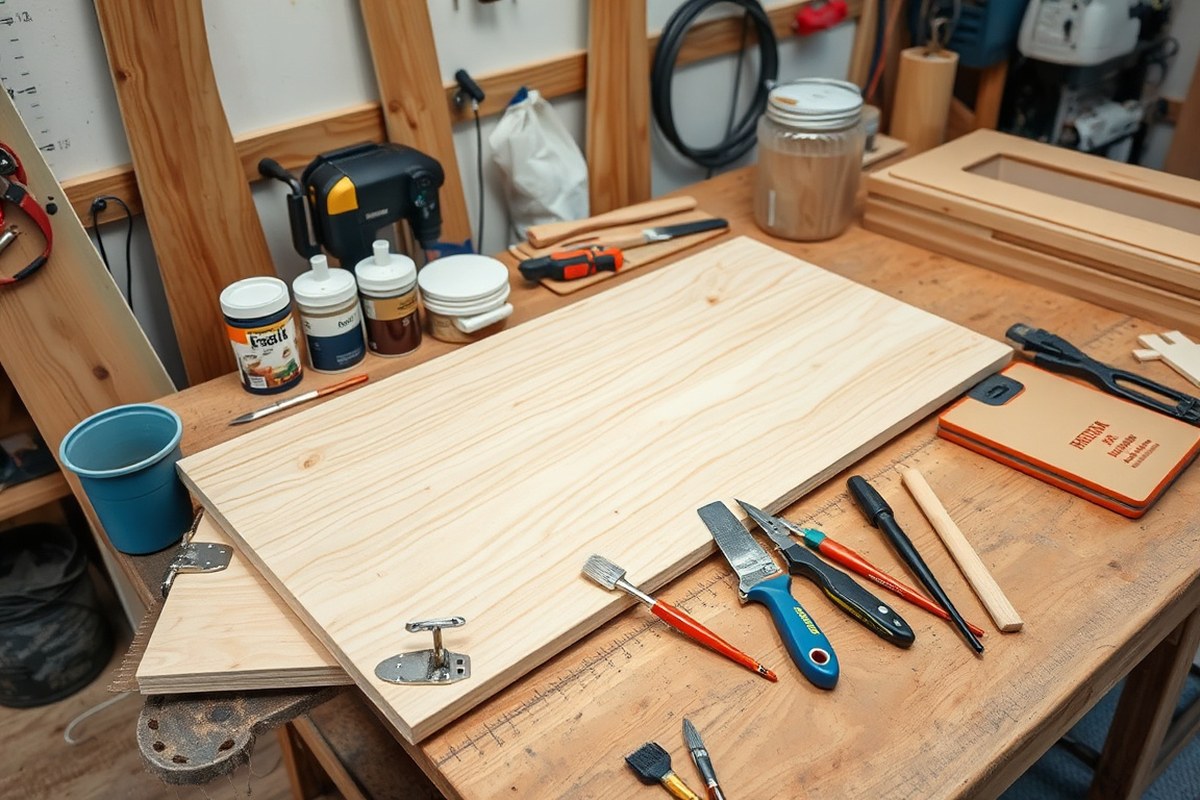
Choosing the right materials and tools sets the foundation for a durable and effective sandwich board sign. You’ll want to balance cost, ease of assembly, durability, and weight. Corrugated plastic sheets and exterior-grade hinges are common choices that combine affordability with outdoor readiness. Proper tools for cutting, painting, and fastening make the process smoother and improve the final result.
Panel Material Options
Corrugated plastic, often called coroplast, is the preferred material for sandwich board panels because it is lightweight, waterproof, and easy to cut. Sheets typically come in 36″ x 24″ sizes, ideal for portable signs. Cardboard and foam board are cheaper alternatives but not suitable for long-term outdoor use due to weather vulnerability. For a more rugged sign, consider metal or wood panels; these last longer but add weight and require more advanced tools.
Coroplast offers a good balance between durability and cost, resisting rain and sunlight fairly well when sealed properly. If you expect heavy use or want a more premium feel, aluminum panels resist dents and can be wiped clean. Wood panels need sealing and periodic maintenance but provide a sturdy look for indoor or short-term outdoor events.
Tools and Hardware Needed
You’ll require a few basic tools and hardware pieces to build your sandwich board. A utility knife or circular saw works well for cutting corrugated plastic or wood panels. Sandpaper can smooth edges on wood. For fastening the pieces, two exterior-grade hinges about 3 to 4 inches wide connect the panels securely. Use screws or rivets designed for outdoor use to prevent rust. Paintbrushes or foam rollers apply paint and sealant smoothly.
Also, a drill or screwdriver is necessary for assembling the hinges and any support braces. Clamps or weights can hold panels in place while drilling or gluing. Proper safety gear, gloves, goggles, helps prevent injuries when cutting or painting.
- Corrugated plastic sheets or alternative panel material
- Exterior-grade hinges, 3, 4 inches wide
- Utility knife or circular saw for cutting panels
- Drill or screwdriver for assembly
- Waterproof paint or marker pens for signage
- Sandpaper for smoothing edges
- Sealant to protect outdoor signs
Choose waterproof hardware and sealants to prevent rust and extend the life of your sandwich board in outdoor conditions.
Cost and Weight Considerations
DIY sandwich boards can be made affordably, typically around $20 to $25 using corrugated plastic and basic hardware. Cardboard and foam board panels can reduce upfront costs but sacrifice outdoor durability. Metal panels increase cost significantly, often above $50, but provide long-lasting use. Expect hinges to cost $5 to $10 for a pair, while paint and sealants add another $10 to $15 depending on quality and quantity.
Weight matters if you need to move or carry your sandwich board frequently. Corrugated plastic panels keep total weight low, around 5 to 7 pounds. Wood or metal panels can double or triple that weight, making portability harder. Consider your typical usage environment, lighter materials for events needing frequent setup and teardown, sturdier materials for semi-permanent locations.
Designing Effective Messages for Sandwich Boards
Choose large, bold fonts and high-contrast colors to maximize readability from a distance. Keep messages concise with simple language to grab attention quickly. The sign’s design should fit your location and viewing distance, balancing size, color, and content for clear communication.
Font Size and Lettering Tips
For sandwich boards, aim for letter heights of at least 2 to 3 inches to be legible from 6 to 10 feet away, suitable for sidewalks or event entrances. Increase letters to 4 inches or more when the sign needs to be read from farther distances. Use clean, sans-serif fonts like Arial or Helvetica that maintain clarity in various lighting and weather conditions. Avoid ornate or script fonts that reduce legibility quickly, especially outdoors. Consider spacing letters well; tight spacing can make text harder to read, while too much spacing wastes space and reduces impact.
When writing multiple lines, limit each line to five or six words at most. This keeps the message easy to scan. Paint or write letters in bold strokes to increase visibility. Using stencils or vinyl letters can improve uniformity over freehand writing, especially if you plan to reuse your board long term.
Color Contrast and Visibility
High contrast between text and background boosts legibility dramatically. Choose light-colored text on a dark background or dark text on a light background. Classic combinations like white on black, black on white, or yellow on black work well for outdoor sandwich boards. Avoid low-contrast combos such as green on red or blue on black, which become unreadable in sunlight or from a distance.
The background should be a solid or minimally textured surface to reduce distractions. Matte finishes prevent glare in sunlight, making your message easier to see. Consider adding borders or shadows to letters to improve separation from the background, increasing readability. For chalkboard surfaces, white or bright chalk markers stand out best, but refresh the message regularly to avoid fading.
Crafting Clear and Brief Messages
Focus on one or two key points per sign. Use simple, action-oriented language like “Fresh Coffee Here” or “Sale Today.” Avoid clutter, as too much text overwhelms viewers and reduces quick comprehension. Remember that people walking by have only a few seconds to read your board, so make those seconds count. Starting with a strong keyword or call to action can improve impact.
Place extra details, such as a website or QR code, below the main message to include more info. The main message should stand out largest at the top. For events or promotions lasting limited time, include the essential details such as date and time, but keep wording minimal. For example: “BBQ Cookout! Sat 1, 4 PM” is direct and effective.
Step-by-Step Guide to Building Your Sandwich Board
To build a durable and functional sandwich board sign, start by carefully measuring and cutting your panels, then attach the hinges properly to join them safely. Finally, secure the hinges and add any hardware that keeps the board stable without compromising portability. Following precise steps ensures your sign holds up during use and displays your message clearly.
Measuring and Cutting Panels
Begin with plywood or coroplast panels cut to a size that balances visibility with manageability. Common dimensions are 2 feet wide by 2 feet 6 inches tall per panel. Measuring accurately avoids uneven edges that weaken the sandwich board’s structure and aesthetics.
Use a straightedge and pencil for marking. Cutting panels with a circular saw or jigsaw gives you clean edges. Aim for two identical panels to allow for stability and symmetry.
Attaching Hinges for Stability
Choose durable steel or brass hinges sized appropriately to your panels, around 3 to 4 inches in length. Position two or three hinges evenly along the top edge of the panels. Proper hinge placement prevents wobbling and distributes weight during use.
Remove any splinters or debris along hinge placement lines for flush hardware installation. Attach hinges using 1 to 1¼ inch screws designed for wood, pre-drilling small pilot holes to avoid splitting. Align panels in an A-frame shape during assembly to simulate real use and adjust hinge tightness if needed.
Securing and Finishing the Assembly
After hinging, add a chain or rope across the inside bottom corners to limit opening width and keep the board stable. A 1 to 2-foot length of sturdy chain or nylon rope works well, attaching with eye hooks or small screws.
Sand all edges and corners for smoothness to prevent injuries and improve painting or finishing. Optional weatherproofing requires applying a clear sealant or outdoor-grade paint. Allow hardware and finish to dry fully before first use, typically 24 hours depending on product instructions.
- Measure two pieces of plywood or coroplast to 2′ by 2′ 6″ each and mark cutting lines with a pencil and straightedge.
- Cut each panel along the marked lines using a circular saw or jigsaw, ensuring straight, clean edges.
- Sand panel edges to remove splinters and smooth surfaces.
- Position and align two to three 3- to 4-inch hinges evenly along one 2-foot edge on each panel.
- Pre-drill pilot holes for screws at hinge points to prevent panel splitting.
- Screw hinges into place on both panels, keeping spacing consistent and hardware flush.
- Attach a short chain or rope 1 to 2 feet long between bottom inside corners with eye hooks to limit how far panels open.
- Apply paint or sealant if desired, allowing the product to dry thoroughly before use.
Making the Sandwich Board Wearable and Comfortable
Using the right straps and attaching them properly can make wearing your sandwich board comfortable for long periods. Choose wide, padded shoulder straps made from durable materials like nylon or canvas to distribute weight evenly and reduce pressure. Adjustable straps allow you to customize the fit, helping prevent soreness and fatigue during hours of wear. You’ll also want to consider adding a chest or waist strap to stabilize the board and keep it from swinging as you walk.
Proper measurement is key before attaching the straps. Measure your shoulder width and torso length to place the attachment points so the board rests comfortably against your back without tilting forward or causing strain. Position shoulder straps so they are about 3 to 4 inches off the top edge of the board and anchor them firmly with screws or strong rivets. Using metal D-rings or buckles on the straps lets you adjust tension on the fly, improving comfort and control.
Designing for comfort also means attention to padding and breathability. Use foam or gel padding in the shoulder straps and back panel if possible. Consider adding a lightweight mesh panel for airflow to reduce sweating, especially when you’ll be outdoors in warm weather. Lightweight boards weigh less and reduce discomfort during extended use.
- Choose appropriate straps: Select 2-inch-wide padded nylon or canvas shoulder straps that are adjustable and include quick-release buckles if possible.
- Measure yourself: Have someone help measure from the top of your shoulders down to your waist and across your shoulders to determine strap length and placement.
- Mark strap points on the board: Mark two points about 3 to 4 inches below the upper edge on the backside of the board to attach shoulder straps evenly.
- Attach hardware: Secure D-rings or buckles at the marked points with screws or rivets designed for weight bearing.
- Thread straps: Loop your straps through the D-rings or buckles, allowing length adjustments, then sew or secure the loose ends to prevent slipping.
- Add comfort features: Attach foam or gel padding on the straps and consider a mesh back panel for breathability if you expect to wear it for hours.
- Test and adjust: Put on the sandwich board and adjust the straps so the board sits flat on your back without pressure points or swinging.
Use protective gloves when handling screws or rivets to avoid injury, and test strap adjustments with some movement before your event to prevent discomfort.
Weatherproofing Techniques for Outdoor Durability
Protecting your sandwich board from rain, wind, and sun damage is essential to keep it looking sharp and functional. Start by choosing materials that handle outdoor exposure well. Wood treated with exterior-grade primer and paint or stain resists moisture and sun fading better than untreated wood. These coatings create a durable barrier that helps prevent warping and cracking. Using a good-quality outdoor primer costs around $10 to $20 per quart, and an exterior paint or stain runs about $20 to $30 per quart, which usually covers one to two sandwich boards.
Applying the primer and paint or stain correctly matters for lasting protection. After sanding and cleaning the wood surface, apply at least two coats of primer, allowing each coat to dry for about 2 hours under normal temperature (around 70°F). Follow with two coats of exterior paint or stain, letting each coat dry thoroughly before adding the next. This process seals the wood against moisture and UV rays, reducing peeling and color fading.
If your sandwich board includes artwork or printed messages, cover the finished sign with a clear polyurethane sealant designed for outdoor use. Water-based polyurethane dries faster and has fewer fumes, typically costing about $15 to $25 per quart. Apply two to three thin coats, waiting 2 to 4 hours between coats. This layer protects your artwork from rain and sun damage while allowing touch-ups if needed. Avoid oil-based polyurethane outdoors as it yellows over time.
For sandwich boards made from materials like corrugated plastic or aluminum, weatherproofing is simpler because these materials are naturally water-resistant and won’t warp. Plastic boards are lightweight and resist rain but can blow over on windy days, so weigh them down with sandbags or position them against a solid surface. Aluminum boards withstand rust and sun exposure but may cost more upfront, expect prices between $50 and $100 for a basic blank board.
Wind presents a different challenge than rain and sun. Adding rubber feet or non-slip pads to the bottom of the legs can stabilize the sandwich board on slick or uneven surfaces. Consider installing a chain or strap between the two boards to prevent them from opening wider than intended, which improves structural stability in gusty conditions.
Using laminated printed paper or vinyl lettering instead of chalk can increase weather resistance for your design. Laminating runs about $1 to $3 per square foot and shields your graphics from moisture and fading, making it a good choice for signs expected to be outdoors for several days or longer. Employing chalkboards suits short-term use such as an event but requires shelter or frequent reapplication to maintain readability in damp or windy weather.
Common Mistakes and How to Avoid Them
Sandwich board signs often suffer from instability and wear issues that can reduce their effectiveness and lifespan. Unstable boards can tip over easily, risking damage and making the message hard to read. To fix this, ensure the hinge connecting the two boards is sturdy and well-aligned. Use heavy-duty hinges or strengthen the joint with metal plates. Adding a chain or a locking mechanism between the boards prevents them from opening too far, which improves stability.
Another common mistake is using materials that don’t hold up outdoors or under frequent handling. Lightweight plywood or particle board is a budget-friendly choice but tends to warp or delaminate when exposed to moisture. Opt for exterior-grade plywood or treated wood and seal all surfaces with weatherproof paint or varnish. For a more durable option, consider composite boards or plastic panels if the sign will face rain or intense sun regularly.
Keeping the message readable is critical. Some signs use paint or markers that fade quickly or chalk that washes off easily. To avoid this, use outdoor-rated paints or permanent vinyl lettering. Applying a protective clear coat over the design will extend its visibility. Also, avoid placing the sign in direct sunlight for long hours if your materials are not UV-resistant.
- Secure the hinge with screws and metal plates for stronger joints.
- Attach a chain or locking device to prevent the sign from opening too wide.
- Choose exterior-grade or treated wood to resist weather damage.
- Seal all edges and surfaces with waterproof paint or varnish.
- Use outdoor-rated paint or vinyl for clear, long-lasting text and graphics.
- Add a clear protective coat over the message for extra durability.
- Store the sign indoors during extreme weather or when not in use.
Signs that lack secure fastening can cause the boards to shift or collapse unexpectedly. Tightening screws or swapping out stripped fasteners regularly keeps the structure safe. Also, check that the base has enough weight or a wider footprint to resist wind. Adding rubber feet or slip-resistant pads under the legs prevents sliding on smooth surfaces, keeping the sign stable and visible.
Wear from frequent use can be minimized by reinforcing vulnerable areas, especially corners and edges, with metal or plastic guards. Touch up paint chips and scratches promptly to avoid water penetration and rot. When cleaning, avoid harsh chemicals or abrasive tools that degrade finishes, mild soap and water work best. These fixes save you time and money by stretching the life of your sandwich board sign.
Cost, Time, and When to Consider Professional Help
Making a sandwich board yourself typically costs between $20 and $100, depending on the materials and tools you use. Basic DIY projects often use wood or particle board, which are affordable and easy to work with. Kits or tutorials can reduce trial-and-error expenses, but adding features like protective coatings or decorative finishes will increase your costs. Your actual budget depends on if you aim for a simple, functional sign or a more polished, event-ready display.
The time needed varies as well. A straightforward sandwich board can take 2 to 5 hours to build, including measuring, cutting, assembling, and painting or writing your message. More elaborate projects with weatherproofing or detailed design may require an extra few hours or even a couple of days if you allow paint and coatings to dry properly between steps.
| Project Type | Typical Cost Range | Estimated DIY Time | Best Suited For |
|---|---|---|---|
| Basic Wood Sandwich Board | $20 – $50 | 2 – 3 hours | Small business owners on a budget |
| Particle Board with Chalkboard Finish | $30 – $60 | 3 – 5 hours | Event organizers needing removable messages |
| Decorative or Weatherproofed Board | $50 – $100+ | 5+ hours to 1-2 days | Outdoor advertising or professional appearance |
| Professional Custom Sign | $150 – $400 | Varies – usually a few days to a week | Businesses needing durability, branding consistency |
Choose DIY when costs are tight and your sign doesn’t require premium durability or perfect polish. Try tutorials and basic materials first if you want a practical, quick solution and don’t mind some imperfections. You’ll save money and gain control over the design. For example, many online tutorials show how to turn particle board into charming chalkboard signs ideal for short-term events.
Opt for professional help if your sandwich board is intended for frequent outdoor use, needs to match brand guidelines exactly, or must withstand heavy handling. Hiring experts ensures you get high-quality materials, precise assembly, and weatherproof coatings that extend the life of your sign. Professionals also handle complex features like built-in lighting or custom artwork you might struggle to replicate at home.
Tip: Skip the protective coating at your own risk, this short step can save your sandwich board from early wear and fading, especially for outdoor use.
Step-by-Step Action Plan to Build Your Sandwich Board Sign
Follow these steps to create a sturdy and effective sandwich board sign that grabs attention and withstands the elements.
- Before You Start: Gather all materials and tools listed, including weatherproof paint and comfortable straps, and check each item is functional. This ensures smooth progress without interruptions.
- Day 1: Cut and assemble the wooden boards into the sandwich board shape. Confirm it stands securely when placed upright.
- Day 2: Apply a base coat of weatherproof sealant to protect the wood. Let dry completely to ensure durability in outdoor conditions.
- Day 3: Design and paint your message on both sides, using contrasting colors and legible fonts. Step back to check readability from at least 10 feet.
- Day 4: Attach the straps or harness to make the board wearable and test the comfort by walking around for 15 minutes.
- Day 5: Apply a final weatherproof clear coat to seal the paintwork. Make sure the surface feels dry and smooth before use.
- Day 6: Test the assembled sandwich board sign outdoors under various light conditions to confirm visibility and durability.
- After 2 Weeks: Inspect for any wear or weather damage and touch up paint or sealant as needed to maintain performance.
Frequently Asked Questions
How to Make a Sandwich Board Sign?
Build two connected panels with hinges, add your design, then weatherproof it for outdoor use. Use sturdy wood or plastic and ensure the panels open wide enough to stand firmly.
What Size Should a Sandwich Board Sign Be?
A common size is about 24 inches wide by 36 inches tall per panel. This size balances visibility and portability for outdoor displays.
Can I Make a Sandwich Board Sign Wearable?
Yes, connect two panels with straps to hang over your shoulders. This creates a mobile sign that shows your message in front and behind you.
How Do I Position the Chain or Rope on a Sandwich Board?
Attach the chain or rope when the sign is opened to about 90-100 degrees. This keeps the sign stable and prevents it from spreading too far apart.
What Materials Work Best for DIY Sandwich Boards?
Use sturdy wood, plastic sheets, or recycled materials. Weather-resistant options help the sign last longer outside in different climates.
Are Professional Sign Makers Worth Hiring for a Sandwich Board?
Pros offer custom designs tailored to your needs and can save time if you want a polished look or durable build.
Wrapping Up
Making your own sandwich board sign lets you control design, quality, and comfort, giving your business or event a unique edge. Start with clear materials and a plan, and adjust based on tests for weather and wear. Take the first step now by sketching your message to match your style and audience.