How to Make a Concrete Sign: A Complete Guide with Proven Methods
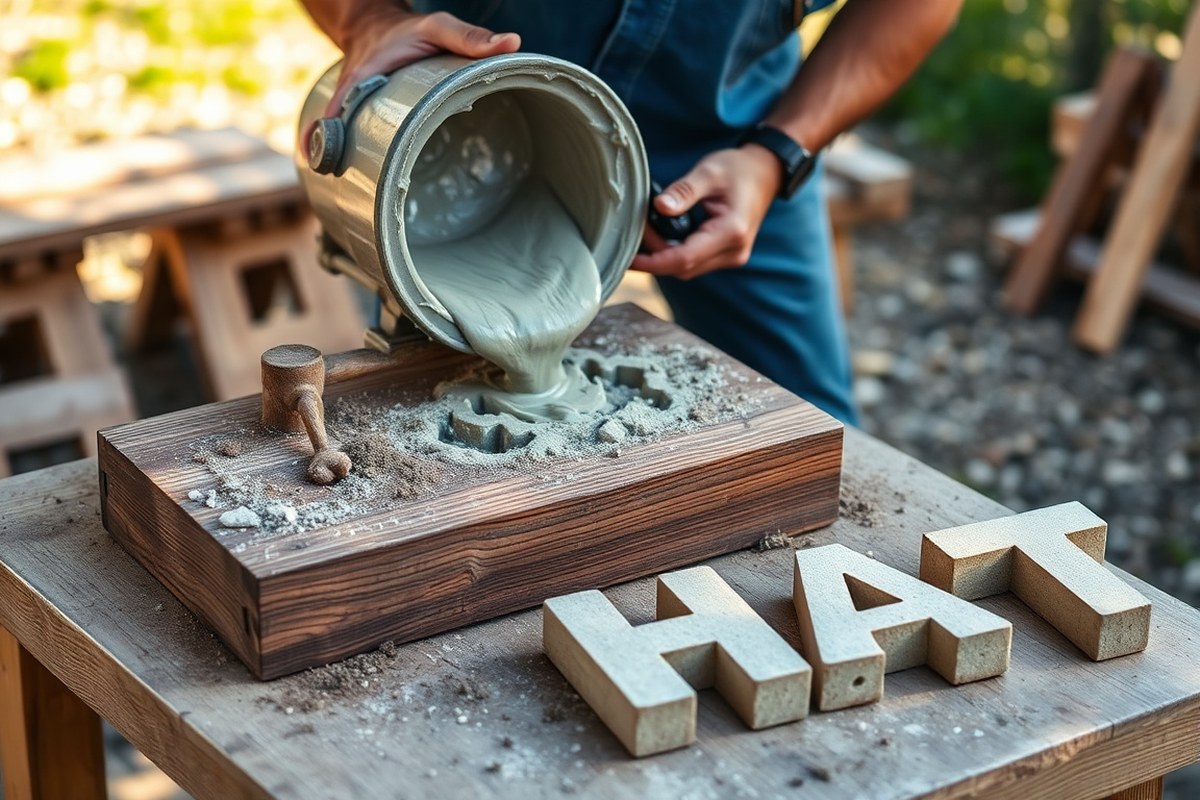
Knowing how to make a concrete sign starts with creating a solid mold and choosing the right concrete mix for durability and clean details. You must design your sign with tapered edges on any letters or numbers to avoid damage when removing molds. Start by planning exact dimensions and cutting molds with a 10-degree taper to ensure easy demolding and a smooth finish.
Key Takeaways
- Tilt your table or mold components to about 10 degrees to create tapered sides on letters or numbers for easier removal.
- Use approximately 5 kg of concrete mix for a small to medium sign about 60 cm by 14 cm.
- Allow concrete to cure for at least 24 hours to achieve a solid, durable sign before demolding.
- Select flexible mold materials like Poly 74-45 to simplify concrete removal without needing release agents.
- Plan the dimensions precisely, avoiding any sharp 90-degree corners in the mold to prevent cracking.
- For outdoor installation, dig post holes at least 40 inches deep to reach below frost lines for stability.
Essential Tools and Materials for Concrete Signs
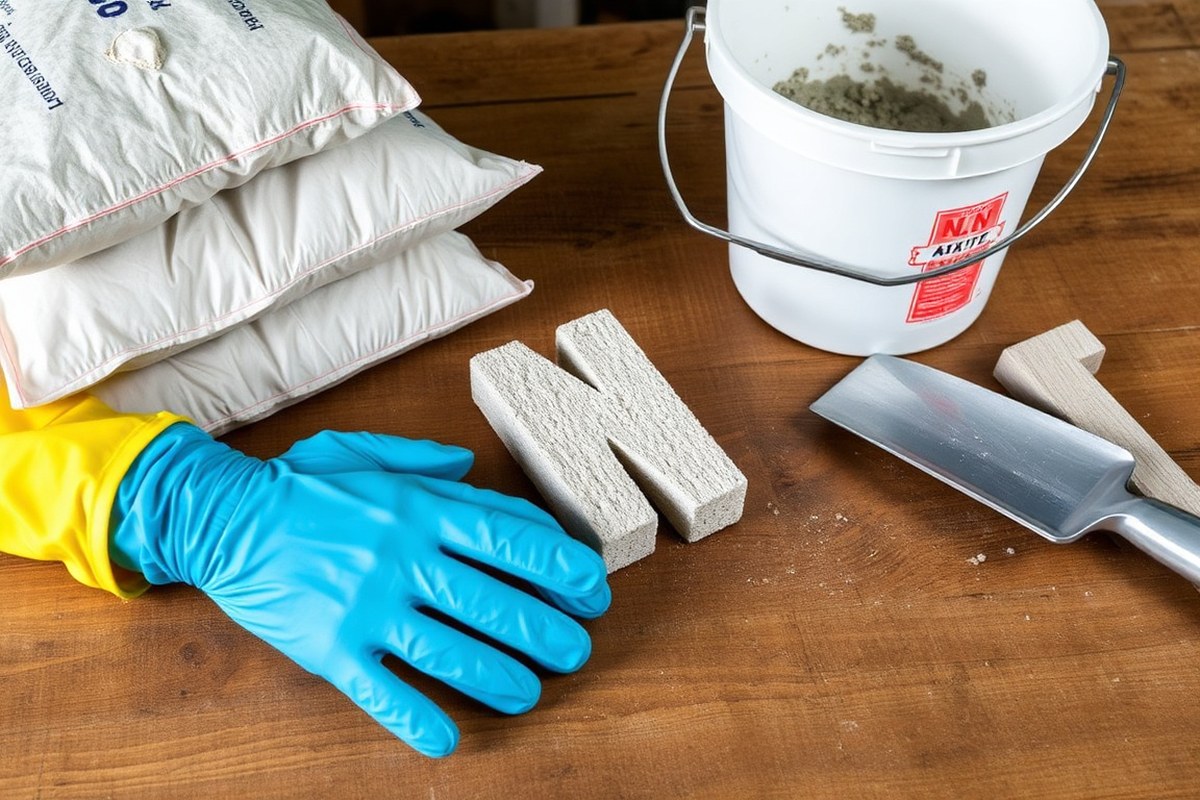
To make a concrete sign, you need several key materials and tools that ensure quality results. Start with a suitable concrete mix; a small sign typically requires around one 5kg bag of premixed concrete. Concrete designed for precasting often provides a smoother finish, which is important because the appearance of lettering and edges depends heavily on the mix’s texture and consistency.
Molds are essential and come in different materials such as rubber or polystyrene. Rubber molds are flexible and reusable, making them ideal for signs with detailed or repeated designs. Polystyrene molds are more rigid but still reusable if handled carefully. Alongside molds, you’ll need reusable letters made specifically for casting in concrete; these letters press into the mold before pouring the concrete to create sharp, clear impressions. Investing in a set of hard rubber letters can cost between $20 and $50 depending on the size and font, but saves time if you plan multiple signs.
Tools needed include a mixing container and a trowel or paddle mixer for blending the concrete to the right consistency. Concrete should be mixed with enough water to achieve a smooth, pourable state but avoid making it too runny, as this weakens the final product. You’ll also want a level and measuring tape to confirm the mold is flat and your sign dimensions are accurate before pouring. A release agent, such as a light application of vegetable oil or commercial mold release spray, prevents concrete from sticking to molds, making demolding easier and preserving mold longevity.
Reusing molds and letters is quite common and practical. Careful cleaning after each use prevents concrete residue buildup that can damage mold details or distort letters. While molds can be reused many times, their lifespan depends on material quality, use frequency, and proper storage away from direct sunlight and extreme temperatures. Rubber molds generally last longer than polystyrene but may cost more upfront. Keep in mind that larger signs weigh more when cured, so supporting structures, possibly a steel frame or lifting inserts, may be necessary depending on size and installation needs.
Before starting, prepare a checklist: premixed concrete, reusable rubber or polystyrene mold, a full set of reusable letters, mixing bucket, paddle mixer or trowel, a level, measuring tape, and a mold release agent. This lineup ensures you avoid interruptions during casting. Expect to spend around $50-$100 on materials for a basic DIY sign, excluding optional supports or steel reinforcements. Proper preparation and using the right tools lead to clean edges, sharp lettering, and a durable concrete sign that lasts outdoors.
Designing and Planning Your Concrete Sign Dimensions
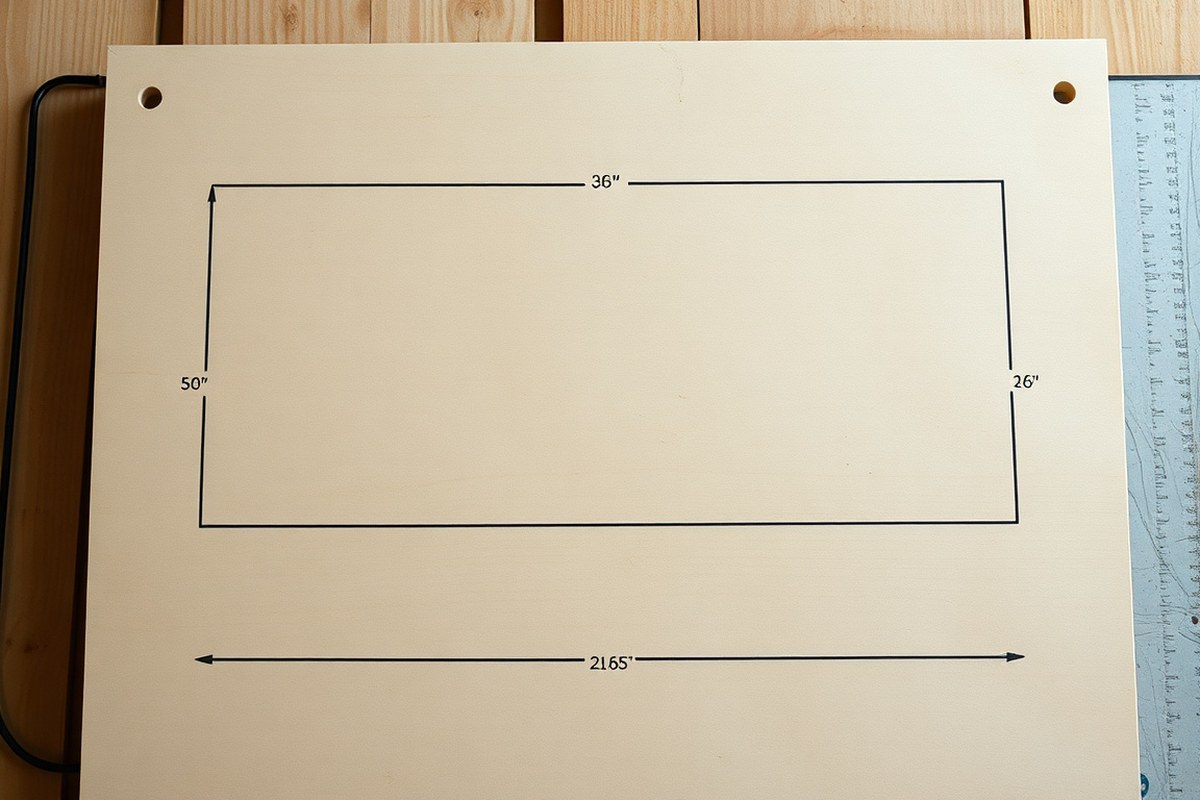
Planning the size, spacing, and taper of your letters and sign is essential to ensure that your concrete sign looks great and lasts. Proper measurements and spacing avoid cramping or overly sparse layouts, while taper angles on letters and edges prevent chipping and ease mold removal. Following clear steps will help you design a durable and visually balanced concrete sign.
Measuring Sign Length and Height
Begin by deciding on the overall size of your sign based on where you plan to install it and how visible you want the letters to be. A common example is a sign about 60 cm long by 14 cm high, which provides good legibility for small outdoor signs. The sign’s thickness should be at least double the thickness of your letters to allow the letters to be recessed properly and maintain strength without cracking.
Measure the length from end to end, including any border space you want around your letters. The height should comfortably fit the tallest letter plus some space above and below to frame the message. Adding at least 2 to 4 cm thickness in depth is recommended to handle outdoor conditions and reduce the chance of breakage.
Spacing Letters with Proper Margins
Proper letter spacing improve readability and aesthetic balance. You’ll want to measure the total width of all letters when laid out side-by-side. After that, add consistent spacing on each side of the letters, such as 4 cm, to frame them nicely without making your sign longer than needed.
Plan the spacing so that letters neither touch nor create large gaps. For example, leave around 4 cm space between each letter for a sign approximately 60 cm wide. Spacing may need adjustment depending on the font’s boldness or style. Write your text in full and lay out the letters on paper or cardboard templates to visualize the spaces and overall fit before casting.
Incorrect spacing often causes the concrete to seep into unintended gaps, leading to uneven edges when demolding.
Planning Taper Angles on Letters and Edges
Tapering the edges of your letters and the sign itself improves the durability and appearance of your concrete sign. A 10-degree taper on each digit lets the form letters pull cleanly from the concrete and reduces edge chipping caused by forced removal. Straight, 90-degree edges on letters tend to lock in the concrete, increasing the risk of damaging your sign.
Tilt your cutting table or mold design by about 10 degrees to achieve the tapered edges. This taper also adds a subtle depth effect and reduces stresses inside the cast concrete. Along the sign’s edges, consider a slight taper or rounded edges to avoid sharp corners where cracks often start, especially in harsh outdoor conditions.
- Determine the maximum size available at the installation site for length, height, and thickness.
- Select the letter height based on desired visibility; 10-14 cm is common for small outdoor signs.
- Calculate needed sign length by measuring total letter widths and adding consistent margins (e.g., 4 cm on each side).
- Choose the sign thickness to be at least twice the letter thickness for stability.
- Design letters with a 10-degree taper on every edge to allow easy mold removal and protect edges.
- Sketch the layout on paper or use templates to check spacing and overall balance visually.
- Adjust spacing if letters or margins look too tight or wide, maintaining legibility and neatness.
- Plan slight taper or rounded edges on the sign’s perimeter to prevent cracking and chipping.
Choosing or Creating Molds and Lettering for Casting
Mold choice affects how your concrete sign turns out, especially the clarity of lettering and the ease of removing the mold without chipping or cracking the concrete. Common mold materials include silicone, aluminum, wood (such as plywood), and 3D-printed plastics. Silicone molds offer flexibility and non-stick properties, making them excellent for detailed signs with curved or complex letter shapes. Aluminum molds are rigid and durable, providing consistent shapes but can be costlier and less forgiving when removing the cast. For DIY projects or custom lettering, plywood molds or 3D-printed molds allow for unique designs without industrial tools.
When creating or sourcing molds, consider the taper angle on letters. Letters should have a slight draft angle, usually around 2 to 5 degrees, slanting outward from the base to the top. This small angle helps release the concrete smoothly from the mold by reducing friction and suction, which prevents damage to delicate letter edges during demolding. Without this taper, letters may stick and cause rough or incomplete impressions.
Making custom wooden molds requires accurate cutting of plywood, using tools like a jigsaw or CNC router. Cut raised letters or recessed letter shapes into the board depending on whether you want positive or negative lettering. Seal the wood to prevent moisture absorption and cracking. Costs for plywood and sealers are low, around $20-$40 for a small sign, but wood won’t last as long or produce as crisp details as silicone or aluminum.
3D printing custom molds offers high precision and the ability to craft intricate letters and designs. Use rigid resin or PLA plastics, printing the mold negative (the inverse of the sign). Layer heights of 0.1 mm or less improve smoothness, which affects the quality of the letter impressions. 3D printing can take several hours and costs vary by complexity and material, generally $10 to $100 for small molds through services or your printer’s filament cost.
For letter placement, you can use a reverse lettering kit made of cast aluminum letters, which you temporarily adhere into your mold using silicone caulking. This approach lets you create clean, professional-looking letters without crafting an entire mold from scratch. It’s handy for signs with standard fonts or when quick customization is needed. Kits often include 78 different letters and numbers, making them versatile and reusable.
| Mold Material | Pros | Cons | Typical Cost | Best For |
|---|---|---|---|---|
| Silicone | Flexible, non-stick, captures fine detail | Higher material cost, limited durability under UV | $40-$100 per mold | Detailed or curved designs, easy demolding |
| Aluminum | Durable, precise, reusable | Expensive, rigid (harder demolding) | $100+ for kits or custom molds | Long-term commercial use, sharp edges |
| Plywood | Inexpensive, DIY ready, quick to make | Poor detail, absorbs moisture, less durable | $20-$40 | Simple shapes, basic signs, practice pieces |
| 3D-Printed Plastic | Customizable, precise, reusable | Print time, limited print bed size | $10-$100 | Intricate, custom designs, quick prototyping |
| Cast Aluminum Letters (Kit) | Reusable, neat lettering, flexible layout | Limited to available characters | $50-$150 | Standard fonts, professional letter impressions |
Selecting the right mold depends on your project’s complexity, budget, and how many signs you plan to make. For a short-run sign with intricate fonts, silicone or 3D-printed molds perform best. Plywood molds fit speedy, low-cost projects but expect rougher edges. Aluminum molds and lettering kits suit repeated use where sharp details and durability matter. Remember to design letters with a 2-5 degree taper to reduce the risk of chipping during removal and improve the final look of your sign.
Mixing and Pouring Concrete for Optimal Texture
Use a concrete mix with a 1:1 ratio of cement to aggregate and enough water to reach a pourable but firm consistency for the best texture on your sign. Pour it slowly into the mold, then apply vibration to remove air bubbles. Fill the mold fully to its designed depth, around 1 to 2 inches over lettering or design features, for strong, smooth results.
Mixing Concrete to Correct Consistency
The right concrete mix ratio balances strength and workability. Aim for about equal parts cement and aggregate by volume, then add water gradually until the mix is wet enough to pour but not soupy. Too much water weakens the sign and increases surface cracking. Mixing thoroughly avoids dry lumps and ensures a uniform texture.
Use a shovel or mixing paddle on a drill to blend the dry mix with water. Stop adding water when the mix slips off the shovel in a thick ribbon rather than a runny flow. The mixture should hold its shape but easily fill mold contours. For small batches, a five-gallon bucket works well for mixing and measuring water accurately.
Pouring Concrete and Vibration Techniques
Pour the concrete slowly and steadily into the mold to avoid trapping air. Fill the mold completely, allowing about 1/8 to 1/4 inch of extra depth above the design’s highest point. This accounts for any surface finishing and prevents thin spots. A shallow pour risks weak edges or visible voids.
Once poured, use a vibration technique by tapping the sides of the mold or lightly vibrating the surface with a tool. This encourages trapped air bubbles to rise and pop, leaving the concrete more dense and smooth. A pole, the end of a shovel handle, or an electric vibrator designed for concrete works well.
Final Smoothing and Leveling
After vibration, level the surface with a trowel or float. Hold the tool at a slight angle and gently drag it across the top, pressing just enough to smooth the surface without pushing out too much water. Avoid overworking the concrete, which can cause dusting or cracking after curing.
For a polished finish, wait until the concrete sets just enough to resist finger pressure before lightly smoothing again. The entire process should be done within 30 minutes of mixing since concrete begins to harden quickly. Use a light oil as a release agent on the mold to make final stripping easier and protect your sign’s texture.
- Measure and mix cement and aggregate in a 1:1 ratio.
- Add water gradually while mixing until the mix pours but holds form.
- Pour concrete slowly into the mold, filling it to slightly above the design level.
- Tap or vibrate the mold sides to release trapped air bubbles.
- Use a trowel or float to smooth and level the surface gently.
- Wait for the concrete to firm up, then lightly re-smooth if desired.
- Allow the concrete to cure according to product instructions before removing the mold.
Understanding Concrete Curing Times and Conditions
Curing concrete properly is essential for creating a durable and visually appealing concrete sign. Typically, you should wait at least 24 to 48 hours before demolding a concrete sign. For products like Poly 74-45, 24 hours is sufficient according to manufacturer guidelines, but allowing the concrete to cure over a weekend, or about 72 hours, often gives better strength and lowers the risk of damage when removing molds. Full curing continues for up to 28 days, during which the concrete continues to harden and gain strength, but demolding early is usually possible if handled carefully.
Environmental factors strongly influence curing times and quality. Ideal temperatures for curing range between 50°F and 85°F. Temperatures below 50°F cause the curing process to slow down a lot, and freezing risks damaging the concrete’s surface and inside structure. High temperatures, above 85°F, cause faster water evaporation, which results in cracking and weakened concrete. Humidity also plays a role; dry air hastens evaporation, so keeping the concrete moist in dry conditions helps achieve a better cure.
Controlling the curing environment involves keeping the concrete moist and at a stable temperature. Cover the sign with plastic sheeting or damp burlap to retain moisture, especially in hot or dry weather. For cold conditions, using insulated blankets or curing tents can protect the concrete from freezing temperatures. Avoid exposing the sign to direct sunlight during the initial curing phase to prevent rapid drying. These measures help reduce surface cracks and promote thorough hydration of the cement.
Accelerating curing through additives like accelerators or by using warm water in the mix is possible but should be done carefully to avoid compromising the strength or surface quality of your sign. Chemical accelerators shorten setting time by increasing the rate of hydration, allowing earlier demolding, sometimes within 12 to 24 hours, but might reduce ultimate strength if overused. Warm water between 70°F and 90°F used in mixing can speed curing moderately. Avoid shortcuts like direct heat or fans, which dry the concrete too fast and cause cracking.
Good curing results in a hard, smooth surface with no visible cracks or dusting. Signs of improper curing include chalky surfaces, cracking, or surfaces that powder when rubbed. These defects reduce the sign’s lifespan and aesthetic appeal. Regularly checking moisture and temperature conditions, and adjusting as needed, helps ensure a quality finish. When unsure, choose longer curing times before demolding and wait to handle or install the sign until it has enough strength.
Keep the concrete moist by covering it with plastic or damp cloth for at least 48 hours to prevent cracking and ensure strong curing.
Removing Molds and Lettering Without Damage
Removing molds without damaging your concrete sign requires patience and the right approach. Using tapered molds helps the concrete release more easily by reducing friction on edges. Applying a suitable release agent before pouring minimizes sticking and protects delicate letters and details during demolding.
When and How to Start Demolding
Begin demolding after the concrete has cured enough to hold its shape but before full curing to avoid brittleness. Typically, this is 24 to 48 hours after pouring, depending on the concrete mix and ambient temperature. Cold weather or high humidity can extend this timeline.
Check the edges carefully by lightly pressing on the mold. When the concrete feels firm and resists deformation, it’s ready to demold. Remove the mold at room temperature to reduce the risk of cracking caused by temperature stress.
Techniques to Loosen Molds Gently
Loosen tapered molds by slowly wiggling or twisting them back and forth rather than pulling straight off. This reduces stress on the edges and letters. Release agents such as semi-permanent sealers like PolyCoat create a thin barrier that stops concrete from sticking, making this step easier.
Apply release agents liberally before pouring if possible. Without applying a release agent, gently tap the mold’s sides using a rubber mallet to break suction without harming details.
Addressing Stuck Sections Carefully
Avoid forcing off parts of the mold that stick, as this can chip edges or crack raised letters. Instead, use a plastic or wooden shim to gently pry open the mold edge. Be patient and work slowly around the entire mold.
Waiting an extra day or two can sometimes help if the concrete is too soft or sticky to release cleanly. Minor chips around letters can be fixed using matching concrete patch or fine sandpaper after the concrete fully cures.
- Confirm the concrete has set firm enough to hold its shape by gently pressing the surface.
- Apply gentle pressure and wiggle the tapered mold sides back and forth to start loosening it.
- Tap the mold’s sides lightly with a rubber mallet to break adhesion if it resists removal.
- Use a plastic or wooden shim to slowly pry open any stuck mold sections carefully, avoiding sharp tools.
- Remove the mold gradually, working evenly around all edges to prevent stress on letters.
- Clean the mold thoroughly and reapply a release agent like PolyCoat before the next use.
- Inspect the demolded sign for minor chips; patch or sand damaged spots after curing completely.
- Allow the concrete to cure fully (usually 7 days minimum) before handling or installing the sign outdoors.
Installing Your Concrete Sign Securely Outdoors
Installing your concrete sign outdoors requires digging proper footers, setting sturdy posts, and ensuring the structure can handle weather and its own weight. For signs up to 48 inches by 96 inches, footers should be at least 24 inches deep to anchor the posts firmly below the frost line, which prevents shifting during freeze-thaw cycles. The width of the footers depends on the post size, generally twice the diameter of the post hole or about 12 inches in diameter for standard 4×4 or steel posts.
Posts made of treated wood or galvanized steel work best for durability and resistance to moisture. Set posts vertically and plum, then brace them with kickers clamped temporarily during the concrete curing process. Avoid using too much water in the concrete mix for footers because natural groundwater is usually sufficient to hydrate the mix and keep it strong, reducing potential weakening from excess water.
To prevent uneven load distribution and damage from wind, attach the concrete sign securely to the posts using flange mounts or heavy-duty brackets that provide stable support. You can consider using two-part epoxy specifically designed for anchoring posts in concrete if your design calls for direct embedding without flange mounts. This epoxy is injected into the post hole to bond the post firmly and reduce wobble. After setting the posts, double-check that everything is level both vertically and horizontally before the concrete fully cures, usually within 24 to 48 hours. Brace the posts firmly for at least this time to avoid leaning or shifting.
Good results show the sign standing flat without wobble or tilt through strong wind or rain. Signs should not lean or crack at attachment points, which can happen if footers are too shallow or the load is uneven. The weight of the concrete sign paired with harsh weather demands a solid foundation and secure fasteners to avoid costly repairs or replacement. The choice of posts and fixings depends on sign size, but for signs approaching the upper size limits, heavier steel posts and flange mounts are safer investments.
To install your sign securely, start by marking post locations, then dig footers at least 24 inches deep and about 12 inches across. Place posts in the holes, check for perfect vertical alignment, and brace with kickers clamped during the setting. Pour concrete or inject epoxy around the posts and let cure without disturbance. Attach the concrete sign to the posts using flange mounts or brackets rated for outdoor conditions, ensuring the fasteners distribute load evenly. Inspect the alignment again before finishing. Running this checklist reduces risks of shifting, tipping, and wind damage, keeping your custom concrete sign upright and visible for years.
Sealing, Maintaining, and Repairing Concrete Signs
Concrete signs benefit significantly from sealing because sealers shield them against moisture, stains, and weathering caused by sun, rain, and freeze-thaw cycles. Using a penetrating silane or siloxane sealer often works best. These sealers soak into the concrete, providing water repellency while allowing the surface to breathe. Apply the sealer after the concrete has cured fully, typically 28 days post-pour, ensuring it is dry and free of dust or debris. Use a brush, roller, or sprayer to apply a thin, even coat. Expect to spend between $20 and $50 per gallon for quality sealers, covering about 200 to 400 square feet per gallon, depending on the product and surface texture.
Maintenance depends on your sign’s exposure. Check it annually for signs of wear, such as dulling, water absorption, or surface chalking. Reapply sealer every 2 to 5 years for optimal protection. If the sign stands close to roads or entrances, repeated exposure to road salt or vehicle exhaust can speed deterioration, requiring more frequent inspection and resealing.
Cleaning concrete signs involves gentle washing with water and mild detergent. Avoid acidic or abrasive cleaners, as they can damage the sealer and concrete surface. Use a soft-bristle brush to scrub off dirt or organic growth carefully. Rinse thoroughly and let the sign air dry. Do not use high-pressure washers, which can erode the surface and the sealer.
Small chips or cracks are common, especially for outdoor signs exposed to weather or impact. To fix minor chips, clean the damaged area thoroughly and remove loose debris. Use a premixed concrete patch or epoxy filler designed for outdoor use. Apply it with a putty knife, smoothing it flush with the surrounding surface. Allow the patch to cure as per manufacturer instructions, usually 24 to 48 hours. For hairline cracks, a concrete crack filler or sealant provides a flexible, water-resistant patch. Larger or structural cracks may require professional repair to ensure stability.
Repairs should be done during dry weather, ideally when temperatures are between 50°F and 85°F, to ensure curing without moisture issues. After repairs cure, reseal the entire sign surface to restore uniform protection. Untreated cracks can worsen over freeze-thaw cycles, leading to spalling or larger fractures.
Always test a small, inconspicuous area with your chosen sealer or cleaner first to avoid discoloration or damage to your sign’s surface.
Step-by-Step Action Plan for Making Your Concrete Sign
Follow these steps to create a durable and professional concrete sign that lasts outdoors. Check each step’s result before moving on to the next.
- Before you start: Gather all tools, materials, and molds based on your design. Confirm you have enough concrete mix and sealant to avoid interruptions.
- Day 1: Prepare and mix the concrete according to package instructions, aiming for a workable but firm texture. Test the mixture by shaping a small sample; it should hold form without crumbling.
- Day 1: Pour the concrete evenly into your mold, tapping gently to remove bubbles. Check the surface for smoothness and adjust where needed before curing.
- After 24 hours: Carefully remove the mold and lettering. The concrete should be firm but not brittle. If it sticks or cracks, let it cure longer under the right conditions.
- After 3 to 7 days: Inspect the sign for any rough edges or imperfections. Use fine sandpaper to smooth surfaces, taking care not to damage lettering or details.
- After 7 days: Apply a concrete sealant following the product instructions. Make sure the sign is clean and dry. The sealant will protect against weather and stains.
- Within the first week of installation: Secure the sign outdoors using appropriate anchors or base supports. Ensure it is stable and level to prevent shifting.
- Monthly maintenance: Clean the sign gently with water and mild soap as needed and inspect for cracks. Small cracks should be repaired promptly to extend sign life.
Frequently Asked Questions
What Type of Concrete Mix Is Best for Making Durable Signs?
Use a high-quality precast concrete mix designed for fine detail work to ensure durability and clear lettering. This helps the sign withstand weather and wear better over time.
How Do I Create Raised Lettering on My Concrete Sign Mold?
Raised lettering needs to be part of the mold design as positive elements so the concrete forms around them. Using CNC-cut letters or 3D printed models can provide sharp, defined letters.
Can I Use Recycled Materials in My Concrete Mix?
Yes, you can use recycled aggregates or crushed concrete in the mix, but ensure they don’t weaken the structural integrity. Small quantities help maintain strength while being more eco-friendly.
What’s the Safest Way to Reinforce a Large Concrete Sign?
Incorporate steel rebar or mesh inside the mold before pouring to add tensile strength and resist cracking. This is especially important for bigger signs exposed to wind or impact.
How Do I Prevent Air Bubbles in My Concrete Sign?
Vibrate or tap the mold gently after pouring to release trapped air bubbles; avoid overmixing which can trap air. A smooth finish improves both appearance and durability.
Should I Design Lifting Points on Precast Concrete Signs?
Yes, include lifting points in the design to safely handle and install the sign, preventing damage from uneven or excessive stress during lifting.
Before You Go
Creating a concrete sign involves careful preparation, attentive pouring, and proper curing to ensure durability and professional appearance. Taking time to seal and maintain your sign will help it withstand outdoor elements for years. Start by gathering your materials and planning your mold design today to make your custom sign project a success.