How to Make a Canvas Sign: Complete Guide with Materials, Methods, and Tips
How to make a canvas sign starts with choosing the right materials and a clear design plan. Use a pre-stretched canvas or a canvas board sized slightly larger than your base to allow for wrapping. Begin by preparing the canvas with a coat of primer or white acrylic paint for a smooth, durable surface that holds paint or transfers well.
Key Takeaways
- Select a canvas size about 2 inches larger on each side than your desired sign dimensions for easy wrapping.
- Use white acrylic paint to prime your canvas before painting your design for better color vibrancy.
- Four popular design methods include hand-painting, stenciling, vinyl transfers, and foil iron-on applications.
- For foil iron-on on canvas, use an EasyPress at 290°F for 30 seconds with an EasyPress mat underneath.
- Mount your canvas on a wood board or frame with 1” x 2” strips or stakes for stability and display.
- Let paint or stain dry thoroughly, letting heavier coats cure for at least 24 hours before handling.
What Is a Canvas Sign and How Does It Work?
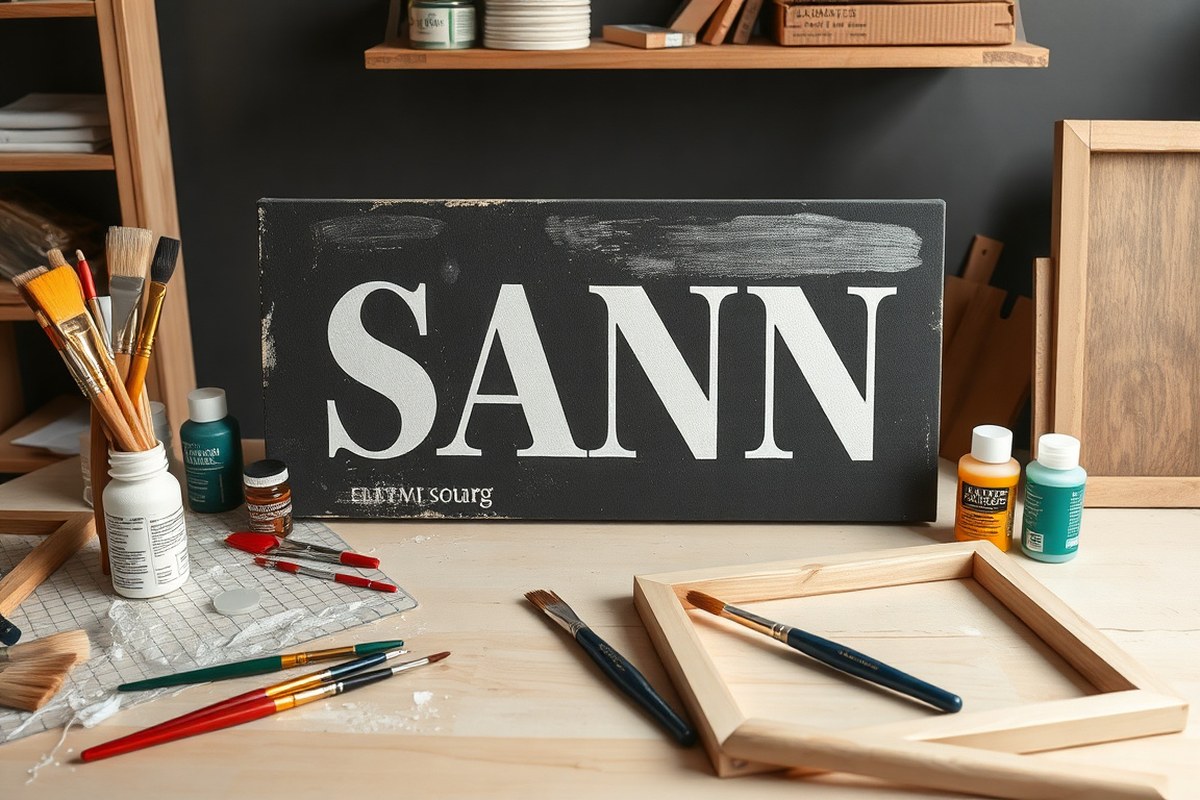
A canvas sign is a decorative or functional piece made by painting or transferring designs onto a stretched canvas fabric, typically mounted on a wooden frame. Unlike traditional wood or metal signs, canvas signs are lightweight, making them much easier to hang and move around. The canvas material is flexible and can be pre-cut to standard sizes, such as 16 inches by 20 inches, which suits most DIY templates perfectly. Canvas signs offer a softer, often more artistic look compared to the sturdy, rigid appearance of wood or metal signs.
Wood signs are usually heavier and require stronger support to hang. They are more durable outdoors but can be bulky and difficult to handle indoors. Metal signs resist weather well but need special tools for shaping and mounting. Canvas signs avoid these challenges because the stretched fabric on the wooden frame weighs less than half as much as a typical wood board of similar size. This makes canvas signs ideal for personalising rooms, seasonal décor, or indoor directions without stressing wall anchors.
The material for canvas signs usually comes ready-stretched or in rolls that allow cutting and mounting onto a frame. A common canvas panel might measure around 20 by 24 inches, giving plenty of space for lettering, stenciling, or painted images. You can use acrylic paints and tracing techniques such as carbon paper for transferring designs from printed templates onto the canvas surface. This technique works equally well on wood, paper, or fabric features but is especially forgiving on canvas because of its texture and absorbency.
Typical uses for canvas signs include welcome signs, inspirational quotes, holiday messages, or custom gifts tailored with names and dates. Because the canvas surface holds paint well and allows for easy layering, you can create detailed artwork or simple, bold lettering. Canvas signs suit farmhouse and rustic décor styles as well as modern minimalist settings, depending on the painting technique and frame choice. For instance, mounting the canvas on a 1-inch by 2-inch wooden trim frame or using wood stakes provides versatile framing options without the need for power tools.
To get good results, ensure your canvas is properly stretched and free of wrinkles before applying your design. The edges should be trimmed neatly so that excess material doesn’t show around the frame. Most ready-made canvases give a clean, smooth surface that makes hand-lettering easier even for beginners. Be careful to keep your canvas and design aligned when transferring images, such as using carbon paper, to avoid crooked lettering. The lightweight nature and manageable size of canvas signs typically mean they cost less than wood or metal alternatives, especially when sourced from craft stores that sell pre-stretched canvases and paint supplies at affordable prices.
Essential Tools and Materials for Your Canvas Sign
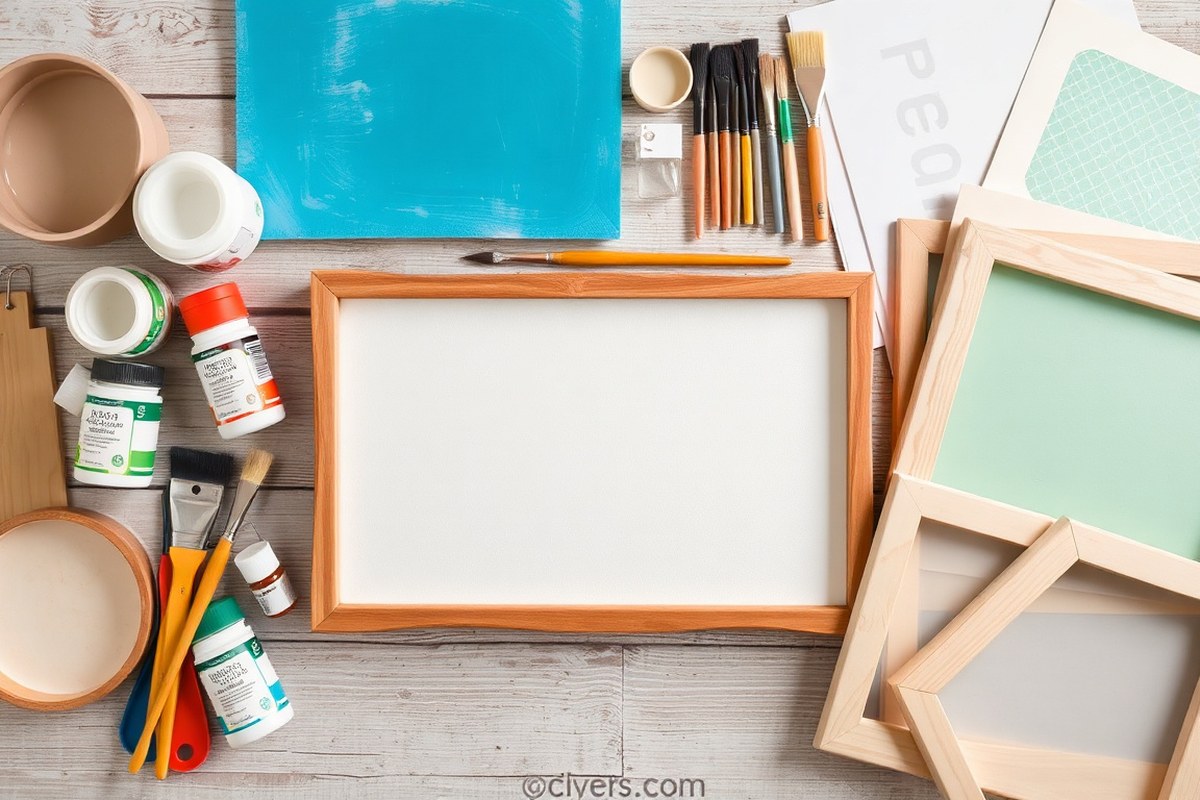
To make a canvas sign, you need a few basic materials like canvas, paint, brushes, and tools for lettering or transferring designs. Optional supplies can make your work easier or give you more creative options, depending on the method you choose. Knowing the right canvas size, paint type, and brushes to use will save you time and help achieve professional results.
Canvas Types and Sizes to Choose
Choose a canvas based on the phrase or design size and where you plan to display your sign. Common sizes range from 8×10 inches for small signs to 24×36 inches for larger wall pieces. You can buy pre-stretched canvases or canvas rolls if you prefer to stretch your own using stretcher bars, which come separately. Artist Kelly Medford highlights that preassembled stretcher bars and canvas rolls are the foundational supplies.
Canvas types vary from smooth to textured and from natural white to burlap or colored. Acrylic gesso priming gives your canvas a stiffer, taunt surface and prevents paint from soaking through. You can apply 2 to 3 coats of acrylic gesso, letting each coat dry 30 to 60 minutes before the next.
Recommended Paints and Brushes
Acrylic paint is the best choice for beginners because it dries fast, cleans up with water, and comes in many colors. A small 2-ounce bottle of acrylic paint costs less than $1 at craft stores and covers most small to medium canvas projects easily. For backgrounds, use white or a color close to your canvas base to create a hand-painted look and add texture.
Brushes come in various shapes and sizes. Flat brushes between 1/2 inch and 1 inch work well for background layers, while fine-tipped round brushes help detail letters and borders. Synthetic brushes are durable and affordable, making them great for acrylic paint. Avoid cheap bristles that shed; that can ruin your work quality.
Tools for Lettering and Transfer Methods
Lettering can be done freehand with paint pens or brushes, but transfer tools offer more precision. Some popular tools are:
- Graphite transfer paper for tracing designs onto the canvas
- Stencil sheets to create uniform letters
- Paint pens for detailed lettering or fine outlines
- Spring clamps or twisty clamps for holding canvas taut to a frame
- Foil iron-on materials with an EasyPress for foil accents (heat at 290°F for 30 seconds)
Spring clamps work best by applying even pressure when framing or stretching canvas, but twist clamps can substitute if needed, though they are harder to use. Transferring designs with graphite paper or stencil sheets helps avoid mistakes and keeps your work neat.
Keep the canvas away from any wet paint or moisture while clamping or framing, as it can leave permanent marks.
Four Popular Methods to Create Canvas Sign Designs
You can create canvas sign designs using hand lettering, stencils, vinyl, or the reverse canvas technique. Each method suits different skill levels, budgets, and desired outcomes. Understanding the pros and cons of each helps you pick the best way to add your words or images, whether you want a personalized touch, precise repetition, or a unique frame style.
Hand Lettering: Simple and Personalized
Hand lettering involves drawing your design directly onto the primed canvas using brushes, paint pens, or markers. This method offers the most personal touch, allowing for custom fonts, flourishes, and small art details. Start by sketching your design lightly with a pencil. Then use a fine brush or paint pen to paint over the sketch in thin layers, letting each dry before adding details or a second coat for opacity.
Hand lettering costs little beyond standard painting supplies, making it budget-friendly for beginners. However, it requires some steady hand control and practice to avoid mistakes. Smudging or uneven strokes can happen, especially on textured canvas. To get clean results, use thin paint and smooth brush movements, and practice your fonts on paper first.
Using Stencils for Clean, Repeatable Designs
Stencils are cut templates that allow you to paint consistent shapes or text with clean edges. You can buy pre-made stencils or cut your own using cardstock and a craft knife. Secure the stencil on the canvas with painter’s tape and apply paint using a stencil brush or sponge in a dabbing motion. Avoid brushing side to side to prevent paint bleeding under the edges.
Stenciling saves time and effort when making multiples of the same sign or when you want sharp, professional-looking letters. It’s more forgiving of mistakes than hand lettering, but small paint bleeds under the stencil are common. Choose stencils with bold, simple lettering for best results. Removing the stencil carefully before the paint fully dries prevents smears.
Applying Vinyl and Heat Transfer Vinyl (HTV)
Vinyl designs are created using a machine like a Cricut or Silhouette Cameo. You cut your design from adhesive vinyl (such as 651 vinyl) or heat transfer vinyl (HTV). Adhesive vinyl sticks directly on canvas but often requires transfer paper for placement. Vinyl doesn’t always adhere well to the fabric texture, so preparation is key. You can improve adhesion by lightly sanding or priming the canvas with gesso.
HTV requires heat to bond. After cutting and weeding the design, place it on the canvas and press with an iron or heat press at about 300°F to 320°F for 10 to 15 seconds, following the vinyl manufacturer’s instructions. Be mindful of canvas size; the vinyl design must fit the trimmed canvas panel, which ideally should be under 20 by 24 inches to avoid warping. Vinyl offers sharp edges and vibrant colors but requires investment in cutting tools and vinyl sheets, which cost roughly $1 to $3 per square foot.
Making a Reverse Canvas Sign
The reverse canvas method flips a stretched canvas over its frame, removes the original canvas from the back, and replaces it to create a flat, framed sign. This exposes the wooden frame edges for a rustic look and lets you transfer or paint designs on the now flat canvas surface stretched tight. First, carefully remove staples attaching the canvas to the frame corners, then pull the canvas off without tearing. Flip the canvas, reposition on the back of the frame, and restaple it firmly with staples about 1.5 inches from each edge to keep it tight.
This style is popular for its farmhouse aesthetic and cost-effectiveness since you start with pre-stretched canvases. You can then decorate the front with hand painting, stencils, or vinyl. The downside is the extra time to remove and reattach the canvas, plus the risk of tearing or stretching the material unevenly. Applying super glue to insecure edges can help keep the canvas flat. The reverse canvas suits intermediate crafters comfortable with handling stretched fabric and looking for a framed sign without buying separate framing supplies.
Preparing and Priming Your Canvas for Painting or Transfers
Priming your canvas ensures paint sticks well and creates a smooth, even background for your design. Applying gesso or white acrylic paint seals and whitens the surface. Give each layer enough drying time, usually at least one hour, to avoid uneven textures. You can fix mistakes by painting over them with white or black paint once dry.
Cleaning and Stretching the Canvas If Needed
Start by removing any dust or dirt from the canvas surface using a dry cloth. To stretch a loose or wrinkled canvas, pull it tightly over a frame to form a solid base. This helps maintain an even surface for painting or transferring designs. Pull the canvas taut on the opposite side and secure with staples or nails to keep it smooth and flat.
For best results, check the canvas tension before priming. A tight, clean canvas reduces bumps and uneven spots that could affect your final design.
Applying Gesso or White Acrylic Paint
Gesso is a primer that creates an opaque, slightly textured base for paint. You can also use plain white acrylic craft paint as a cost-effective alternative. Applying one or two layers ensures the canvas surface is sealed and ready. Follow these steps to apply primer:
- Lay your canvas flat on a protected surface.
- Use a wide, flat brush or foam roller for even coverage.
- Apply the first thin layer of gesso or white acrylic paint evenly across the entire canvas.
- Allow the layer to dry for 1 to 2 hours at room temperature.
- Lightly sand the surface with fine-grit sandpaper to smooth out any brush strokes or bumps.
- Wipe away sanding dust with a soft cloth.
- Apply a second thin layer of gesso or paint, then let it dry completely.
This process creates a smooth, white base that improves paint adhesion and makes your colors pop. Avoid applying thick layers, as that can cause cracking or uneven drying. For faster drying, keep the workspace warm and well-ventilated but avoid direct sunlight.
Preparing the Surface for Vinyl or Transfers
After priming, your canvas is ready for design transfer methods like vinyl decals or carbon paper tracing. The white, sealed surface prevents paint or adhesive from soaking in, making the design transfer clearer and easier to work with.
Before applying vinyl or transfers, make sure the primer is completely dry, usually 1 to 2 hours. You can test dryness by lightly touching an inconspicuous corner, there should be no tackiness.
Spot imperfections or errors after transferring your design? Paint over them with white primer or matching background paint after the surface dries. This lets you correct mistakes before starting your main painting or decorating steps.
Step-by-Step Guide to Creating Your Canvas Sign
Accurately transferring your design onto the canvas is essential for a clean, professional look. Begin by securing your template right side up directly on the canvas. Tracing each letter or element with a sharp pencil ensures your design stays in place during painting. A steady hand and patience will prevent smudges and misalignment.
Painting techniques greatly influence the quality of your sign. Use acrylic paints with a fine or flat brush depending on your design’s details. Apply paint in thin layers to avoid clumping, letting each layer dry before adding another. This approach offers smooth coverage and reduces brushstroke marks. Adding details like shadows or highlights with a smaller brush can improve the design’s depth and realism.
For distressing effects, lightly sanding the painted canvas once it is completely dry adds texture and character. A fine detail sander or sanding block works well for controlled distressing. Sand areas with gentle pressure to remove small patches of paint, simulating natural wear. This step is optional but popular for rustic or vintage styles.
- Secure your template: Place the design template on the canvas and tape it at the edges to prevent movement.
- Trace your design: Use a pencil with a fine tip to carefully trace every letter and line onto the canvas, keeping your hand steady to maintain accuracy.
- Start with a base paint layer: Apply a thin layer of your background color using a flat brush; allow it to dry fully (usually 30, 60 minutes).
- Paint your design: Use fine brushes to paint inside your traced lines with chosen colors; build up the color with additional layers if needed, letting each one dry.
- Add details: improve your design with highlights, shadows, or small patterns using smaller brushes for precision.
- Apply optional distressing: After the paint dries completely (at least 24 hours), lightly sand the canvas edges and areas of the design to reveal bits of the base layer or canvas texture.
- Seal and protect: Once satisfied, apply a clear acrylic sealer or varnish to protect your canvas sign from wear and fading.
Use light pressure when sanding painted areas to avoid tearing the canvas or removing too much paint, especially around detailed sections.
Framing and Display Options for Finished Canvas Signs
Adding frames and hangers to your finished canvas sign gives it a polished look and makes it easier to display safely. Simple wood frames are the most common choice because they complement the texture of canvas and are easy to build with basic materials. A floating frame, where the canvas appears to “float” inside without being stretched over the frame, is a popular style that showcases the edges of your artwork. You can staple the canvas around stretcher bars to achieve a traditional framed look, then attach an outer frame.
Building a frame involves selecting straight, smooth wood. Pine or poplar wood from a hardware store usually costs $5 to $10 per 8-foot board, enough to make multiple frames. Sand the wood well to remove rough spots, which will help your paint or stain go on smoothly and prevent splinters during handling. To assemble, cut the wood into four pieces to fit your canvas size, joining corners with simple butt joints or 45-degree cuts. Hammering the joints firmly keeps the frame square and stable.
For hanging, attaching D-ring hangers or sawtooth hangers to the back of the wood frame works best for wall mounting. These provide secure anchor points for picture hooks or nails. For outdoor display, screw eye hooks into the top corners and hang the sign from stakes or hooks with sturdy twine or wire. For heavier signs, make sure your hardware can support the weight to avoid damage or falls. Follow these steps to frame and prepare your canvas sign for display:
- Measure and cut four pieces of wood matching the dimensions of your canvas. Choose wood that is slightly larger than the canvas on all sides to frame it properly.
- Sand all wood pieces to smooth edges and surfaces. This prevents snags on the canvas and ensures a clean finish if you paint or stain the frame.
- Assemble the frame by joining the pieces at the corners. Use a hammer to tap the joints firmly so each corner locks tightly without gaps.
- Attach the canvas to the frame by folding the edges over the stretcher bars if using a floating frame style. Secure the canvas with a staple gun every 2 to 3 inches along the back.
- Add hangers such as D-ring or sawtooth hangers to the back of the frame about two inches from the top corners using screws.
- Secure heavy twine or wire between hangers if needed for hanging. For outdoor display, screw eye hooks into the top frame corners and tie with outdoor-rated wire or rope.
- Place your sign in its display spot, hanging it securely on a wall hook or outdoor stake. Check that the canvas is taut and frame is level.
Common problems include choosing rough wood that damages the canvas or using inadequate hanging hardware that fails under the sign’s weight. Sanding all wood down thoroughly and selecting hardware rated for weight and outdoor use prevents these issues. Proper framing highlights your canvas artwork and makes it easy to hang without worrying about damage or crooked placement.
Common Mistakes and How to Fix Them When Making Canvas Signs
Paint bleeding outside stencils often happens when paint seeps under the edges, ruining sharp lines on your canvas sign. To prevent this, paint over your stencil first with the base canvas color and let it dry completely. This step acts as a seal, stopping other colors from bleeding under the stencil edges. Then apply your chosen paint color lightly in thin coats rather than in thick, wet layers. Using a fast-drying acrylic paint helps, too.
Vinyl letters wrinkling or peeling usually means the adhesive didn’t stick well or air bubbles got trapped during application. After positioning vinyl letters on the canvas, firmly press them down with a hard plastic scraper or credit card, moving from the center outward to push out air bubbles. When wrinkles appear, gently lift the edge and smooth it back down. To avoid peeling, ensure the canvas surface is clean, dry, and primed with a layer of paint before applying vinyl.
Uneven paint or letters can result from applying too much paint in one spot or uneven pressure on stencils or decals. To fix uneven paint, use a small flat brush to gently even out thick areas or lighten them with a damp cloth before the paint dries, then reapply paint in thin, consistent layers. For letter misalignment, carefully lift misaligned vinyl letters and reposition them while the adhesive remains tacky. After painting the letters, wait until dry and touch up edges using a small detail brush.
- Seal stencil edges first by painting over them with base color.
- Use thin paint coats and quick-dry acrylics to avoid bleed and pooling.
- Press vinyl letters firmly with a scraper to remove air bubbles.
- Reposition vinyl carefully before adhesive fully sets if wrinkled.
- Smooth uneven paint with a damp cloth or fine brush before drying.
- Prime canvas before applying vinyl or paint for better adhesion.
- Use heavy books to press canvas and vinyl together to eliminate bubbles.
Removing air bubbles trapped between your canvas and backing board improves the overall flatness and appearance. After mounting the canvas, roll over it with a rolling pin or similar object, readjusting the board as it might shift. For extra weight, placing two heavy books on top of the canvas for a few hours will help flatten bubbles and secure adhesion fully.
How to Ensure Durability and Longevity of Your Canvas Sign
Sealing your canvas sign helps protect its paint or vinyl from fading, smudging, and moisture damage. For indoor signs, a clear acrylic spray sealant is an affordable and easy option. Look for a non-yellowing, matte or satin finish to preserve colors and reduce glare. Apply the sealant evenly in a well-ventilated area, holding the spray can about 12 inches from the surface. Two to three light coats spaced 15 minutes apart usually provide durable coverage. This can cost around $8 to $15 per can at craft stores and lasts for years indoors.
Outdoor canvas signs require stronger protection due to exposure to rain, sun, and wind. A waterproof polyurethane varnish or marine-grade sealer works best. These sealants create a tougher, flexible film that resists cracking, UV rays, and moisture. Use a wide, soft brush to apply thin coats, allowing each to dry fully, typically 4 to 6 hours. Apply at least three coats for optimal longevity. Expect to spend $15 to $30 for a quart, covering about 100 square feet. Before sealing, confirm your paint or vinyl is fully dry, usually 24 to 48 hours, to avoid trapping moisture.
Canvas signs can be used outdoors if you properly seal and protect them. Consider the sign’s location: a shaded porch or covered patio reduces weather wear compared to direct sun and rain. Fastening the canvas tightly on a sturdy frame or wood backing helps prevent wind damage. Staples or heavy-duty staples spaced every 4 to 6 inches around the edges add security without putting holes in the artwork. A rubberized grip tool can help hold the canvas taut during stretching and stapling.
Maintaining your canvas sign improve its lifespan. For indoor signs, dust regularly with a soft, dry cloth or lightly dampened microfiber cloth. Avoid abrasive cleaners or soaking the canvas. For outdoor signs, check seals yearly and reapply sealer if paint starts to dull or the surface feels rough. Clean dirt with a gentle rinse of water and soft brush, then air dry completely before resealing. Signs left exposed to harsh elements without resealing may crack, peel, or fade faster.
Make sure to let each sealant coat dry completely before adding the next to prevent bubbles or cloudiness on your canvas sign’s surface.
Step-by-Step Action Plan for Your Canvas Sign
Follow these steps to create and finish your personalized canvas sign with confidence.
- Day 1: Choose your canvas size and type, then gather all necessary tools and materials; confirm you have what you need by comparing your list to your supplies.
- Day 2: Prepare your canvas by stretching and priming it properly; your canvas surface should feel smooth and ready for paint or transfers.
- Day 3: Decide on your design method, painting, stenciling, vinyl transfer, or freehand drawing, and practice it on scrap material to check your technique.
- Day 4: Apply your design to the primed canvas; ensure your lines or images are crisp and colors are as expected before moving to drying.
- Day 5: Let the design dry fully, then apply a sealant or protective coat; the surface should feel even and dry without tackiness when done.
- Day 6: Assemble or attach your chosen frame or display hardware; test the sign’s stability and how it will hang or stand in your chosen space.
- Week 2: Check your sign’s durability by gently wiping or dusting it; the design and finish should hold without fading or smearing.
Frequently Asked Questions
What Type of Paint Works Best for Canvas Signs?
Acrylic paint is best for canvas signs because it dries quickly and adheres well. It also allows for easy layering and detail work.
Can I Reuse a Canvas to Make a New Sign?
Yes, you can repaint or prime an old canvas to reuse it. Remove old paint or sand it lightly for better adhesion.
How Do I Prevent Paint from Cracking on Canvas?
Use thin, even layers of paint and let each dry fully before adding another. Thick paint can crack as it dries.
Is It Necessary to Seal a Canvas Sign After Painting?
Sealing your canvas sign helps protect the paint and extends its life. Use a clear acrylic sealer spray for a durable finish.
How Long Should I Let My Canvas Paint Dry Before Handling?
Allow at least 24 hours for acrylic paint to dry fully. Humidity and paint thickness can affect drying time.
Can I Use Stencils for Lettering on a Canvas Sign?
Stencils work well for consistent lettering on canvas. Secure them tightly to avoid paint bleeding.
Wrapping Up
Making a canvas sign allows you to craft a personalized piece for your space or as a gift. Start by selecting your materials carefully and work methodically to apply and protect your design. Your next step is to visit a craft store or gather your supplies so you can begin designing your unique sign today.