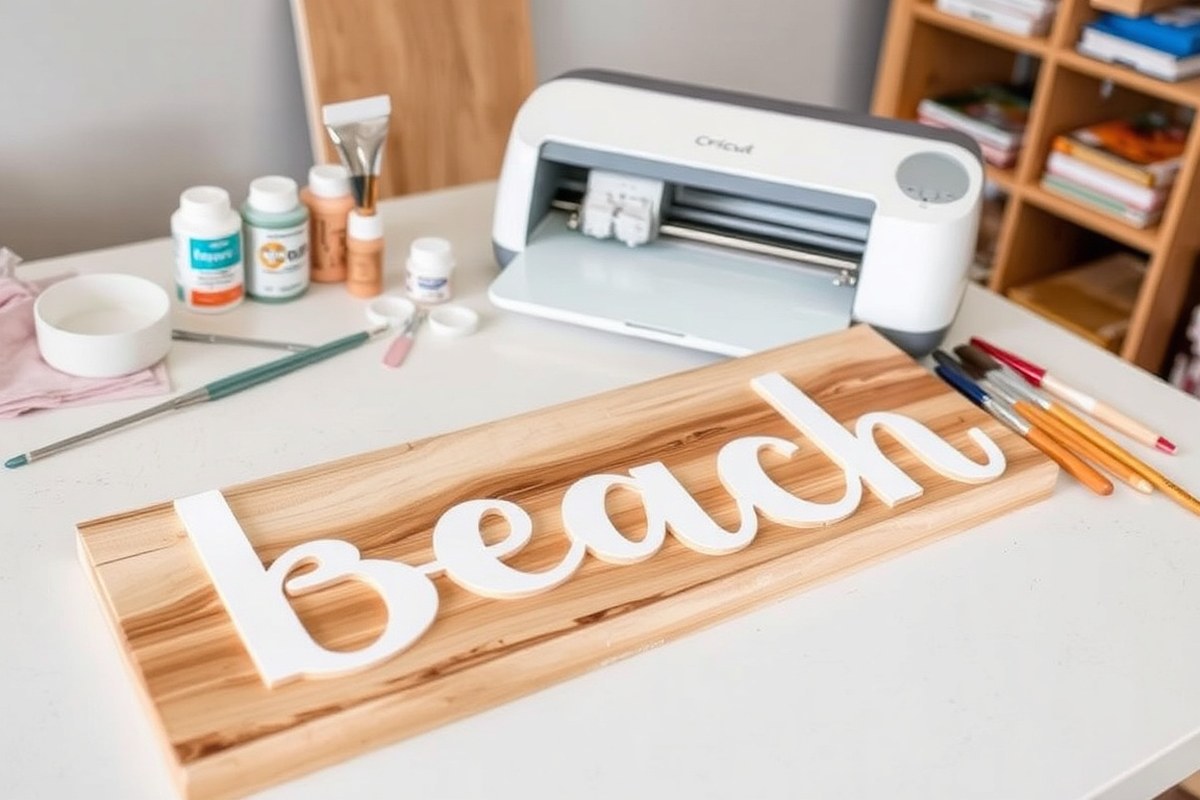
How to Make a Beach Sign with Cricut: Simple Steps for Perfect Results
Learning how to make a beach sign with Cricut means mastering vinyl cutting, designing, and painting techniques to create a clean, durable project. Start by choosing Cricut Smart Vinyl and the right size wooden or canvas board for your sign. Letting paint dry fully before applying vinyl ensures crisp lettering and long-lasting results.
Key Takeaways
- Use Cricut Smart Vinyl for permanent, vibrant lettering that withstands outdoor conditions.
- Prepare your painting surface by applying and fully drying paint for at least 24 hours before adding vinyl.
- Design your sign size in Cricut Design Space to match your board, resizing helps avoid wasted material.
- Cut vinyl on a 12×24-inch mat using a Cricut Maker or Explore machine for precision and ease.
- Sand the painted board lightly after drying to create a smooth surface for better vinyl adherence.
- Apply a water-based polycrylic clear matte finish after vinyl application to protect your design.
Essential Materials and Tools for Cricut Beach Signs
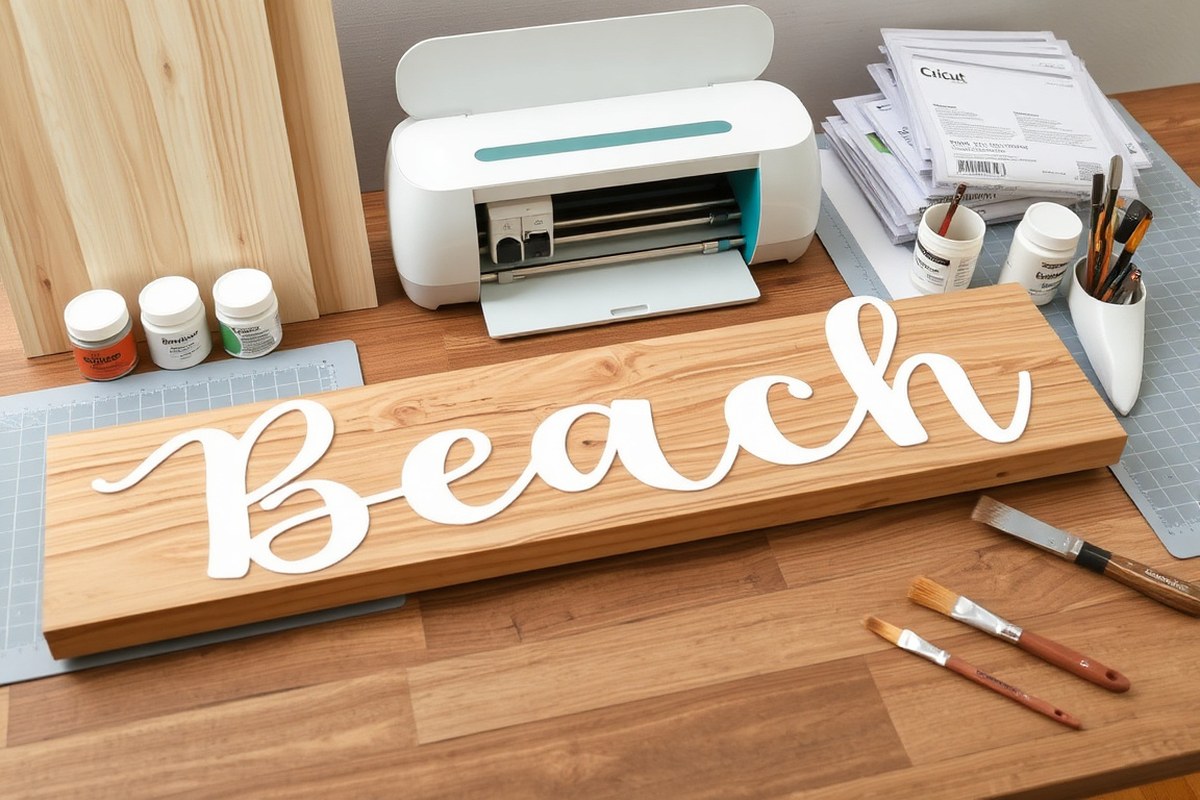
Choose a wood board or canvas as the base for your beach sign according to your desired look and durability. Wood boards between 12 by 18 inches and 18 by 24 inches work well for porch signs and provide a sturdy surface for paint and vinyl. Pine or cedar planks are good budget options. Canvas offers a lighter, more portable option but may show wear faster outdoors.
For painting, use chalk paint or acrylic craft paint. Chalk paint creates a matte, weathered look that suits beach themes, while acrylic paint offers vibrant color and quicker drying times. Paint brushes in a range of sizes, including a 2-inch flat brush for backgrounds and smaller angled brushes for detail, help you apply paint evenly. Synthetic bristles are easier to clean and hold paint well.
Cricut cutting machines suitable for beach signs include the Explore Air 2, Explore 3, Maker, and Maker 3. The Explore 3 and Maker 3 allow cutting vinyl pieces up to 12 feet long, so you can cut your entire design in one go without piecing. Standard cutting mats in light blue or green work with older machines, while Smart Vinyl eliminates the need for mats on newer Cricut 3 series devices.
- Cricut Premium Vinyl or Cricut Smart Vinyl in permanent varieties for outdoor durability
- Stencil vinyl for crisp, clean lettering and designs
- Transfer tape to move vinyl designs from backing to your painted surface
- Sandpaper (120-220 grit) for prepping wood surfaces
- Painter’s tape to mask off sections when painting or applying stencils
- Scraper tool or credit card to smooth vinyl and remove bubbles
- Clear matte water-based polycrylic finish to seal and protect your sign after painting and vinyl application
Budget-friendly alternatives include repurposing old wooden crates or pallets as sign bases, or using canvas panels from craft stores. Instead of chalk paint, acrylic craft paints can substitute well with proper layering and drying time. If you don’t have transfer tape, lightly brushing the vinyl piece before peeling backing can help with placement. A plastic scraper or even the back of a spoon can replace a dedicated scraper tool in a pinch.
Proper surface preparation matters. Lightly sanding raw wood ensures paint and vinyl adhere better and reduces rough texture. Allow painted backgrounds to dry at least 12 to 24 hours; longer drying leads to a more durable finish. Using permanent outdoor vinyl like Cricut Premium or Smart Vinyl prevents peeling and fading on porch signs exposed to weather. Seal your finished sign with a water-based clear coat to extend lifespan and keep colors vibrant.
Designing Your Beach Sign in Cricut Design Space
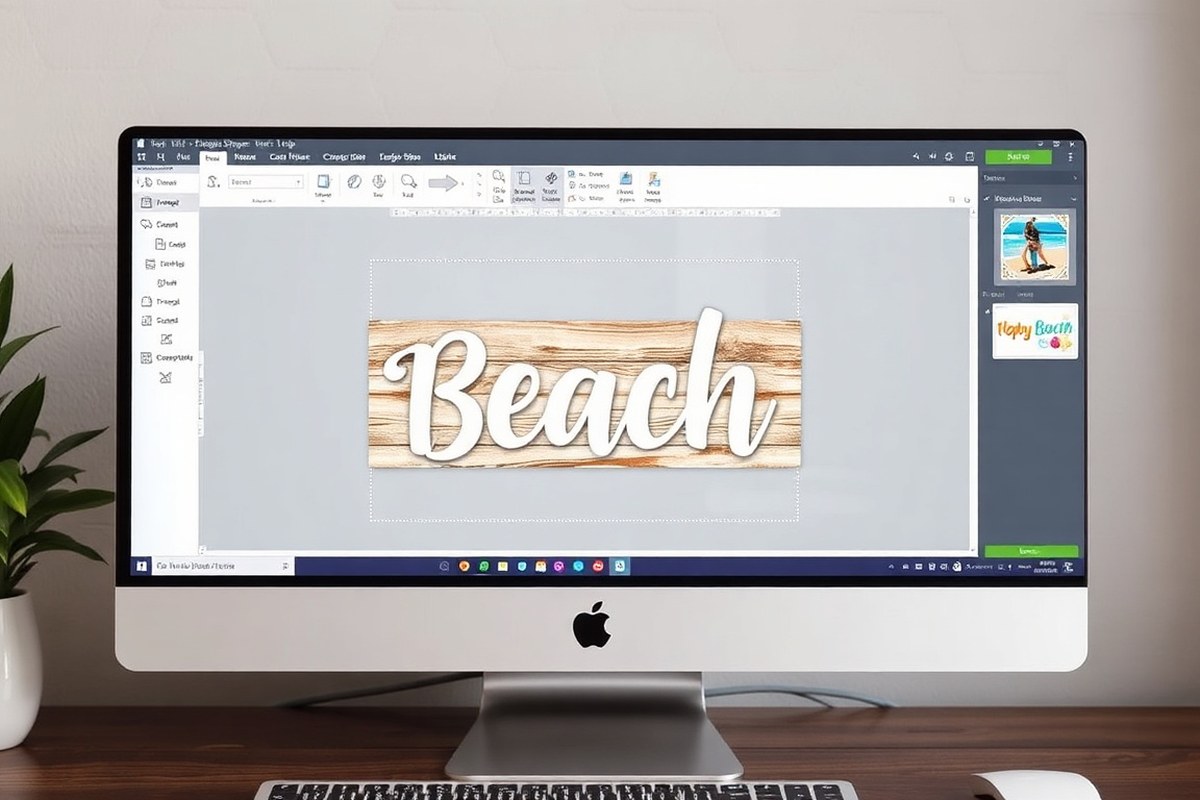
Creating your beach sign design in Cricut Design Space starts by selecting or creating art that fits your sign’s shape and size. You can customize text and add images, then decide whether to cut vinyl decals or craft stencils for painting. Proper resizing, layering, and splitting large designs into smaller cuts ensure a perfect fit and easy assembly.
Starting a Design from Blank Canvas
Begin by opening Cricut Design Space and selecting “New Project” to start with a blank canvas. You can add text by choosing the Text tool, then type beach-themed words or sayings. To add images, use the “Insert Images” option where you can search Cricut’s library for beach-related graphics or upload SVG files you already have.
Customizing your text is straightforward, pick a font that suits your style and adjust the letter spacing or curve the text to match your sign’s look. Adding images alongside your text helps improve the theme, such as palm trees, seashells, or waves.
Resizing and Shaping Your Design
Knowing your sign’s exact dimensions before designing is important. Measure the width and height of your board carefully. For a rectangle sign, keep your design width about 80 to 90% of the board’s width for balance. For round signs, resize your design to fit inside the circle’s diameter, leaving some margin around the edges.
Use the resize handles in Cricut Design Space to scale your entire design proportionally. If your design is longer or taller than your machine’s cutting mat, use the Slice tool to split it into sections for multiple cuts.
Double-check measurements before cutting since a mismatch can waste vinyl or cause misaligned designs.
Preparing Layers and Cutting Mats
After finalizing your design size, separate the design into layers by color or element for easier cutting and application. This is especially important if you plan to create a stencil, as different layers might correspond to cutout parts or painted areas.
Deciding between vinyl and stencil depends on your project’s needs. Use permanent vinyl if you want a crisp decal that sticks directly to the sign. Create a stencil by cutting negative space through vinyl or stencil material, which lets you apply paint inside the cut sections.
Before cutting, assign each layer to its own material setting and mat in Cricut Design Space. For example, permanent vinyl goes on a green StandardGrip mat, while stencils might require a different material profile. Confirm the design matches your board size and carefully load your material into the machine.
- Open Cricut Design Space and start a new project.
- Add text or upload images related to your beach theme.
- Customize fonts and arrange graphics to suit your sign shape.
- Measure your sign board and resize your design within 80-90% width or the round sign diameter.
- Use the Slice tool to split large designs into smaller parts if needed.
- Separate your design into color or function layers for different cutting tasks.
- Choose between vinyl or stencil cut based on your final look and prepare cutting mats accordingly.
- Load your material into the Cricut machine and start cutting.
Cutting and Weeding Vinyl or Stencils with Your Cricut
Cutting vinyl or stencil material with your Cricut requires the right settings, careful handling of large designs, and precise weeding to get clean, crisp edges on your beach sign. Adjusting cut pressure and speed for each material and using specific tools can prevent common problems like incomplete cuts or tearing. Breaking down long designs into sections and aligning them precisely ensures your vinyl fits your sign perfectly.
Selecting Material and Cut Settings
Choosing the correct cut settings for your vinyl or stencil material is key to a smooth cut. Use permanent or removable vinyl based on your project. Stencil material often requires deeper cuts to allow paint through but not the backing layer. The Cricut Maker 3 or Explore 3 automatically adjusts for roll length but you’ll still select material type manually.
| Material Type | Blade Type | Pressure Setting | Cutting Speed |
|---|---|---|---|
| Permanent Vinyl | Fine Point Blade | Default or Medium | 4 – 5 (Medium) |
| Removable Vinyl | Fine Point Blade | Default or Medium | 4 – 5 (Medium) |
| Stencil Film/Material | Deep Point Blade | High or Max Pressure | 3 – 4 (Slightly Slower) |
Test a small piece before cutting a whole design to avoid wasting material. Using a cutting mat size that fits your material ensures the vinyl feeds correctly without jams.
Cutting Larger Designs in Sections
Long beach sign designs often exceed the 12×24-inch mat size, so divide the design into manageable segments. The Cricut Maker 3 and Explore 3 handle long rolls, but you may need to piece sections for smaller mats. Overlap about 1/2 inch between sections for alignment.
Aligning these pieces on your sign requires careful measuring and marking. Use painter’s tape to temporarily hold vinyl sections before applying transfer tape, ensuring your text and images line up perfectly on the board.
- Measure your board to confirm the total design length and width.
- Divide the design into sections that fit your mat or roll width.
- Cut each section on your Cricut using the appropriate settings.
- Remove the vinyl from the mat carefully to avoid curling.
- Use painter’s tape to overlap sections about 1/2 inch on your work surface.
- Transfer the taped pieces together onto a long piece of transfer tape.
- Mark alignment points on the sign to place each section accurately.
- Apply one section at a time, smoothing and removing transfer tape slowly.
Effective Weeding and Transfer Methods
Weeding removes extra vinyl around your design. For intricate beach-themed shapes, work under good light using tools like a weeding hook, fine tweezers, and a Cricut weeder. Pull vinyl slowly at a low angle to avoid tearing. Remove large background pieces first, then delicate inner bits.
Transfer tape holds your design intact when moving it onto the sign. Use a squeegee or credit card to press vinyl firmly onto transfer tape before lifting from the backing. Align transfer tape carefully on your board and apply pressure for lasting adhesion. Removing transfer tape at a 45-degree angle reduces vinyl lifting.
- Place your cut vinyl on a flat surface with good lighting.
- Use a hooked weeder tool to lift a corner of the excess vinyl.
- Pull the vinyl slowly and steadily to remove background material.
- Use tweezers to weed small or detailed sections around beach icons or letters.
- Cut a piece of transfer tape slightly larger than your design.
- Place transfer tape over the vinyl and firmly press with a scraper tool.
- Flip the design and remove the backing paper slowly.
- Align transfer tape and vinyl on your sign, then press and smooth.
- Peel back transfer tape gently at a 45-degree angle, leaving vinyl in place.
Creating the Perfect Painted Background for Your Beach Sign
For painting your beach sign background, choose paints suitable for wood like acrylic, chalk, or outdoor house paints, then apply them smoothly or in an ombre style. Allow each layer to dry about 24 hours before stenciling or distressing. Distressing can add a vintage appearance by lightly sanding paint edges after it’s partly dry or using special wash products.
Choosing Paint Types and Colors
Acrylic and chalk paints work well on wood signs because they adhere smoothly and dry with a solid finish. Outdoor and enamel paints are good choices if your sign will be displayed outside, as they resist weather better. Select colors inspired by coastal themes, blues, whites, and light grays fit perfectly. Consider using multiple shades in your palette to create depth.
Matte chalk paint creates a soft, vintage look, while acrylic gives a more vibrant finish. Prices for small craft acrylic paint bottles generally range from $3 to $7 each, which is budget-friendly for most projects. You can start with a base coat in one color, then add layers or washes for effects like whitewashing or beachy textures.
Ombre and Layering Techniques
Creating a clean ombre background starts by painting the darkest color over the entire sign or at one end. Then apply the next lighter shade overlapping slightly and blend where the colors meet by brushing backward into the darker paint. Repeat this process with gradually lighter colors until you reach the lightest shade covering the remaining area, edges included.
This layering technique ensures smooth color shifts typical of seaside gradients. Use a flat brush for wider coverage and a dry brush to softly blend colors. Apply each coat evenly to avoid streaks, and work relatively quickly before the paint dries to blend well.
- Sand the wood surface and edges with 220 grit sandpaper until smooth.
- Apply a base coat of the darkest paint color, covering the entire sign and edges.
- While the base coat is still tacky, paint the next lighter color on the upper or lower quarter of the sign.
- Blend the new color into the base by brushing gently backwards across the overlap.
- Repeat with progressively lighter shades until the full sign shows a gradual gradient.
- Let the paint dry completely before moving to stenciling or distressing.
Drying and Distressing Tips
Allow at least 24 hours of drying time between paint coats and before adding vinyl stencils or further layers. This wait prevents smudging and helps paint fully cure for better adhesion. After drying, lightly sand the painted surface with fine-grit sandpaper to smooth any brush marks and prepare for sealing.
To add a distressed or vintage look, sand edges or flat areas after about one hour when the paint is partially dry. This technique exposes some wood underneath for natural aging effects. Applying a white vintage effect wash over the paint can mimic a sun-bleached beach vibe.
Seal your sign after all paint and distressing finishes are dry, using polycrylic for moisture protection. Avoid sanding between coats unless specified, as excessive sanding may remove too much paint or cause uneven layers.
Applying Vinyl or Stencil for Crisp, Clean Beach Sign Lettering
Transferring vinyl or stencils onto your painted sign surface correctly ensures the lettering looks sharp and professional without bubbles or gaps. Proper alignment, smooth application, and preventing paint bleed are key to achieving crisp beach sign lettering. Typically, vinyl works best for detailed, single-color designs and lasts longer since it’s adhesive, while stencils are ideal when painting multi-layer or multi-color designs onto your sign. Securing stencils well before painting prevents paint bleed and sharpens edges.
To align vinyl perfectly, use masking tape as a hinge to position the vinyl before fully sticking it down. For applying vinyl without bubbles, a vinyl scraper or squeegee tool is essential to flatten the material gradually and push out air pockets. When working with stencils, spray adhesive or painter’s tape helps keep them securely in place, maintaining crisp lines as you paint.
Handling multi-layer or multi-color designs means applying one color or layer at a time. Let each paint layer dry completely, usually around 20, 30 minutes depending on paint type and weather. Vinyl layers are usually applied starting with the base color, then layering accents. Stencils require more drying time between colors to prevent smudging. Follow this checklist for smooth stencil application to prevent errors and achieve clean edges:
- Make sure your painted background is fully dry, waiting at least 24 hours before applying vinyl or stencil.
- Position the stencil or vinyl on the sign and use masking tape to create a hinge for precise alignment.
- For vinyl, slowly peel the backing paper while holding the vinyl in place, applying it toward the surface.
- Use a vinyl scraper or squeegee, pressing firmly from the center outward to smooth out bubbles or wrinkles.
- For stencils, secure edges with painter’s tape or a light spray adhesive to prevent paint bleed.
- Apply paint over the stencil in thin, even layers with a stencil brush or foam roller, dabbing gently instead of brushing.
- Allow each painted stencil layer to dry 20, 30 minutes before removing the stencil or applying another color.
- Carefully remove the transfer tape from vinyl or peel off the stencil, pulling at a low angle to avoid lifting paint or vinyl.
Tip: Avoid rushing any step; premature peeling of vinyl or removing wet stencils can cause tearing, bubbling, or paint lifting that ruins crisp lines.
Sealing and Finishing Your Beach Sign for Durability
Sealing your beach sign protects it from sun, rain, and wear, keeping colors vibrant and vinyl secure. Acrylic sealers generally work best for outdoor signs because they are water-resistant, easy to apply, and won’t yellow over time. You can choose between gloss, satin, or matte finishes depending on the look you want, but gloss offers stronger UV protection. Two to three coats of sealer provide enough coverage to resist weather damage. Applying too many coats can cause the paint or vinyl to look cloudy, so stick to the recommended layers.
Let the sealant cure at room temperature for at least 24 hours before placing the sign outside to ensure maximum durability. Environmental factors like humidity and temperature can affect drying time, so if you live somewhere humid, allow extra curing time. Adding decorative bows or hanging hardware is easiest once the sealer has fully dried; this prevents smudging or damage.
| Sealer Type | Finish | Pros | Cons | Typical Cost |
|---|---|---|---|---|
| Acrylic Spray Sealer | Gloss, Satin, Matte | Easy to apply, quick drying, UV resistant | Overspray can cause uneven coverage | $8, $15 per spray can |
| Brush-on Acrylic Sealer | Gloss or Satin | Precise application, no overspray | Requires drying time between coats | $10, $20 per bottle |
| Polyurethane (Outdoor) | Gloss or Satin | Durable, water and scratch resistant | Longer drying time, can yellow with age | $15, $25 per quart |
Follow these steps to seal your Cricut beach sign and prepare it for hanging:
- Clean the sign surface to remove dust or dirt that can interfere with sealant adhesion.
- Apply the first coat of acrylic sealer evenly using a spray or brush, covering the entire surface and edges.
- Allow the sealer to dry fully for at least 1, 2 hours or according to product instructions.
- Apply a second coat in the same manner to improve protection and durability.
- Let the sign cure for 24 hours in a dry, room-temperature area to lock in the finish.
- Attach hanging hardware such as D-ring hooks, wire, or string to the back using screws or strong adhesive.
- Add decorative ribbons or bows by tying them around the hanging wire or attaching with hot glue, making sure the sealer is completely dry.
- Test the sign hanging by gently placing it outdoors and checking for any damage after the first few days, adjusting the location if needed to avoid direct harsh sunlight or heavy rain exposure.
Troubleshooting Common Beach Sign Crafting Problems
Vinyl not sticking well often results from surface contamination or improper pressure. Make sure the wood surface is clean, dry, and free of dust or oils before applying vinyl. Wipe the sign area with rubbing alcohol and let it dry for best adhesion. Applying vinyl over rough or unsealed wood can cause poor sticking, so sanding smooth and priming the wood may help. Use a scraper or a burnishing tool to firmly press the vinyl onto the sign, ensuring no air bubbles remain underneath.
Paint bleeding under your stencil happens when the paint is too wet or the stencil edges are not sealed properly. To avoid this, use a small amount of paint on your brush or sponge and apply in thin layers. Press stencil edges down firmly or use painter’s tape to secure them in place. Let paint dry between coats to prevent smudging. When paint bleeds, wait until it dries, then sand the areas lightly and touch up with a fine brush for sharp edges.
Peeling or bubbling vinyl usually happens when the vinyl wasn’t sealed properly or the surface temperature was off during application. Heat transfer vinyl (HTV) works best when pressed with a heat press at the recommended temperature and pressure for your specific vinyl type, often around 305°F for 10-15 seconds. Avoid moving the vinyl until it cools to ensure a strong bond. When bubbles form, carefully prick them with a pin and press the surface back down. For peeling edges, carefully lift the vinyl, reapply adhesive if possible, or replace the section with a new piece.
Sizing and alignment errors can spoil your sign’s look but fixing them early is simple. Double-check measurements in Design Space and do a quick test cut on paper before vinyl or stencil cutting. Use transfer tape for vinyl to help align letters precisely. For stencils, mark the placement with a pencil or use painter’s tape as a guide to keep everything straight. When sections don’t align after applying, peel them off gently and reposition before paint or sealant sets.
Safe crafting prevents accidents. Always work in a well-ventilated area, especially when using spray sealants or paints. Wear gloves and safety glasses to protect skin and eyes from irritation. Keep your Cricut cutting blade sharp but handle it carefully to avoid cuts. Store tools and chemicals out of reach of children and pets.
- Clean wood surfaces with rubbing alcohol before vinyl application
- Use thin paint layers to prevent bleeding under stencils
- Secure stencils firmly with painter’s tape
- Heat press HTV at recommended temperature (about 305°F for 10-15 seconds)
- Use pins to release air bubbles in vinyl
- Test cuts on paper to confirm sizing before final cutting
- Work in ventilated areas and use protective gear to stay safe
Following these steps helps ensure your beach sign looks professional and lasts outdoors. Consistent preparation and cautious application reduce errors, saving time and materials. Adjust the process slightly depending on the vinyl type and paint brand you use, as each reacts differently to heat and moisture.
Customizing and Personalizing Your Cricut Beach Sign Designs
Adding personalized text like names, dates, or special messages makes your beach sign uniquely yours. Start by choosing fonts in Cricut Design Space that reflect the style you want, script fonts add elegance, while block letters feel casual and beachy. To add a name or date, insert a text box, type exactly what you want, then resize and position it on your sign outline. On a 16″ round wooden sign, keep text size proportionate, around 4 to 6 inches wide for easy reading without crowding. Personal touches work well for gift signs like “The Johnsons’ Beach House 2024” or event markers such as “Welcome to the Smith Family Beach Party.”
Embellishments can take your design from simple to eye-catching. Think beyond flat vinyl by incorporating 3D details like seashells, starfish charms, or even faux rope glued around the sign’s edges. Small wooden cutouts of beach elements, painted and attached with strong adhesive, also add dimension. For a practical approach, use hot glue for lightweight items, but consider epoxy for heavier decorations. Adding texture improve the tactile appeal, making your sign a standout piece.
Matching sign colors to your home décor or the beach theme boosts visual harmony. Choose vinyl colors that complement existing tones, soft coral, turquoise, or sandy beige pair well with coastal interiors. If your sign background uses a beachy blue, select contrasting warm tones for lettering or embellishments to ensure readability. Using Cricut’s color wheel or sample swatches helps visualize combinations before cutting vinyl. Remember, lighter colors on dark backgrounds and vice versa offer the best contrast.
You can easily adapt designs for various sizes or shapes to suit different spaces or purposes. For example, if using a rectangular sign instead of a round one, rearrange text and graphic elements to fill the space evenly. In Cricut Design Space, resize the canvas to match your actual sign dimensions and adjust layout accordingly. This prevents overcrowding or excessive empty space, resulting in a balanced, professional look. The same goes for gifts or event signs where size relates directly to visibility and placement, like a smaller 8-inch sign for table décor compared to a 16-inch wall piece.
Themed signs make meaningful gifts or festive decorations. Consider adding phrases like “Beach Please” for casual humor or “Sandy Toes & Salty Kisses” for a romantic vibe. Seasonal ideas include “Summer 2024” or “Welcome to Our Beach Wedding.” Combining thematic text with matching embellishments such as shells, anchors, or palm leaves strengthens the overall message. Cricut’s vast image library and fonts allow for nearly unlimited creativity, making each sign special for birthdays, holidays, or anniversaries.
Test your vinyl colors on a small piece of your sign background before applying, to ensure the contrast and style look just right in your lighting conditions.
Step-by-Step Action Plan for Your Beach Sign
Follow these steps to create your stylish, durable beach sign with your Cricut. Each phase builds on the last to help you make a professional-looking project.
- Before you start: Gather all essential materials and tools, like your Cricut machine, vinyl or stencil material, paint, brush, and a wooden sign base. Confirm you have the right size board aligned with your design dimensions.
- Day 1: Design your beach sign in Cricut Design Space. Use fonts and elements that fit your beach theme. Preview your layout and adjust spacing to ensure easy weeding and clean cuts.
- Day 2: Cut and weed your vinyl or stencil material carefully. Inspect your cut lines for completeness and peel away excess material slowly to prevent tearing or lifting.
- Day 3: Prepare and paint the background of your sign. Apply 1-2 layers of paint with dry time in between until the color is rich and even. Check for smoothness and touch up as needed.
- Day 4: Apply your vinyl or stencil on the dry background. Use transfer tape and a scraper tool to avoid bubbles and wrinkles. Verify alignment before firmly pressing down all edges.
- Day 5: Seal your sign with a clear topcoat suited for outdoor use. Apply thin, even coats and let dry fully to protect your paint and vinyl from weather and wear.
- After 1 week: Inspect your finished sign for any peeling or smudging. If needed, touch up paint edges or reapply sealant to areas showing wear.
Frequently Asked Questions
Can I Use Other Cutting Machines Besides Cricut Explore Air 2 for Beach Signs?
Yes, you can use other machines like Silhouette or Cricut Maker. Just ensure you adjust your design and piecing technique for longer signs.
How Do I Add 3D Elements to My Beach Sign?
Add wood cutouts or layered vinyl to create dimension. This boosts the look without complex tools.
Is It Better to Use Permanent or Removable Vinyl on Beach Signs?
Permanent vinyl holds up best outdoors, especially on porches exposed to weather. Removable vinyl may peel faster.
Can I Piece Together Vinyl Letters for Signs Longer Than My Cricut Mat?
Yes, align using registration marks to piece letters precisely. This is needed for machines like the Explore Air 2.
What Design ID Can I Use from Silhouette Library for a Beach Sign?
Design ID #139169 is popular for beach signs. Import and resize it to fit your project.
How Long Does Vinyl Usually Last on Outdoor Beach Signs?
Cricut Premium Vinyl can last over two years outdoors, depending on exposure. Sealing helps extend its life.
The Bottom Line
Making a beach sign with your Cricut is a rewarding project that turns your creativity into a lasting decoration. Start by designing a simple layout and gradually build your skills with painting and sealing techniques. Grab your Cricut and wooden board today to start your first beach sign and see your ideas come to life.


