Where to Put House Numbers on a House: 8 Proven Places for Best Visibility
Finding the best place for house numbers on a house means placing them where they are clearly visible from the street, typically mounted at eye level between 4 and 5 feet above the ground. Position the numbers on a flat, well-lit surface like near the front door or on the garage, ensuring they contrast with the background for easy reading. Start by measuring and marking the height carefully before installation for the best curb appeal and function.
Key Takeaways
- Mount house numbers at eye level, approximately 4 to 5 feet above the ground or porch surface.
- Use numbers at least 4 inches tall for visibility from 50 to 100 feet away.
- Choose a location with a flat surface that contrasts well with the number color.
- Check local regulations for minimum size and placement requirements before installation.
- Place numbers near main entrances or on garage fronts where they face the street clearly.
- Ensure numbers are well lit by natural light or add lighting to improve nighttime visibility.
Best Height and Location to Place House Numbers
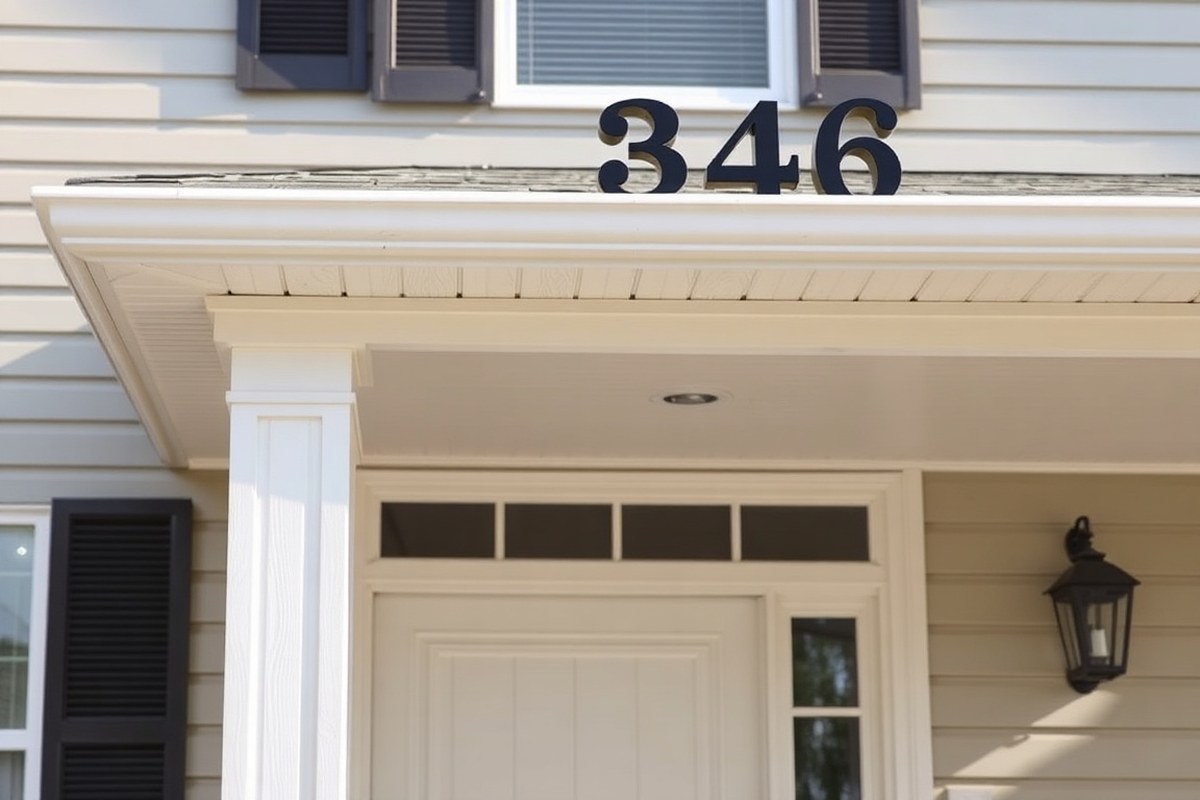
House numbers should be installed at a height between 4 and 5 feet above ground to be easily seen from the street. This height roughly matches the average eye level for someone standing on the sidewalk or in a car, making the numbers readable without straining. Keeping numbers within this range balances visibility with ease of installation. Avoid placing them too high, such as above a second-story balcony, because that distance reduces their effectiveness and makes them hard to read from the street or sidewalk.
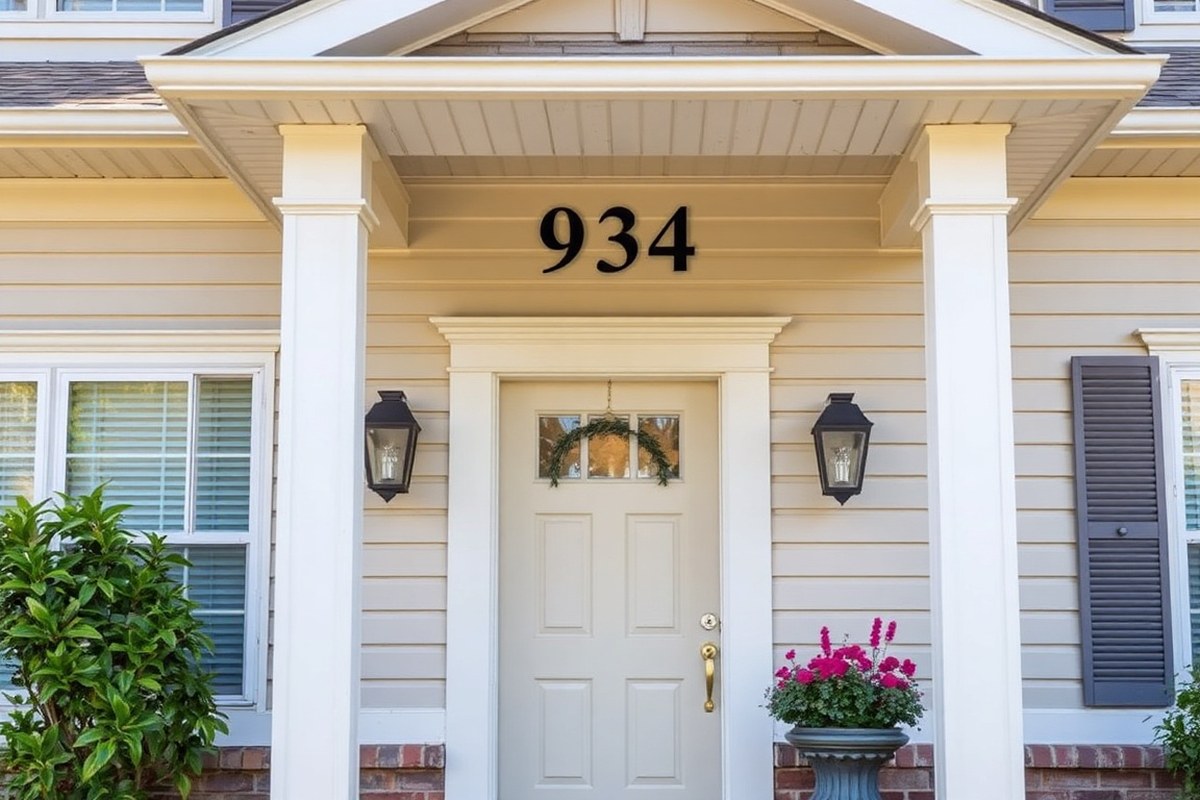
For placement, position the house numbers on the side of the house facing the street, commonly above or beside the front door, or close to the mailbox if the house is set back from the road. If your porch or entrance is not visible from the street, mounting a second set of numbers on a gate or post near the driveway can help visitors find your address more easily. Numbers should not be obscured by porch decorations, hanging plants, or outdoor furniture to maintain clear, unobstructed sight lines.
The numbers need to be visible from the nearest roadway, which means considering how far your house sits from the street. Homes located farther back require larger house numbers, at least 4 inches tall or bigger, to ensure visibility. Smaller numbers often become illegible at a distance. For houses set away from the road, placing numbers on a post or mailbox near the street can improve identification without forcing you to use oversized numbers on the building itself.
Good visibility also depends on contrast against the house exterior. Choose numbers that sharply stand out from siding or brick colors. For night visibility, it helps to mount numbers near a porch light or install dedicated lighting aimed at them. While mounting options vary, adhesive, screw-on, or anchored with drill holes, the key is to secure numbers firmly in a visible spot that can be easily read by visitors and emergency responders alike. Taking these steps will ensure that your house numbers serve their purpose effectively and comply with most local visibility standards.
Legal and Municipal Requirements for House Number Placement
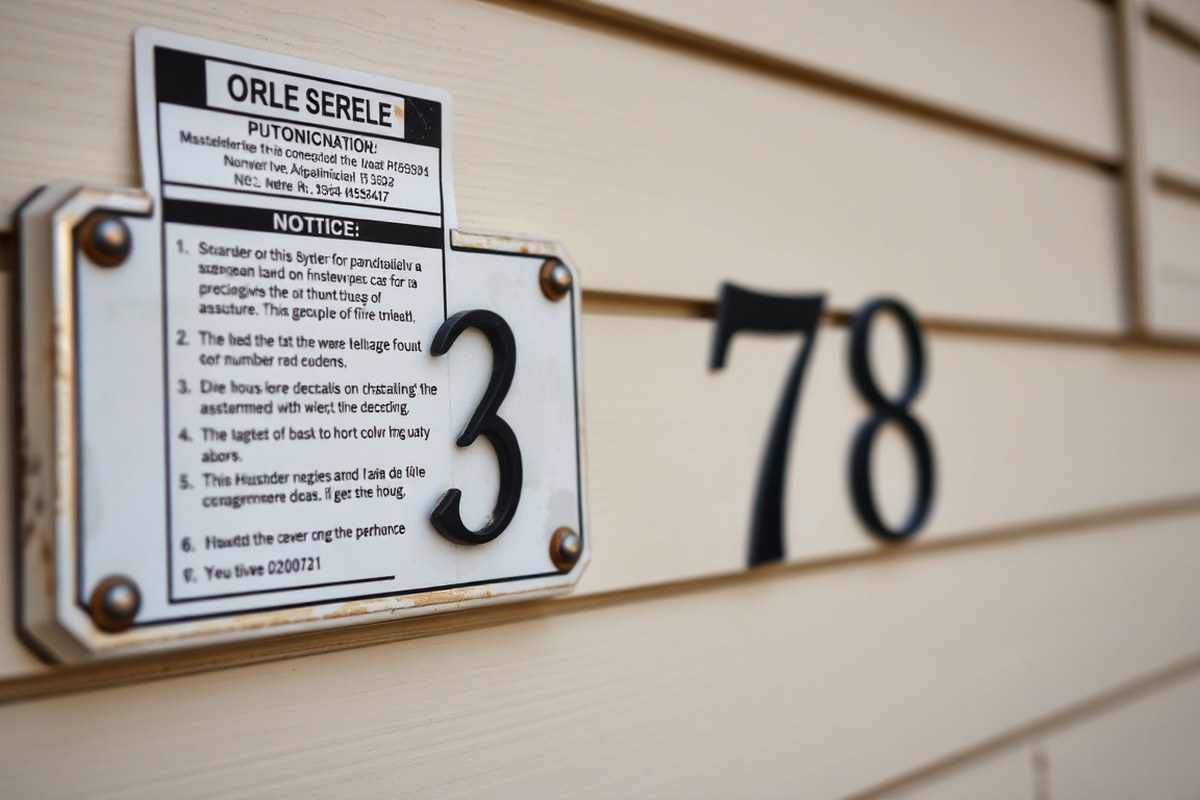
Many local governments require house numbers to be visible and comply with specific standards to ensure emergency responders and delivery services can easily locate your home. These rules often specify minimum size, contrast, and placement details that vary by municipality and neighborhood. Knowing and following these regulations avoids fines and improves safety.
Common Size and Visibility Requirements
A typical legal standard for house numbers calls for digits to be at least 4 to 6 inches tall to ensure readability from the street. Some municipalities, especially suburban or rural areas, recommend or require numbers as large as 12 inches for high visibility. Contrasting colors between the numbers and their background are also often mandated to improve legibility under different lighting conditions or weather. For example, white numbers on a dark background or black numbers on a light surface help meet these standards.
The numbers should be clear and easy to read from the road day or night, so reflective materials or painted numbers with contrasting colors are often preferred. Certain local codes might specify font style, favoring simple, block numbers over decorative script, to make the address instantly identifiable.
Variations Across Municipalities and Neighborhoods
Local regulations and requirements can differ widely by city, county, or neighborhood, particularly in planned communities or historic districts. Some neighborhoods set stricter rules to maintain a cohesive look, requiring matching materials, fonts, or sizes for house numbers. Others focus strictly on safety and visibility, emphasizing size and placement rather than style.
Contact your city or county building department, homeowner’s association, or local post office to confirm the specific guidelines in your area. These groups often provide printed or online checklists detailing minimum size, placement from ground level, and color contrast requirements. Failing to comply could lead to citations or delayed emergency response times.
Placement Rules to Ensure Compliance
Local regulations typically require house numbers to be easy to see from the street, suggesting placement close to the main entrance, such as over or next to the door, or on the mailbox. Mounting them between 4 and 8 feet off the ground helps ensure they can be spotted quickly by both visitors and emergency responders.
Some locations require numbers to be placed on both the house and mailbox, especially if the house sits far from the street or is obscured by landscaping. In such cases, putting smaller numbers on the mailbox complements the large, clearly visible ones on the home itself.
Checklist for Legal and Visible House Number Placement
Start by verifying local regulations with your city or county office or your homeowner association. Review the minimum number height required, usually between 4 and 6 inches, and the recommended color contrast. Next, identify the best spot on your home or mailbox that is visible from the street and at an appropriate height.
Use weather-resistant materials and mounting hardware suited for your exterior surface, avoiding damage while ensuring securely attached numbers. Test visibility by looking at your house from the road at different times of day, including at night if possible. Adjust lighting or placement as needed to meet visibility requirements and local codes.
Always check with your local building department or HOA before installing house numbers to avoid unnecessary replacement or fines.
Choosing Materials and Colors for Maximum Visibility
Choosing the right materials and colors for your house numbers directly affects their visibility and durability. House numbers should sharply contrast with the background surface to make them easily visible from the street, at all times of the day. For example, using white or light-colored numbers on a dark background ensures they stand out, while dark numbers on a light background achieve the same effect. Avoid colors similar to your home’s exterior paint or materials that blend in with landscaping to prevent numbers from becoming hard to spot.
Materials influence both appearance and how well the numbers hold up outdoors. Common choices include metal, plastic, and wood. Metal numbers, such as brass or stainless steel, offer high durability and resist weather-related wear, maintaining a polished look for years. Plastic can be cost-effective but may fade or crack over time. Wood offers a rustic charm but requires sealing or painting to withstand moisture and sun damage. Outdoor house numbers usually cost between $10 and $50 depending on size and material. Picking a durable, weather-resistant material extends the lifespan and keeps your address clear.
Visibility also relates to lighting and placement, but selecting the right contrast and material is your first step. Numbers around 4 to 5 inches tall are generally recommended, meeting most municipal requirements. For homes with dense landscaping or higher elevation from the street, consider numbers with reflective backgrounds or built-in LED lighting, which can cost $30 to $80 per set and improve night-time visibility significantly.
Below is a comparison of materials and their typical durability and cost features. This table can help you decide which option fits your home’s style and your budget while keeping visibility and longevity in mind.
| Material | Durability | Typical Cost | Visual Impact | Maintenance |
|---|---|---|---|---|
| Metal (Brass, Stainless Steel) | High; weather-resistant | $20, $50 | Polished, timeless look | Low; occasional cleaning |
| Plastic | Moderate; may fade/crack | $10, $30 | Varied colors; less premium | Moderate; replace if damaged |
| Wood | Low to moderate; can warp | $15, $40 | Rustic, natural look | High; sealing or repainting needed |
| Reflective Background Numbers | High; improve night visibility | $30, $80 | Bright and clear at night | Low; occasional cleaning |
Making sure your house numbers contrast clearly against their mounting surface is the simplest way to boost visibility. Use paint, stain, or decals in colors opposite or very different from your home’s exterior finish. For example, black numbers on a white wall or white numbers on brick work well. A strong color contrast combined with a weather-resistant material prevents quick fading or damage, keeping the numbers easy to read and your home identifiable for years.
How to Install House Numbers on Different Exterior Surfaces
Installing house numbers depends on the exterior surface to ensure durability and a clean look. Wood, stucco, brick, and vinyl all require different tools and mounting methods to prevent damage and maintain visibility. Using the right hardware and preparing the surface properly will keep your house numbers secure and looking neat.
Installing on Wood Siding
Wood siding allows for straightforward installation since you can screw directly into the surface. Because wood is vulnerable to weather, seal and paint or stain the numbers beforehand to protect them from moisture and sun damage. Sand the wood surface lightly before attaching the numbers to improve adhesion and reduce splintering.
Tools needed include a drill with wood screws, a screwdriver, sandpaper, paint or stain, and a level to keep the numbers straight. Installation usually takes about 30 to 60 minutes for a typical set of numbers.
- Sand the wood siding where you will attach the numbers.
- Seal or paint the wood and numbers to protect them from weather.
- Use a level to mark even placement with a pencil.
- Hold the numbers in place and drill pilot holes.
- Attach numbers using wood screws and a screwdriver.
- Check alignment and adjust if necessary.
Mounting on Brick or Stone
Brick and stone are harder to penetrate, so you need to drill holes and insert anchors for a stable hold. Screws alone won’t grip these hard surfaces, so anchors accommodate the expansion and prevent cracking. Use a masonry drill bit and hammer drill for best results.
Essential tools include a hammer drill, masonry bits, anchors with matching screws, a pencil for marking, and a level. This process takes about 45 minutes to an hour depending on your experience and the number of holes.
- Mark number placement with a pencil and use a level to ensure straightness.
- Drill holes into the brick or stone at marked spots using a hammer drill with masonry bits.
- Insert wall anchors into the drilled holes.
- Align the house numbers over the anchors.
- Fasten the numbers using screws that fit the anchors.
- Double-check the stability and alignment of the numbers.
Attaching to Stucco or Vinyl
Stucco requires similar care as brick since it is a hard, brittle surface. Drill small holes and use anchors to protect the stucco from cracking. Vinyl siding is softer and can crack if screws are used improperly, so it’s best to affix numbers to a backing board before attaching to the siding.
For stucco, use masonry drill bits and anchors; for vinyl siding, prepare a wooden or acrylic plaque and use longer screws through the backing into the wall’s structural sheathing behind the siding. Adhesive-backed vinyl numbers are also an option but work best on smooth, clean surfaces.
- For stucco, mark number locations and drill holes with a masonry bit.
- Insert anchors and screw in the numbers securely.
- For vinyl siding, attach numbers to a sealed wood or acrylic plaque first.
- Secure the plaque to the siding with 2- or 3-inch screws, ensuring you hit the structural sheathing behind.
- Clean the surface well if using adhesive-backed numbers and peel then stick firmly.
- Confirm all parts are stable and flush against the surface.
Using Mounting Plaques or Backers
Mounting plaques offer a versatile solution for tricky surfaces where direct attachment may not be ideal. These plaques can be wood, metal, or acrylic and create a flat, sturdy mounting base. This helps prevent siding damage, improves visibility, and allows easy changes in the future.
Prepare the plaque by painting or sealing it to protect from weather. Use screws or anchors appropriate for the base surface to mount the plaque, then attach house numbers to the plaque itself, either screwed or glued depending on number style.
- Choose a plaque material suited for your home’s exterior and finish it with paint or sealant.
- Mark and drill holes in both the plaque and the mounting surface.
- Attach the plaque to the wall using screws or anchors.
- Secure the house numbers to the plaque with screws or adhesive.
- Check alignment and stability to ensure the numbers are straight and firmly attached.
Practical Alternatives: Mailboxes, Posts, and Garden Placements
Placing house numbers on a mailbox is an effective solution, especially when your home is set far back from the street. Numbers on the mailbox make your address visible at the street level, helping delivery drivers and emergency responders find your home quickly. Make sure the numbers are at least 4 inches tall to be easily readable from a distance. Position the numbers on your mailbox post so they face the road, and make sure they stay clean and free of rust or damage.
Using a post or a yard sign for house numbers works well if the mailbox is not close to the street or if landscaping obscures the view. Posts placed near the driveway entrance or at the edge of your property make it easier for anyone to locate your home, especially after dark. You can add solar-powered lights to these posts for nighttime visibility without worrying about wiring.
When your house has a long driveway or is deeply set back, it’s beneficial to have multiple locations for house numbers. One set can be near the street, on the mailbox or a post, and another closer to the front door or driveway entrance. This approach reduces confusion for visitors approaching from different directions or those unfamiliar with your property.
- Mount numbers on your mailbox post, at least 4 inches high, facing the street.
- Place a separate set of numbers on a durable post near the driveway if the mailbox is hidden by trees or fences.
- Use large, contrasting numbers that stand out against the background for easy reading.
- Consider adding solar or wired lighting to posts or mailbox numbers for visibility after dark.
- Install numbers at each access point when you have multiple entrances to help visitors find their way.
- Keep numbers clean and free of wear to maintain visibility over time.
- Use weather-resistant materials such as metal or high-quality plastic for outdoor durability.
For properties where the house cannot be seen from the street, placing large numbers on a gate or fence post close to the road is another effective option. The key is ensuring that numbers are visible from the street and not blocked by landscaping or other structures. Oversized numbers work best for long distances but avoid going too large to avoid an unbalanced look.
Make sure numbers on mailboxes or posts are level and securely fastened to prevent them from leaning or falling over in bad weather.
Lighting Options to improve Nighttime Visibility
Keeping your house numbers visible at night improves safety and convenience. You can illuminate numbers using low-voltage lighting, solar options, or fixture-based solutions. Each has pros and cons based on installation effort, cost, and maintenance needs. Lighting makes your address readable even in early darkness, like winter evenings in New England.
Low-voltage lighting uses wires connected to a transformer and outdoor power source. It allows precise positioning of spotlights or LED strips near numbers. Installation takes some electrical work or hiring a licensed electrician to ensure safe wiring and waterproof fixtures. Typical costs range from $50 to over $200 depending on the complexity and quality of fixtures. Low-voltage lights offer consistent brightness and work well in shaded or covered areas.
Solar-powered LED lights are simpler and quicker to install, often under $25 per unit. They attach near the house numbers or mailbox and charge during the day to glow at night. Solar options eliminate wiring but depend on sunshine; heavy shade, dirt, or snow can reduce brightness and operating hours. Solar lights suit sunny locations or as a temporary solution. Installing usually takes about 10 minutes per light.
Fixture-based lighting involves using existing porch or exterior wall lights to shine on your house numbers. You can position the numbers close to a porch light or install an angled LED spotlight fixture for targeted illumination. Using LED light strips directly behind or around numbers creates a backlit effect, giving a clean, modern look while maximizing nighttime visibility. Installation varies from simple mounting to wiring new fixtures, often requiring an electrician for hardwired options.
| Lighting Type | Installation Time | Cost Range | Key Advantages | Considerations |
|---|---|---|---|---|
| Low-Voltage Lighting | Several hours, may need electrician | $50 – $200+ | Consistent bright light, suitable for shaded areas | Requires wiring, professional installation recommended |
| Solar-Powered LED | About 10 minutes | $15 – $25 per light | Easy to install, no wiring needed, cost-effective | Brightness affected by shading and weather, limited runtime |
| Fixture-Based Lighting (Porch or Wall) | Varies: minutes to hours | Varies by fixture and wiring needs | Uses existing lights, options for backlit or spotlight effects | May require electrician; proper positioning critical |
| LED Light Strips | 1 – 2 hours | Varies; typically $20 – $100 | Bright, uniform illumination, modern appearance | Needs power source; may require mounting hardware and wiring |
For best results, aim the light source directly at the numbers without creating harsh glare or shadows. Contrast between number color and background remains important under any lighting. For instance, dark numbers on a light wall reflect more light, improving visibility. Stainless steel numbers combined with LED lighting provide durable, reflective surfaces that stand out at night.
Solar-powered lights offer convenience but check their placement regularly to avoid buildup of dirt or snow that blocks sunlight. For homes with deep eaves or foliage, low-voltage or fixture-based lighting ensures the numbers stay lit consistently. Bright LED strips behind house numbers can also help delivery services and visitors locate your home safely after dark.
Styling Tips to Complement House Numbers with Curb Appeal
Combining your house numbers with other exterior elements like signs, planters, and colors creates a unified look that boosts curb appeal. Thoughtfully pairing these elements helps your home feel welcoming while making your address easy to spot. Matching styles, materials, and colors creates harmony without being overpowering or cluttered.
Matching Numbers with Exterior Hardware
The best starting point is to coordinate your house numbers with the hardware on your front door, such as knobs, handles, and light fixtures. Using the same finish, whether brushed nickel, matte black, or brass, unifies the front facade’s appearance. For example, if your door handle is oil-rubbed bronze, select house numbers with that same finish to avoid visual clashes.
Choose a font for your numbers that complements the style of your home and matches details on your hardware. Serif fonts suit traditional or classic exteriors, while sleek, sans-serif styles fit contemporary designs. The font style should also align with any address plaques or signs to maintain consistency.
Cost for placing matching hardware and numbers is often minimal since many retailers offer coordinated sets or finishes for around $20 to $60 per set of numbers. Installing hardware and numbers yourself can further reduce expenses while ensuring that everything works together smooth.
Using Decorative Signs and Plaques
Address signs or plaques act as a backdrop that highlights your house numbers and provides additional space for decorative touches. Choose a plaque material similar to your house numbers, such as metal, stone, or wood, to keep the overall design consistent. The sign’s size should be proportional to the numbers and the space available on your exterior wall or post.
You can combine decorative elements like your family name, street name, or even subtle motifs connected to your home or neighborhood, such as floral patterns or nautical symbols. For a coastal cottage, for example, consider a weathered wood plaque painted in soft blues to complement white metal numbers.
Place the plaque in a visible area, typically beside or below the house numbers. Make sure lighting can illuminate both the numbers and the plaque evenly at night. The combination of size, font style, and color between numbers and plaques should feel deliberate, avoiding overly busy or mismatched compositions.
Integrating Plants and Lighting
Incorporating planters near your house numbers softens the appearance and ties the numbers into the natural landscaping. Flush-mount floating numbers above a planter box filled with low-maintenance greenery, like succulents or evergreens, adds dimension without blocking visibility. Size your numbers larger if the foliage may partially obscure them from certain angles.
Lighting plays a key role in improving the visibility and style of house numbers combined with plants. Use warm-tone LED spotlights or backlit numbers to highlight them while complementing garden plantings. For example, a solar-powered uplight directed at a planter and numbers ensures easy viewing without extra wiring costs.
Maintain plants regularly so they don’t grow over or hide the numbers. Position lighting so it illuminates the numbers without creating harsh shadows or glare, which can detract from the cohesive look you aim to achieve.
Seasonal Styling Ideas
Change your house numbers’ surroundings with the seasons to keep your exterior fresh and engaging. In spring and summer, bright flowers or green foliage placed near numbers add vitality and complement lighter-coloured finishes like brushed nickel or white-painted numbers.
During fall, swap colors to deeper reds, oranges, or yellows in planters or wreaths near your house numbers. These warm tones improve materials like bronze or dark metals, creating a cozy, seasonal appeal. Winter calls for simple evergreen arrangements and subtle lighting accents that keep your numbers visible while matching the subdued tones of cold-weather materials.
Switching decorations seasonally usually requires minimal cost since planters and wreaths can be reused with different details. This regular update keeps your curb appeal dynamic without needing to change the fixed elements of your house numbers themselves.
Common Mistakes and How to Avoid Them When Placing Numbers
Placing house numbers incorrectly can make it hard for visitors, deliveries, or emergency responders to find your home quickly. Common mistakes include mounting numbers too high or too low, using colors that blend with your house’s background, or placing numbers where weather damage is likely. These errors reduce visibility and durability, which defeats the purpose of having clear house identification.
Numbers that are too high or too low are harder to spot. Numbers should be mounted about 4 to 5 feet above the ground or porch surface, which is near eye level for most people. Avoid placing house numbers on the garage if it’s detached or less visible from the street, since this might confuse visitors. Also, poor contrast between the numbers and the surface, like black numbers on dark brick, makes them difficult to read.
Weather damage is a concern, especially in climates with heavy rain, snow, or strong sun. Metal numbers such as stainless steel, copper, or wrought iron offer durability and resist fading and rust better than wood or plastic. To maintain their appearance, periodically clean the numbers and check for loose mounting. Seal edges with waterproof caulk to prevent water damage, especially around drilled holes.
- Measure and mark the spot carefully using a level and tape measure.
- Choose colors that sharply contrast with your house’s exterior color.
- Mount numbers 4 to 5 feet above ground or porch level.
- Use weather-resistant materials like metal in harsh climates.
- Patch and seal any leftover or new holes to prevent moisture intrusion.
- Clean numbers regularly and tighten mounts as needed.
- Avoid placing numbers low in shrubs or near groundcover where visibility shrinks.
Always patch old holes and seal around new screws to protect your exterior from moisture and prevent paint damage over time.
Marking the exact location before installation avoids repeated drilling errors. Use a pencil to lightly outline the placement, and check with a level to keep numbers straight. Careful preparation might add a few extra minutes but saves the cost and labor of repairs later. For patching holes, use exterior-grade filler or putty, which usually costs under $10 and dries within a few hours.
Regular maintenance helps house numbers last longer. Dust and dirt reduce visibility, so wipe metal numbers with a soft cloth every few months. Inspect mounting screws yearly to avoid numbers loosening or falling off. Taking these steps extends the life of your installation and keeps your home easy to find in any weather.
Step-by-Step Action Plan for Placing Your House Numbers
Follow these steps to install your house numbers in the most visible, legal, and attractive way.
- Before you start: Check your local municipal codes or homeowner association rules for specific house number requirements to ensure compliance.
- Day 1: Measure the walls or surfaces near your main entry and choose a location between 4 to 6 feet high that’s clearly visible from the street.
- Day 2: Pick materials and colors that contrast with your house exterior for maximum visibility both day and night.
- Day 3: Prepare the surface by cleaning and drying it thoroughly to ensure a strong hold for your numbers.
- Day 4: Mark the exact spots for each number to keep spacing even and alignment straight before installing.
- Day 5: Attach numbers using appropriate hardware for your surface type (nails, screws, or adhesive) and check stability.
- After installation: Add lighting such as solar or LED fixtures focused on the numbers to improve nighttime visibility and confirm they’re readable from the street.
- Within one week: Step back and view your house numbers from the street and your mailbox to make sure they stand out and meet your curb appeal expectations.
Frequently Asked Questions
Where to Put House Numbers on a House?
Homeowners usually install house numbers close to the mailbox or above the main entrance, on the side facing the road, so guests and emergency crews can easily spot them. Make sure the spot is free from any blockages such as shrubs or patio furniture.
Where Do You Put a House Number?
House numbers should be put in a spot that faces the street for maximum visibility, such as next to the main entrance or on a mailbox post. Make sure they are at eye level or slightly higher to be easily seen.
Does Amazon Offer Outdoor House Numbers?
Yes, Amazon offers a variety of outdoor house numbers in different materials and styles, including metal, plastic, and vinyl options. Be sure to select numbers suited for outdoor use and check customer reviews for durability.
What Is the Luckiest Direction for a House to Face?
The luckiest direction a house faces varies by cultural beliefs and personal preference, but this is unrelated to where house numbers are placed. Focus on visibility and local regulations instead.
What Size Should Numbers Be on a House?
House numbers should generally be at least 4 to 6 inches tall for clear visibility from the street, with larger homes or longer driveways needing numbers up to 12 inches. Bigger numbers make it easier for emergency responders to find your house quickly.
Can House Numbers Be Placed on a Gate or Fence?
Yes, placing house numbers on a gate or fence near the entrance is acceptable and can improve visibility if the main house is set back from the street or obscured.
Before You Go
Your house numbers perform best when placed with a clear view from the street, comply with local rules, and match your home’s style for curb appeal. Start by checking local requirements, then pick the most visible, accessible spot close to your main entrance. Taking these steps today will make finding your home easier for guests and emergency responders alike.