How to Make Vintage Signs: A Complete Guide with Expert Tips and Techniques
Knowing how to make vintage signs means combining weathered wood, aged paint techniques, and authentic lettering styles. Start by selecting wood that can be distressed, then apply paint layers that mimic cracking and fading from decades of exposure. This approach replicates the look of signs with character, like roadside markers from 50 years ago.
Key Takeaways
- Choose wood with natural grain and knots for a more authentic vintage appearance.
- Apply diluted paint mixes, like Amsterdam Green with 50% water, for subtle, worn color effects.
- Distress wood by sanding edges and using tools to create dents and scratches realistically.
- Use stencils to lay out lettering precisely before cutting or painting your sign.
- Allow paints and finishes to dry for at least 24 hours to develop aged textures.
- Spend around $20 on wood and stencils for an economical vintage sign project.
What Makes a Sign Look Truly Vintage and Authentic
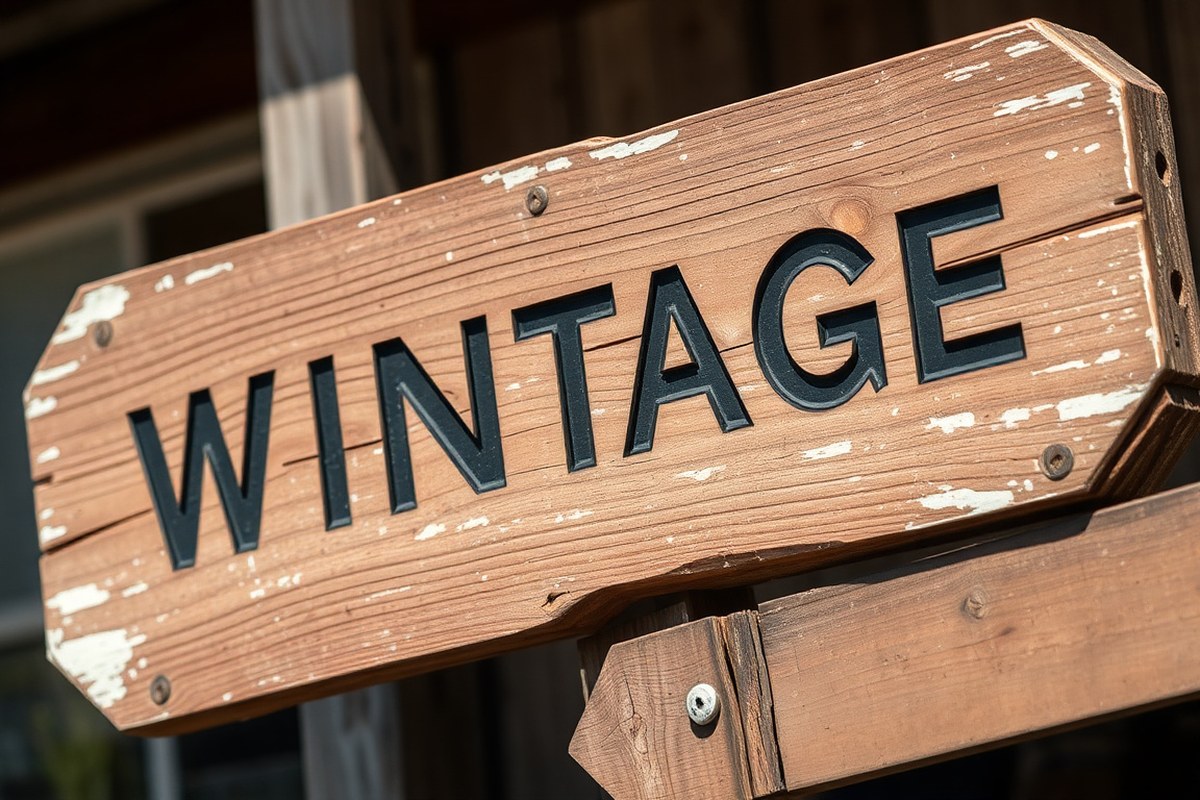
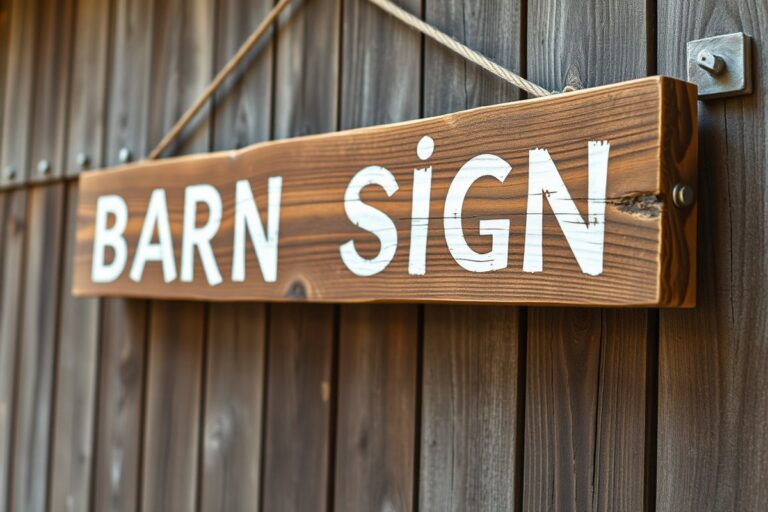
Vintage signs are wooden signs styled to look like they have aged naturally over many years. Typically, they resemble old business or roadside signs from decades ago, such as those seen 50 or more years in the past. These signs are celebrated for adding a nostalgic, rustic charm to home décor and are especially popular among fans of farmhouse and vintage interior styles. The appeal comes from their authentic, timeworn look that brings character and a sense of history to any room or porch area.
To create a sign that looks truly vintage and authentic, you focus on several key features that mimic natural aging. One important aspect is the wood itself. Using wood with a grain or slight texture gives the piece depth and replicates the feel of historical signs. Adding dimension such as wooden planks with a little shape or thickness improve authenticity. Distressing the wood by gently sanding edges or applying stains mimics years of wear and exposure to elements. This process costs very little, basic sanding materials and stain can run around $10 to $20 at most hardware stores.
The painted lettering and graphics also need to look faded and imperfect as if weathered by sun and rain over time. Creating a crackle effect on top of paint simulates peeling or flaking, a hallmark of vintage signage. Craft stamps, like the Iron Orchid Craquelure Stamp used with black craft paint, help generate these fine cracks convincingly. Such stamps typically cost around $10 to $25 depending on the brand. Applying paint unevenly, using chalk paint, or adding subtle smudges and scratches further sell the aged look. Sharpie markers and duct tape have also been used as inexpensive tools for adding authentic details when creating patterns or borders.
Old signs usually exhibit signs of wear such as edge fading, surface chips, and uneven color tones. Replicating these effects involves layered sanding and staining techniques along with selective distressing on painted areas. This layered approach creates shadows and highlights similar to signs with decades of sun exposure and handling. With careful attention, a new wooden sign can be turned into a piece that looks like it has been standing outside for over 50 years, adding a real sense of history and vintage charm to your décor.
Because original vintage business signs are rare and often expensive, DIY enthusiasts create their own using new wood and simple distressing methods. Choosing inexpensive materials like shiplap wood planks and affordable paints keeps costs low. A well-crafted sign not only looks authentic but can be customized to any size or style you want. The time investment varies with complexity, but a basic vintage wooden sign project might take a few hours over a couple of days, considering drying times for paint and stains. The result offers a personal, distinctive décor element that stands out due to its carefully crafted aged effect.
Materials and Tools Needed for DIY Vintage Signs
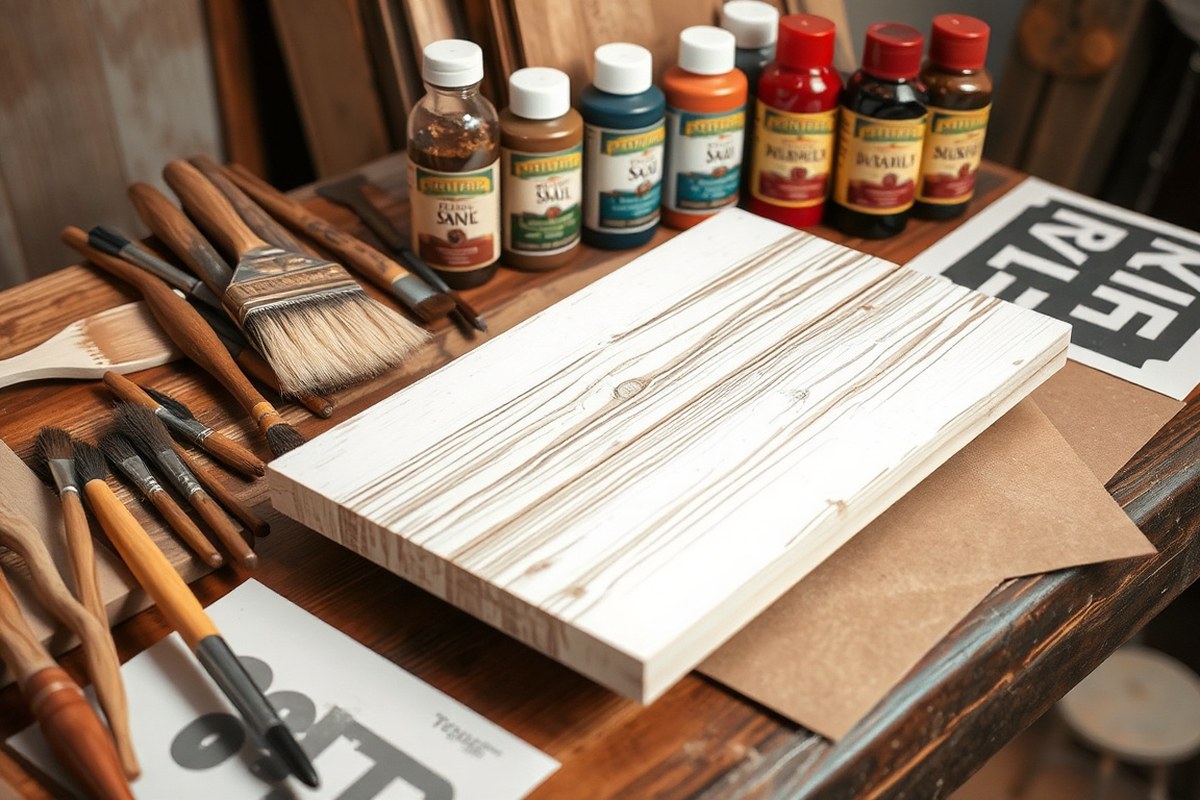
Start with quality wood that fits your sign size; reclaimed wood like old fencing or pallets adds authentic character and texture. Look for smooth, flat boards around 1/2 inch to 3/4 inch thick and cut them to your desired dimensions. Beginners can use pine or poplar for easier sanding and painting, while advanced crafters might explore hardwoods or weathered wood for a naturally aged look.
Choose paints specifically for wood, such as acrylic or latex, that dry quickly, often within 1 hour, allowing faster progress. White, black, and muted tones like cream, faded red, and pale blue often suit vintage themes. Stencils or transfer paper help apply lettering cleanly, important for sharp vintage fonts especially if your hand lettering skill is still developing.
- Wood boards (pine, poplar, or reclaimed wood)
- Acrylic or latex paints in vintage color palette
- Sandpaper (120 to 220 grit) for smoothing and distressing
- Paintbrushes of various sizes, including fine tips for lettering
- Stencils or transfer paper for lettering guides
- Clear matte polyurethane or wax to seal and protect the finish
- Optional: wood burner or distressing tools for advanced aging effects
Essential for beginners are sandpaper, basic paints, and brushes along with some form of lettering guide. These allow you to focus on the basics: prepping wood, painting, and applying vintage-style text. Advanced makers may add tools like wood burners for custom etching or specialized brushes for more nuanced paint effects. Sealing the sign with clear matte polyurethane keeps paint from chipping but avoid glossy finishes that look too modern.
Test paint colors and distressing techniques on scrap wood first to see how quickly paint dries and how well colors layer before working on your sign.
The cost depends on your choices but expect about $10 to $30 for wood (free if reclaimed), $5 to $15 per paint color, and $5 to $10 for brushes and sealing products. Work in a well-ventilated space and allow at least 24 hours for finishing layers to dry thoroughly to prevent smudging or damage. Preparing your materials carefully upfront saves time and produces crisper vintage effects on your wooden signs.
How to Prepare and Distress Wood for a Vintage Look
Preparing and distressing wood properly is key to creating vintage signs with an authentic, aged appearance. Starting with sanding and staining the wood sets the base, while various distressing methods mimic natural wear without damaging the sign. Each approach offers different textures and colors, letting you choose a look that fits your style and project needs.
Sanding and Beveling Techniques
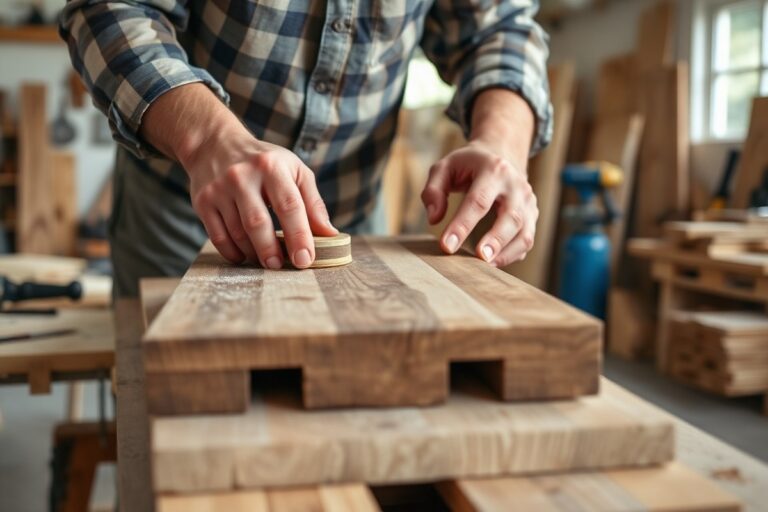
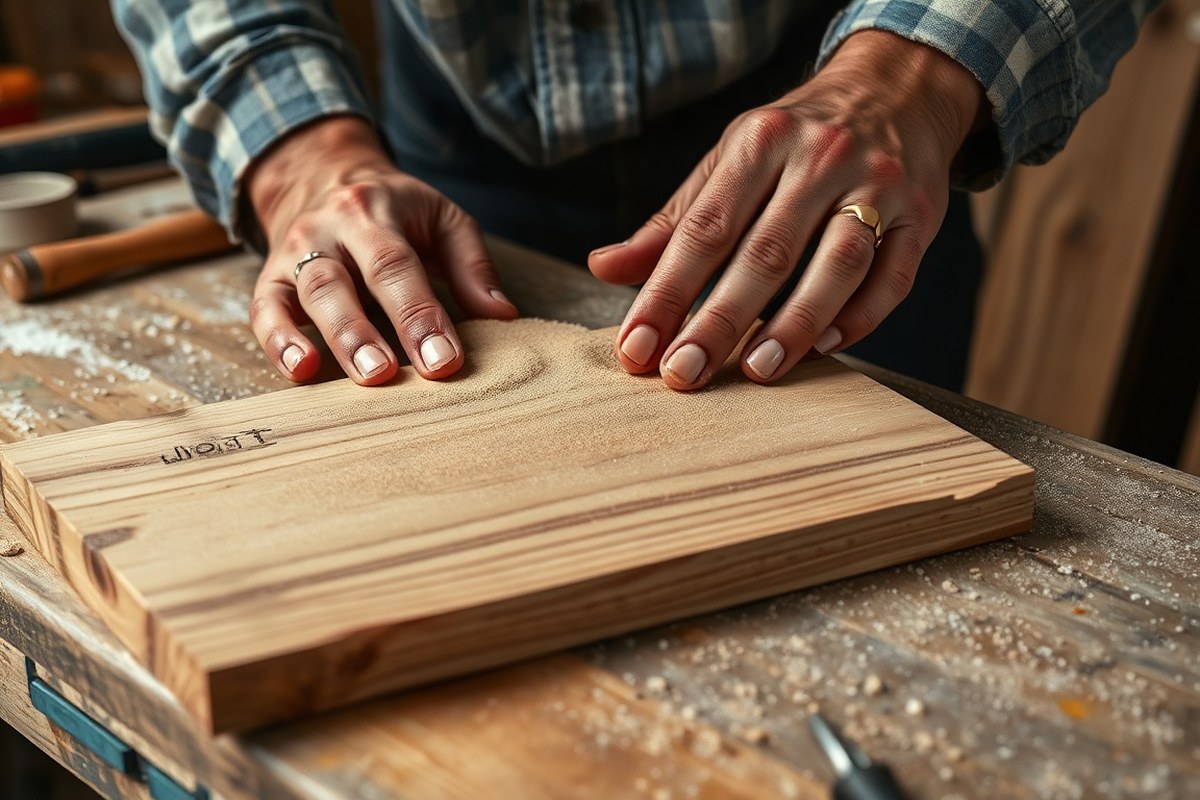
Sanding is the first step to achieve a vintage look. Using sandpaper or an electric sander, gently rough up the wood surface, especially around edges and areas where paint will go. Sand enough to expose some raw wood beneath painted spots, replicating decades of wear. A medium grit such as 120 to 150 works well to avoid removing too much material. Beveling the edges by sanding them to a slight curve adds a natural worn effect, since most old signs show weathered corners. Avoid over-sanding flat surfaces to prevent damaging the wood’s structure. When you work with new wood, create an uneven texture by sanding in patches to mimic years of wear and exposure.
For finer detail, run sandpaper over painted letters once they dry to lightly expose the wood underneath, giving the raised lettering a chipped, antique look. This helps create imperfections similar to those found on authentic vintage signs, which rarely have perfectly smooth, uniform finishes. You can also use a wire brush after sanding to add grain texture and subtle grooves.
Homemade and Store-Bought Stains
Staining wood helps add depth and an aged patina, bringing out the grain and creating color variations akin to old barn wood. Store-bought wood stains come in colors like walnut, chestnut, or graywash, popular for vintage signs. These stains penetrate the wood and allow you to control the darkness with multiple coats. Expect to pay between $8 and $20 for a pint, enough for several signs.
For a homemade stain, you can soak steel wool in vinegar for 24 to 48 hours and then strain the liquid. This solution reacts with the tannins in wood to produce a weathered grayish-brown tone often seen on reclaimed wood. Apply it with a cloth or brush and test on a scrap piece before your main project. This method is budget-friendly and safe but takes longer than commercial options.
Mixing stain techniques, like applying a wood stain first and then adding a light coat of diluted white paint, can replicate chalky, sun-faded colors typical of old signage. Allow each layer to dry fully before distressing.
Common Distressing Methods Compared
Multiple distressing methods exist, each producing different authentic vintage effects. Sanding back painted areas is the most direct and versatile technique. Scraping with a putty knife creates thin, random paint chips, but requires care to avoid gouging the wood. Hammering or denting the wood simulates decades of impact and weathering, best done lightly for small dents. Wire brushes and steel wool roughen smooth surfaces and soften sharp paint edges, mimicking natural wear.
| Method | Effect | Time & Effort | Risks |
|---|---|---|---|
| Sanding | Exposes wood beneath paint, worn edges | Moderate; minutes to hours depending on area | Oversanding can damage wood or remove details |
| Scraping | Random paint chips, peeling look | Low to moderate | Deep gouges if too forceful |
| Denting | Small impact marks, weathered wood | Low; quick | May split thin wood if too hard |
| Wire brushing | Rough grain, softer paint edges | Moderate | Possible over-roughening |
| Steel wool rubbing | Subtle smoothing, paint wear | Low | Less dramatic distress |
Choose methods based on your sign’s size and design. Larger pieces may benefit from sanding and wire brushing for widespread aging. Smaller signs with detailed letters do well with careful sanding and steel wool for subtle distress.
Protecting Wood During Distressing
Protect your wood by selecting boards free of cracks or rot, which can worsen when distressing. Painting first requires letting each coat dry completely to prevent peeling out of your control. Use a sanding block instead of a power sander on letters to keep edges intact. Wearing gloves and eye protection prevents injuries from sharp splinters or flying paint chips. Work in a well-ventilated area when using stains or paints to avoid inhaling fumes.
After distressing, avoid excessive sanding on fragile areas or thin wood to prevent damage. Some DIYers seal the wood lightly with a clear matte finish before distressing to slow stain absorption and gain better control over the worn look. This step also helps minimize splintering during more aggressive distressing approaches like hammering.
Creating and Applying Vintage Lettering and Graphics
Creating vintage-style lettering and graphics for wooden signs involves designing or sourcing stencils, then transferring those images onto the wood surface by handpainting or image transfer methods. You can customize your design with lettering and graphics to suit your project. The process focuses on accuracy and preserving the vintage aesthetic through careful application and paint handling.
Designing Custom Stencils or Using Pre-Made Ones
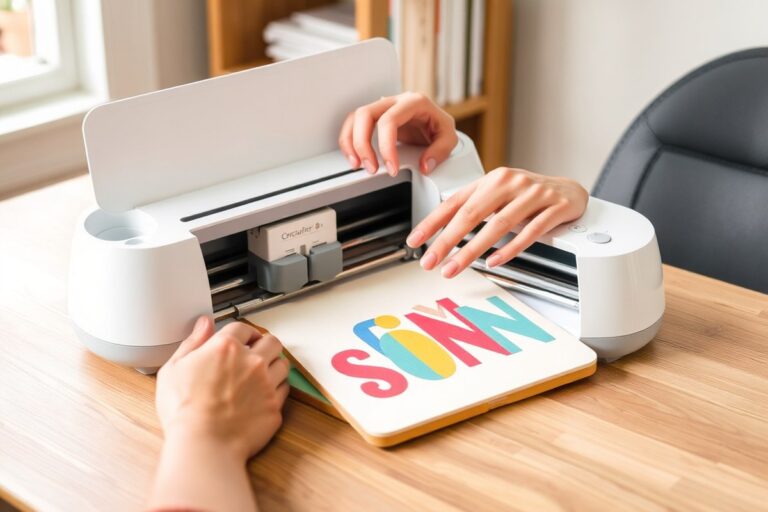
Custom stencils give you full control over your vintage sign’s font and graphics, while pre-made stencils save time and cost less upfront. You can design your stencil on a computer using free or paid software that supports cutting machines like Cricut or Silhouette. You can find individual letter stencils at craft stores to arrange and form words even without a cutting machine.
For cutting a stencil yourself, print your design with only the letter outlines using an inkjet or laser printer. This saves ink and makes cutting easier. Measure carefully and add around 5 extra inches on each side of your design for room to hold and secure the stencil. Keep in mind that letters with enclosed spaces (like “E” or “K”) will need small connecting bridges to keep stencil parts stable when cutting.
Tracing and Painting Letters Accurately
Transferring a stencil onto wood can be done by tightly securing the stencil to your board with painter’s tape to avoid shifting. You can trace the design lightly with a pencil if you prefer to freehand paint afterward. Apply paint through the stencil using a small foam brush or stencil brush dipped in diluted paint to avoid bleeding under the edges.
- Secure the stencil flat on the wood using painter’s tape.
- Apply paint with a stippling motion using a foam or stencil brush.
- Work with thin coats, building layers to avoid paint pooling under the stencil.
- Wait 10, 15 minutes for each coat to dry before adding more paint.
- Remove the stencil carefully, pulling away from the painted areas.
- Touch up edges with a fine paintbrush to sharpen any blurred areas.
Painting the background first and letting the wood texture create the letter shapes by leaving those areas unpainted is another approach. This method works well for simple designs and gives a natural vintage feel. Be prepared for more irregular edges with this technique.
Image Transfer Techniques for Photographic Effects
Image transfer allows you to place detailed vintage graphics or photos onto wood without painting each element by hand. One common technique uses regular printer ink prints and gel medium. You print your design reversed (mirror image) on plain paper and apply a gel medium to the wood, then press the paper face down onto the wood.
- Print your vintage image or graphic in reverse on regular printer paper.
- Brush an even layer of acrylic gel medium onto the wood surface.
- Press the print face down onto the wood and smooth it out to remove air bubbles.
- Let it dry for at least 8 hours or overnight.
- Use a damp sponge to moisten the paper and gently rub it away, leaving the ink on the wood.
- Allow the wood to dry and seal with a clear coat to protect the image.
This method costs little beyond printing and gel medium (about $10 to $15 for a small container). It gives a worn photographic look that fits vintage styles but requires patience and care to avoid tearing the paper. You can personalize signs easily by changing your design before printing.
Painting Techniques to Achieve Authentic Vintage Effects
Creating authentic vintage effects on wooden signs involves several painting techniques that add depth and aged charm. Start with priming the wood surface to ensure the paint adheres well and to avoid blotching. Use a white or off-white primer, because it brightens colors and offers a smooth base. For vintage signs, chalk paint or milk paint works best, as they have a matte finish and dry quickly, allowing you to build layers without waiting too long. These paints typically cost between $10 and $20 per quart, depending on the brand.
Layering is key to achieving an aged look. Begin with a base coat, dilute a color like Amsterdam Green with 50% water to make it translucent; this creates a weathered, thinner paint appearance. Let this first coat fully dry before adding additional layers or colors. Using contrasting shades in thin layers replicates years of fading and multiple paint jobs that happen naturally. After the paint dries, lightly sand the board with fine-grit sandpaper, especially on edges and corners, to reveal some of the wood or base paint beneath. This selective sanding mimics natural wear.
The crackle effect gives wood signs a classic antique feel by simulating surface cracks in old paint. To do this, apply a crackle medium between two paint layers. After your base coat dries, brush on the crackle medium following the manufacturer’s instructions (usually about 15 to 30 minutes drying time). Then, apply the top paint layer with a single brush stroke to encourage cracking. The cracks will appear as the top coat dries, creating fine lines that resemble old paint splitting. Avoid thick top coats or overworking the paint, as this can reduce the crackling effect. Crackle medium kits range from $8 to $15.
Dry brushing adds texture and the look of worn paint. Dip a stiff-bristled brush lightly into paint, then wipe most of it off on a rag. After that, brush it quickly over the wood surface using minimal pressure. This technique leaves uneven paint deposits, highlighting wood grain and raised edges with color. It’s ideal for simulating faded signage where paint wasn’t fully renewed. Use lighter or muted colors for dry brushing on darker base coats to improve the contrast. Practicing this on a scrap piece helps control how much paint stays on the brush.
For lettering and graphics, consider adding slight distress by sanding some paint off the letters once fully dry. This method creates authenticity by mimicking worn signage letters. Sand carefully with a fine-grit block until patches of the wood or faded background color peek through. Avoid over-sanding, which can make letters less readable. After distressing, use a light stain or glaze to unify the look with a subtle aged tint, helping oxidize the paint and wood. This adds a natural warmth and depth that pure paint lacks. A small cost for stain or glaze is usually under $15 per quart.
Always allow each paint and medium layer to fully dry before proceeding to the next step to prevent unwanted smudging or poor adhesion.
Protecting and Finishing Your Vintage Sign for Longevity
Sealing and finishing a vintage wooden sign protects your work and ensures it lasts, especially when exposed to indoor dust or outdoor weather. You want a finish that guards against moisture, sun damage, and wear while keeping the aged look intact. Clear sealing options like varnish, wax, or polyurethane each offer different levels of protection and surface sheen, so your choice depends on where the sign will hang and how much weather exposure it will face.
For indoor signs, a wax finish can be ideal. Wax preserves the wood with a subtle sheen that won’t overpower the distressed, vintage texture. Apply a thin layer using a cloth, buff it gently, then repeat if needed after drying. Wax costs around $10, $20 for a small container and lasts for several square feet. It requires occasional reapplication but keeps the wood feeling natural and soft.
Outdoor vintage signs need more durable protection to withstand sun, rain, and temperature swings. Use an exterior-grade polyurethane or spar varnish, both designed to resist UV rays and moisture buildup. Apply at least two thin coats with a synthetic brush in 70°F and low humidity conditions, allowing 4 to 6 hours drying time between coats. Prices range from $15 to $30 per quart, covering about 100 square feet. These finishes dry clear and can add a satin or matte look depending on your choice, preserving the vintage style without gloss.
Environmental factors like sunlight and moisture directly affect how long your sign stays looking good. UV rays fade paint and wood exposed outside, so a UV-blocking finish is important. Moisture causes wood to swell and crack unless well sealed. Place outdoor signs on covered porches or away from direct rain for extra protection. Avoid thick glossy finishes indoors because they can highlight newness and reduce that weathered feel you want.
For best results, first ensure the sign is clean and completely dry before sealing. Lightly sand any rough spots but keep the distressing effect visible. Use a brush or foam applicator to spread the finish evenly, avoiding puddles or over-brushing, which can cloud the surface. After sealing, let the sign cure for at least 24 hours before handling or hanging.
Tradeoffs include slightly dulling colors with some finishes or needing reapplication for wax every 6 to 12 months. Signs used outdoors will require more maintenance than indoor ones. Testing your finish on a small scrap piece of your distresed wood can prevent surprises and help you pick a finish that keeps your vintage sign looking authentic for years.
Common Mistakes When Making Vintage Signs and How to Fix Them
Over-distressing your vintage sign can make it look damaged rather than aged. This happens when too much wood or paint is removed, leaving uneven patches or bare spots that seem accidental. To prevent this, start with light sanding and gradually increase pressure and coverage. Use a fine-grit sandpaper (around 220 grit) to smooth edges without stripping too much paint or wood. Check your progress frequently under good lighting, so you stop before the distressing becomes excessive.
Uneven lettering is another common issue that can undermine the handmade charm of your sign. It often results from rushed painting or incorrectly applied stencils. To avoid uneven letters, use high-quality craft brushes designed for fine details and apply paint in thin, consistent layers. Let each layer dry before adding another to prevent drips or blobs. Letters that look patchy or too thick can be fixed by carefully repainting with a small brush or by adding light shading on one side of each letter to add depth and hide minor uneven spots.
- Use a small, firm brush for lettering to control paint flow
- Let paint dry fully between coats to avoid cracking or fading
- Sand lightly with 220-grit sandpaper for distressing; start gentle
- Apply a thin sealer coat after painting to protect without gloss
- Touch up faded or cracked paint with matching craft paint instead of repainting entire areas
- Practice lettering on scrap wood before working on your sign
- Use white or light paint under darker colors to improve vintage color effects
Poor sealing can cause your sign’s paint to crack too much or fade quickly in sunlight. This happens when the finish is either too thick, sticky, or incompatible with the paint underneath. Choose a matte or satin acrylic sealer with UV protection and apply it in a thin, even coat. Avoid spraying in humid weather or direct sunlight, as these conditions can cause the sealer to cloud or dry unevenly. Cracks appearing on the sign can be repaired by lightly sanding the area, applying a fresh, matching paint layer, and resealing the sign to protect the finish.
Paint cracking often results from rapid drying or too many paint layers. To fix this, carefully sand away the cracked paint spots using fine sandpaper and repaint those areas with thin coats that dry slowly at room temperature, ideally around 65 to 75 degrees Fahrenheit. Thick, fast-drying applications can cause more cracking. Let your sign rest for at least 24 hours after sealing to ensure the protective layer fully cures before handling or hanging.
Creative Vintage Sign Ideas and Inspiration Sources
Finding creative inspiration for vintage signs means exploring various sources and thinking beyond traditional shapes and sizes. Local vintage signs, thematic approaches, and unique forms can all spark ideas that make your project stand out. Trying new shapes or layering techniques gives signs a personalized look that suits your décor style.
Searching Regional Vintage Sign Photos Online
Start your search online by exploring vintage signs from your area or regions with a rich history. Look for old photos, collector websites, and auctions to see real-life examples of signs used in local businesses decades ago. These authentic designs help you understand genuine typefaces, colour schemes, and weathered textures.
Using search terms like “vintage signs [your city or state]” or “historic business signs in [region]” can uncover local images that show signs with regional flair. Many libraries and historical societies share digitized photo collections for free, offering a glimpse into styles worn naturally by time.
Bookmark or save images that catch your eye. Compile ideas around shape, colours, and lettering style. You can even print these photos to keep next to your workspace as references during the building and painting stages. This research takes minimal cost and only about 1 to 3 hours, but it often means the difference between generic and authentic vintage-inspired results.
Using Themes for Cohesive Sign Sets
Thematic ideas give your vintage signs a unified story or vibe, especially useful if you want multiple signs to decorate a room or a patio space. Themes might draw on eras (1920s diner, 1950s gas station), business types (farm market, hardware store), or moods (rustic cabin, coastal beach shack).
With a clear theme, all your design decisions, from colour choices to font styles, follow a consistent pattern, making the final display more eye-catching and professional. Create a mood board or a list of key elements representing your theme for quick reference. Start by picking 3 to 5 main colours and typography styles that fit well together. Here’s a quick checklist for building a theme:
- Choose a historical period or style for your theme
- Select 3 to 5 colours typical for that era or setting
- Pick fonts or lettering styles that fit your theme, such as script or block lettering
- Identify common motifs like stars, arrows, or icons related to your theme
- Decide if your signs will include humor, slogans, or business names for authenticity
Each sign can share these traits while featuring unique messages or graphics. Planning themes saves you time and avoids design clashes.
Innovative Shapes and Layered Designs
Shapes beyond the classic rectangle make vintage signs more dynamic and memorable. Consider ovals, circles, shield shapes, or even silhouette outlines of objects related to the sign’s content, such as a coffee cup for a café or a fish for a seafood market. This creativity adds character and invites closer attention.
Layered signs are another option. You can stack smaller wooden cutouts over a base board to create dimensional effects or combine different shapes into one piece, like a circular logo mounted on a rectangular background. These methods cost a bit more in materials and take extra time for cutting and fitting, but they add visual depth that simple flat signs can’t match.
Measuring spaces carefully is critical here. Start with a rough sketch, then refine dimensions. Common vintage sign sizes range from 12 by 18 inches up to 24 by 36 inches, but you can go smaller or much larger depending on placement. A jigsaw or scroll saw is useful for cutting shapes. Masks and stencils help apply patterns cleanly on curved or irregular edges.
Use sharp blades and steady hands when cutting unique shapes to avoid splintered or chipped edges that ruin the vintage effect.
Incorporating Found Objects and Texture
Adding found objects or texture can make signs truly one-of-a-kind. Old tools, metal pieces, tin cans, or reclaimed wood scraps bring real character and layered meaning. Attaching these elements securely with screws, nails, or strong adhesive gives a 3D effect and emphasizes the vintage industrial or rustic style.
You can add texture by layering paint in thin, uneven coats, sanding off specific areas, or applying crackle medium and dry brushing techniques. Some crafters embed stamped or raised letters cut from scrap metal or wood to attract attention through touch and light play. Rustic hinges, hooks, or rope handles also add authentic detail.
- Use nails or tiny screws for durable fastening of metal or wood accents
- Sand edges and surfaces unevenly to simulate age
- Mix matte and glossy paint areas for visual contrast
- Try crackle medium to create the painted texture of aged wood
- Attach decorative metal signs or nameplates for layering
- Use rope or leather straps as hanging hardware for rustic appeal
- Incorporate found vintage advertising elements to boost period accuracy
Adding textures and objects demands more preparation and drying time, but the extra effort results in signs that look and feel authentic rather than mass-produced.
Step-by-Step Action Plan for Making Vintage Signs
Follow these steps to create your own authentic vintage sign with a weathered, charming look that stands the test of time.
- Before you start: Choose your wood carefully, opting for reclaimed or knotty pine for an aged character; check for smoothness that fits your distressing plan.
- Day 1: Prepare the wood by sanding and distressing with tools like wire brushes or chains; the surface should show natural wear without splinters or rough patches.
- Day 2: Apply a base coat of paint or stain matching your vintage theme; wait until fully dry and test by lightly sanding edges to reveal wood grain beneath.
- Day 3: Transfer your lettering or graphic design onto the wood using stencils or printed transfers; confirm alignment and clarity before painting.
- Day 4: Paint your design with acrylic or oil-based paint using thin layers; let each coat dry and distress slightly for authentic fading effects.
- Day 5: Add finishing touches like light sanding on raised paint spots, or applying a thin glaze to mimic years of dirt and wear; check visually for a natural look.
- Day 6: Seal your vintage sign with a matte polyurethane or wax finish to protect it without adding shine; the sign should feel smooth but not glossy.
- After 1 week: Inspect the sign for any needed touch-ups or additional distressing to improve character; make adjustments carefully and let dry thoroughly.
Frequently Asked Questions
What Is the Best Type of Wood to Use for Vintage Signs?
Pine or reclaimed wood works best for vintage signs due to their texture and ease of distressing. Thesewoods accept paint and stains well to create authentic aged effects for your DIY projects.
How Do I Create Realistic Rust Effects on My Vintage Sign?
Use a combination of brown, orange, and red paint with a sponge or brush to mimic rust patches. Lightly dab the paint and blend the edges for a natural, weathered metal look.
Can I Use a Stencil for Vintage Lettering?
Yes, stencils help achieve consistent vintage fonts and lettering styles. Choose old-fashioned typefaces and use acrylic paint or chalk paint for an authentic finish.
How Long Should I Wait Between Paint Layers When Making Vintage Signs?
Let each paint layer dry for at least one hour to prevent smudging. Faster drying times help maintain clean, defined edges for your aged lettering and graphics.
What Is the Best Method to Distress Painted Wood for a Vintage Look?
Sand edges and random spots with fine to medium grit sandpaper to expose wood beneath. This simulates wear from use and weathering, improving the vintage charm.
Can I Make Vintage Signs Using Plywood?
Yes, plywood can be used if sanded smooth and sealed properly. Choose a high-quality plywood without too many voids to prevent issues when painting and distressing.
Before You Go
Creating a vintage sign takes patience and attention to detail to get the authentic aged look. Start with carefully chosen wood and build your techniques steadily, focusing on natural wear and subtle imperfections. Your next step is to pick a simple design and apply the distressing and painting methods described here to see your vintage sign come to life.