How to Make Metal Signs: A Complete Guide with Expert Tips and Methods
How to make metal signs starts with selecting the right metal type, designing a clear layout, and using the best printing or etching methods. Precise cutting and finishing protect the sign and improve its appearance. Begin by choosing metal that suits your sign’s environment and size to ensure durability and visual impact.
Key Takeaways
- Pick aluminum for lightweight, rust-proof signs ideal for indoor and outdoor use.
- Match your design size to the metal sheet, such as 12×12 inches for full coverage on standard blanks.
- Use sublimation at 356°F (180°C) for vibrant, lasting prints on coated metal signs.
- For aged looks, apply a diluted vinegar and salt solution to steel to create a controlled rust patina.
- Cut and shape metal with proper tools, always wearing safety gear to prevent injury.
- Seal finished signs to protect color and prevent corrosion in outdoor conditions.
How to Make Metal Signs: Step-By-Step Process Overview
Creating a metal sign involves a series of clear, organized steps that move from selecting your materials to applying the final protective seal. Each step matters to ensure your sign looks professional and stands up to its intended environment. The time each phase takes varies, usually from minutes for preparation to several hours for curing finishes, depending on your methods and materials. Here’s a straightforward checklist of the essential steps to make a metal sign, along with how to approach each for good results.
- Select and prepare the metal sheet. Choose a flat metal piece based on your needs, aluminum is popular for its rust resistance and light weight. Clean the surface thoroughly with degreaser and a lint-free cloth to remove oils and dirt. This step takes about 10 to 30 minutes depending on how dirty the metal is and ensures coatings adhere properly.
- Design and transfer the artwork. Create or select a design sized to your metal’s dimensions, such as 12 x 12 inches for standard blanks. Transfer your design using vinyl stencils, decal application, or sublimation methods depending on your tools and style. Transferring can take from 30 minutes to an hour, with sublimation requiring precise heat settings, typically 356°F (180°C).
- Cut and shape the metal. Using the appropriate cutting tools like an angle grinder for efficiency or a hacksaw for precision, shape your sign to the desired outline. Secure the metal during cutting to maintain accuracy and safety. This might take from 15 to 60 minutes based on complexity and metal thickness.
- Apply colors and images. Add paint or graphic details using brush paint, spray paint, or heat-pressed sublimation designs. Let each layer dry fully, this drying time can range from 30 minutes to several hours under normal conditions. Layering colors carefully helps avoid smudging or bubbling.
- Seal the sign with a protective coating. Use a clear coat spray or brush-on sealant to lock in colors and protect against corrosion, especially for outdoor signs. Allow at least 24 hours for curing in a dust-free environment to achieve a durable finish.
- Drill mounting holes or attach hardware. Measure and mark spots for hanging or mounting based on placement needs. Use a metal drill bit sized for your screws or bolts and drill slowly to prevent warping. This final prep typically takes 10 to 20 minutes and is essential for proper installation.
Following these steps in order ensures your metal sign’s design transfers cleanly, cuts precisely, and lasts by having the right protective layers. Rushing anything from cleaning to sealing can cause peeling, fading, or rust, reducing the sign’s quality and lifespan. Adjust timing according to space, drying conditions, and whether the sign is for indoor or outdoor use.
Choosing the Best Metal Type for Durable Signs
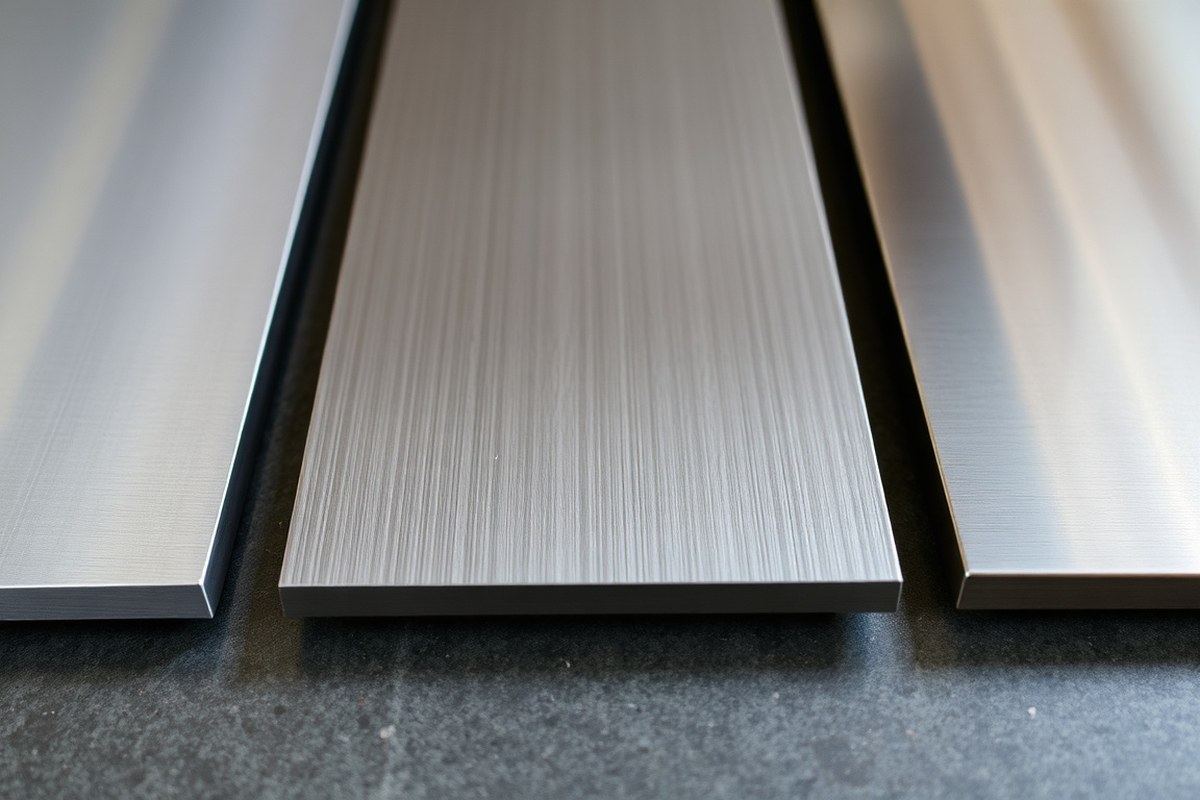
Choosing the right metal type directly affects your sign’s durability, appearance, and ease of work. Aluminum is the top option for most outdoor signs because it is lightweight, naturally rust-resistant, and affordable. Use 16 to 22 gauge thickness for a balance between sturdiness and weight. Steel offers great strength but needs protective coating to prevent rust, making it better suited for indoor signs or outdoor ones with proper sealing. Stainless steel is the most durable and rust-resistant but costs more and is heavier, ideal for premium or coastal settings where corrosion is a concern. Decorative metals like copper and brass add visual appeal but will develop a patina over time and typically cost more.
| Metal Type | Rust Resistance | Weight | Relative Cost | Best For |
|---|---|---|---|---|
| Aluminum | High (natural) | Light | Moderate | Standard outdoor business signage |
| Steel | Low (needs coating) | Heavy | Lower | Indoor or coated outdoor signage |
| Stainless Steel | Very High | Moderate-Heavy | Higher | Premium or coastal outdoor signage |
| Copper/Brass | Moderate (patinas) | Moderate | Higher | Decorative or premium signage |
Metal thickness affects durability and ease of cutting. Thicker sheets provide more strength and resistance to bending but require stronger cutters or tools, which might be challenging for beginners. Aluminum between 16 and 22 gauge works well because it’s thick enough for durability yet soft enough to cut with hobbyist tools like a Cricut or budget plasma cutter. Steel thinner than 18 gauge is usually too flexible and can warp, while thicker steel adds weight and demands heavier machinery. Beginners often find aluminum easier to shape and finish, reducing frustration when starting out.
Make sure to select pre-coated steel or apply a rust-resistant finish immediately if using steel outdoors to avoid corrosion that weakens your sign over time.
To decide on the best metal, consider the sign’s location, budget, and tools available. Outdoor signs exposed to weather perform best with aluminum or stainless steel. For budget or indoor projects, steel works if coated properly. Copper and brass are suitable when appearance outweighs weather concerns. Choose thickness based on size and handling capacity; 16 to 22 gauge aluminum is a good all-around choice. Using this approach ensures your metal sign lasts and suits your intended use.
Designing Your Metal Sign for Impact and Clarity
Creating a metal sign that catches attention and communicates clearly depends on thoughtful design choices. Letter and graphic sizes, colors, and fonts must match the sign’s overall dimensions and intended viewing distance. You can choose between hand-drawing your design or using digital tools, each offering ways to achieve readable, well-sized, and visually appealing results.
Setting Dimensions and Resolution
Start by measuring your metal blank carefully and setting your design canvas to the same size, like 12 by 12 inches for a square aluminum sign. Work at a high resolution, 300 dots per inch (DPI) is a good standard, to ensure your design doesn’t lose clarity when transferred. Scaling your artwork proportionally within this space helps maintain visual balance.
For example, if your sign is 12 by 18 inches, use letters around 2 to 3 inches tall so they remain legible from a distance. Smaller letters risk blending into the metal’s texture, while oversized text can crowd your layout. Use measuring and marking tools to align elements precisely and double-check that key messages are centered and spaced well.
Choosing Font Size and Styles
Select fonts that are simple and easy to read at a glance. Sans serif fonts like Arial, Helvetica, or Futura often work well because they maintain clarity when cut, engraved, or painted on metal surfaces. Avoid overly decorative or thin fonts, which can lose detail during production and weathering.
Font size should correlate with both the sign size and how far viewers will stand from it. For small signs intended to be seen up close, 1 to 2 inch letters may suffice. Larger signs or those viewed from further away benefit from 3 inch or taller letters. Test your chosen font and size by printing on paper at scale and viewing it from the expected distance.
Picking a Color Scheme for Visibility
Limit your palette to two or three complementary colors that contrast strongly against the metal background. This boosts readability and makes your sign visually appealing without overwhelming the eye. For metal signs, high-contrast combinations like black on silver or white on dark blue work best.
Using too many colors or subtle hues might fade into the metal’s surface, especially after finishing processes like painting or sublimation. Consider outdoor conditions like sunlight, which can wash out lighter colors more quickly. Matte finishes often reduce glare and improve legibility compared to glossy surfaces.
Hand-Drawn vs Digital Design Options
Designing by hand allows for unique artistic touches but requires careful measurement and steady line work to scale correctly. Start with sketching your idea on paper at actual dimensions, then use tracing paper or a light table to refine it. Transfer your final drawing onto the metal by methods such as carbon paper or stencil cutting.
Digital tools like Adobe Illustrator, Inkscape, or Cricut design software provide precision and easy editing. Set your canvas size to your metal blank’s dimensions and design at 300 DPI for crisp details. Digital designs can be exported directly to cutting machines or printed for sublimation transfers.
For basic needs, Cricut’s user-friendly software lets you create stencils and select material settings tailored to metal signs, simplifying the production process. Whether hand-drawing or designing digitally, always keep your target size, contrasting colors, and font choices in mind to ensure maximum impact.
Effective Methods to Transfer Your Design to Metal
You can transfer your design onto metal using carbon paper, vinyl stencils, or a vinyl cutter with adhesive vinyl. Carbon paper tracing is simple and inexpensive but better for basic shapes. Vinyl stencils offer cleaner edges and suit moderate complexity. A vinyl cutter produces the most precise results, ideal for detailed, complex designs, though it requires more equipment and setup.
Method 1: Carbon Paper Tracing
Carbon paper tracing offers a simple and budget-friendly way to move your design onto metal. Start by putting a carbon paper sheet with the shiny side facing down on the metal. Next, position your printed design above it and tape both layers in place to keep them steady. Press a pencil or ballpoint pen firmly over the design lines, allowing the pressure to leave a subtle outline on the metal. This outline serves as a guide for markers or engraving tools.
This method works well for simple outlines or lettering but struggles with fine details or intricate shapes. Tracing pressure must be even; otherwise, parts of the design won’t transfer clearly. Carbon paper typically costs $5 to $15 for packs with 10 to 20 sheets, making it economical for occasional use.
Method 2: Using Pre-Cut Vinyl Stencils
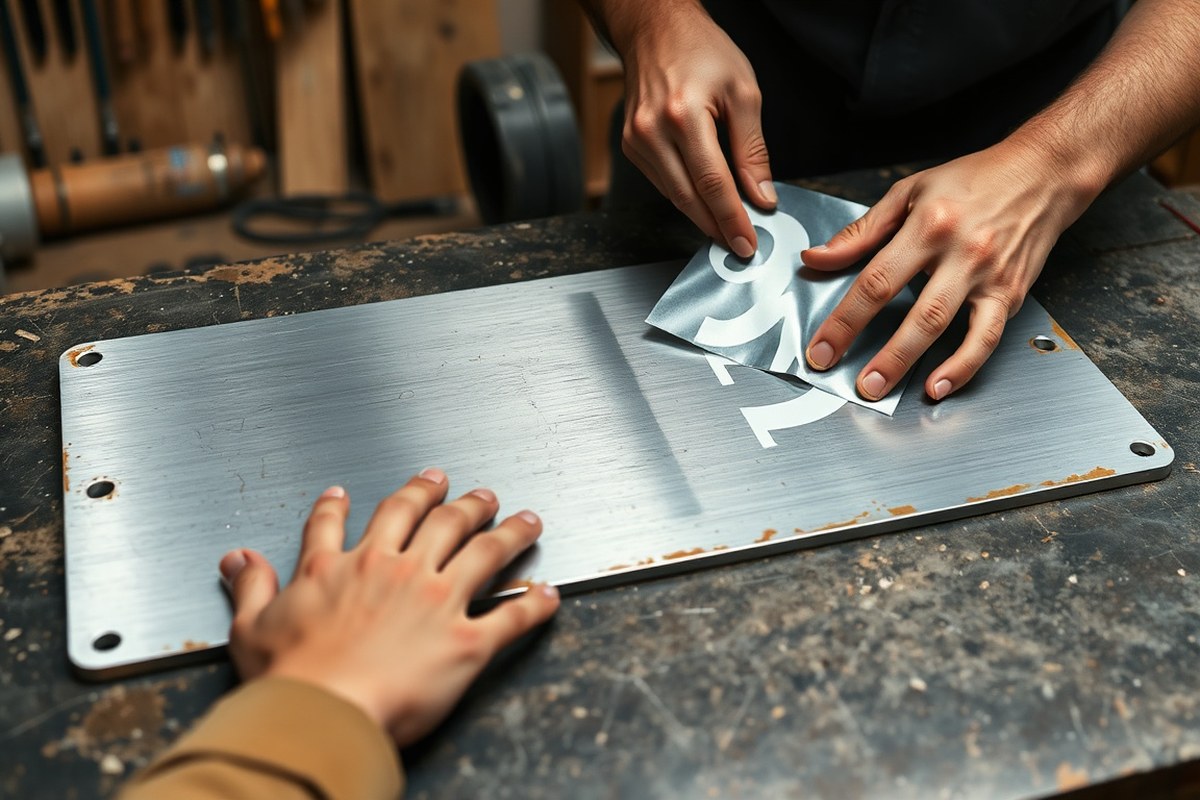
Vinyl stencils provide a cleaner and more durable transfer, particularly useful for repeated designs or medium-complexity work. You can buy pre-cut vinyl stencils or make your own with a vinyl cutter. To apply, first use transfer tape to lift the vinyl stencil from its backing. Then firmly stick it onto the clean metal surface, smoothing out any bubbles with a squeegee or credit card.
Once applied, the vinyl acts as a mask during painting or etching. Remove the stencil after finishing the process to reveal sharp, crisp lines. This method is great for consistent results on multiple signs but takes more preparation and costs around $10 to $30 per sheet of adhesive vinyl, depending on size and quality.
- Carbon paper: inexpensive, quick for simple shapes
- Vinyl stencils: cleaner edges, reusable for some projects
- Vinyl cutter: high precision, ideal for complex designs
- Transfer tape: needed to apply vinyl stencils cleanly
- Pencil or pen: for pressing designs with carbon paper
- Adhesive vinyl sheets: priced $10, $30, varies by size
- Tools: squeegee or credit card to smooth vinyl
Method 3: Vinyl Cutter and Adhesive Vinyl
A vinyl cutter produces the most precise and professional transfers, perfect for complex, detailed metal signs. Start by uploading your digital design to the vinyl cutter software (popular brands include Cricut and Silhouette). The cutter slices your design into adhesive vinyl sheets, which you then weed out, the unwanted vinyl pieces are removed, leaving just your design.
Apply transfer tape over the weeded vinyl to lift it off the backing. Position and stick the vinyl onto the metal surface, pressing it down evenly with a squeegee. Remove the transfer tape carefully, leaving the vinyl design exactly on the metal. This method is more time-consuming and costs $200 or more for a basic vinyl cutter device, but it’s well worth it for repeatability and fine details.
Without a vinyl cutter, creating complex designs can be inconsistent and labor-intensive. This tool also supports multi-layered stencils for multi-color signs, expanding your creative possibilities.
Cutting and Shaping Metal: Tools and Safety Tips
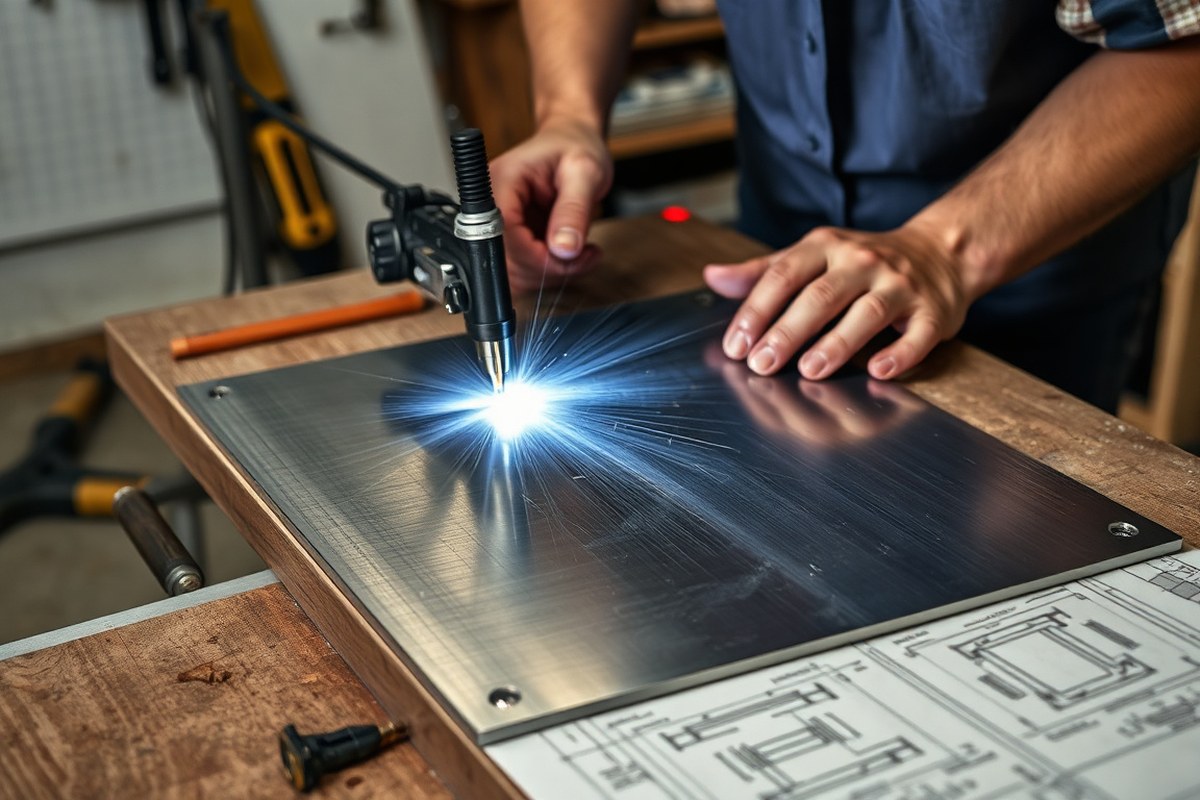
Cutting and shaping metal for signs requires choosing the right tool based on the metal thickness, detail needed, and your skill level. Beginners working with thin metal foils can start with simple hand tools like metal shears or a jigsaw equipped with a metal-cutting blade. These tools cost under $100 and allow you to make straight or gently curved cuts. For thicker metal, such as steel or aluminum sheets 1/8 inch or more, professional equipment like plasma or laser cutters is usually necessary. Plasma cutters use a high-velocity jet of ionized gas to slice through metal quickly and with moderate precision, making them suitable for larger, less detailed cuts. Laser cutters provide cleaner, more precise edges and are better for intricate patterns, but rental or purchase costs are significantly higher, often several thousand dollars.
Safety is important during all cutting processes. Always wear thick gloves and safety glasses to protect hands and eyes from sharp edges, flying sparks, or metal shards. Keep your work area clean and well-ventilated, especially when plasma cutting, as it produces fumes and intense heat often exceeding 20,000 degrees Fahrenheit at the cutting point. Clamp your metal firmly to prevent slipping, and maintain a safe distance from sparks and hot metal. Before starting, check your tools for damage like cracked blades or loose components to reduce accident risks.
Choosing between plasma and laser cutting mostly depends on your sign’s design and budget. Plasma cutters handle thicker metals efficiently but leave rough edges that usually require grinding or sanding afterward. Laser cutters offer smoother finishes needing less cleanup but work best with metals up to about 1/4 inch thick. For simple shapes or smaller projects, hand tools remain accessible and affordable but demand more manual effort and time. CNC machines combine computer control with cutting tools and provide good accuracy on various metal thicknesses but usually require advanced skills and higher investment.
After cutting, inspect edges carefully. Rough, sharp edges can be hazardous and reduce sign quality. Use a metal file or sanding block to smooth out any burrs. Consistent, clean edges improve both durability and appearance. Here’s a practical checklist: First, select a cutting tool matched to your metal thickness and design complexity. Second, prepare your workspace with safety gear and proper lighting. Third, secure the metal firmly before cutting. Fourth, cut slowly and steadily, keeping clear of sparks. Finally, deburr edges for a clean finish.
Always wear gloves and safety glasses while cutting metal; sparks and sharp edges pose serious hazards even during small DIY projects.
Adding Color and Image Details to Metal Signs
Adding color and detailed images to metal signs involves several techniques, each suited to different needs and levels of complexity. For painting metal, enamel and acrylic paints are common choices because they adhere well and offer durability. Spray paint works efficiently on large, smooth surfaces, providing even coverage, while brushes are ideal for smaller signs or detailed edges. Applying a base coat and allowing it to dry for 24 hours before adding fine details reduces the risk of smudging or blending colors unintentionally. For protection and longevity, sealing the painted surface is essential, especially if the sign will be displayed outdoors.
Sublimation printing offers an alternative way to apply full-color images, including photos and intricate designs, onto metal surfaces. Unlike hand painting, sublimation relies on heat to transfer dye directly into specially coated metal, resulting in vibrant, durable images that won’t peel or fade easily. To use this method, you’ll need a sublimation printer with compatible inks, coated metal blanks designed for sublimation, and a heat press that can maintain around 400 degrees Fahrenheit. The pressing time usually ranges from 60 to 70 seconds, but increasing it beyond 70 seconds can help if colors appear faded. Sublimation is costlier upfront because of the equipment involved but excels in producing highly detailed and photo-realistic outputs without brush strokes or paint texture.
Etching metal signs introduces depth and texture to your design by selectively removing small amounts of metal, often using acid or electrochemical processes. This technique is suited for adding fine lines or intricate patterns that paint or printing might not easily replicate. After etching, you can fill the grooves with contrasting paint or leave them bare for a subtle, tactile effect. Chemical etching typically requires protective gear and precise timing, for example, immersing the metal plate in an acid bath for a few minutes depending on the metal type and desired depth. This method is slower and needs careful execution but adds a professional, handcrafted feel to metal signs.
Each method suits different project goals. Painting is flexible and cost-effective for custom, one-off signs or small batches. Sublimation printing works best for signs with complex images or color gradients, especially if you plan on producing many signs with the same design. Etching excels at creating sharp, long-lasting details but involves more safety precautions and preparation.
Before starting, clean and prep your metal surface to ensure the best adhesion of paints or inks. When hand painting, thin coats and patience improve results, while sublimation demands perfectly coated metal blanks and calibrated heat press settings. Finished signs with painted or sublimated images last years outdoors when sealed properly, requiring minimal upkeep. By choosing the right technique for your sign’s design and intended use, you can create metal signs that stand out with clear images and vibrant colors.
Finishing, Sealing, and Protecting Your Metal Sign
Polishing metal before applying any sealant gives your sign a professional and smooth appearance. Start by using fine-grit sandpaper, such as P500, to smooth the surface evenly. Follow this with steel wool to add a washed-metal look if you want a subtle texture rather than a high-gloss shine. For a more uniform surface, a sandblasting cabinet can also help by removing rough spots and old coatings. The key is to create a clean, slightly abrasive surface that sealants can grip onto effectively.
To protect your metal sign outdoors, applying the right sealant is essential. Clear polyurethane or acrylic sealants designed for metal work well to lock in color and guard against moisture, rust, and UV damage. For steel signs, especially those with an aged or rusted patina, sealing is critical because uncontrolled rust will spread and weaken the metal over time. After polishing, apply two to three thin coats of sealant with a synthetic brush or spray, allowing 30 minutes to an hour of drying time between coats. Expect to pay $10 to $20 for a standard metal sealant sufficient for several signs.
Outdoor signs should be checked and maintained every six months to a year to ensure their finish still holds. Dust, dirt, and moisture can degrade the sealant over time, so lightly washing the sign with mild soap and water during maintenance will help. Touch up any spots where the sealant has worn thin using the same product for consistency. This upkeep prevents fading, corrosion, and prolongs the sign’s lifespan, maintaining a clean and polished look that supports your brand’s professional image.
If you want to create an intentionally aged or rusted effect, apply a diluted vinegar and salt solution to bare or lightly coated steel before sealing. This encourages controlled patina formation, but make sure to seal the metal promptly afterward to prevent uncontrolled rust. Signs exposed to harsh weather, such as heavy sun, rain, or salty air near coastlines, will need more frequent maintenance, every three to six months, to stay protected.
Successful finishing depends on patience and clean application. Avoid thick, uneven sealant layers that can drip or cloud the metal’s appearance. Good results show as a smooth, consistent coating that protects the metal without obscuring design details or texture. Neglecting to seal or polish properly leads to dull finishes, early rusting, and fading within one to two years outdoors, which can hurt your sign’s durability and visual impact.
Installing Metal Signs: Drilling, Mounting, and Hardware
Drilling holes in metal signs requires care to avoid warping or cracking, and selecting the right mounting hardware depends on the installation surface and environment. Proper hole placement and hardware ensure your sign hangs safely, evenly, and lasts whether indoors or outdoors. Following precise steps with the right tools secures your sign exactly where you want it.
Marking Hole Locations Accurately
Carefully marking hole locations before drilling keeps mounting consistent and balanced. Start by measuring and marking where the holes align along the edges of the sign, ensuring a symmetric layout that matches the mounting surface. Use a marker or pencil with fine lines, and include marks on the wall or support if needed.
On larger signs, space the holes evenly about 6 to 12 inches apart along the top and bottom edges to prevent bending. The distance depends on the sign size and weight; heavier signs generally require closer spacing or additional mounting points to distribute weight evenly.
Drilling with Proper Bits and Speed
Use a drill with sharp metal drill bits sized to your mounting screws or bolts. High-speed steel (HSS) bits with a 118-degree point work well for thin metal sheets. Lower drill speed, around 300 to 600 rpm, reduces heat build-up and helps avoid warping or cracking the metal. Lubricate the bit with cutting oil or light machine oil to keep the metal cool and prolong bit life.
Secure your sign on a flat, stable surface with clamps to prevent movement while drilling. Start with a small pilot hole, around 1/8 inch, then enlarge to the final hole size to maintain precision.
Apply steady, moderate pressure when drilling; pushing too hard can deform the metal or break the drill bit.
Choosing Suitable Hardware for Surface
Choose screws or bolts based on the mounting surface and whether the sign will be indoors or outdoors. For drywall or wood walls indoors, wood screws or sheet metal screws with plastic anchors work well. Outdoors on masonry or brick walls, use masonry anchors with corrosion-resistant screws or stainless steel bolts to withstand weather exposure.
For mounting on metal surfaces, self-tapping screws or bolts with nuts provide strong fastening. Consider standoffs or brackets for a professional look and added clearance behind the sign, which aids ventilation and reduces corrosion risks.
Mounting and Leveling the Sign
Leveling the sign as you mount it avoids a crooked display. Use a bubble level or laser level to check alignment before securing the hardware fully. Start by loosely attaching the screws or bolts, then adjust the sign’s position if needed. Tighten all fasteners evenly to avoid warping the metal.
To attach wire or string for hanging, thread it through the pre-drilled holes and secure it tightly. For permanent mounting, directly anchor screws or bolts into the wall or mounting surface, checking for secure fit and no movement once mounted.
- Place the metal sign on a stable work surface and mark desired hole locations evenly along the edges.
- Clamp the sign securely to prevent shifting during drilling.
- Choose a drill bit matching the mounting hardware size, lubricate it with cutting oil, and drill a small pilot hole first.
- Drill through the metal slowly at 300-600 rpm, applying steady pressure to avoid warping.
- Select mounting hardware suitable for your wall type and environment, prioritizing corrosion resistance outdoors.
- Hold the sign in position and insert screws or bolts, leaving them slightly loose.
- Use a level to adjust the sign evenly; then tighten all hardware firmly.
- Optionally, attach hanging wire through holes for additional support or decorative hanging.
Common Mistakes in Metal Sign Making (and How to Fix Them)
Paint peeling or smearing on metal signs often stems from poor surface preparation. Metal surfaces are usually too smooth for paint to adhere well without proper sanding. Using 80, 120 grit sandpaper to scuff the metal before painting creates a rough texture that helps the paint grip better. Skipping this step can cause paint to lift or smear when handled or exposed to moisture. Applying a primer designed for metal also improves adhesion and reduces paint failure.
Etching errors typically happen because the timing is off. Etching too long can etch away fine details and weaken the metal, while etching too short produces faint designs that aren’t clearly visible. The ideal etching time depends on the etchant used and the metal type but generally ranges from 30 seconds to 5 minutes. Testing on scrap metal helps you determine the right timing. Rinse and dry the sign immediately after etching to stop the process and achieve sharp, crisp details.
Vinyl stencils that do not stick well can ruin your sign design by allowing paint to bleed under the edges. This usually occurs if the metal surface isn’t clean, dry, and free of oils or dust before applying the stencil. Wipe the metal with isopropyl alcohol to remove contaminants. Also, press the stencil down firmly with a squeegee or a credit card to ensure full contact. For uneven or textured metals, consider using a liquid mask or a stencil adhesive spray as backup.
- Always sand your metal surface with 80, 120 grit sandpaper before painting.
- Test etch times on scrap pieces starting at 1 minute and adjust as needed.
- Clean metal with isopropyl alcohol before applying vinyl stencils.
- Use a squeegee to press stencils firmly and avoid paint bleeding.
- Apply a metal primer to improve paint adhesion and durability.
- Rinse and dry etching promptly to prevent over-etching.
- Consider stencil adhesive sprays for textured metals or curved surfaces.
Selecting an unsuitable metal for your craft can lead to challenges such as hard cutting and poor surface quality. Aluminum cuts more easily and resists corrosion, which suits outdoor sign projects well. Steel, on the other hand, demands tougher cutting equipment and needs protection against rust. Using tools designed for your metal’s thickness and kind helps speed up work and improves cut accuracy.
Step-by-Step Action Plan for Making Your Metal Sign
Follow these steps to create your custom metal sign from start to finish and ensure each phase is successful before moving on.
- Before you start: Select a metal type based on where your sign will be displayed (e.g., aluminum for outdoor durability). Check your design fits within your chosen metal size.
- Day 1: Finalize your design with clear fonts and simple graphics. Print a test copy on paper to verify size and readability.
- Day 2: Transfer the design onto your metal using your preferred method (paint stencil, vinyl mask, or direct engraving). Confirm the design is crisp and correctly aligned.
- Day 3: Cut and shape the metal using appropriate tools and safety gear. Ensure edges are smooth and the shape matches your design plan.
- Day 4: Apply colors or images with durable paints or enamels, layering for full coverage. Let dry completely and inspect for even application.
- Day 5: Seal your sign with a clear protective coating. Check for uniform coverage without drips or missed spots.
- Day 6: Drill holes and assemble mounting hardware based on your installation site. Test stability by gently applying pressure to the mounted sign.
- Day 7: Mount your sign securely outdoors or indoors. Confirm its visibility and sturdiness through a final inspection.
Frequently Asked Questions
What Is the Best Way to Protect Metal Signs from Rust Outdoors?
Applying a clear weatherproof sealant helps prevent rust on metal signs used outdoors. Look for sealants that block moisture and UV rays to extend the sign’s lifespan.
Can You Use Laser Engraving for Metal Sign Designs?
Yes, laser engraving works well on metal signs for precise and permanent designs. It removes metal surface layers cleanly, creating detailed visuals without paint or adhesives.
How Thick Should the Metal Be for Small Decorative Signs?
For small decorative metal signs, 16 to 22 gauge thickness works well to balance durability and ease of cutting. Thinner sheets may bend easily, while thicker ones require more powerful tools.
Is It Necessary to Prime Metal Before Painting a Sign?
Priming metal before painting is recommended to improve paint adhesion and prevent peeling. Use a metal primer compatible with your paint type for the best finish and long-term durability.
Can I Cut Metal Signs with a Jigsaw at Home?
You can cut thin metal sheets with a jigsaw using a fine-toothed blade, but thicker metals need specialized tools like a plasma cutter for clean edges. Always wear safety gear.
How Do I Ensure My Metal Sign Design Fits the 12 X 12 Inch Size?
Design your graphics to match the 12 x 12 inch sign dimensions exactly for full coverage. Use design software’s measurement tools or templates to size your image correctly.
Wrapping Up
Making a metal sign is a hands-on process that brings your design ideas into a durable, eye-catching form. Start with a clear design and the right materials, then move through each step carefully to create a sign that lasts and looks great. Try transferring a simple design onto a small metal piece to practice your technique before committing to a larger project.