How to Make House Number Signs: 8 Easy DIY Methods with Tips
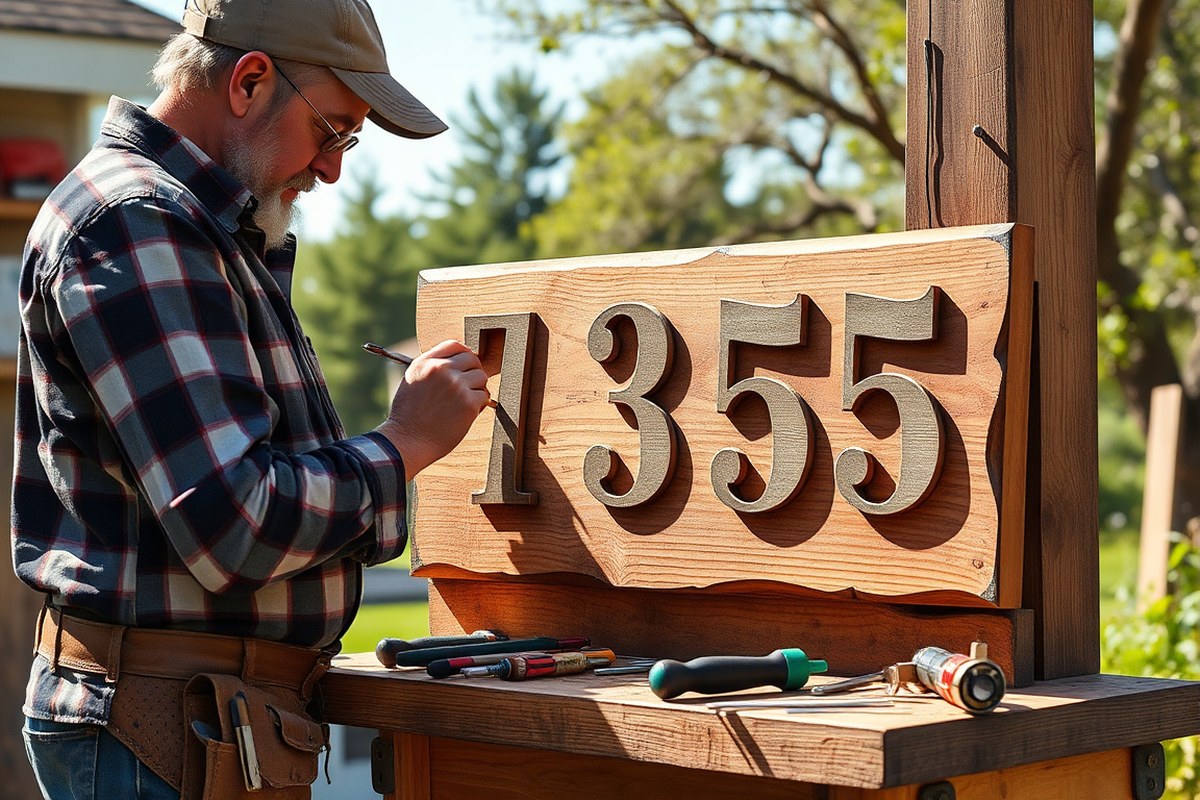
Knowing how to make house number signs means you can create a clear, attractive marker for your home quickly and cheaply. Making your own sign lets you avoid costly custom options while matching your style perfectly. Start with simple materials like scrap wood or inexpensive plywood to save money and speed up the process.
Focus on choosing the right size and design to make sure your numbers are easy to see from the street. Proper sealing protects your sign from weather damage, ensuring it lasts for years.
Key Takeaways
- Use scrap wood or affordable plywood to keep material costs under $10 for a sturdy sign base.
- Cut the sign length around 14 to 16 inches to fit three-digit house numbers with good spacing.
- Choose numbers 4 to 6 inches tall for homes close to the road; increase to 6 to 10 inches if farther away.
- Seal the sign with outdoor Mod Podge or similar to protect paper or paint from moisture and mildew.
- Mount signs with screws or sturdy hooks for durability against wind and weather.
- Incorporate lighting like solar LEDs for night visibility without a complex electrical setup.
1. How to Create Your Own House Number Sign in Simple Steps
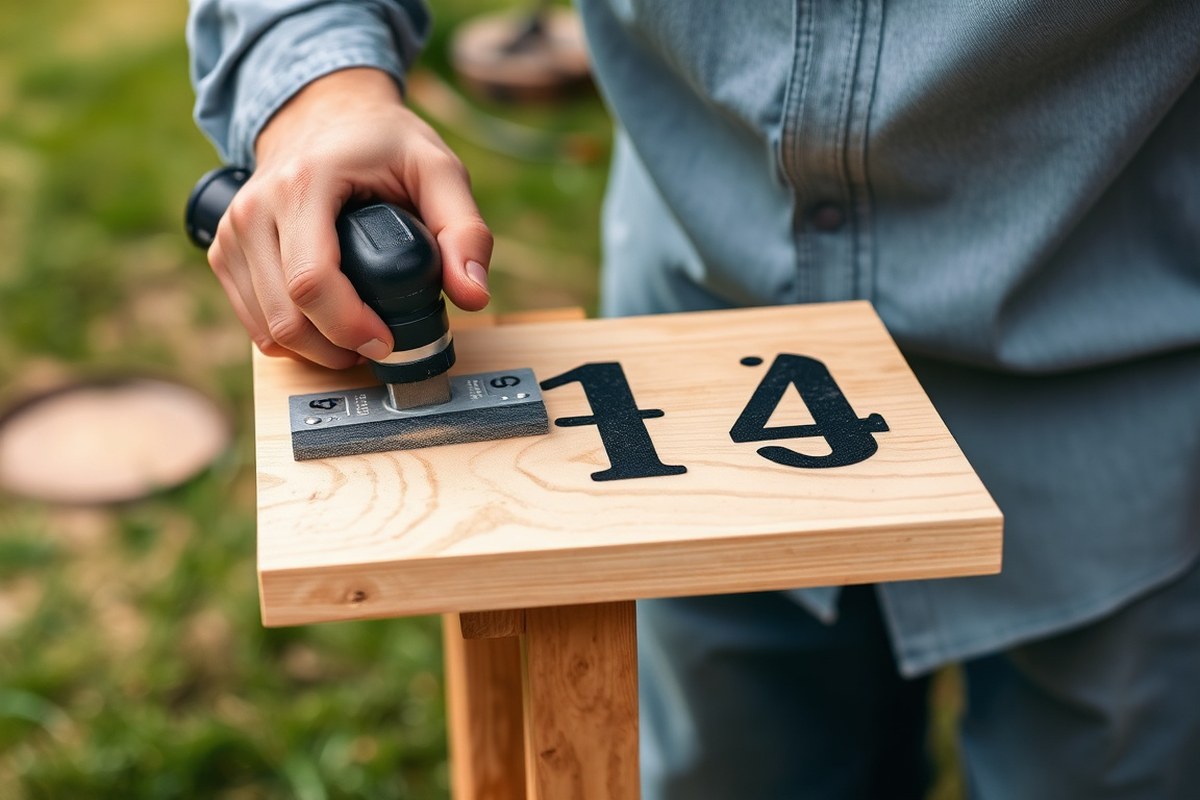
Making your own house number sign can be a simple, affordable project that adds a personal touch to your home’s exterior. Start with a sturdy base, such as a flat piece of wood, which is easy to paint and customize. Preparing the base properly ensures your sign will last outdoors. After preparing the base, you can apply numbers using stencils, decals, or hand painting. Sealing your sign protects it from weather and extends its life.
- Choose and prepare the base material. Select a piece of wood, about 12 to 18 inches wide and 6 to 8 inches tall, depending on your number size. Sand the wood smooth with fine-grit sandpaper to remove rough edges and create a clean surface. Wipe off dust with a damp cloth and let the wood dry completely.
- Apply a background coat of paint or stain. Use outdoor acrylic paint or wood stain for weather resistance. Apply one or two coats with a brush, letting each coat dry for about 30 minutes. This layer provides a finished surface and helps protect the wood from moisture.
- Add house numbers using your preferred method. For a clean look, use number stencils and outdoor paint, applying the paint inside the stencil with a foam brush. Alternatively, vinyl number decals are easy to apply and remove but may peel over time. Hand painting the numbers lets you customize styles, but requires a steady hand and some practice.
- Let the numbers dry thoroughly. Depending on paint type, allow 20 to 30 minutes for drying before moving to the next step. This prevents smudging and ensures sharp edges.
- Seal the sign to protect it from elements. Apply two coats of an outdoor sealant or clear waterproof varnish, letting each coat dry for about one hour. For paper or stencil edges, use a product like Outdoor Mod Podge on top to guard against peeling and water damage.
- Add mounting hardware if desired. Attach hooks, brackets, or holes for screws depending on how you plan to display the sign. Consider your mounting location to select appropriate hardware.
- Allow the sign to cure fully before installing outdoors. This usually takes 24 to 48 hours and ensures all layers are durable for weather exposure.
A DIY house number sign usually costs under $20, especially when using scrap wood or inexpensive materials from a hardware store. Signs that are well-sanded, evenly painted, and properly sealed look professional and hold up well against rain and sun. Skipping sealing or using low-quality paint can result in peeling, fading, or warping. Taking your time with each step prevents common problems and ensures a sign that lasts.
2. Choosing the Best Materials for a Durable Number Sign
Choosing the right material for your house number sign is essential. It affects how long the sign lasts outside, how much you spend, and how well it fits your home’s look. Outdoor signs face sun, rain, and temperature shifts, so pick materials that hold up well and stay attractive.
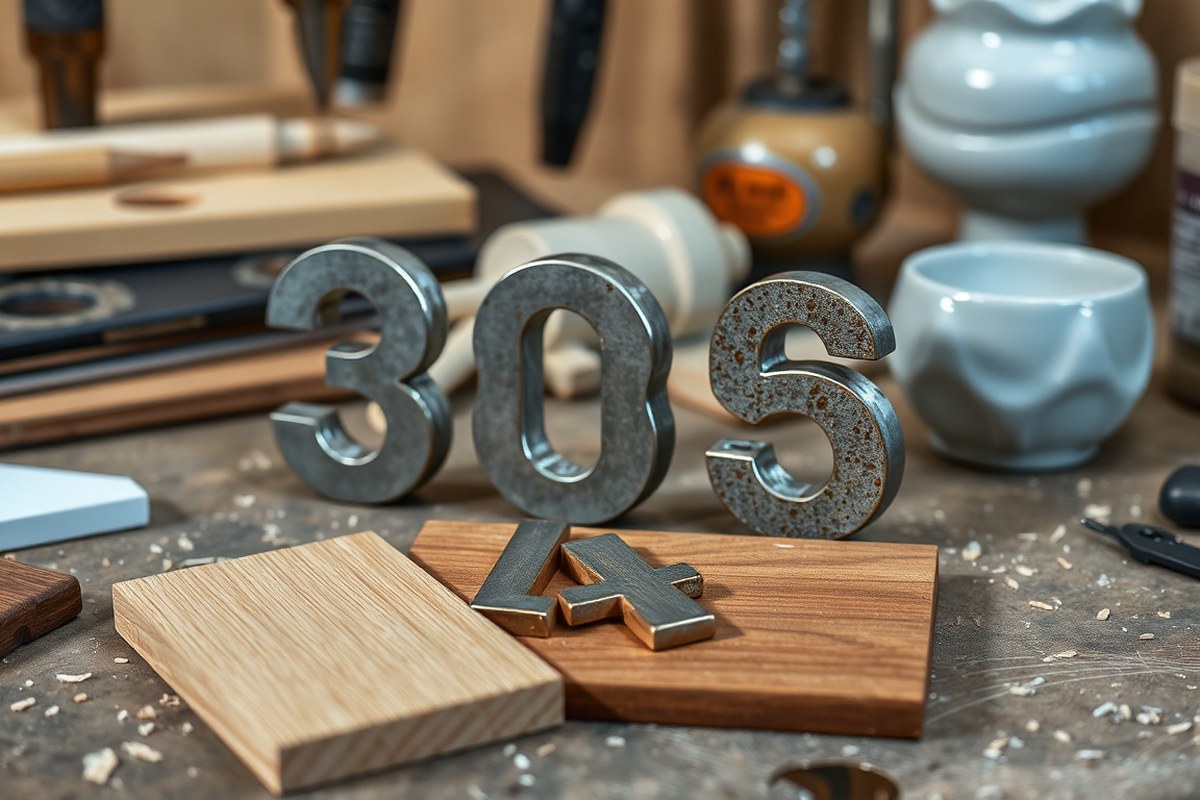
Wood gives a warm, rustic feel and fits well with many home styles. Treated wood lasts longer outdoors and pairs well with painted or carved numbers. Metal signs are very tough, resistant to weather, and offer a sleek or classic look depending on the finish. Acrylic is weatherproof and modern, easy to clean and paint, but less textured. Ceramic adds charm but can chip or crack. Vinyl is the cheapest and simplest, great for temporary or budget options, but not very durable on its own.
Reclaimed materials like old wood or metal work well if properly prepared. Sand rough edges, seal wood, and clean metal to improve lifespan. These options add character and reduce costs while being eco-friendly.
| Material | Durability | Cost | Style | Outdoor Suitability |
|---|---|---|---|---|
| Wood (Treated) | Moderate to High (lasts years with sealant) | $10-$50 (depends on wood type) | Rustic, warm, natural | Good with weatherproof sealant |
| Metal (Aluminum, Steel) | High (resists rust if coated) | $20-$70 (varies by metal and finish) | Modern or classic, sleek | Excellent, long-lasting |
| Acrylic | Moderate (resistant to moisture) | $15-$40 | Modern, smooth finish | Good, needs UV protection |
| Ceramic | Low to Moderate (fragile edges) | $10-$30 | Charming, colorful | Limited (risk of cracking) |
| Vinyl (Numbers or Decals) | Low (fades, peels in sun/rain) | $5-$15 | Simple, clean | Short-term or covered spots |
Cost is a factor if you want to keep your project budget-friendly. Wood and vinyl are the cheapest options and easy for beginners. Metals and acrylic cost more but offer longer-lasting results outdoors. Look for sealants or finishes that add protection for any chosen material. Usage of reclaimed wood or metal reduces cost and adds unique texture if you prep the surfaces well.
Apply a weatherproof sealant on wooden signs to prevent rotting and extend outdoor life by several years.
Pick materials matching your home’s vibe but prepare for maintenance or replacement if you choose fragile options like ceramic or vinyl. Durable materials like metal and treated wood provide a solid balance of style and weather resistance without much upkeep.
3. How to Size and Style Your House Number Sign for Visibility
House numbers need to be large and clear enough for visitors, mail carriers, and emergency services to see from a distance. A good rule is to use numbers at least 4 to 6 inches tall for signs placed close to the front door, which people will see when approaching the house on foot. For signs meant to be seen from the street or driveway, choose numbers that are 8 to 12 inches tall. For example, a sign with three digits is often around 16 inches long, allowing each number enough space without crowding.
Fonts should be simple and easy to read. Sans-serif styles, like Arial or Helvetica, work well because they avoid extra strokes that can blur the shape of numbers from afar. Stencil-style digits are another great option since they keep the numbers legible under all lighting and weather. Avoid decorative or script fonts, which can reduce readability, especially when viewed quickly.
Colors must contrast strongly with the background. Pairing black numbers on a white or light background, or white numbers on a dark background, helps ensure the digits stand out. Using two different colors, one for the numbers and another for surrounding letters or decorations, can improve visibility and add definition without making the sign confusing.
Placement greatly affects how quickly numbers can be seen. Mount your sign at eye level near the front door for visitors on foot. For signs meant to be read from a car, place them closer to the street or driveway entrance. Avoid obscured locations like behind bushes or in shadowed corners. If you have a long driveway, add a larger number sign at the road so delivery and emergency vehicles don’t have to get too close to locate your home.
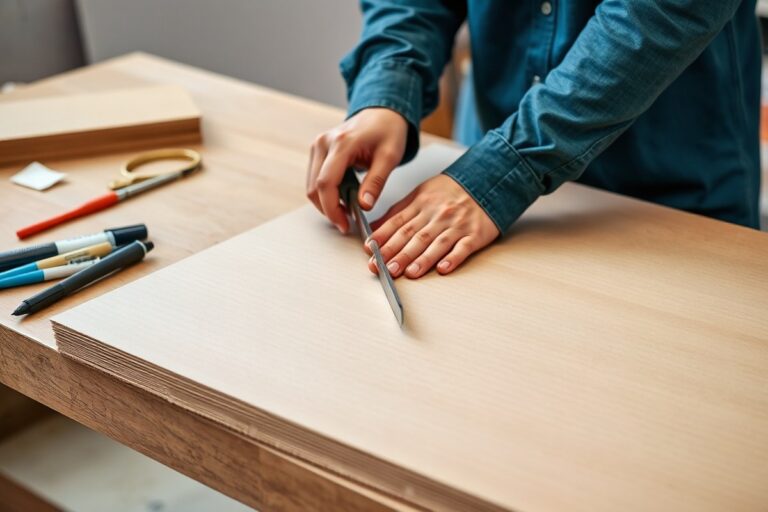
The number of digits also impacts the sign’s dimensions. A three-digit number fits comfortably on a 16-inch wide board, but adding street names or extra details means you’ll need a larger base. Cutting plywood to the right size before painting or attaching numbers ensures everything fits neatly. You can cut standard 3/4-inch plywood into custom sizes depending on your needs, balancing enough space for visibility with a tidy overall look.
For those on a budget or without fancy tools, simple DIY signs with stencil numbers work well. Painting numbers yourself lets you test different sizes and colors on scrap wood before finalizing. Expect to spend a few hours on layout and painting, with costs mostly limited to materials like plywood, paint, and brushes. Taking time to size, style, and position your number sign properly makes a big difference in ease of finding your home, especially during emergency situations where every second counts.
4. Mounting Options: Hanging, Free-Standing, and Wall-Mounted Signs
Mount house number signs securely by choosing the right method for your surface and how permanent you want the installation to be. Use screws and anchors for walls, brackets or chains for hanging, and posts or planters for freestanding signs. Each method requires specific hardware and careful steps to keep signs stable without damaging surfaces or the sign itself.
Using Screws and Anchors for Wall Mounting
This method works well on wood siding, brick, stucco, or concrete walls. Use wall anchors that match your wall material to support the weight of the sign and resist weather. Before drilling, mark the mounting points on the wall and check the sign’s back for bracket placement. Choose corrosion-resistant screws like stainless steel or coated screws for outdoor use.
To avoid damage, drill pilot holes slightly smaller than the anchors and install anchors flush with the wall. Then, screw through the sign’s mounting holes into the anchors. This ensures a snug fit without cracking the wall or warping the sign.
- Materials: wall anchors (plastic, metal, or masonry), corrosion-resistant screws, drill with appropriate bits
- Tools: screwdriver, level, pencil for marking, tape measure
- Confirm mounting spots are between studs when possible to increase holding strength
- Pre-drill holes in the sign to prevent splitting
- Use a level to align the sign horizontally before securing
Cost for materials ranges from $5 to $15 depending on anchor type and quantity. Signs mounted this way are stable long-term and weatherproof but require wall drilling. You can remove or reposition the sign by unscrewing and filling holes with outdoor caulk or patching compound.
Hanging Signs with Brackets or Chains
Hanging with hardware like keyhole brackets, sawtooth hangers, or D-rings allows easy repositioning while keeping the sign secure. Attach the chosen bracket or rings firmly to the back of the sign using screws or strong adhesive rated for outdoor use. Use picture wire or thin metal chains, jewelry wire can work temporarily but lacks durability for long-term outdoor use.
Mount a hook, nail, or screw into the wall or fence post to hang the sign from the hardware. Choose anchors suited for wood, brick, or vinyl surfaces. Hanging is ideal for renters or those who want to avoid permanent holes in walls.
- Hardware: keyhole brackets, sawtooth hangers, D-ring hangers, picture wire, metal chains
- Mounting supports: wall hooks, screws with anchors, fence post hooks
- Tools: screwdriver, drill, level, pencil
- Attach hardware securely to prevent wobbling or falling
- Use rust-resistant hardware and check periodically for wear
This method lets you move the sign easily without redrilling holes but can sway in wind unless stabilized with additional clips. Hanging signs suit homes with textured or fragile surfaces where direct screwing is unwanted.
Installing Freestanding Posts and Planters
Free-standing signs offer flexibility and can add decorative landscaping appeal. Use a sturdy wooden or metal post, anchored firmly into the ground with concrete or ground spikes. The sign attaches to the post with screws or brackets. When adding planters, consider weight and water exposure, use weatherproof materials and improve metal parts to avoid rust.
Install the post by digging a hole 12 to 18 inches deep, placing the post upright, then filling the hole with quick-drying concrete. Let concrete cure at least 24 hours before attaching the sign. Posts make the sign visible from multiple angles and suit houses without suitable wall space.
- Materials: wooden or metal post, ground anchors or concrete, mounting brackets or screws
- Tools: shovel or post hole digger, level, drill, concrete mix
- Plant containers should have drainage and be secured to the post
- Place sign at eye level, around 4 to 5 feet tall for best visibility
- Check local codes for permitted post height or placement
Costs vary by post material and setup but generally range from $20 to $50 for basic freestanding signs. Posts handle harsh weather well and can be repositioned by digging up the post and relocating it, though this takes effort. This option suits homes with yards or garden beds where wall mounting isn’t practical.
5. Creative Design Ideas for DIY House Number Signs
Several popular styles fit a range of home exteriors and skill levels for making your own house number sign. Rustic wooden signs offer charm with a low-cost approach, while metal or acrylic signs provide a sleek, modern look. Integrating lights or greenery adds visual interest and visibility after dark. Handmade mosaics or tile accents bring an artistic flair.
Rustic Wooden and Planter Signs
Rustic signs use weathered or reclaimed wood for a cozy, natural vibe. They’re great for beginners because you often need only sanding, staining, and stenciling numbers. Planter-integrated signs combine a wooden base with a built-in planter box, giving you space to add flowers or succulents around your address.
To make a wooden planter sign, use scrap 1×6 or 1×8 pine or cedar boards about 2 feet wide by 12 inches tall. Build a shallow box on the bottom for soil, attach house numbers with waterproof adhesive or screws, and seal with clear outdoor polyurethane. Place low-maintenance plants like succulents to avoid frequent watering.
- Use reclaimed wood or pallets for eco-friendly, low-cost materials
- Seal and weatherproof to extend sign life outdoors
- Attach numbers with nails or adhesive, repainting for contrast if needed
- Choose hardy plants with low watering needs for planters
- Mount on a wooden post or secure to a wall
Protect wooden signs from rot by applying two to three coats of weatherproof sealer and placing them under an eave when possible.
Rustic wooden signs suit cottages, farmhouses, and traditional homes, offering a welcoming look. Adding a planter makes these signs functional and visually appealing. Be mindful that outdoor plants require occasional care and changing seasonally.
Modern Metal and Acrylic Signs
Modern signs favor clean lines, bold numbers, and minimalist design using metal or acrylic sheets. Powder-coated aluminum or stainless steel offer durability and a sleek finish for outside use. Acrylic is lighter, available in various colors, and cut easily with tools or laser cutting services.
A simple process to create a metal or acrylic number sign involves buying a 12×6 inch sheet, sanding edges smooth, painting or applying vinyl decals for numbers, then sealing for weather resistance. Attach with strong adhesives or screws to walls or posts. Magnetic or hook-and-loop-backed numbers allow easy seasonal changes without replacing the whole sign.
- Choose metal or acrylic for modern or contemporary home styles
- Use stencils or vinyl cutting machines for precise number shapes
- Consider laser cutting services for custom fonts or shapes
- Mount securely to prevent bending or warping in wind
- Cost varies: metal sheets around $20-$50, acrylic $10-$30 per sheet
These signs provide a clean, professional look that requires minimal upkeep. The material resists weather but avoid choosing thin sheets that might dent. Magnetic or interchangeable numbers add flexibility without extra costs.
Illuminated Numbers and Solar Lighting
Illuminated signs boost visibility especially at night or during bad weather. Solar-powered LED strips or individual lights make lighting affordable and easy to install without wiring. You can add small battery-operated LED puck lights behind acrylic numbers or mount edging lights on wooden or metal signs.
To add lighting, paint numbers in a translucent finish on acrylic, then position LED lights behind for a glow effect. For wooden signs, install solar LED light bars on the top or sides angled to shine on the house numbers. Use self-adhesive solar lights with integrated panels and rechargeable batteries for simple setups.
- Use warm or neutral white solar LEDs for readable lighting
- Ensure direct sun exposure for solar panels to keep batteries charged
- Place lights so they don’t create distracting glare to neighbors or passersby
- Waterproof all electrical components and follow manufacturer instructions
- Expect costs from $15-$40 for solar lighting kits suitable for signs
Test the solar lights before final installation to confirm brightness and battery life last several hours after sunset.
Illuminated signs fit nearly any style and improve safety by making your address easy to spot. Solar options require no electrician and avoid complicated wiring, ideal for most DIYers.
Mosaic Tile and Decorative Accents
Adding mosaic tiles, pebbles, or glass beads allows a personal artistic touch. This style suits creative homeowners who want a colorful, eye-catching display. Create a backing board from wood or concrete, then attach tiles or decorative pieces with exterior-grade adhesive grout.
For mosaics, design a simple 12×18 inch wooden or cement board as base. Arrange tiles or glass pieces in patterns around your house numbers. Use waterproof grout to set materials firmly and increase durability. Accent colors can match your home’s trim or garden flowers.
- Use broken ceramic tiles, pebbles, or glass beads for cost-effective materials
- Choose a sturdy base that can withstand outdoor conditions
- Apply adhesive carefully to avoid gaps and secure all pieces firmly
- Seal the finished mosaic with waterproof sealant to prevent water damage
- Mosaics work well for artistic or eclectic home styles
Mosaic and accent signs can be a DIY craft project that takes a few hours to days, depending on the detail. Upcycling broken tiles or thrifted glass adds character and lowers costs. Avoid sharp edges and loosely attached pieces to ensure safety and longevity.
6. Adding Lighting to Your House Number Sign Affordably
Adding lighting to your house number sign improves nighttime visibility and gives your home a welcoming look. Solar-powered lights offer a budget-friendly, wire-free solution, while LED lights provide bright illumination with low energy use. Both options can be installed by a DIYer with basic skills without spending much.
Types of Outdoor Lighting for Signs
Solar lights are popular since they don’t require electrical wiring or a power source, making them easy to install. These lights use small solar panels that charge batteries during the day and power LEDs after dark. Solar light kits vary in brightness, typically measuring between 100 and 300 lumens, which is enough to clearly illuminate a standard house number sign from a few feet away.
LED lighting runs on low voltage and requires wiring but offers longer lifespan and stronger brightness. You can install LED strip lights behind cut-out numbers or small LED spotlights directed at the sign. LEDs are cost-effective for DIYers because they use less electricity and need less frequent replacement compared to traditional bulbs. Expect to pay between $10 and $30 for an LED kit suitable for a single house number sign.
Installing Solar-Powered LED Kits
Begin by choosing a solar lighting kit designed for outdoor signage, which includes a small solar panel, rechargeable battery, and LED lights. Attach the solar panel in a spot that receives 6 to 8 hours of direct sunlight, such as on top of the sign or nearby on the mounting surface. Use waterproof adhesive or screws to secure the solar panel; most kits come with mounting brackets.
Next, position the LED lights on or around the house numbers to direct illumination evenly. Use double-sided outdoor tape or waterproof clips to hold the LEDs in place. Connect the lights to the solar panel and battery pack following the manufacturer’s instructions, usually with simple plug-and-play connectors.
Test the system at night to ensure numbers are sufficiently lit from 8 to 10 feet away. Adjust the angle of lights or relocate the solar panel if the brightness is uneven or dim. A typical solar lighting kit costs between $20 and $50, depending on brightness and battery capacity, which is enough to last 6 to 10 hours of illumination after a full day’s charge.
Wiring and Battery Maintenance Tips
Solar lighting systems require minimal wiring but keep cables protected and secured to avoid weather damage or accidental tugging. Use weather-resistant cable clips and ensure connections are tight and covered with electrical tape or heat-shrink tubing for extra protection. If mounting on wood or siding, avoid drilling near power lines or plumbing.
Rechargeable batteries in solar kits often last 1 to 2 years before capacity drops noticeably. Replace batteries annually or whenever you notice dimmer illumination or shorter operating hours. Most kits use AA or AAA rechargeable NiMH batteries, which cost between $5 and $15 per set.
LED lighting on wired systems requires occasional cleaning to remove dirt and debris that can block light. Wipe LED surfaces gently with a damp cloth every few months. Turning off the system during long periods of bad weather can help extend battery and LED life. Keep solar panels clear of snow, leaves, or dust to maintain charging efficiency.
7. Protecting and Maintaining Your House Number Sign
Protecting your house number sign starts with applying the right sealant or finish. Clear outdoor wood sealers, acrylic varnishes, or polyurethane sprays create a barrier against moisture, UV rays, and temperature changes. For wood signs, use a marine-grade spar urethane for the best weather resistance; it costs about $15 to $25 per quart and covers 200 to 300 square feet. For metal or plastic signs, look for spray paints or clear coats designed for exterior use. Applying two to three thin coats with light sanding between each layer gives the strongest protection. Seal your sign once you finish painting or assembling it and let it cure for 24 to 48 hours before installation.
Cleaning your house number sign every three months helps keep it visible and prevents dirt buildup. Use mild soap and water with a soft cloth or sponge. Avoid harsh chemicals or abrasive scrubbing, which can damage finishes and lettering. In areas with heavy pollution, pollen, or bird droppings, more frequent cleaning might be necessary. After cleaning and drying, inspect the sign carefully for any peeling paint, fading, or cracking in the sealant.
Seasonal weather changes affect your sign’s durability. Sun exposure in summer fades paint and sealants, while winter freezes and moisture cause wood to expand and contract, leading to cracks or warping. Spring often brings rain that can seep into unsealed surfaces, accelerating wear. To combat this, plan to reseal your sign every one to two years, ideally before heavy rain or freezing temperatures arrive. At a minimum, resealing once every two years helps maintain a strong weather barrier.
Numbers on your sign that start peeling or fading should be repaired promptly to keep them clearly visible. Lightly sand affected areas with fine-grit sandpaper to remove loose paint. Repaint numbers using outdoor acrylic or enamel paint that matches your original colors. After paint dries, apply a fresh coat of sealant over the entire sign. For wooden signs, touch-ups cost about $10 to $20 in materials, and the process takes a couple of hours including drying time. Avoid skipping repairs, since worn numbers reduce curb appeal and can affect emergency responders’ ability to find your home.
For seasonal upkeep, keep a checklist: in early spring, clean the sign and inspect for damage; by late fall, give it a thorough wash and apply a sealant to protect against winter conditions; after winter, check for cracks or warping and address them quickly. In high-sunlight regions, add UV-resistant coatings to extend your sign’s life. When you maintain your sign, check bulbs and wiring if it uses lighting to keep it visible at night.
8. Common Mistakes to Avoid and When to Call a Professional
Common errors in DIY house number signs usually relate to material choice and mounting technique. Choosing materials that cannot withstand outdoor conditions often leads to fading, warping, or rusting within a year. Mounting mistakes such as using insufficient anchors or incorrect placement reduce the sign’s visibility and durability. Fixing these problems typically involves replacing worn parts or improving mounting hardware without a full remake.
For example, if your wooden sign develops cracks, sanding the surface and applying an exterior-grade sealant can extend its life. If screwed directly into a brick wall without proper anchors, remove the screws and use masonry anchors rated for outdoor use. Correcting mounting height or angle improves visibility; signs should generally be positioned 4 to 6 feet from the ground, tilted slightly toward the street.
- Using untreated wood or non-weatherproof paint leads to faster deterioration, fixed by resealing and repainting with outdoor products.
- Improper screw types or anchors cause loose signs, resolved by switching to rust-resistant, heavy-duty anchors suitable for your wall type.
- Poor placement reduces number readability; adjust height and angle for clear sightlines from common viewpoints.
- Neglecting to drill pilot holes in hard materials risks cracking and waste; always pre-drill holes sized to screws.
- Using too small or thin numbers can be remedied by applying larger adhesive or layering cutout numbers for thickness.
Double-check mounting fasteners and sign orientation before final installation to save time and prevent damage.Professional help becomes advisable when you plan signs on uneven or brick surfaces requiring specialized anchors, or if electrical wiring is involved for lighting. Also, if your chosen material is heavy or large, professionals have the tools and experience to secure the sign safely. Electrical work, such as adding illuminated numbers, should always comply with local codes and be performed by a licensed electrician to avoid fire risks.
Custom sign makers offer design options tough to replicate at home, such as precise metal cutouts or weatherproof printed panels. Their products often come with warranties and use durable industrial materials. The cost can be higher, typically $150 to $400 depending on size and materials, but this investment saves time, ensures weather resistance, and guarantees professional mounting if requested.
Step-by-Step Action Plan for Your DIY House Number Sign
Follow these steps to create and install a house number sign that’s both functional and attractive.
- Before You Start: Choose your materials based on durability and style. Check for weather resistance to ensure longevity.
- Day 1: Design your sign, considering font size and style for easy visibility. Test your design by viewing it from 20 feet away.
- Day 2: Cut and prepare your base material, then paint or stain it to protect against the elements.
- Day 3: Attach or paint your house numbers clearly. Use a level to keep numbers straight and evenly spaced.
- Day 4: Add optional lighting if desired, using solar or battery-powered LED lights for affordability and convenience.
- Day 5: Mount your sign using the chosen method, hanging, wall-mounted, or free-standing. Make sure it’s secure and visible.
- After 2 Weeks: Inspect your sign. Check for any damage or fading and touch up as needed to maintain appearance.
- Ongoing: Clean and reseal your sign yearly to protect your investment and keep it looking fresh.
Frequently Asked Questions
What Tools Do I Need to Make a House Number Sign?
You’ll need basic tools like a drill, paint or stain, brushes, and screws. A jigsaw or a craft knife helps if cutting wood or vinyl numbers. Always choose tools based on the material you pick for your sign to get clean results.
Can I Make a House Number Sign That Withstands All Weather?
Yes, using weather-resistant materials like treated wood, metal, or outdoor-grade plastic helps protect signs. Seal your sign with waterproof paint or a clear coat for extra durability. Proper mounting also prevents damage from wind or moisture.
How Do I Choose the Right Font for Visibility?
Pick simple, bold fonts for easy reading from a distance, like Arial or Helvetica. Avoid script fonts that blur at a glance. Contrast between the number color and background improves visibility, especially in low light.
What’s a Budget-Friendly Alternative to Professional Sign Making?
Using reclaimed wood or leftover craft supplies keeps costs low, often under $15. Paint your numbers with stencils for a professional look. This saves money and lets you personalize your sign easily.
How Do I Attach Reflective Tape to Improve Night Visibility on a DIY Sign?
Clean the surface before applying reflective tape for better adherence. Place tape around numbers or borders so headlights reflect easily. This costs little and significantly boosts nighttime readability.
Can I Include Plants or Natural Elements in My House Number Sign Design?
Yes, attaching small planters or moss to wooden signs adds a natural touch. Use weatherproof containers and secure them firmly to avoid damage. This suits homeowners wanting a green, personalized look.
The Bottom Line
Creating a custom house number sign yourself saves money and lets you add a personal touch to your home exterior. Start by selecting materials and designing a sign that suits your style and ensures visibility. Take action today by sketching your design and gathering materials to begin your project with confidence.