How to Make Barn Wood Signs: A Complete Guide with Proven Techniques
How to make barn wood signs starts with choosing the right wood and preparing it for a rustic look. Using reclaimed barn wood or plywood mimicking aged wood saves time and money. Start by distressing the wood to give it natural wear that improve the sign’s charm.
Key Takeaways
- Select wood boards about 6 inches wide and 4 to 6 feet long for authentic barn wood signs.
- Distress wood with sanding, scraping, or wire brushing to create a weathered surface before staining.
- Use stain and let it dry 20-30 minutes before tracing your lettering template onto the wood.
- Transferring lettering can be done with stencils, carbon paper, or carving for a 3D effect.
- Choose finishes like chalk paint or matte topcoats that dry quickly and protect the sign.
- Wait 24 hours after finishing before painting to ensure the best adhesion and durability.
What Are Barn Wood Signs and Their Rustic Appeal
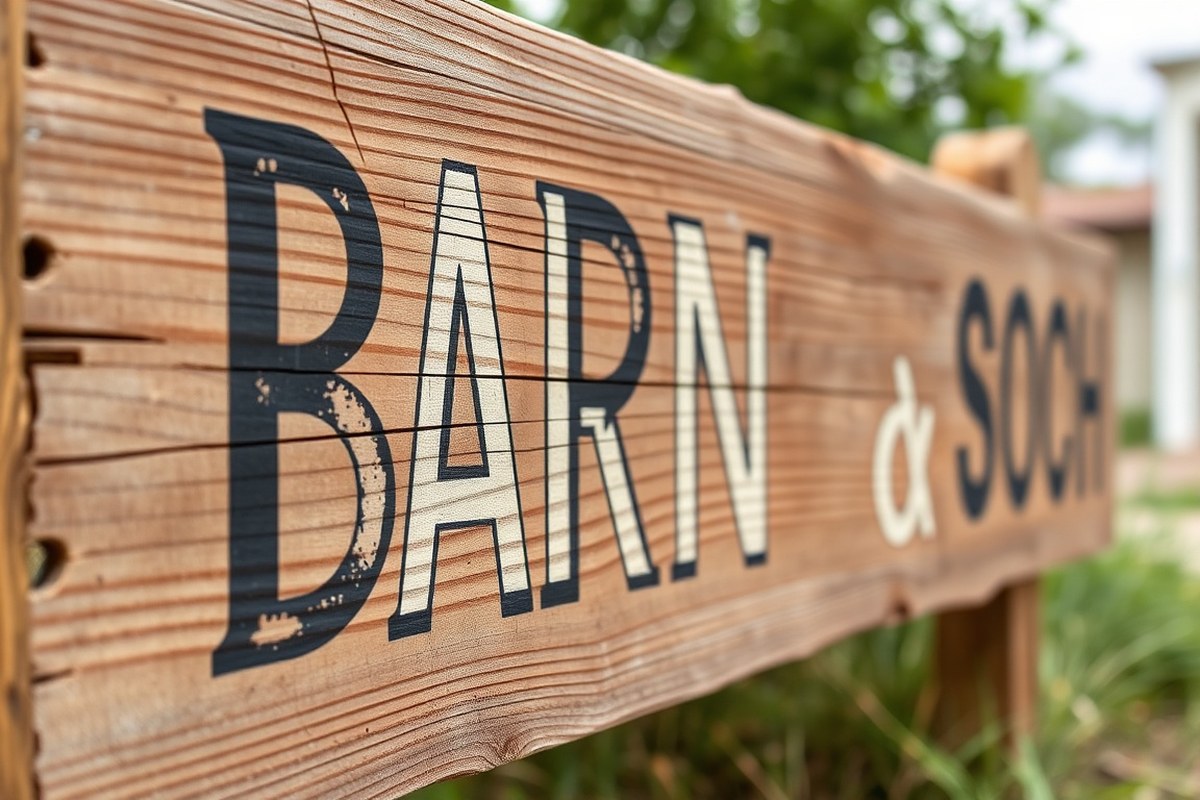
A barn wood sign is a type of wooden sign that features a rustic, weathered appearance often associated with reclaimed wood from old barns or outdoor structures. These signs stand out because of their rough texture and aged look, rather than a smooth, polished finish. The key characteristic that defines a barn wood sign is its natural, worn surface combined with painted or carved lettering, which gives it a distinct handmade charm. The weathered appearance usually results from exposure to outdoor elements over many years, providing unique grain patterns, small cracks, and color variations in the wood.
The rustic appeal of barn wood signs comes from this authentic aged look. Typically, the wood shows signs of being exposed to sun, rain, wind, and temperature changes, which slowly breaks down the surface fibers. This natural distressing process is what creates the textured, rough feel and faded color that people associate with rustic décor. Using reclaimed wood that has spent years outside is the most straightforward way to capture this look. The wood doesn’t require staining or finishing to look good; leaving these signs unfinished highlights their raw, timeworn beauty.
A sign qualifies as barn wood primarily because of the material and finish choices. Unlike other wooden signs that might use freshly cut, sanded, and sealed wood for a clean, polished look, barn wood signs purposely avoid these smooth finishes. Instead, the wood is often left weather-beaten or purposely distressed by hand to imitate that old barn effect if reclaimed wood isn’t available. Lettering on barn wood signs typically uses painted stencils for a flat, matte finish or carved techniques that add a three-dimensional depth to letters and images. Carving gives the sign a tactile quality, improving the rustic effect but requiring more tools and skill than painting.
Taking the DIY approach means you can create a barn wood sign without spending much. Supplies like reclaimed wood or similarly rough lumber often cost under $20, especially when salvaging wood yourself. Using spray paint or inexpensive stencils keeps the project affordable while achieving a genuine rustic look that fits well in varied home settings, from farmhouse kitchens to cozy offices. The lack of finishing saves time and materials but means these signs work best indoors or in covered areas to prevent fast deterioration.
Trying to recreate this rustic effect with new wood without distressing it first often results in a sign that lacks character. The key to success includes choosing wood with visible grain and minor imperfections, then applying weathering techniques if needed, such as sanding unevenly or applying diluted paint washes. Achieving a convincing barn wood sign appearance relies on embracing texture and imperfection rather than aiming for a flawless surface.
Choosing the Best Wood for Your Barn Wood Sign
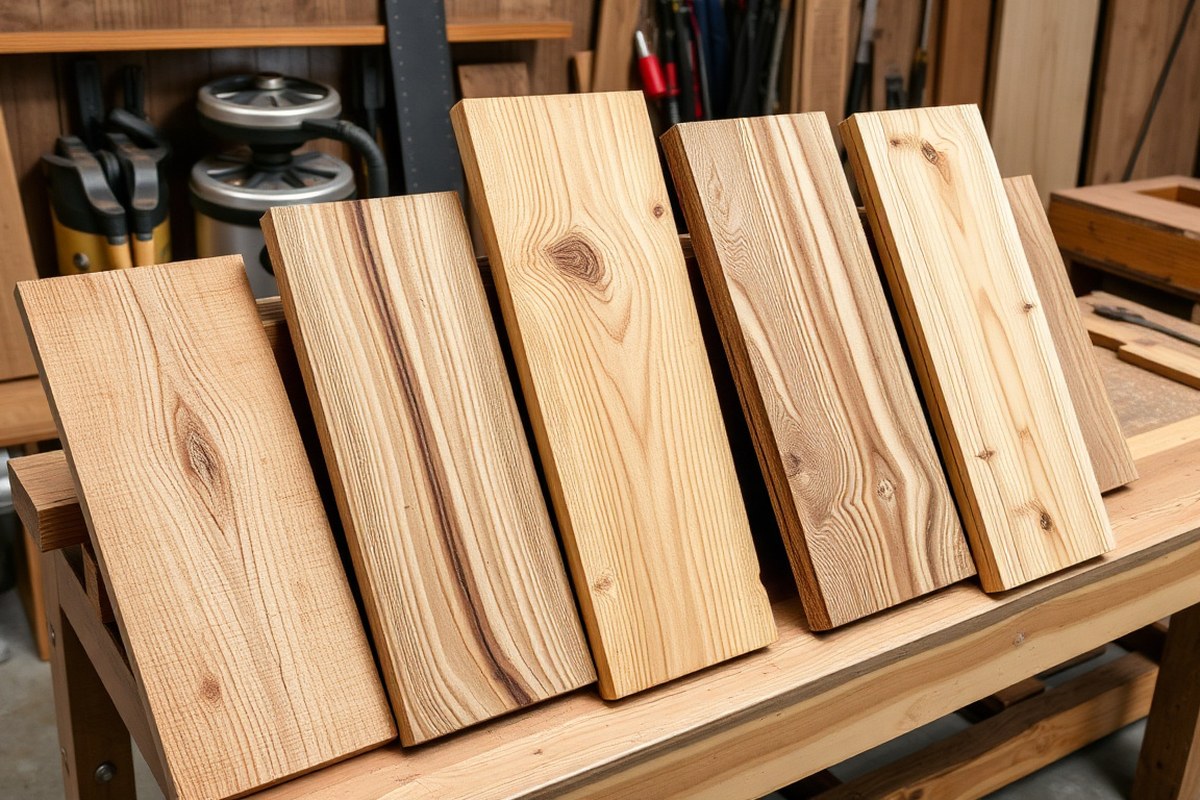
Softwoods such as pine and cedar suit barn wood signs well, especially if you’re new to woodworking. Pine offers an affordable option, typically costing around $2 to $4 per board foot, while cedar runs higher, usually $5 to $8 per board foot due to its natural resistance to decay. Both are easy to cut and sand, facilitating a smooth preparation process. For a rustic, authentic feel, pallet wood or reclaimed barn wood is a popular choice, as it’s often pre-weathered and provides a unique story through its natural distressing.
New wood requires more preparation than reclaimed wood. Start by selecting a board around ¾ to 1 inch thick and wide enough to fit your design, usually between 6 to 12 inches in width and 18 to 36 inches long. Cut and sand the edges and surface to remove splinters and smooth rough spots. New wood also benefits from distressing techniques like sanding corners or hitting the wood with a hammer to mimic an aged look.
Reclaimed wood preparation involves more cleaning and safety checks. Begin by removing any nails, staples, or screws carefully to avoid damaging tools or injuring yourself. Clean the wood with a stiff brush to remove dirt and loose debris; then lightly sand to smooth rough areas but preserve weathered edges and cracks that add character. An inspection for rot or weakness is essential, discard any sections that crumble or break easily. Reclaimed wood often requires less distressing, so focus on sealing it with a protective finish to prevent further decay.
The choice between new and reclaimed can impact cost and effort. While new wood is less expensive and easier to work with, it lacks the natural texture that reclaimed wood offers. On the other hand, reclaimed wood may cost little to nothing if you source it yourself but expect more prep time to ensure it’s safe and stable. Either way, ¾-inch thickness is ideal to balance sturdiness and ease of handling. Boards wider than 12 inches can warp or split more easily if not properly dried.
Always remove metal fasteners from reclaimed wood carefully before cutting or sanding to protect your tools and ensure safety during your project.
Preparing and Distressing Wood for the Perfect Rustic Look
Preparing and distressing wood properly is essential for achieving a genuine rustic barn wood sign. The process includes smoothing the surface without erasing natural imperfections, adding wear marks by hand for character, and applying aging techniques to mimic years of weather exposure. This approach creates an authentic texture that stands out.
Sanding and Smoothing Wood Surfaces
Start by sanding wood gently to remove splinters and smooth rough areas while keeping the wood’s natural grain and imperfections visible. Use a handheld orbital sander with 120-grit sandpaper for general smoothing, then finish by hand sanding with 220-grit sandpaper to refine the surface without making it too polished.
Avoid aggressive sanding, which removes the wood’s character and makes it too smooth for a rustic look. Sand edges lightly to preserve the worn feel, focusing more on flat areas to ensure paint or stain adheres well.
Techniques for Creating Weathered Distress Marks
Distressing involves adding natural-looking wear to your sign’s surface and edges. Tools like wire brushes, hammer heads, chains, or even nails can create dents, scratches, and grooves that suggest long-term use. Here’s a step-by-step approach to distress wood safely and effectively:
- Lightly tap the wood surface with a hammer or chain to make subtle dents.
- Use a wire brush along the grain to add scratch-like marks.
- Sand edges and corners softly with coarse-grit sandpaper (around 80-grit) to wear down sharp areas.
- Apply pressure unevenly so distress marks look natural, avoiding uniform patterns.
- Wipe dust away before moving on to finishing steps.
These methods create depth and character that natural aging would produce over many years.
Using Paint and Stains to Improve Texture
After distressing, applying paint or stain can highlight imperfections and mimic weathering effects. Use a dry brush technique with white or pale paint to gently brush over raised grain and edges, letting some wood show through for a faded look.
Stains add richness and can simulate aged wood tones. Applying a dark stain unevenly and wiping it off quickly emphasizes scratches and dents. Let paint or stain dry fully, then lightly sand edges or raised areas again to improve worn spots.
Transferring Lettering Onto Barn Wood Signs: Methods Compared
Three popular methods for transferring lettering onto barn wood signs are carving, stenciling, and hand painting. The best option depends on your skill level, available tools, and the look you want. Carving creates a tactile, lasting impression but needs more tools and time. Stenciling is good for precise designs with moderate effort, while hand painting offers flexibility and speed but requires a steady hand.
Carving Letters: Tools and Depth Effects
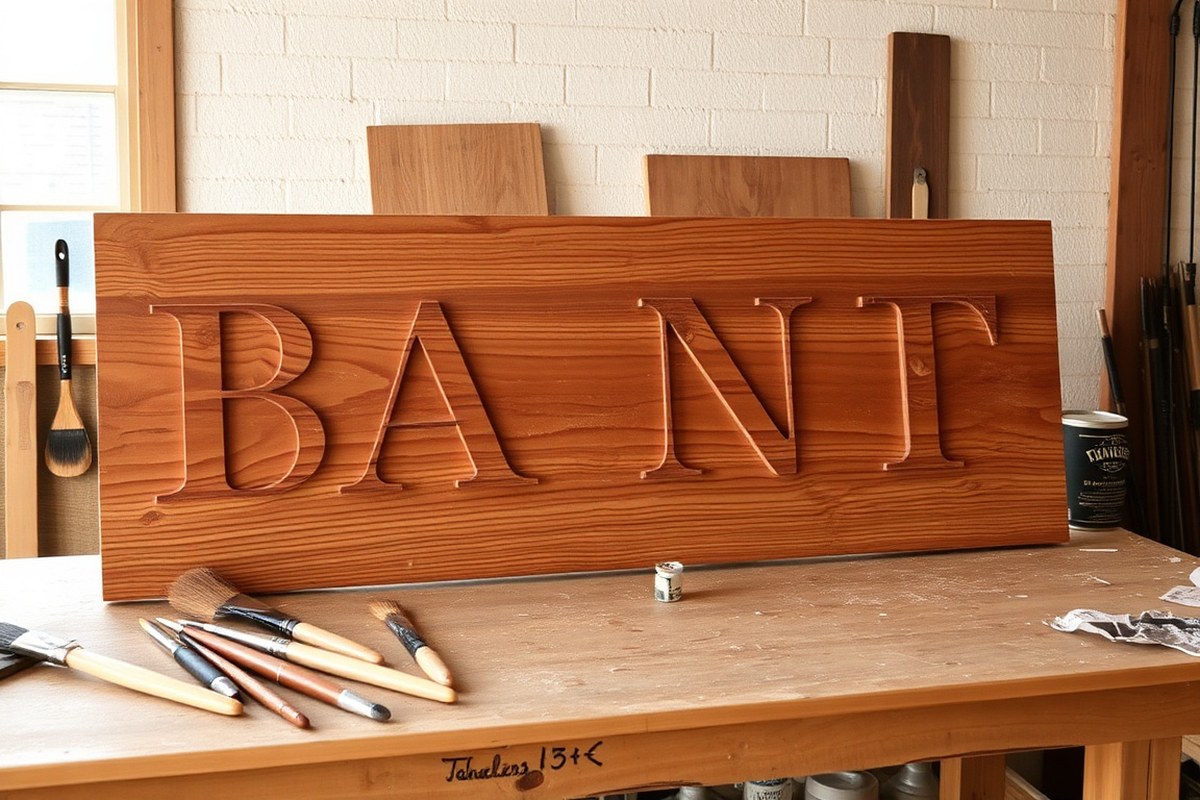
Carving involves using hand carving tools or small grinding tools to cut letters or designs into the wood. To start, trace your lettering onto the wood with pencil or transfer paper for accuracy. Carve following the traced lines with a consistent depth to create shadows and texture that improve the rustic appeal.
This method requires patience and practice since uneven depth or shaky lines can show immediately. You’ll need carving gouges, chisels, or rotary tools, which cost between $20 and $50 depending on quality. Carving is ideal for durable signs that will last outdoors, but it takes longer than other methods and may not suit beginners.
Stenciling Letters: Materials and Ease
Stenciling is a popular choice for clear, consistent letters or intricate designs. Use printable stencils or create your own by printing your design and cutting it out. Tape the stencil securely to the barn wood to prevent bleeding. Tracing over the stencil with firm pencil pressure or using carbon transfer paper can transfer the design lines onto the wood.
After transferring, apply acrylic paint with small brushes or sponges, typically in two coats. A pack of 100 carbon paper sheets costs under $10, making transfer easy and affordable. Stenciling fits well for beginners and projects with multiple signs needing uniform lettering. Proper taping and paint application prevent blurring, but some learning is necessary to avoid stencil bleed.
Hand Painting Letters: Brushes and Paint Types
Hand painting offers the most flexibility for customized or artistic signs. Using small brushes, fill in letters freehand following your penciled or stenciled outlines. Acrylic paint is recommended because it bonds well to wood and resists fading. Using a primer such as Bonding BOSS blocks wood tannins that could affect paint adhesion.
Hand painting is faster than carving but requires control to keep lines clean and letters legible. Multiple coats spaced 24 hours apart ensure good coverage and durability. This method is best if you have steady hands and prefer the artistic touch of freehand work. Beginners can start with stencils to guide their brush strokes.
| Method | Materials Needed | Cost Range | Skill Level | Time Required | Durability | Best For |
|---|---|---|---|---|---|---|
| Carving | Carving tools, pencil, transfer paper | $20, $50 | Intermediate to advanced | Several hours | Very durable, long-lasting | Outdoor signs, textured designs |
| Stenciling | Printable stencil, tape, carbon paper, acrylic paint, small brushes | Under $10 (carbon paper), $5, $15 (paint) | Beginner to intermediate | 1 to 2 hours | Good with proper sealing | Precise, intricate letters; multiple signs |
| Hand Painting | Acrylic paint, small brushes, primer (optional) | $10, $20 | Beginner to advanced | 1 hour plus drying time | Good with sealing and multiple coats | Artistic, custom signs |
Choosing the method depends on how much time you have, your budget for materials, and the level of craftsmanship you want. Carving suits durable projects with a rustic feel but takes the most effort. Stenciling balances precision and ease, great for beginners or repetitive designs. Hand painting adds creative freedom and speed, perfect for simple or unique lettering.
Choosing and Applying Finishes for Barn Wood Signs
Polyurethane is the best choice for protecting barn wood signs intended for outdoor use. It creates a hard, clear coat that repels moisture, dirt, and UV rays, keeping your sign looking good through rain and sun. Oil-based polyurethane is tougher than water-based, but it takes longer to dry, about 6 to 8 hours per coat, and has a stronger odor. For indoor signs, a satin or matte polyurethane can preserve the rustic appearance without adding too much shine.
Wax finish offers a softer, more natural matte look ideal for indoor signs that won’t face harsh conditions. It improve the wood grain and texture but provides limited protection against moisture or wear. Wax finishes need reapplication every few months to keep the wood looking fresh. Applying wax requires rubbing paste wax with a clean cloth in small circular motions, then buffing until you reach the desired sheen.
Oils like tung or linseed add warmth to the wood and deepen its color while offering moderate protection. They penetrate the wood rather than coating it, which maintains the rustic feel. Oils are easier to apply than polyurethane; spread with a brush or rag, let soak for 15 to 30 minutes, then wipe off excess and allow 24 hours to dry. These finishes work well indoors and in covered outdoor spaces but may not hold up in full exposure to weather.
Before applying any finish, sand the wood thoroughly, starting with 120-grit sandpaper to smooth rough areas, then finishing with 220-grit for a fine surface. Remove all dust with a tack cloth so the finish adheres properly. Test your chosen finish on a small scrap or hidden area of your sign to check the color and sheen. Multiple thin coats of finish work better than a single heavy coat, apply the first coat, let it dry completely, then lightly sand with 320-grit sandpaper before applying the next one. This process helps to build durability without hiding the wood’s natural character.
Outdoor signs benefit from finishes labeled “exterior-grade” because they include additives that resist UV damage and moisture better than indoor finishes. After your stain or paint dries, apply at least two coats of exterior polyurethane or clear sealant. For an added layer of protection, use a high-quality paint like Behr Premium Plus Ultra paint in Frost color underneath the sealant, which also improve the design’s contrast and visibility in sunlight.
Avoid applying too thick a coat of polyurethane; it can dry cloudy or peel off. Thin, even layers with proper drying time give a clear, long-lasting finish.
Indoor signs do not need the same weatherproofing but still benefit from a protective layer to prevent dirt buildup and scratches. Wax or oil finishes suit indoor use best when you want to keep the rustic matte texture. For simple care, gently dust your sign and reapply wax every 3 to 6 months depending on use and humidity. Polyurethane indoors provides tougher protection if your sign is in a high-traffic area or kitchen environment where moisture exposure is higher.
Essential Tools and Materials Checklist for Barn Wood Signs
The essential tools and materials for making barn wood signs are easy to find and mostly affordable. Start with a wood board, the most common choice is pine because it’s inexpensive and readily available. Home Depot or Lowe’s can cut a longer board to your preferred size, usually for free or a small fee, letting you create multiple signs from one board. Choose sizes like 12×24 inches or smaller for beginner projects.
Next, pick your paint or stain. Acrylic craft paint works well for lettering, while wood stain brings out the natural grain. Brands like FolkArt offer quality acrylic paints around $3 to $5 per bottle. For stains, Minwax is a popular choice costing about $6 to $10 per quart. You can use stencils or vinyl decals to transfer lettering, which simplifies the painting process.
- Wood board (pine recommended), cut to size
- Acrylic craft paints or wood stains (FolkArt, Minwax)
- Sandpaper (120- and 220-grit)
- Paintbrushes or foam brushes (sizes 1-inch to 3-inch)
- Stencils or vinyl decals for lettering
- Protective finish such as polyurethane spray
- Safety gear: gloves, dust mask, and goggles
Sandpaper is important to smooth the wood before painting and to distress it gently if you want a weathered look. Use 120-grit sandpaper first to remove rough patches, then 220-grit for a smooth finish. Sanding by hand is easy and inexpensive, but electric sanders can speed up the process if you plan many signs. Foam or synthetic paintbrushes cost about $2 to $5 each from art stores and are better for smooth, even coats.
Safety equipment protects you during sanding and painting. Gloves keep your hands clean, a dust mask prevents inhaling wood particles, and goggles shield your eyes. These are inexpensive, with basic dust masks under $10 for a pack and safety glasses around $5. Never skip safety gear, especially when sanding old wood that might have nails or rough edges.
Optional upgrades include a heat embossing tool for raised lettering effects or an electric detail sander for faster distressing. These tools range from $20 to $50 but are not necessary for beginners. For simple, budget-friendly signs, stick to hand sanding and acrylic paint with vinyl stencils. Following this checklist helps you prep, personalize, and finish your barn wood sign efficiently without overspending.
Step-by-Step Process to Make a Barn Wood Sign
Creating a barn wood sign involves preparing raw wood, transferring your design with lettering, and applying a finish that protects and improve the rustic look. The entire process can take from a few hours to a couple of days, depending on drying times for paint and finishes. Checking each step carefully and addressing common issues early ensures a clean and durable sign.
Wood Preparation and Distressing
Start with selecting a piece of wood that fits your sign’s size and style. Inspect the wood for nails, cracks, or rot, then clean it with a stiff brush or mild soap and water if needed. Distressing the wood adds character, which can be done by lightly sanding edges, hitting it with a hammer or chain, or using a wire brush to create texture. This step helps emulate the natural weathered barn wood look.
Keep sanding gentle to avoid removing too much material, which could weaken the wood. Distressing usually takes 20 to 40 minutes, depending on the wood’s hardness and your desired effect.
Lettering Transfer and Painting
After preparing your wood, choose the lettering transfer method. Common options include using graphite paper, stencils, or freehand drawing. Position your lettering carefully before transferring to avoid alignment errors.
Once transferred, paint the letters with acrylic or outdoor paint for durability. Use a small brush for detail, applying 1 to 2 coats with drying time of about 30 minutes between coats. Test paint on a scrap piece first to check color and opacity.
Finishing and Hanging Hardware
Seal the sign with a clear finish such as polyurethane or outdoor varnish to protect from moisture and fading. Apply 2 coats, allowing 2 to 4 hours drying time between each coat. Avoid heavy finishes that obscure the distressed texture.
For hanging, screw on sawtooth hangers or attach picture wire on the back. Pre-drill holes to prevent splitting. Verify hardware placement so the sign hangs level on your chosen wall or surface.
- Inspect your raw wood for damage and clean as needed.
- Distress the wood using sanding, hammering, or wire brushing, spending 20-40 minutes.
- Plan your lettering layout and transfer it onto the wood using your preferred method.
- Paint the lettering with small brushes and allow at least 30 minutes drying time between coats.
- Apply two coats of clear finish, waiting 2 to 4 hours between each for drying.
- Attach hanging hardware, pre-drilling holes to avoid splitting.
- Check for balance and level to ensure proper display.
Common Barn Wood Sign Mistakes and How to Fix Them
Uneven paint coverage on barn wood signs happens when you apply paint too thickly or without proper surface preparation. This leads to drips, blotches, or noticeable brush strokes that spoil the rustic look. To fix this, lightly sand the painted area with 220-grit sandpaper once it’s dry, then repaint with thin, even coats using a foam brush or stencil brush. Allow each coat to dry fully, about 1 to 2 hours depending on paint type and temperature, before adding another layer.
Smudging often occurs when paint or stain isn’t allowed to dry completely before handling. It can ruin the crispness of your lettering. Prevent smudges by working patiently and giving at least 24 hours for paint or sealant to cure, especially in humid or cold conditions below 50°F. If you notice smudges, gently sand the affected area and carefully repaint just the letters, using painter’s tape or stencils to keep edges clean.
Poor distressing is usually from either too aggressive sanding that removes your paint design or not doing enough sanding, which leaves the wood looking new and out of place on a rustic sign. Achieving the right balance requires sanding around edges and corners with 120 to 220-grit sandpaper to lightly reveal the wood beneath without erasing letters or artwork. Using a wire brush can also add texture for authentic weathering. Avoid using a power sander for this step because it’s easy to go too far.
Wood defects like cracks, knots, or unexpected weathering can cause the paint to peel or the surface to be uneven, affecting your sign’s durability. Minor cracks can be filled with wood filler and sanded smooth before painting. For wide cracks or loose boards, consider gluing and clamping the pieces overnight with wood glue rated for outdoor use. When working with heavily weathered wood, clean the surface thoroughly with a stiff brush and mild soap solution to remove dirt and loose fibers; let dry for at least 24 hours.
- Uneven paint: sand lightly and apply thin coats
- Smudging: allow full drying time, about 24 hours per coat
- Poor distressing: use 120-220 grit sandpaper on edges and corners
- Wood cracks: fill gaps with wood filler or glue and clamp
- Weathered wood: clean with soap and brush, dry 24 hours
- Lettering errors: sand and repaint with stencil or painter’s tape
- Protect your finished sign with a clear satin polyurethane or outdoor sealer
Always test paint and distressing techniques on a scrap piece of your barn wood before working on your sign to avoid irreversible mistakes.
Lettering mistakes can be fixed by lightly sanding the letter area and applying a fresh coat of base paint if needed. After it dries fully, use a stencil or transfer method to repaint the letters carefully. Sealing the sign afterwards with a protective finish like polyurethane adds durability and prevents peeling from weather exposure. Most clear finishes cost between $10 and $20 per quart and dry within 2 to 4 hours, which helps keep your sign looking good outdoors for years.
Step-by-Step Action Plan for Making Your Barn Wood Sign
Follow this plan to create a barn wood sign with an authentic rustic look, from choosing wood to finishing your piece.
- Day 1: Select and buy your wood. Choose reclaimed barn wood or wood with natural wear; it should feel solid but show some character, like knots or grain variation.
- Day 2: Prepare the wood by cleaning and sanding it lightly. Your surface should be smooth enough to write on but still retain some texture.
- Day 3: Create your lettering template or stencil. Make sure your design fits your wood size and prints clearly with sharp lines.
- Day 4: Transfer the lettering onto the wood using your chosen method (paint, vinyl stencil, or carbon paper). Check that your letters are aligned and legible.
- Day 5: Paint or burn the lettering. Use thin coats or controlled burning strokes to avoid oversaturating the wood and maintain the rustic style.
- Day 6: Apply your finish. Choose a matte or satin polyurethane or tung oil to protect without losing the wood’s natural look. Ensure even coverage and let it dry completely.
- Day 7: Inspect your sign, smooth any rough edges, and add hanging hardware or stands as needed. The sign should feel sturdy and ready to display.
Frequently Asked Questions
What Is the Best Type of Wood to Use If You Want an Authentic Barn Wood Sign?
Reclaimed wood is best for authentic barn wood signs because it offers natural weathering and character. It adds genuine rustic appeal that new wood can’t match.
Can You Use Paint Pens Instead of Stencils for Lettering on Barn Wood Signs?
Yes, paint pens can work for lettering, but stencils create cleaner, more uniform text. Paint pens are good for detailed or freehand designs.
How Do You Protect Barn Wood Signs Intended for Outdoor Use?
Use a water-resistant sealant designed for outdoor wood to protect against weather damage. This prolongs the sign’s life without removing the rustic look.
Is It Possible to Make a Barn Wood Sign Without Distressing the Wood?
Yes, you can skip distressing if you prefer a smoother, less rustic look. The sign will look cleaner but lose some traditional charm.
What Is the Easiest Method to Transfer Lettering Onto Barn Wood Signs for Beginners?
Stenciling is the easiest method because it requires minimal tools and offers clear guides for painting letters.
How Long Does It Take to Complete a Typical Barn Wood Sign Project?
Most barn wood signs can be completed in one day, depending on drying times and detail work.
Before You Go
Making a barn wood sign combines practical wood preparation with creative detail work to deliver a charming rustic piece. After your sign is finished, try experimenting with different lettering styles or finishes to create unique designs. Your next step could be planning a specific message or design to personalize your barn wood sign. Keep practicing these techniques, and you’ll continue to improve your craftsmanship and style.