How to Make a Sign Without a Cricut: 8 Easy Methods That Actually Work
Knowing how to make a sign without a Cricut lets you create personalized decor without spending hundreds on a cutting machine. You can use simple methods like tracing, stenciling, or applying decals to transfer your design directly onto your sign surface. Starting with a clear design and the right materials helps you achieve professional-looking results on wood, chipboard, or other surfaces.
Key Takeaways
- Trace your design onto the sign using carbon paper to get precise outlines without cutting machines.
- Use stencils or reverse stenciling for clean, sharp letters that give your sign a polished look.
- Apply vinyl stickers or decals for instant, mess-free custom lettering on any surface.
- Layer chipboard letters to add dimension and texture for a unique 3D effect on your sign.
- Use at least 2-3 paint coats to fully cover and protect your sign’s surface.
- Sand and prep wood thoroughly before painting to ensure smooth paint adhesion.
1. Different Ways to Make a Sign Without a Cricut
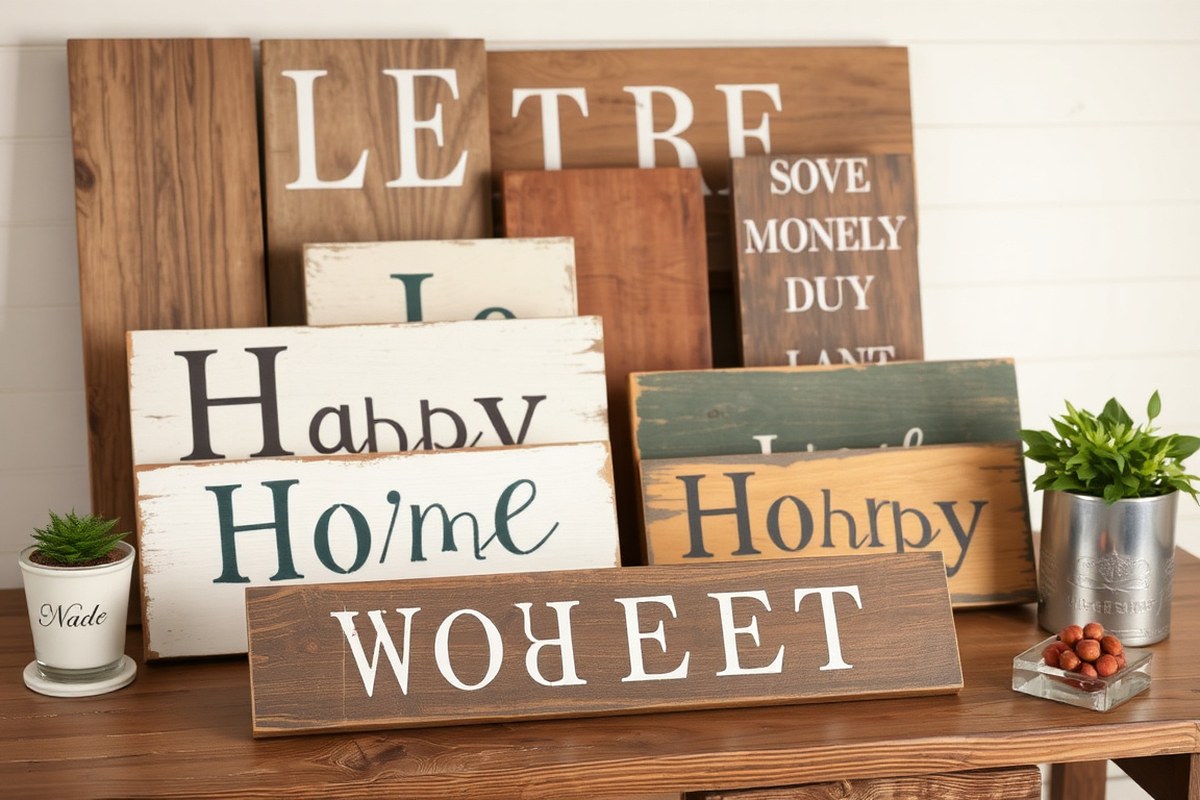
Creating signs without a Cricut or similar cutting machine is more accessible than many think. You can make attractive, custom signs using simple DIY methods that vary in complexity, cost, and required tools. Six popular techniques include the tracing method, stencil and reverse stencil, using stickers and decals, chipboard letters for dimension, hand lettering, and print-and-attach designs. Each has unique steps and suits different skill levels and project goals.
The tracing method involves printing your design on paper, positioning it on the sign surface, and then tracing the outline with chalk or pencil. This low-cost approach requires only paper, printer, pencil, and paint. It’s great for beginners and small projects. The visible outline helps with neat painting, but uneven tracing can cause wavy lines. Expect to spend under $10 on supplies if you don’t already have paint and brushes.
Stencil and reverse stencil techniques provide sharper edges and a professional look. You cut out letters or shapes on stencil sheets or vinyl and apply paint through the cutouts. This method needs cutting tools like an X-Acto knife and stencil material, which costs about $10 to $20. It’s more precise than freehand painting but takes longer to prepare stencils. Reusable stencils work well for multiple signs.
Using stickers or decals involves printing or buying adhesive letters and designs that stick directly to your sign surface. This is a quick and clean option with minimal painting needed, perfect for smooth surfaces like wood or canvas. Costs vary depending on whether you print your own decals (~$1 to $5 for printable decal paper) or buy pre-made stickers. One downside is less flexibility in custom adjustments once stickers are applied.
Chipboard letters and dimensional elements add texture and a professional feel. You cut or buy letters made of chipboard, wood, or foam, then glue them onto the sign. This method uses basic tools like craft glue and scissors or a small handsaw for larger pieces. Chipboard letters typically cost $1 to $3 each, which can add up but makes striking 3D signs. This works well for bold fonts and shorter phrases.
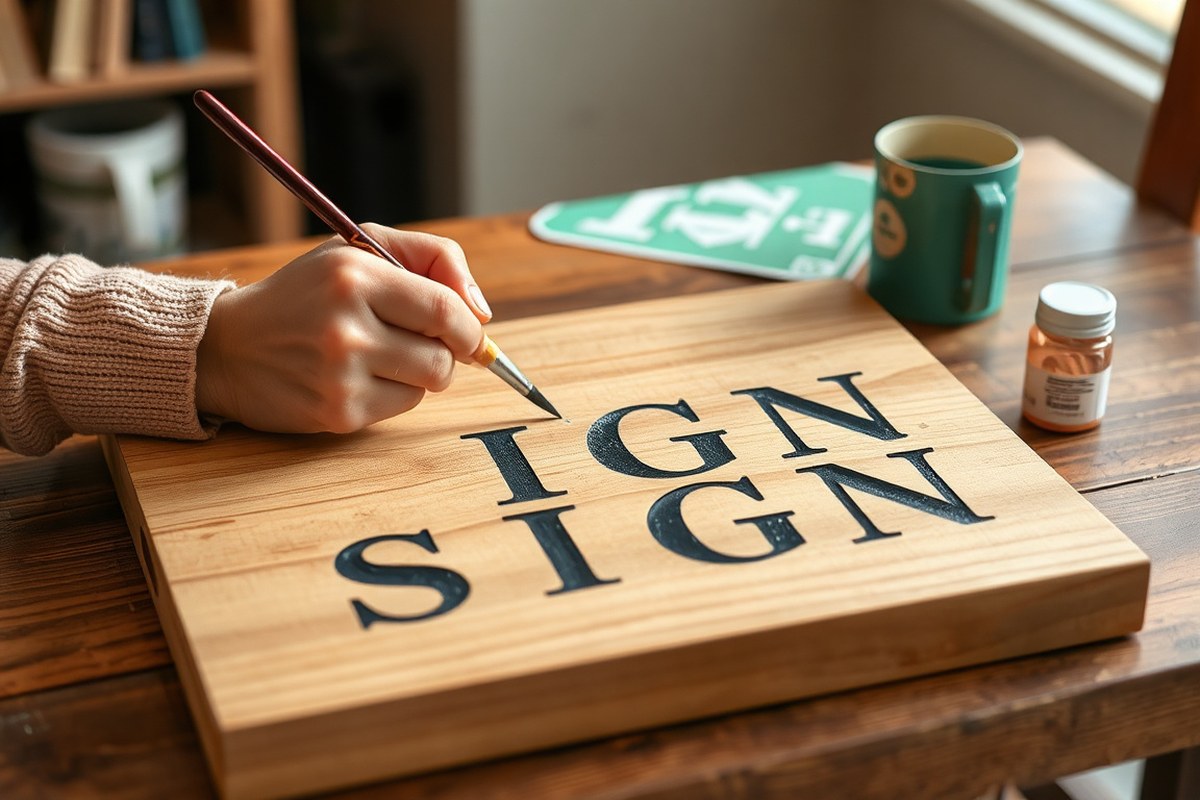
Hand lettering is a traditional approach where you paint or draw letters directly onto the sign without guides, relying on your skill. It requires steady hands, quality brushes, and paint. While it needs practice, hand lettering offers full creative control and a unique look. Mistakes can be fixed with sanding and repainting but may affect the sign surface.
Print-and-attach designs involve printing your full design on paper, then attaching it with tape or decoupage medium onto canvas or wood. This is fast and requires only a printer, paper, and adhesive products, costing under $10 if you have a printer. Signs made this way look closer to framed prints and less like painted wood. The main challenge is ensuring smooth adhesion without bubbles or wrinkles.
| Method | Tools Needed | Cost Range | Skill Level | Pros | Cons |
|---|---|---|---|---|---|
| Tracing Method | Printer, pencil, paint, brushes | Under $10 | Beginner | Simple, low cost, good control over design | Possible uneven lines, manual effort |
| Stencil/Reverse Stencil | Stencil sheets, X-Acto knife, paint | $10-$20 | Intermediate | Sharp edges, reusable stencils, clean look | More prep time, requires cutting skill |
| Stickers and Decals | Printable decal paper or pre-made stickers | $1-$10+ | Beginner | Fast application, minimal painting | Less customizable, adherence challenges |
| Chipboard Letters | Chipboard, glue, cutting tool | $1-$3 per letter | Beginner to Intermediate | 3D effect, bold look | Can be costly, heavier signs |
| Hand Lettering | Paint, brushes, steady hand | Under $10 | Intermediate to Advanced | Full creative control, unique results | Requires practice, mistakes harder to fix |
| Print-and-Attach | Printer, paper, adhesive medium | Under $10 | Beginner | Quick, minimal painting skill needed | Surface bubbles, less authentic painted look |
2. Essential Tools and Materials for No-Machine Sign Making
To make a wooden sign without a Cricut, you need a selection of basic tools and materials suited for transfer and painting methods. These include the wood surface itself, paints tailored for wood, transfer supplies like pencil or chalk, and brushes or sponges for applying paint. Choosing the right supplies makes the process smoother and the final sign more polished.
Wooden Surface Options and Preparation
Start by selecting your wood for the sign. Smooth, untreated wood boards work best for painting and design transfer. Common choices are pine, cedar, or pallet wood, often available at hardware stores for $5 to $15 per board, depending on size and type. Sand the wood lightly with fine-grit sandpaper (around 120-150 grit) to create a smooth painting surface and wipe away the dust before beginning.
Decide on the wood’s finish based on its placement. For indoor signs, raw or lightly sealed wood is fine. Outdoor signs require sealing with clear polyurethane after painting to protect from weather. Avoid glossy or heavily varnished surfaces because paint and transfer materials adhere poorly.
Paints and Writing Materials for Clear Design
Choosing the right paint affects both the ease of creating the sign and its durability. Chalk paint is popular because it covers well, dries quickly (usually within 30-60 minutes), and offers a matte finish that fits rustic or vintage looks. Acrylic paint is another good option; it’s more durable outdoors and comes in many colors but requires longer drying times (up to 2 hours).
Marking tools for design transfer vary with your method. Use a pencil on light wood surfaces for subtle guidelines. For darker wood, chalk or white colored pencils work better because they show up clearly. These tools let you transfer stencil outlines or traced designs before painting.
Tools for Design Transfer and Secure Placement
Proper tools keep your design aligned and make transfer easier. Painter’s tape or low-tack masking tape holds stencils and paper templates in place without damaging the wood. Measuring tools like a ruler or tape measure help center and size your design accurately on the sign’s surface.
For transferring images or lettering, use graphite transfer paper or trace heavy lined patterns on thin paper. Tape the design over the wood, then use a pencil or poking tool to transfer outlines. Occasionally lifting the tape or paper to check your progress helps prevent missed lines or smudging.
Brushes, Sponges, and Other Painting Tools
Choose brushes based on paint type and detail level. Synthetic bristle brushes work well with acrylic and chalk paints. Use larger, flat brushes for filling backgrounds and smaller, angled or round brushes for lettering and detail work. Foam or sponge brushes can provide even coats without brush marks for backgrounds or large solid areas.
Keep a rag or damp cloth nearby to fix small mistakes immediately. Have a palette or plate for mixing paints and a cup of water for rinsing brushes. Allow paint to dry completely between coats to avoid smudging and achieve smooth, professional results.
Checklist of Tools and Materials
Gather these items before starting your sign project to ensure a smooth process:
- Wooden board (pine, cedar, or pallet wood)
- Sandpaper (120-150 grit)
- Chalk paint or acrylic paint in desired colors
- Pencil, chalk, or white colored pencil for design transfer
- Painter’s tape or low-tack masking tape
- Graphite transfer paper or thin tracing paper
- Measuring tape or ruler
- Various synthetic brushes and foam sponges
- Palette for mixing and water cup for rinsing
- Clear polyurethane sealer for outdoor signs
Preparing each item before beginning saves time and reduces frustration. Check paint labels to confirm suitability for wood and drying times.
Occasionally lift the tape gently to check if your design is fully transferring; this prevents missed areas and ensures clean edges.
3. Tracing Method: Step-by-Step Guide to Transfer Designs
To transfer a design onto wood without a Cricut, print your graphic in the size you want, flip it horizontally to get a mirror image, then trace it onto tracing paper. After positioning the tracing paper on your wood, carefully trace over the design lines to transfer them onto the surface. Choose pencils or chalk with good contrast for clean lines that are easy to paint over later.
Preparing and Sizing Your Printed Design
Start by deciding the size of your sign and cutting your wood to those dimensions. Use a program like Photoshop or a PDF editor to size your design precisely. For example, set your canvas to 12 inches wide by 5.5 inches tall if that fits your board. Flip your design horizontally (sometimes called “mirror image”) before printing so that it will transfer correctly onto the wood.
Consider printing multiple sheets for larger signs and arranging them on the wood. Print a test page and hold it up to your wood surface to check scale and layout. When parts of your design require a different arrangement, print those elements separately and place them on the wood to visualize the final look before transfer.
Techniques for Secure Placement and Tracing
After printing, place tracing paper over the design and tape both securely with masking tape at the corners. This keeps everything perfectly aligned during tracing. Use a black or dark pencil or chalk that contrasts well with your wood color; darker options like charcoal pencils or gray chalk work well on lighter woods. Softer pencils can leave richer marks but may smudge more easily.
Position the tracing paper face down on your wood sign where you want the design. Tape the edges to hold it firmly. Press and trace over your design lines with moderate pressure to transfer graphite or chalk onto the wood’s surface. For precise letters and curves, thicker fonts are easier to work with than thin, straight lines. To get sharper outlines, go over your traced lines again after removing the paper.
- Cut your wood to the desired size based on your design dimensions.
- Use design software to size your artwork and flip it horizontally before printing.
- Print your design on regular paper and place tracing paper over it, securing with tape.
- Trace over the printed design lines onto the tracing paper with a sharp pencil or chalk.
- Remove the printed paper, then flip the tracing paper and tape it onto your wooden surface.
- Trace the lines firmly to transfer the material onto the wood surface.
- Remove tracing paper and review transferred lines, touching up any faint areas.
Cleaning Up and Painting over Traced Lines
Once the design is transferred, remove the tracing paper carefully to avoid smudging. Use a fine black permanent marker or paint pen directly on the transferred lines for sharper edges before filling in with paint. This step helps maintain the crispness of your letters or graphics.
When some lines appear faint, lightly trace over them again with your pencil or chalk before painting. Choose paint colors that offer strong contrast with your wood background to make your design stand out. After painting, let it dry completely before sanding lightly to remove any rough edges, ensuring a polished final look.
4. Using Stickers and Decals to Create Custom Signs
Using stickers and decals is a reliable way to achieve a clean, professional look on your custom signs without relying on hand painting or cutting machines. You can find a variety of pre-made stickers suitable for signs at craft stores, dollar stores like Dollar Tree, and online retailers. Printable sticker sheets are another great option, allowing you to design your own sayings or graphics on your computer and print them using your home printer. This lets you customize fonts, colors, and sizes precisely to fit your sign.
To avoid bubbles or wrinkles when applying stickers, start with a smooth, clean surface. Wipe the area with a damp cloth and let it fully dry before applying. Peel the backing slowly, and position the sticker carefully without stretching it. Use a plastic squeegee or a credit card to press the sticker from the center outward, working out any air pockets as you go. Going slowly and applying steady pressure helps the sticker adhere evenly and prevents trapping air underneath.
Some stickers, especially higher-quality vinyl decals, allow for repositioning if you need to adjust placement. However, frequent lifting and repositioning can weaken the adhesive, so aim to place them right the first time. For printable stickers, be sure to use waterslide or vinyl sticker paper designed for decals; these typically offer better repositionability than standard paper labels. If minor bubbles do appear, gently poke a tiny pinhole and smooth the bubble to release trapped air.
Customizing your own stickers can be as simple as typing out a phrase on your computer using a word processing program or design software, then printing on sticker sheets that cost roughly $1 to $3 per sheet. Printable decal paper is available at craft stores or online for about $5 to $10 per pack. After printing, cut out the stickers carefully with scissors or a craft knife. Applying these stickers follows the same bubble-removal steps and results in a sharp, clean appearance that looks much more precise than hand lettering.
Stickers and decals save time and reduce mess, especially if you don’t want to hand paint letters or graphics. Pair letter stickers with chipboard letters or simple painted shapes to add texture and dimension to your sign. Be mindful that cheap stickers might not last as long outdoors or on rough surfaces. Protect your finished sign with a clear topcoat spray to extend its life. For indoor signs, stickers offer a cost-effective way to make custom decoration simple and polished.
5. Stencil and Reverse Stencil Techniques for Perfect Letters
Stencils and reverse stencils let you create clean, professional-looking letters without freehand painting or machines. Stencils involve painting inside cut-out letters, while reverse stenciling means painting letters first and covering them with background color for crisp edges. Both methods require patience and care to avoid paint bleeding and achieve sharp, attractive signs.
Creating and Cutting Your Own Stencils
You can make stencils at home using basic supplies or buy pre-made ones online or in craft stores for around $5 to $15. To make your own, print the desired words in a bold font on regular paper. Turn the paper over and shade the back of the letters with a pencil using firm pressure; this helps trace later.
Next, place the sheet on a sturdy material like cardstock or thin plastic, then carefully cut out the letters with sharp scissors or a craft knife. Use a cutting mat to protect surfaces. The sturdier the stencil material, the easier it will be to handle and reuse. Thin paper stencils cost almost nothing but can tear easily.
Use sharp scissors or a craft knife to avoid jagged edges that cause uneven paint lines.
Applying Paint with Regular Stencils
Regular stenciling means placing your stencil on the sign surface and painting only inside the cut-out letter shapes. Choose paint pens for small, detailed stencils or a foam brush and acrylic paint for larger stencils.
- Secure the stencil with painter’s tape to prevent shifting during painting.
- Apply paint in thin layers, using a lightly loaded brush or foam pouncer to reduce bleeding under edges.
- Let each coat dry before applying additional layers to build solid coverage.
- Remove the stencil carefully once the paint is dry to the touch, lifting straight up to avoid smudging.
- Touch up edges with a fine liner paint pen if needed for extra crispness.
Thin paint layers are essential to avoid seepage under the stencil, and using a dabbing rather than brushing motion helps keep edges sharp. Painter’s tape around stencil edges adds extra protection. Clean stencils promptly after use to maintain their shape and reusability.
Always let each paint layer dry fully before adding more to prevent smearing and bleeding.
Reverse Stenciling on Canvas or Wood
Reverse stenciling starts by painting your letters directly onto the surface, usually with your chosen color. After the letters dry, cover the entire sign with the background color. Once dry, carefully cut or peel away the painted letters to reveal the base color beneath, creating a die-cut look without a machine. Steps for reverse stenciling:
- Use a pencil to lightly outline your letters or trace them from a printed design.
- Fill in the letters with paint or paint pens and let dry completely.
- Paint the background color evenly over the entire surface, including the letters.
- After the background dries, use sharp scissors or a craft knife to cut out the letter shapes along the outlines.
- Gently lift out the letter shapes to reveal the clean, sharp lettering.
This method works well on canvas or wood where you can cut or peel gently without damaging the surface. It’s excellent for creating signs with bold, block lettering and avoids the risk of paint bleeding outside stencil edges.
Avoid thick paint coats in the letter stage or cutting will be harder and may damage the surface.
6. Chipboard Letters and Dimensional Sign Techniques
Chipboard letters offer a simple way to add texture and depth to your signs without needing a cutting machine. This lightweight, affordable material typically comes in sheets of 1/8 to 1/4 inch thickness and can be cut by hand using a craft knife or scissors, depending on the thickness. Look for chipboard sheets at craft stores, usually costing between $2 and $5 for a 12×12 inch piece, making it a cost-effective alternative to precision-cut vinyl.
Start by printing or sketching your letter templates on paper. Tape the paper onto the chipboard sheet and carefully cut the letters out using a sharp craft knife. Take your time with curves and corners to avoid rough edges. For thicker chipboard, use a metal ruler as a guide and make several passes with the knife rather than forcing a single deep cut. Sand the edges lightly with fine-grit sandpaper to smooth any imperfections.
To attach the dimensional letters to your sign base, strong adhesives like E6000 or hot glue work well, providing a durable bond that holds the letters firmly in place. Position the letters carefully before gluing since these adhesives dry quickly. Press each letter down for about 30 seconds to ensure a good grip. If your base is wood or a painted board, these glues will adhere reliably.
Painting chipboard letters opens up many creative possibilities. Acrylic paint is ideal because it dries fast and sticks well to chipboard. Prime letters with a layer of gesso first to prevent paint from soaking in and reduce warping. Apply two coats of paint, allowing at least 30 minutes drying time between coats. For a layered look, paint your sign background one color and chipboard letters another. This contrast improve the dimensional effect.
Leave the letters unpainted for a natural, rustic feel, or use spray paint for an even finish. When painting glued letters on the sign, use a fine brush for detail and avoid applying thick coats that might cause paint to drip or pool at the base. Allow the entire sign to dry completely before handling or hanging.
Adding sawtooth hangers or lightweight picture hooks on the back lets you display your dimensional sign on the wall easily. Chipboard is light enough that even simple hooks provide sufficient support. For frames, consider thin wood pieces priced around $1 each from craft stores. Cut to size and stain as desired, then glue with E6000 to frame your sign and improve its visual appeal.
7. Painting Tips and Techniques for Polished Sign Results
Choosing the right paint and brushes plays a big role in getting clean, polished letters on your wooden sign. Acrylic paints work best because they dry quickly, stick well to wood, and come in many colors. For best results, avoid oil-based paints which take longer to dry and can be harder to fix if you make a mistake. Use small, fine-tipped brushes ranging from 1/8-inch to 1/4-inch for lettering detail. Round or liner brushes provide more control and reduce the chance of paint bleeding outside the lines.
Apply two thin coats of paint for solid coverage. Thick coats tend to drip or cause uneven textures, so aim for smooth, even strokes. Wait 15 to 30 minutes between coats depending on room temperature and humidity. Working in a well-ventilated area with moderate temperature (around 70°F) helps paint dry evenly. Paint one letter or a small section at a time and let it dry completely before moving nearby to prevent smearing.
Preparing your brushes before painting makes a difference. Dip the brush only about a quarter-inch into the paint and tap off excess to avoid drips. Use steady, confident strokes, and avoid going back over wet paint to reduce streaks. You can test your brush pressure and stroke style on scrap wood before starting your sign.
- Choose acrylic paint for durability and quick drying.
- Use fine-tipped round or liner brushes for precise letters.
- Apply two thin coats, drying 15-30 minutes between each.
- Paint small, separate areas to avoid smudging.
- Dip brushes shallowly and remove excess paint before use.
- Work in moderate temperatures for even drying.
- Fix mistakes by carefully painting over them with the base color once dry.
Common mistakes include paint bleeding beyond the letter edges and uneven coverage. To stop bleeding, applying a base coat or primer over the wood before lettering creates a smooth surface that prevents paint from soaking unevenly. If your letters have smudges or uneven areas, wait until the paint dries fully, then gently paint over them with the background color to clean up edges before repainting the letter in thin layers.
Fixing errors quickly is easier than waiting until the paint dries. Keep a small container of your background paint handy to immediately cover accidental brush strokes outside the letters. Let it dry before touching up the letter. Patience improves results: rushing can cause smudges or blurry edges, so allow each coat and correction proper drying time for a professional look.
8. Common Mistakes and How to Fix Them When Making Signs
Paint bleeding or smudging happens when the paint seeps under stencils or letters during application, causing blurry edges. It often occurs because the surface wasn’t sealed well, or the paint was applied too thickly or wet. To avoid this, apply thin, even coats of paint and allow each layer to dry completely before adding more. Using a clear wax over chalk paint background helps protect the surface and reduces the chance of bleeding.
Misaligned lettering can ruin the polished look of your sign. This usually happens when letters aren’t positioned carefully before adhering or painting. To fix this, lightly mark placement lines with a pencil or use a ruler to keep letters straight. When you spot misalignment too late, use a damp cloth to gently remove the letters or stencil before the paint dries, then realign and reapply them.
When transferring designs by hand or tracing, unclear or incomplete transfers tell you the transfer didn’t work well. This might be due to insufficient pressure or using the wrong transfer paper. For a better transfer, place your design on a flat, hard surface, and use consistent, firm pressure with a pencil or burnishing tool to trace every line clearly. You can also tape your transfer paper securely to prevent shifting. When the design looks faint, trace the lines carefully again before you start painting.
- Apply thin layers of paint and wait 15 to 30 minutes between coats to avoid smudging.
- Seal your surface with clear wax if using chalk paint for smoother painting.
- Measure and mark guidelines with a pencil to ensure straight lettering.
- Use a ruler or straight edge when aligning letters or stencils.
- Secure transfer paper with tape before tracing to prevent shifting.
- Apply even pressure when transferring designs, checking for complete lines.
- Remove mistakes while paint is still wet using a damp cloth or cotton swab.
Always test your transfer or paint method on a scrap piece to catch issues early and save time.
Clear surface preparation and using tools like rulers and wax create better results. Patience in drying time and careful alignment prevent common setbacks that slow down your sign making. These small corrections keep your project professional, even without a machine.
Step-by-Step Action Plan to Make Your First Sign Without a Cricut
Follow these steps to create a custom sign using simple tools and techniques, ensuring you get a polished look without needing any special machines.
- Before You Start: Choose your sign design and gather all necessary materials like paint, brushes, stencil sheets, chipboard letters, or decals. Having everything ready ensures a smooth workflow.
- Day 1: Transfer your design onto the sign surface using the tracing method or stencil technique. Check that the outlines are clear and complete before moving on.
- Day 2: If using chipboard letters or dimensional elements, arrange and attach them securely to your sign. Confirm they are firmly stuck and even.
- Day 3: Apply your paint carefully, whether filling in traced lines or painting over stencils. Let the paint dry fully to avoid smudges.
- Day 4: Inspect your sign for any mistakes such as paint bleed or uneven letters. Use a small brush or craft knife to fix any errors precisely.
- Day 5: Add a clear protective finish if desired, such as varnish, to preserve your sign’s look. Make sure the finish dries clear and smooth.
- After 1 Week: Hang or display your sign in its intended spot. It should look neat and professional without machine-cut edges or uneven lettering.
Frequently Asked Questions
What Are Some Creative Alternatives to a Cricut for Making Signs?
You can use tracing, stencils, stickers, and chipboard letters to create custom signs. Each offers a different style, letting you tailor the look to your room or gift without a machine.
Can I Make a Farmhouse Style Sign Without Any Special Tools?
Yes, painting freehand or using simple stencils can create farmhouse signs. Applying 2-3 paint coats helps ensure a smooth, full coverage finish for a polished look.
How Do I Trace a Design Onto Wood for Sign Making?
Print your design, place it on the wood, and rub pencil graphite on the back to transfer the outline. Then trace over the design with a paint pen or brush for clean edges.
Are Stickers and Decals Durable Enough for Outdoor Signs?
Vinyl stickers can hold up outdoors but may fade over time. Seal them with clear outdoor varnish to extend longevity and protect your design from the elements.
What Materials Work Best for Chipboard Letters on Signs?
Lightweight chipboard or Thickers work well for dimensional letters. Use strong adhesive to attach them securely to your sign surface for a raised, eye-catching look.
How Can I Fix Paint Mistakes on a Wooden Sign?
Lightly sand the area, wipe with a damp cloth, and repaint the section. Patience during drying and using thin paint layers minimize visible fixes.
Final Thoughts
Making a sign without a Cricut is straightforward once you have the right tools and a clear process. You can create custom, attractive signs with paint, stencils, or stickers using basic craft supplies. Start by picking a design you like and try the tracing method today to see your handmade sign come to life.