How to Make a Sign with a Laser Engraver: Complete Guide for Best Results
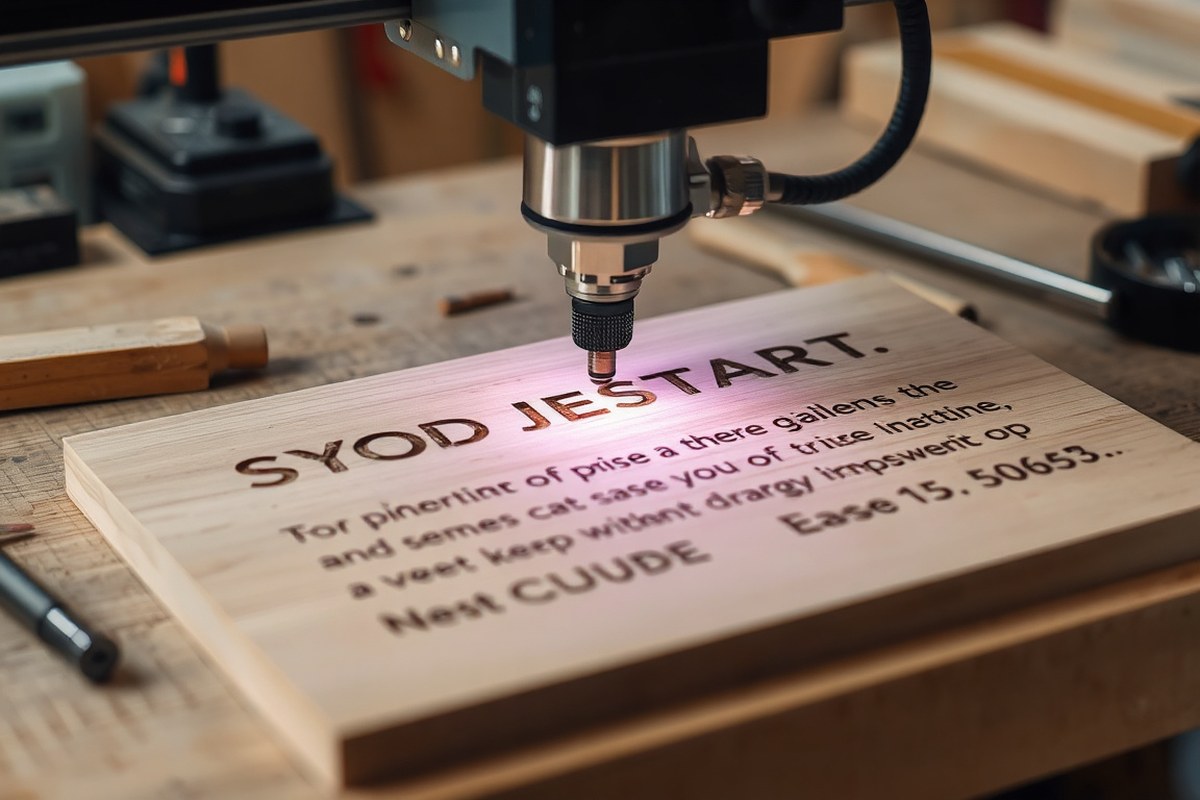
How to make a sign with a laser engraver starts by selecting the right material and design, then setting up your engraver for precise cuts and deep etching. Using a CO2 laser like the OMTech or a desktop model such as the xTool F1 delivers crisp edges and smooth finishes quickly. Begin by placing your blank sign material securely inside the machine to ensure accurate engraving and cutting.
Key Takeaways
- Choose quarter-inch birch or acrylic for signs to balance durability with clean engraving detail.
- Use recommended laser settings, for example, 200mm/s at 30% power for engraving thin wood.
- Select personalized designs like family names to increase sign value by $8 to $10 versus generic ones.
- Invest in a multi-functional laser engraver such as LaserPecker 5 for versatility and cost efficiency.
- Start by securely placing your sign material inside the laser engraver to avoid misalignment.
- Consider a 60W CO2 laser for deep, sharp engravings on wood and acrylic surfaces.
Step-By-Step Process to Make a Laser-Engraved Sign
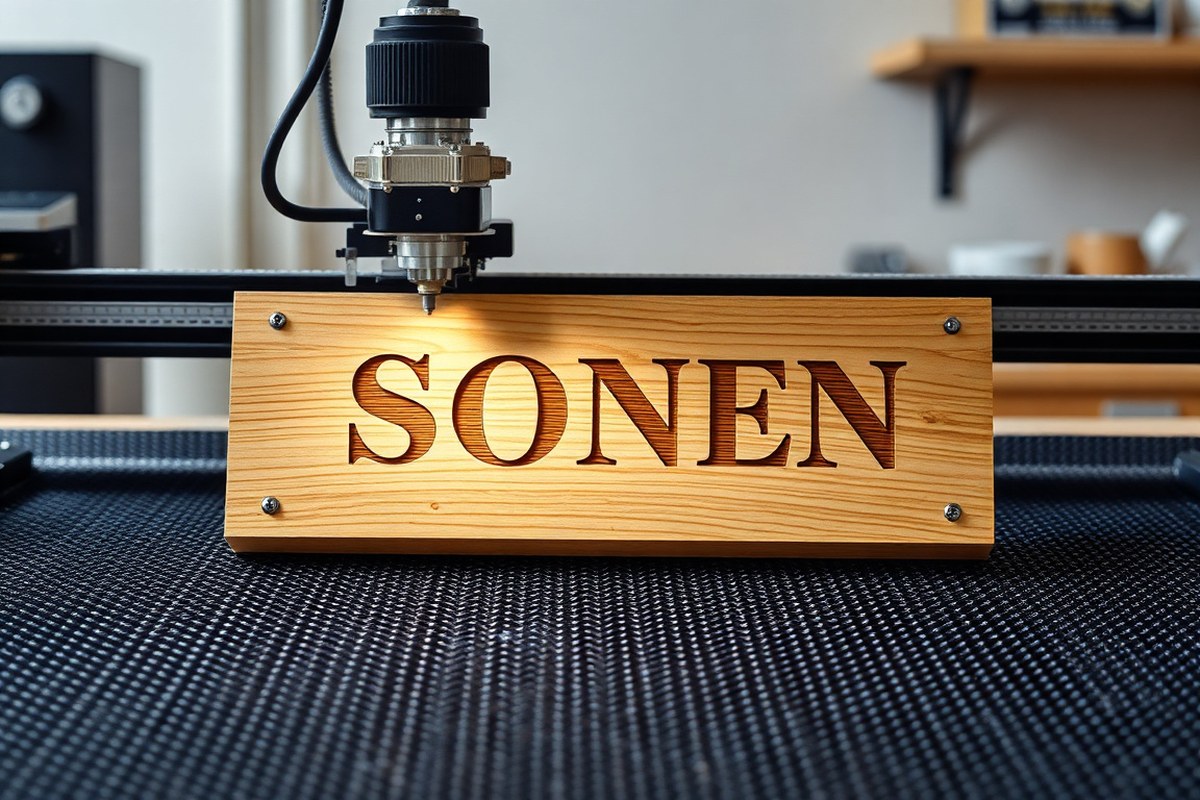
Making a laser-engraved sign involves a sequence of clear steps from choosing or creating a design to setting up the laser machine, engraving and cutting the material, then finishing the final piece. Following the right order ensures a clean, professional result and efficient use of your time and materials. The entire process can be done with desktop laser machines like the xTool M1, suitable for both engraving and cutting wood or acrylic.
Designing Your Sign Artwork
Start by creating or selecting a design that fits your sign’s size and style. Using vector design software or laser engraving programs, prepare your artwork with high contrast lines, focusing on areas intended for engraving and those for cutting. For a layered sign, like wood letters on an acrylic base, make sure each element is clear and separated in your design file to assign different laser actions.
Design settings such as line thickness and fill type will control how the laser engraves and cuts your material. For instance, thin vector lines usually instruct the laser to cut, while filled areas instruct it to engrave. Planning these layers early reduces mistakes later and saves time during laser setup.
Preparing and Loading Materials
Gather the materials chosen for your sign, like a wood blank or acrylic sheet, and ensure they fit your laser machine’s working area. Cleaning your materials before engraving can prevent unwanted marks. Place the material flat and secure inside the laser bed to avoid shifting during the process.
Measure the material dimensions and position within the laser software to align your design precisely. Machines like the xTool M1 allow you to place cut pieces on the main block to preview layout before starting. Checking these details carefully avoids wasted cuts and material damage.
Running the Laser Engraving and Cutting
Set your laser machine to appropriate parameters for your material and project. For example, wood 3mm thick often requires about 200mm/s speed at 30% power for engraving and a slower 10mm/s at 90% power for cutting. Different machines or materials might need adjustment, so always refer to recommended settings and do test runs.
Operate the laser by first engraving your design, then proceed with cutting steps to avoid damage to delicate cut edges during engraving. The laser follows vector paths to “draw” and engrave the design, providing clean and repeatable results with little manual effort.
- Open your laser software and import your prepared design file.
- Position your design on-screen to match your material’s placement in the machine.
- Set engraving parameters such as speed and power according to your material guide.
- Run a test engraving on a scrap piece to verify settings.
- Start engraving your actual sign material.
- Adjust settings if needed; once engraving completes, switch to cutting settings.
- Run the cut operation to free cut pieces or define sign edges.
- Remove your sign carefully once the laser process finishes.
Finishing and Sealing the Sign
After engraving and cutting, clean off any residue with a soft cloth and mild cleaner suitable for your materials. For wooden signs, consider sanding rough edges lightly to improve the finish. Applying a sealant or protective coat can improve durability and appearance, especially when the sign will be exposed to light or handling.
If your sign features acrylic layers or illuminated elements, assembling them carefully aligns your artwork and adds visual depth. Follow safety instructions when using clear coats or adhesives and allow these to cure fully before displaying your sign.
Choosing the Best Materials for Laser-Cut Signs
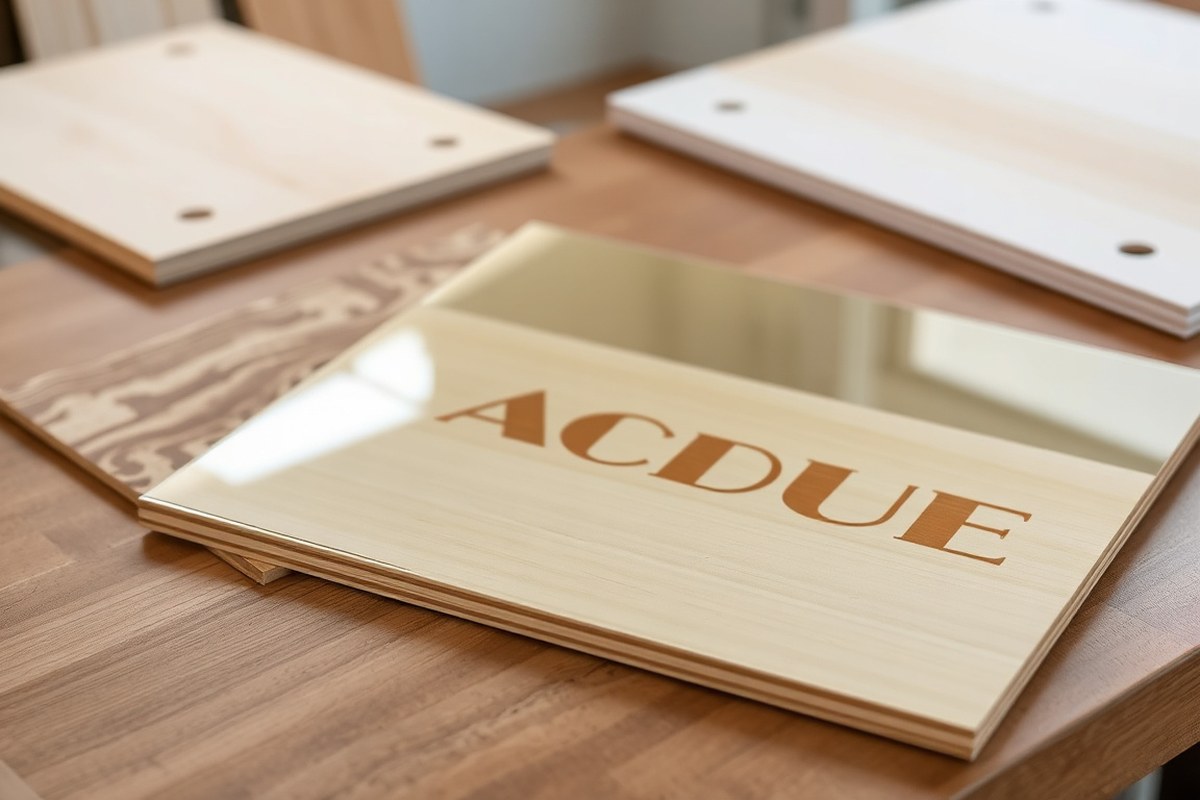
Choosing the right materials for laser-cut signs affects your project’s look, cost, and ease of production. Woods like birch, plywood, and balsa are common, but not all are suitable for laser cutting. Acrylic also works well in clear or opaque forms. Thickness matters: cutting usually works best at thinner ranges, while engraving can handle thicker substrates. Understanding each material’s limits and finishes ensures your sign comes out crisp and professional. The table below compares popular materials for laser cutting and engraving, showing their typical thickness ranges, suitability, and common uses for signs:
| Material | Suitable for | Typical Thickness for Cutting | Typical Thickness for Engraving | Finish/Appearance | Cost Example |
|---|---|---|---|---|---|
| Birch Wood (quarter-inch) | Cutting & Engraving | Up to 1/4 inch (6 mm) | Up to 1/2 inch (12 mm) | Light wood grain; engraves dark brown | $3.50 for 12×8 inch sign |
| Plywood | Cutting & Engraving | Varies; usually under 1/4 inch | Up to 1/2 inch (12 mm) | Must check grade; may have glue layers | Lower cost, popular beginner choice |
| Balsa Wood | Engraving, some cutting | Thin sheets preferred | Up to 1/4 inch (6 mm) | Light wood, softer; may need paint | Low cost |
| Clear Acrylic (Sheet) | Cutting & Engraving | 3 mm to 5 mm recommended | Thicker sheets possible | Glossy, transparent or colored | Moderate cost |
| Opaque Acrylic | Cutting & Engraving | Similar to clear acrylic | Similar to clear acrylic | Color options; matte or glossy finish | Similar to clear acrylic |
Wood types like birch and plywood cut cleanly and engrave with deep contrast using CO2 lasers, which provide crisp cuts and smooth edges. Plywood is affordable and beginner-friendly but may have glue layers that affect cutting quality, so choose high-grade plywood. Balsa is lightweight and easy to engrave but often requires pre-painting for a finished look, especially since its soft surface may burn or char unevenly.
Acrylic offers a sleek, modern finish. Clear acrylic sheets around 3 to 5 millimeters thick are commonly used. These lasers can cut or engrave acrylic with a neat edge and vibrant contrast. Opaque acrylic gives you color variety, but check your laser’s power settings to avoid melting or clouding edges.
Always confirm your specific laser engraver’s material compatibility and settings to avoid damage or poor results when switching between wood and acrylic.
Thickness limits vary by your laser’s power. Cutting thicker wood beyond about 1/4 inch can require more powerful CO2 lasers, while engraving can handle thicker boards since it only affects surface layers. Acrylic behaves similarly, with thinner sheets cutting easily and thicker ones better suited for engraving details.
Consider your final design’s look. Wood grain and color affect how deep and dark the engraving appears, while acrylic’s shine can make text and images pop. Mixing materials like wood and acrylic adds visual interest, but adjusting cutting speed and power for each substrate is key. For example, slower speeds and higher power may be needed for dense woods, whereas acrylic cuts best with higher speeds and moderate power to prevent edge melting.
Selecting and Preparing Designs for Laser Engraving
Choosing or creating the right design file ensures your laser engraver produces a precise and detailed sign. Use vector files like SVG or DXF for cutting, and raster images for engraving. Preparing artwork properly, converting text to outlines and aligning designs, reduces errors and achieves sharp results.
Recommended Software for Sign Design
Design vectors and prepare your artwork in software such as LightBurn, Adobe Illustrator, or the free program Inkscape. These tools support SVG and DXF file formats, which your laser software prefers for cutting paths. LaserPecker’s own app also works well for simpler creations and directly integrates with their devices.
Always convert text to paths or outlines before exporting to avoid font compatibility issues during the engraving process. Save your finalized design in SVG or DXF format to maintain scalability and editing flexibility. Raster images like JPEG or PNG are accepted only for engraving and cannot be used for cutting.
Converting Raster Images to Vectors
Laser cutters require vector paths for cutting, so raster images like photos or hand-drawn sketches must be traced into vector format. Use built-in trace tools in software like Illustrator or Inkscape to convert images into editable paths. Cleaning up these paths ensures smooth cuts and prevents jagged edges on your signs. Follow these steps to create a vector suitable for laser cutting:
- Open your raster image (PNG, JPEG) in a vector editing program.
- Apply the trace or image tracing feature to convert the image into vector paths.
- Adjust threshold and detail settings to capture important edges without excess noise.
- Review and simplify paths by deleting unnecessary anchor points or smoothing curves.
- Convert text elements to outlines to lock their shapes.
- Save the final artwork as an SVG or DXF file for your laser engraver software.
Vectorizing takes practice. Keep designs simple with clear lines and avoid excessive detail that may not translate well when cut on small signs.
Design Tips for Clear Engraving and Cutting
Use high-contrast elements to define engraving areas clearly. Engraving removes surface material in grayscale or monochrome, so simple patterns and bold fonts produce the best visual impact. Avoid thin lines under 0.02 inches wide to prevent them from burning away or leaving faint marks.
For cutting, make sure your vector paths are continuous and closed shapes. Open or overlapping paths can confuse your engraver’s cutting head and cause uneven cuts or missed lines. Align your artwork precisely on the material to reduce waste and ensure proper placement.
Choose appropriate laser power settings depending on your material and design complexity. Higher power improve detail in engraving but risks charring wood. Test on scrap material first to dial in optimal speed and power for clean cuts and crisp engraving.
Setting Up Your Laser Engraver for Optimal Results
Setting up your laser engraver correctly will save you time and prevent damage to your materials and machine. For wood such as basswood or birch plywood, typical engraving speeds are around 3000 mm/min with power settings between 60% and 70% on a 20W diode laser. Cutting speeds drop to 400, 500 mm/min with power near 90% to 100%. Acrylic LED sheets require different settings; lower power and slower speeds help avoid melting, try starting around 25% power and adjust speed according to the thickness.
Accurate focus is essential to produce clean cuts and sharp engravings. Position the laser head so the beam focuses exactly on the material’s surface, usually a step involves lowering or raising the bed or laser head until the focal distance matches the lens specifications, which are often 50 to 70 mm from the lens to the work surface. Most machines include a manual or autofocusing tool; use it to fine-tune the focus before running your job.
Bed alignment matters because warped or uneven material leads to inconsistent engraving depths and cutting quality. Place your wood or acrylic flat on the honeycomb bed, ensuring it sits firmly without tilt. Align the material’s corner or edge to the machine’s origin point or home position, typically the front-left corner, so your design prints exactly where you expect. Clean the bed and material surface beforehand to prevent debris from disturbing the laser path.
- Check and confirm all protective shields or covers are securely closed before powering on.
- Wear appropriate safety glasses designed for your laser’s wavelength.
- Ensure proper ventilation or use a fume extractor to remove smoke and fumes.
- Confirm the emergency stop button functions and is easily accessible.
- Verify the material is compatible with laser processing to avoid toxic fumes or fire risks.
- Test settings with a small sample piece to fine-tune power and speed.
- Keep a clear workspace free of flammable materials around the laser bed.
Before starting each project, run a test engraving or cut on a scrap piece matching your material type and thickness. Look for clean lines without burning or incomplete cuts. Good results show uniform engraving strokes and smoothly cut edges with minimal charring. Problems like inconsistent depths or melting mean you should readjust power, speed, or focal distance. Staying safe and precise in setup ensures your signs come out looking professional on every try.
Finishing Techniques and Protecting Your Laser Signs
After laser engraving your sign, cleaning away residue is important to reveal crisp details and prepare it for finishing. Dust and tiny charred particles often cling to the surface and can be removed effectively with a soft brush or a microfiber cloth dampened slightly with water or isopropyl alcohol. Avoid harsh chemicals that could damage the wood or acrylic. For tougher residue on wooden signs, a gentle sanding with 220-grit sandpaper can smooth the surface but use light strokes to avoid dulling the engraved edges.
Adding color improve your sign’s visual impact. Acrylic paints work best for detailed applications on wood because they dry quickly, offer good pigment coverage, and resist fading. Use a fine-tipped brush to carefully fill engraved areas or make decorative accents. Wood stains add a natural look by soaking into the grain, but they don’t give solid color coverage in engravings. For plastic or acrylic signs, alcohol-based inks or special laser color fill pens can produce sharp contrasts and vibrant hues. Test your paint or stain on scrap material first to see how it adheres and looks.
Sealing your finished sign protects it from dirt, moisture, and UV light, which is especially important for outdoor use. Clear spray polyurethane is a popular choice because it’s affordable, easy to apply, and forms a hard, durable coat. Apply thin, even coats with a well-ventilated brush or spray can, allowing 1 to 2 hours to dry between layers. For outdoor signs, use exterior-grade polyurethane with UV inhibitors to prevent yellowing and surface degradation over time. Some sign makers recommend sealing both the front and back sides to minimize warping due to moisture changes. Expect around $10 to $20 per can, covering multiple small signs.
For extra weather resistance, marine varnish or spar urethane offers flexible, water-resistant protection and is designed for wood exposed to sun and rain. These finishes require several coats and good drying conditions to cure well. Avoid oil-based sealants outdoors as they can amber and peel. Acrylic signs benefit from UV-resistant clear coats specialized for plastics, ensuring colors stay bright and surfaces resist scratches or clouding.
Always test your finishing methods on a small piece of the same material to confirm adhesion and appearance before treating your final sign.
Common Mistakes and Troubleshooting in Laser Sign Making
Burning or uneven engraving usually happens because your laser power is set too high, your feed rate is too slow, or the material isn’t suited for the current settings. For example, wood can scorch easily if the laser lingers too long or cuts at high power without matching speed. To fix this, lower the power by 5-10% or increase the feed rate in small steps, testing on scrap pieces each time. Watch for signs like dark spots or inconsistent depths, which indicate overheating or uneven focus.
Misaligned cuts or incomplete engraving often result from incorrect material placement, poor calibration, or a dirty lens. You may notice parts of the image missing or edges that don’t line up properly. Fix these by recalibrating your laser engraver’s home position and checking your design’s alignment in the software before starting. Clean the laser lens with a microfiber cloth and appropriate cleaning solution regularly to maintain clarity and beam precision.
Keeping your machine well-maintained prevents many common errors. Regularly check and tighten belts and rails to avoid shifting during cuts. Lubricate guide rails about once a month, depending on usage, with light machine oil. Clean dust and residue from inside the machine with compressed air and wipe surfaces to ensure sensors and moving parts work smoothly. Replace or inspect the exhaust fan regularly to avoid smoke buildup, which can interfere with engraving quality and speed.
- Adjust laser power and speed settings incrementally to avoid burning.
- Use test pieces to calibrate before working on the final sign.
- Align your material accurately using laser guide or software positioning tools.
- Clean the laser lens and mirrors after every 10-15 hours of use.
- Check belts and rails monthly, tighten or replace if loose.
- Lubricate moving parts regularly to maintain smooth operation.
- Inspect and clean the exhaust system to prevent smoke buildup.
Results from these fixes include consistent engraving depth and sharp cut edges. Should charring still appear, lower the power or speed up the machine more. Should the cuts shift or miss, pause and recalibrate instead of continuing, which saves both material and time. Routine maintenance usually costs little beyond small cleaning supplies and occasional replacement parts, but it extends your machine’s life and output quality significantly.
Understanding Laser Types and Their Uses for Signs
Selecting the right laser type is key to making quality signs that fit your material and design. Among popular laser options, CO2, diode, and fiber lasers each have strengths and challenges that affect their performance with wood, acrylic, metal, and other sign materials.
CO2 lasers are the most versatile for wood and acrylic. They are generally more powerful than diode lasers, able to cut through and engrave a wide range of non-metal materials cleanly and quickly. For typical sign-making, a CO2 laser with about 50 watts power is sufficient to cut through standard wood thicknesses (like 1/4 inch) and acrylic sheets. These lasers emit infrared light that effectively vaporizes wood fibers and acrylic plastic, producing crisp edges with minimal burning. However, CO2 lasers are less effective on metals unless the surface is coated or painted.
Diode lasers use semiconductor diodes to generate light and are usually lower in power compared to CO2 lasers. They work well for engraving wood, leather, and some dark, opaque acrylics but cut less cleanly and slower than CO2 lasers due to their lower power output. Diode lasers can mark some metals, such as stainless steel and painted metal, but cannot cut through metal sheets. They tend to be more affordable and compact, making them suitable for hobbyists and small-business owners starting out with simpler materials.
Fiber lasers stand out for their ability to engrave and cut metals with precision. They produce a highly concentrated beam suited to marking stainless steel, aluminum, and other alloys. Fiber lasers are usually more expensive and specialized, ideal for metal signs or industrial applications rather than wood or acrylic. They have limited effect on organic materials like wood, so they are not the best choice for common wooden or acrylic signs.
| Laser Type | Strengths | Weaknesses | Materials Compatible | Typical Power Range | Sign Uses |
|---|---|---|---|---|---|
| CO2 Laser | Powerful; fast engraving and cutting on wood and acrylic; versatile | Less effective on metals without coating; larger machines cost more | Wood, acrylic, leather, paper, painted metals (engraving) | 30, 150 watts (50 watts common for signs) | Wood and acrylic signs; engraving and cutting |
| Diode Laser | Affordable; compact; marks some metals; good for simple engraving | Lower power; slower; limited cutting ability; not for thick materials | Wood, leather, MDF, stainless steel (marking), some dark acrylic | 1, 10 watts common | Small wood signs; leather goods; painted metal marking |
| Fiber Laser | High precision on metals; fast metal marking and cutting | Expensive; poor on organic materials like wood or acrylic | Metals (stainless steel, aluminum, alloys) | 20, 100+ watts | Metal signs and tags; deep engraving on metals |
Laser power directly influences cutting thickness. A 50-watt CO2 laser can usually cut wood up to about 1/4 inch thick in a single pass. Thicker material requires multiple passes or a more powerful laser. Diode lasers with around 5 watts might only engrave wood or acrylic surfaces but rarely cut through more than a millimeter of material. Fiber lasers can cut thin metals depending on wattage, but their strength lies in marking rather than thick cutting.
Choose a laser type based on your sign material and budget. For wooden or acrylic signs, a CO2 laser offers the best balance of power, speed, and cost. Diode lasers are a budget-friendly start for engraving simpler materials and marking painted metals. Fiber lasers suit metal signs but won’t replace CO2 for wood or acrylic projects.
Maintenance and Safety Tips for Laser Engraving at Home
Laser engraving at home requires attention to safety and regular upkeep to keep your machine running smoothly and protect yourself. Key precautions include wearing eye protection, ensuring proper ventilation, keeping the machine clean, and following manufacturer guidelines.
Personal Protective Equipment Needed
Always wear safety goggles designed to filter the laser wavelength your machine uses. This prevents eye damage from accidental exposure to the laser beam. Use gloves if handling materials that produce fine dust or fumes to protect your skin. A dust mask or respirator rated for small particulate matter may also be necessary if your ventilation system does not fully clear hazardous fumes.
Never operate the laser without its protective covers and safety guards in place. These shields help contain radiation and prevent accidental burns or cuts. Wearing closed-toe shoes and avoiding loose clothing can reduce injury risks from hot parts or moving components.
Routine Machine Maintenance Tasks
Regular cleaning and inspection keep your engraver reliable and safe. After every use, wipe down the working area and remove debris from lenses, mirrors, and laser nozzles. Accumulated dust can scatter the laser and reduce engraving quality or damage parts. Use a soft, lint-free cloth and recommended cleaning solutions based on the manufacturer’s instructions.
Check that belts, rails, and motors are free from dust and correctly tensioned. Lubricate moving parts as needed with machine oil. Inspect electrical connections and cables for damage or wear. Replace air filters in the ventilation system on a schedule to maintain airflow and minimize fume buildup. Generally, a thorough inspection and cleaning every 10 to 20 hours of engraving is a good practice.
- Clean lenses and mirrors with lens cleaner and a microfiber cloth
- Remove dust from the work table and machine interior
- Check and adjust belt tension and alignment
- Lubricate rails and bearings periodically
- Inspect cables and connectors for wear
- Replace ventilation filters per manufacturer schedule
- Test safety switches and emergency stops regularly
Regular maintenance prevents costly downtime and maintains engraving precision over time.
Setting Up Proper Ventilation
Fumes from engraving materials, like wood, acrylic, or paint, can be hazardous. Install a ventilation system that extracts smoke and airborne particles directly from the cutting area. Exhaust the air outside the building when possible, or pass it through a high-quality filter designed for laser fumes.
A common option is a fume extractor connected via ducting with a fan rated for at least 100 cubic feet per minute (CFM) for small desktop laser engravers. Ensure duct runs are as straight as possible without sharp bends to maintain airflow. Opening windows alongside ventilation can help, but do not rely on room fans alone.
Maintain the ventilation system by cleaning or swapping filters monthly or based on usage hours. Poor ventilation risks inhaling toxic gases and may cause machine sensors to trigger shutoffs or damage internal electronics from smoke residue buildup.
Step-by-Step Action Plan to Start Making Laser-Engraved Signs Today
Follow these steps to quickly set up your laser engraving project and create your first quality sign.
- Day 1: Choose Your Material. Pick a wood or acrylic sheet that suits your sign style. Ensure it’s compatible with your laser type by checking the manufacturer’s recommendations.
- Day 2: Prepare Your Design. Create or import your design into your laser’s software. Confirm fonts are outlined and images are clean to avoid engraving errors.
- Day 3: Set Up the Laser Engraver. Calibrate focus and test power settings on a scrap of the chosen material. Verify the test engraving matches your design details without burning or fading.
- Day 4: Engrave Your Sign. Secure the material on the bed, load the design, and run the engraving. Watch the process closely to catch any misalignment early.
- Day 5: Apply Finishing Touches. Clean the engraved surface with a soft brush or cloth, apply sealant or paint if desired, and let it dry fully to protect the sign.
- After 1 Week: Inspect and Adjust. Check your sign for any fading or rough edges. Adjust laser settings or finish techniques for your next project based on this inspection.
Frequently Asked Questions
What Type of Laser Engraver Is Best for Beginners Making Signs?
The xTool F1 Desktop Laser Engraver is highly recommended for beginners. It’s fast and powerful enough for materials like wood and acrylic, making it versatile for new users learning sign engraving.
Can I Make LED Signs Using a Laser Engraver?
Yes, you can create custom acrylic LED signs with a laser engraver. Cutting and engraving acrylic allows light to shine through, improving the sign’s visibility and style.
How Much Does Material and Laser Time Typically Cost for a Small Wooden Sign?
A 12×8 inch sign in quarter-inch birch wood might cost about $3.50 for materials and take roughly 15 minutes of laser engraving. This helps you estimate production costs for small batches.
Can I Use Any Desktop Laser Cutter to Make Signs?
Most desktop laser cutters, including the xTool M1 hybrid, are suitable for making signs. Just ensure your machine handles chosen materials and size by measuring and setting it up accordingly.
How Deep Can a CO2 Laser Engraver Cut into Wood for Signs?
CO2 lasers can cut deeply with crisp edges and smooth cuts. Depth depends on power settings, but these lasers typically produce clean, detailed engravings ideal for wooden signs.
What Are Common Finishing Options After Laser Engraving a Wooden Sign?
Common finishes include sanding, staining, or sealing with polyurethane. These steps protect the sign from wear and improve wood grain, extending the life of your design.
Wrapping Up
Making a laser-engraved sign combines precise design, proper material choice, and careful machine operation. Starting with a simple project helps you learn and adjust each step for better results. Begin by selecting your first material and design today to see how small shifts in technique improve your finished sign.