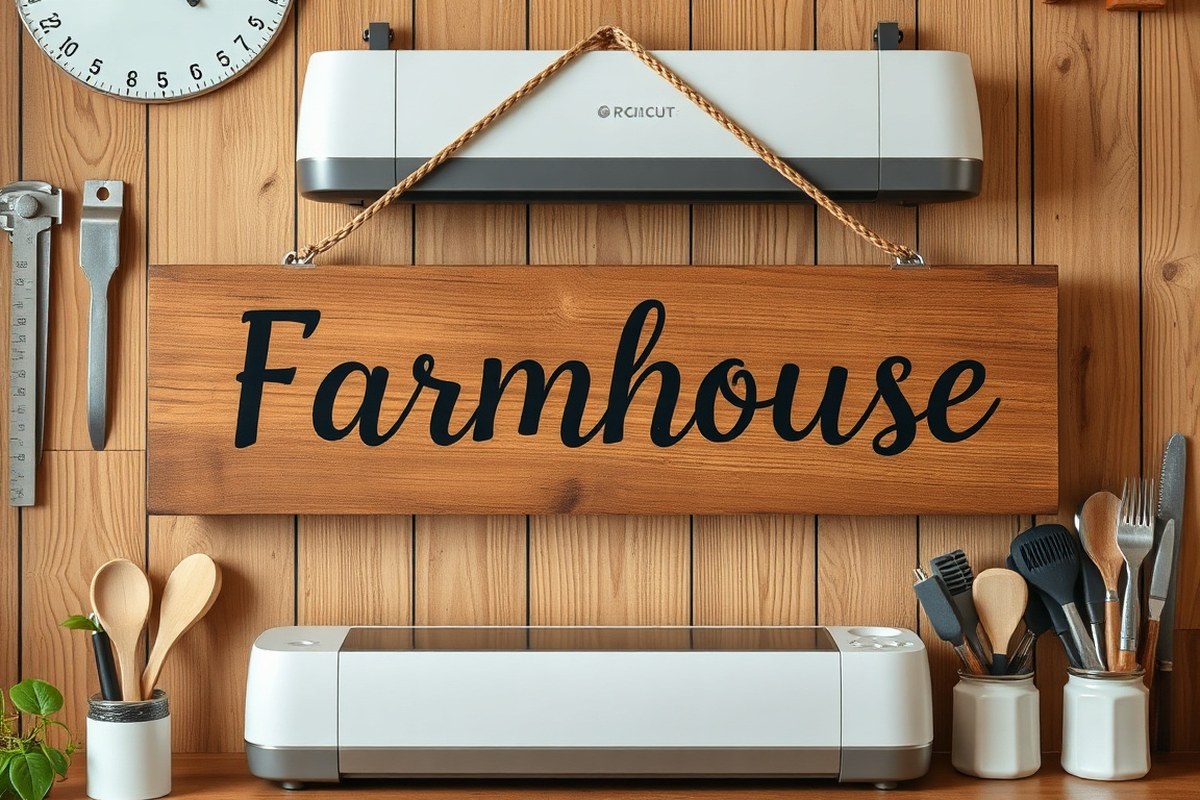
How to Make a Rustic Sign with Cricut: A Complete Step-by-Step Guide
How to make a rustic sign with Cricut starts by selecting quality wood and using a Cricut machine to create precise vinyl stencils. Applying exterior-grade vinyl is key for durability, allowing you to transfer detailed designs onto wood easily. Begin with a 1/2-inch plywood cut to your sign’s size to ensure a sturdy, smooth surface for your project.
Key Takeaways
- Choose 1/2-inch thick plywood sized to your desired sign dimensions for a reliable base.
- Use black permanent vinyl rated for outdoor use to ensure long-lasting designs.
- Size your design correctly in Cricut Design Space before cutting vinyl or stencils.
- Frame your sign with 1 x 2 lumber to improve rustic appeal and protect edges.
- Apply vinyl stencils before painting to achieve clean, professional lettering on wood.
- Heat press iron-on designs using a temperature of 300°F for 45 seconds, applying strong pressure to ensure they stick firmly.
How to Make a Rustic Sign Using Cricut: Full Step-by-Step
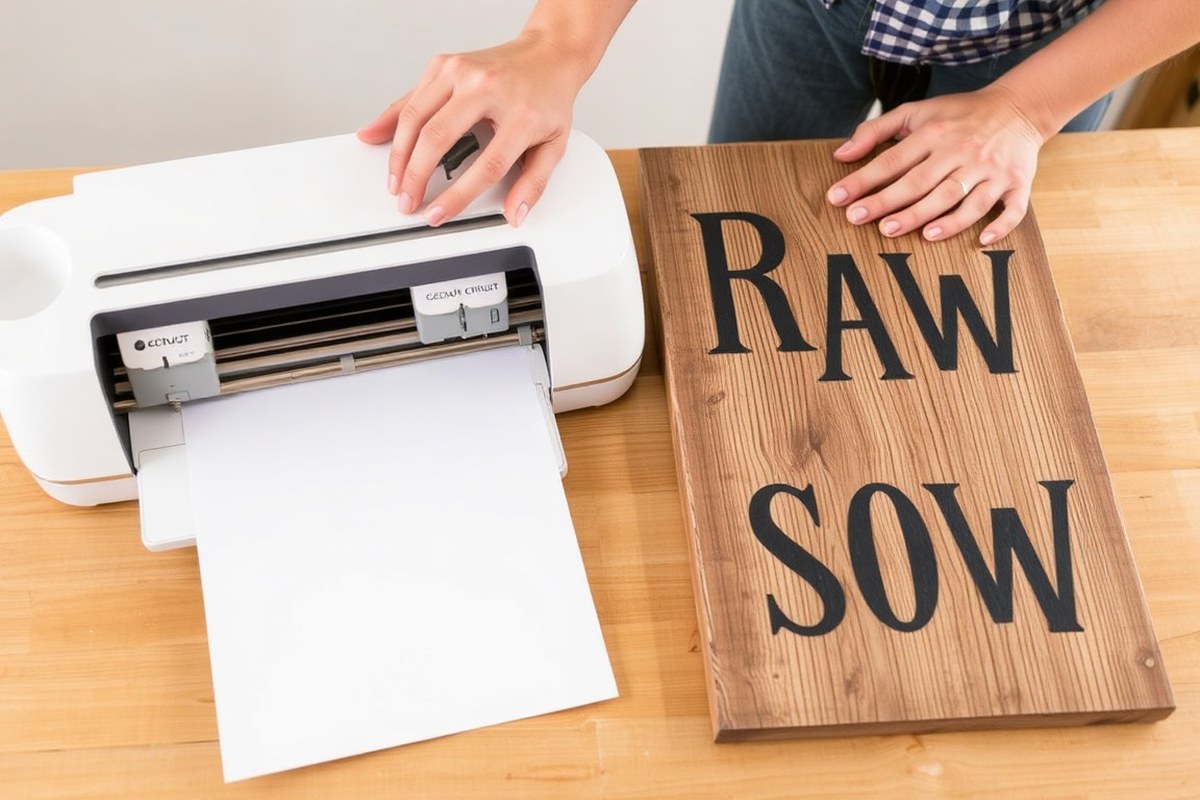
Making a rustic wooden sign with your Cricut machine involves designing your text or image, cutting vinyl or stencil material, and carefully applying your design to a wood surface. Sizing your design to fit your wood piece ensures a balanced look. The typical order is to design, cut vinyl or stencils, apply vinyl or paint through stencils, and then add finishing touches like twine or hangers.
Designing the Sign in Cricut Design Space
Start by measuring your wooden board or pallet to determine the exact dimensions available for your design. Enter these dimensions into Cricut Design Space to set your canvas size. This step prevents designs that are too large or small. Choose a font and any images that match your rustic theme, Cricut Access has many farmhouse-style fonts and icons ideal for signs such as “Welcome,” holiday greetings, or vintage trucks.
Resize your design to fit the wood’s shape and size, leaving about a half-inch margin around the edges. This margin helps avoid crowding and looks more professional. Group and align your elements as needed to keep everything centered and well-spaced.
Cutting Vinyl and Preparing Stencils
Decide whether you want to cut permanent vinyl for direct application or use stencil vinyl to paint your letters or design onto the wood. Permanent vinyl works well for smooth and flat sign surfaces. Using stencil vinyl allows for painting, which adds texture and a hand-crafted look, ideal for rustic signs.
Prepare your Cricut machine according to the type of vinyl, and load the correct cutting mat. Cut the design, then carefully weed out the excess vinyl, leaving only your lettering or shapes on the backing. For stencil vinyl, remove the interior parts of letters or shapes that will be painted.
Applying transfer tape over permanent vinyl will let you transfer the design cleanly to wood. For stencils, peel the backing and stick the stencil vinyl directly onto the wood, smoothing out air bubbles with a scraper tool.
Applying Vinyl and Finishing Touches
Apply the permanent vinyl by carefully placing it onto the wood, pressing it down firmly with a scraper to avoid bubbles and wrinkles. Peel the transfer tape slowly back, leaving the vinyl adhered to the wood. For stencil designs, paint over the stencil with acrylic paint using a sponge or small brush, applying in light layers to avoid bleeding under the stencil edges.
After the paint dries (usually within 20 to 30 minutes), remove the stencil vinyl gently to reveal your painted design. Let the paint cure for at least 24 hours before sealing or adding decorations like twine or hangers. Sealing with a clear matte polyurethane protects your rustic sign from wear and weather if used outdoors.
- Measure your wood piece and set canvas size in Cricut Design Space.
- Design your sign with text and images, resizing to fit the wood with at least a 0.5-inch margin.
- Cut permanent or stencil vinyl using the Cricut machine and weed out excess vinyl carefully.
- Apply transfer tape if using permanent vinyl, then place vinyl on wood and smooth out air bubbles.
- Paint stencil vinyl designs with acrylic paint using light coats and let dry completely.
- Remove stencil vinyl carefully after paint dries or peel transfer tape from permanent vinyl.
- Seal and decorate your sign with a protective coat and optional twine or hanging hardware.
Essential Tools and Materials for Cricut Rustic Signs
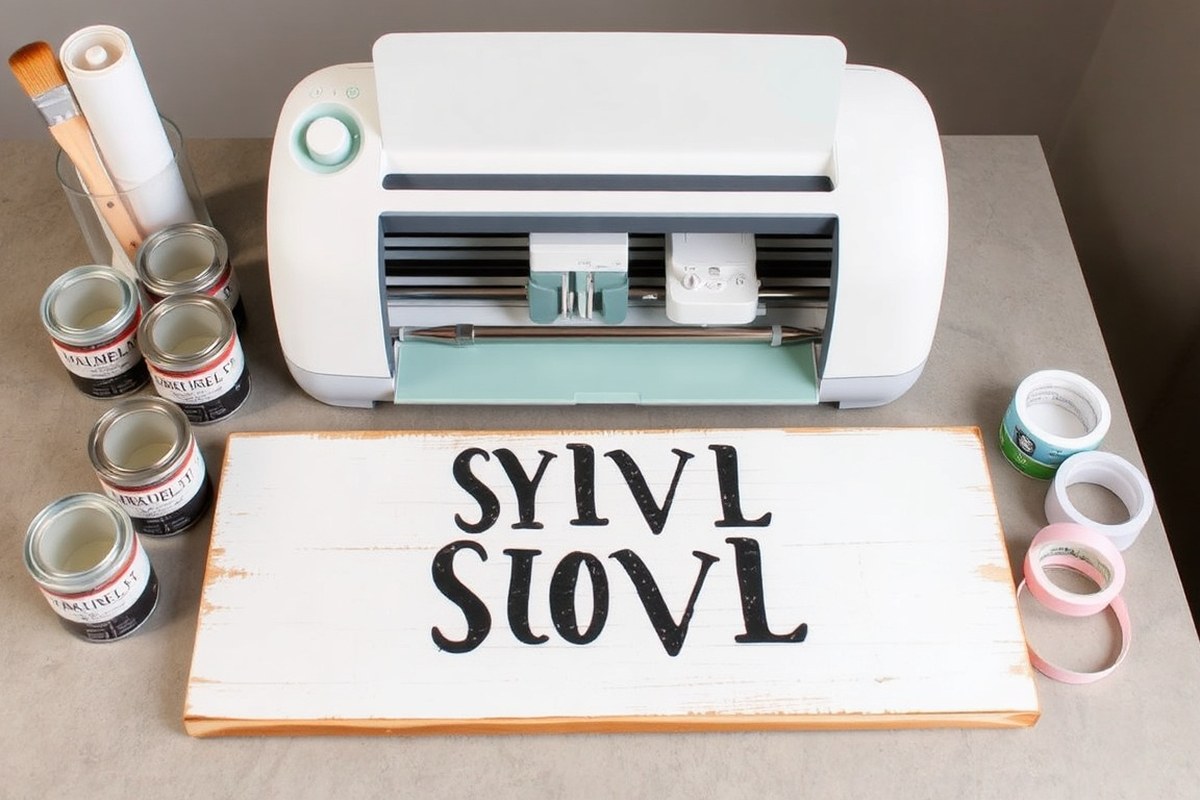
For creating a durable rustic sign with Cricut, select wood that balances smoothness and rustic appeal. Pine, cedar, and reclaimed barn wood work well. Pine is affordable and easy to sand, cedar offers natural resistance to rot, and reclaimed wood gives authentic character. Boards should be around 1/2 inch to 3/4 inch thick for stability and ease of use.
The ideal Cricut machine for cutting stencils or vinyl projects on rustic wood is the Cricut Maker. Its Adaptive Tool System supports the Knife Blade and Fine Point Blade options, allowing precise cuts on vinyl and stencil material. The Fine Point Blade is suitable for vinyl or stencil films, while the Knife Blade can cut thin wood sheets up to 2.4 mm thick. Expect to spend around $350 to $400 for the Cricut Maker and $25 to $40 for blades. Using the regular Cricut Explore Air 2 can work with vinyl but not with thin wood cuts.
Use premium adhesive vinyl like Cricut’s Everyday Iron-On or Oracle 651 Outdoor vinyl for lastingly crisp, weather-resistant designs. Cricut’s iron-on vinyl is simple to apply with a heat press or household iron and holds up well on smooth wood. For painting, acrylic craft paint or chalk paint brands like FolkArt or Americana are durable and fast drying, starting at about $3 per 2-oz bottle. Choose paints designed for wood surfaces to avoid cracking or peeling. You should also have these tools and materials ready for successful rustic sign making:
- Sandpaper (grit 120 and 220) for smoothing wood surfaces.
- Transfer tape (medium tack) to move vinyl or stencils smoothly.
- Cricut weeding tools for removing excess vinyl.
- Paintbrushes: foam brushes for smooth paint application and small detail brushes.
- Sealer like clear matte polyurethane or Mod Podge to protect finished signs outdoors.
- Card scrapers or a plastic scraper tool to smooth vinyl on wood during transfer.
- Optional: Hanging hardware like sawtooth hangers or jute rope for mounting your sign.
Always test your paint on a small scrap of wood first to check for adhesion and drying times, especially if your project will be displayed outdoors.
Applying a clear sealer after painting ensures longevity, especially if your rustic sign will be exposed to moisture. Matte or satin finishes preserve the handmade look without making the wood overly shiny. Keep brushes clean between coats to avoid dried paint lumps. Strong adhesion of vinyl or stencil vinyl starts with clean, dust-free wood, so wipe the surface thoroughly before applying any decals.
Choosing and Preparing Wood for a Rustic Cricut Sign
Choosing the right wood and preparing it well sets the foundation for a quality rustic sign. The wood type affects the ease of cutting, painting, and how the vinyl or stencil sticks. Proper sanding and sealing create a smooth surface that holds your design longer and prevents peeling or bleeding.
Best Wood Types for Rustic Signs
| Wood Type | Pros | Cons | Cost Estimate |
|---|---|---|---|
| Pine | Soft, easy to cut and sand; affordable; rustic grain | Can dent easily; knots may bleed through paint | $2-$5 per 1×6 foot board |
| Cedar | Durable, naturally resistant to rot; aromatic scent | Smells strong; more expensive; harder to sand finely | $5-$10 per 1×6 foot board |
| Poplar | Fine, even grain; smooth surface for vinyl; easy to paint | Less rustic appearance; soft but not as soft as pine | $4-$7 per 1×6 foot board |
| Reclaimed Pallet Wood | Authentic rustic look with character; inexpensive or free | May have nails or chemical residue; uneven surface; harder prep | Free to $2 per board (if salvaged) |
Soft woods like pine work well if you want a true rustic texture and ease of cutting. Cedar suits outdoor rustic signs. Poplar provides a smooth base but looks less rugged. Reclaimed wood adds charm but needs careful inspection and prep.
Cutting and Sizing Your Wood
You can find premade wood blanks sized for popular sign dimensions at craft or hardware stores. Typical rustic signs range from 12″x6″ to 24″x12″. If you prefer a custom size, cut your wood board down with a miter saw or circular saw.
Make sure to handle the wood carefully and wear eye and ear protection during cutting. Use clamps to steady the board and measure twice before each cut to avoid mistakes. Always cut slightly larger than your intended sign size, then fine-tune after sanding.
Sanding and Sealing the Surface
Sanding removes rough spots and splinters, making the surface easier to apply vinyl or paint evenly. Begin with medium grit sandpaper (around 120 grit) to smooth edges and larger imperfections. Follow with fine grit (220 grit) to finish the surface for vinyl application.
Sealing the wood prevents paint or stain bleed and helps vinyl stick better. Use a clear acrylic sealer or a water-based polyurethane for indoor signs. Apply a thin, even coat and let it dry fully, usually 2 to 4 hours at room temperature. Avoid oily or wax seals, as vinyl won’t adhere well. Here’s a clear checklist for preparing your wood:
- Choose the appropriate wood type based on your project needs and budget.
- Measure and mark the intended sign size on your wood board.
- Cut the wood to size using a miter saw, circular saw, or purchase premade blanks.
- Remove any nails or staples if using reclaimed or pallet wood.
- Sand all surfaces and edges, starting with 120 grit and finishing with 220 grit sandpaper.
- Wipe off sanding dust with a tack cloth or damp rag.
- Apply a thin coat of clear acrylic sealer or water-based polyurethane evenly over the wood.
- Allow the sealant to dry for at least 2 hours before applying vinyl or paint.
Designing Rustic Sign Projects in Cricut Design Space
Start by measuring your wood sign’s surface precisely in inches, noting both width and height. In Cricut Design Space, set the canvas size to match these dimensions so your design fits perfectly. To size and position elements, use the “Size” fields and the grid background for alignment. This helps avoid cutting designs too large or small for your sign. Keep in mind the outer edges of your wood may be uneven if weathered, so leave a small margin around your design to prevent important parts from being cut off or painted over.
Farmhouse style fonts and SVG designs are key for that rustic charm. Within Design Space, find free projects and fonts labelled “rustic” or “farmhouse.” Popular fonts include “Magnolia Sky,” “KG Eyes Wide Open,” or “Better Together.” For SVGs, sites like 1001 Free SVG, Dreaming Tree, or even Cricut’s own design library offer plenty. You can upload these SVG files into Design Space to customize further. Try combining simple farmhouse icons like hearts, leaves, or arrows with text to craft your unique layout.
Deciding between using stencils, vinyl letters, or 3D elements depends on your wood type and the look you want. Vinyl letters work well on smooth surfaces and allow for crisp, detailed designs. They’re removable and can last up to three years outdoors when using Cricut’s outdoor permanent vinyl, which justifies their slightly higher cost ($3-$5 per sheet). Stencils suit rougher or textured wood and allow painting with rustic imperfections. Creating stencils requires mirror-imaging your design in Design Space before cutting. For extra depth, explore 3D elements via the Cricut Knife Blade to cut chipboard layers for your sign. These require more setup but add a tactile dimension that stands out.
Before cutting, always preview your design on the Cricut cutting mat layout within Design Space. This shows wheelbase limitations, material size, and placement. Use this view to arrange multiple smaller designs efficiently or scale down oversized images to fit within a 12 x 24-inch mat, the largest size common for home Cricut machines. Group layers logically and assign colors to different cuts like vinyl or chipboard. Use the layering feature to hide or reveal parts, ensuring you prepare the SVG files correctly. Unlock size proportions only if you need non-uniform scaling and check that fonts are welded or attached to avoid letters cutting separately.
A design checklist can help. Confirm your sign’s dimensions, choose farmhouse fonts or upload desired SVGs, decide between vinyl, stencil, or 3D cuts, and preview your mats. Take time to test cut on scrap material to ensure weedability and transfer success. A well-prepped file reduces wasted material and guarantees your rustic wooden sign turns out crisp and aligned exactly how you envisioned.
Cutting Vinyl and Creating Stencils for Rustic Wood Signs
Using your Cricut to cut vinyl or stencil materials for rustic wood signs means picking the right supplies, carefully weeding the design, and transferring it smoothly onto the wood. Doing these steps properly ensures sharp, clean edges and good adhesion for lasting results on rough wood surfaces.
Choosing Vinyl and Stencil Materials
Permanent adhesive vinyl works best on wood surfaces because it sticks firmly to the porous texture without peeling. Removable vinyl can fail over time outdoors or on rough wood. For rustic wood signs, permanent vinyl brands like Oracal 651 or Cricut Premium Outdoor Vinyl perform well and resist fading. Price ranges are about $2 to $5 per 12 x 24 inch sheet.
Stencil materials should be flexible but durable for rough wood. Mylar stencil sheets or clear adhesive vinyl work well. Mylar is reusable and can handle the wood’s texture, while adhesive vinyl stencils stick tightly during painting. Cardstock stencils tend to shift or tear on uneven wood, so avoid those.
| Material | Best For | Adhesion Quality | Reusable | Cost (per 12×24 in.) |
|---|---|---|---|---|
| Permanent Adhesive Vinyl (Oracal 651) | Direct application on wood | High; sticks well to rough wood | No | $3-$5 |
| Clear Adhesive Vinyl (for stencils) | Stencil creation; paint masking | Medium; sticks temporarily for painting | No | $2-$4 |
| Mylar Sheets | Reusable stencils on rough wood | None adhesive; hold in place manually | Yes | $5-$10 |
Weeding and Preparing Transfer Tape
After your Cricut cuts the vinyl, carefully remove the excess material in a process called weeding. Use a weeding tool or tweezers to pull out the tiny pieces inside letters and designs, leaving only the parts that form the image. Weeding cleanly affects how sharp your sign will look.
Once weeded, cover the design with Cricut Transfer Tape. Cut a piece slightly larger than your design, then press it down firmly to pick up every letter and detail. Smoothing it with a scraper tool helps the vinyl stick evenly to the tape, preventing bubbles or missed spots during transfer.
Make sure the wood surface is clean and dry before applying vinyl or stencils to improve adhesion and prevent peeling later.
Applying Vinyl or Stencils Cleanly
Applying your vinyl or stencil depends on the material and wood surface. For vinyl, align the design over the wood, then slowly lay it down from one edge, pressing as you go to avoid air bubbles. Use a scraper to firmly press the vinyl onto the wood, then carefully peel back the transfer tape at a sharp angle.
For multi-layer stencil designs, cut each color or layer as separate pieces. Apply the base stencil, paint it, and allow drying time. Then position the next stencil layer exactly over the first for additional paint colors or details. This layering creates complex visuals without mixing paint edges.
- Clean the wood surface with a dry cloth and light sanding to remove debris.
- Weed the vinyl design carefully using a weeding tool to remove excess material.
- Cut a piece of transfer tape the same size as the vinyl design.
- Apply transfer tape over the vinyl, smoothing with a scraper to secure all parts.
- Peel the backing off the vinyl, leaving the design on the transfer tape.
- Position the design on the wood and press down firmly using a scraper tool.
- Slowly peel away the transfer tape at a 45-degree angle, leaving the vinyl in place.
- For stencil use, apply paint over the stencil and remove it carefully once dry before applying new layers.
Applying Designs and Painting Your Rustic Wood Sign
Preparing your wood surface is key for a clean, durable finish when applying vinyl or painting through stencils. Begin by lightly sanding the wood with fine-grit sandpaper (around 220 grit) to smooth rough spots and open the wood grain. Wipe away dust completely with a damp cloth and let it dry fully, as any leftover dust or moisture can cause bubbles or uneven paint. A well-prepped surface helps vinyl adhere better and paint to stay put without peeling.
For vinyl application, ensure the wood is completely dry and clean. Position your vinyl decal carefully, then use a scraper or a Cricut scraper tool to burnish it firmly onto the wood, applying even pressure. To improve adhesion, you can use a Cricut EasyPress set to about 250°F (120°C) for around 15 seconds. Place a thin cloth between the EasyPress and the vinyl to protect it and avoid direct heat on the wood, which can scorch or warp thinner boards. Avoid pressing too long; excessive heat or pressure may cause the wood to darken or the vinyl to distort.
Painting through stencils calls for specific techniques to achieve a rustic look with clean lines. Use acrylic craft paints, as they dry quickly and offer good coverage on wood. For a distressed, rustic style, choose chalky or matte finish paints. Apply the paint in thin layers with a stencil brush or a small foam roller, using a pouncing or stippling motion rather than brushing side-to-side to prevent paint from bleeding under the stencil edges. This helps maintain crisp design edges while giving texture.
Let paint dry for about 15 to 30 minutes between light coats. Two to three thin coats usually create an even finish and build enough opacity for the design to stand out. Wait 30 minutes to an hour before carefully peeling off your stencil to avoid smudging. Removing the stencil while paint is still slightly tacky helps avoid lifting dried paint or damaging your design. If the paint looks too flat and uniform, use fine sandpaper to gently distress edges or highlight wood grain for extra rustic charm.
Allow the finished sign to cure for at least 24 hours before applying a sealer or handling extensively. Proper drying times depend on paint brand, room temperature, and humidity, so keep your workspace dry and well-ventilated. For sealing, clear matte polyurethane or acrylic sealer sprays work well to protect paint and vinyl without adding shine, maintaining that rustic aesthetic. Remember that skipping wood prep or rushing drying times can cause peeling, bubbling, or uneven finishes that diminish the quality and durability of your rustic Cricut sign.
Sealing, Finishing, and Adding Rustic Sign Details
Protecting and improving your rustic sign starts with choosing the right sealer. For outdoor signs, a clear exterior polyurethane with UV blockers typically provides the best protection against moisture, sun fading, and temperature changes. Look for a water-based polyurethane that offers a durable, non-yellowing finish, costing around $10 to $15 per quart. Apply two to three thin coats with a synthetic brush, allowing each coat to dry 4 to 6 hours at temperatures above 50°F. Avoid oil-based sealers outdoors as they tend to yellow and attract dirt.
| Sealer Type | Best For | Dry Time | Cost Range | Notes |
|---|---|---|---|---|
| Water-Based Polyurethane | Outdoor and indoor, UV resistance | 4-6 hrs per coat | $10-$15/quart | Non-yellowing, easy clean-up |
| Oil-Based Polyurethane | Indoor, rich finish | 8-12 hrs per coat | $12-$18/quart | Yellowing over time, strong odor |
| Clear Acrylic Sealer (Spray) | Quick touch-ups, detailed surfaces | 30-60 min per layer | $6-$12/can | Less durable outdoors, multiple coats needed |
Adding 3D elements really helps your rustic sign stand out. Use the Cricut Knife blade to cut layered wood shapes or stencils that build dimension. This allows you to create raised lettering or silhouettes that catch light and shadows naturally. A typical project might involve layering thin plywood cutouts or painted chipboard, glued with wood glue or hot glue for quick adherence. Expect to spend $2 to $5 per sheet of thin wood or chipboard. Be sure to clamp pieces while drying to avoid warping. After layering, seal the entire sign again to secure and protect these 3D textures.
Hardware and decorations add functional and visual interest to your rustic sign. Frame your sign with simple stained wood strips or a pre-made rustic frame. Attach bows made of wired burlap or plaid fabric with hot glue or craft wire for seasonal charms. For hanging, choose either sawtooth picture hangers for indoor signs or heavy-duty D-rings and braided rope for outdoor signs. Avoid thin ribbons or cheap wire outdoors since they degrade quickly. Here’s a checklist of hardware and embellishments to consider:
- Wood frames stained or painted to complement the sign
- Wired burlap or plaid bows secured with hot glue
- Sawtooth picture hangers for indoor use
- Heavy-duty D-ring hangers with braided jute rope for outdoors
- Decorative elements like small fabric bunnies or faux greenery
- Layered wood or chipboard cutouts made with Cricut Knife blade
To avoid peeling or fading over time, apply sealers thoroughly to all surfaces, including edges and layered components. Let the sealer cure for at least 24 to 48 hours before outdoor use. Reapply a fresh coat every 1 to 2 years depending on exposure. Keep your rustic sign clean by dusting regularly and wiping gently with a damp cloth, never soak it or use abrasive cleaners. With proper sealing and thoughtful decoration, your Cricut-made rustic sign can retain its charm and durability even in changing weather.
Troubleshooting Common Issues in Cricut Wood Sign Making
Vinyl peeling from rough wood happens because the uneven surface lowers the vinyl’s ability to stick well. Tiny gaps between wood fibers allow air and paint to get under the edges, causing bubbling or lifting. To fix this, lightly sand the wood surface with fine-grit sandpaper (220 grit works well) to smooth rough patches before applying vinyl. Clean off dust thoroughly before placing the vinyl. Using a clear craft sealer or Mod Podge on the wood first can help create a smoother vinyl-friendly base. Apply the vinyl with firm pressure using a scraper tool and warm the vinyl slightly with a hairdryer to improve adhesion.
Paint bleeding under stencils usually happens when too much paint is applied or the stencil isn’t sealed tightly against the wood. Avoid thick coats of paint by using a dry brush or a foam pouncer with just a little paint on it. Dab gently rather than brushing back and forth. Before painting, you can secure the edges with painter’s tape or a spray adhesive made for stencils. After painting, carefully lift the stencil while the paint is still slightly wet to prevent cracking or peeling.
Reapplying or patching missing letters or paint stains requires precision so the patches blend with the rest of the sign. For vinyl letters that peeled off, clean the area well and reapply new vinyl cutouts or carefully trimmed replacements from leftover vinyl. When touching up paint, use a fine artist’s brush to match the original color and gently blend edges into surrounding paint. Lightly distress or sand the patched area once it’s dry to blend the repair with the rustic look, especially if the patch stands out.
Proper storage prevents damage to your finished sign. Store signs indoors or covered when not displaying them, especially if painted with non-outdoor-specific products. Extreme heat or moisture can cause warping, cracking, or paint peeling. Signs kept in a climate-controlled space last longer. Display signs outside by sealing them with a water-resistant polyurethane and placing them under shelter to reduce weather damage. Never stack finished signs directly on top of each other without protective layers like paper or cloth to avoid scratches or sticking.
Avoid pressing hard with paint on your stencil, applying paint in light layers prevents bleeding and keeps edges crisp.
Step-by-Step Action Plan
Follow this plan to start creating your rustic sign with your Cricut and see real progress fast.
- Before you start: Gather all your materials and tools, including your chosen wood, vinyl, Cricut machine, transfer tape, paint, and sealant. Confirm you have the right blade and mat for your Cricut for precise cutting.
- Day 1: Prepare your wood by sanding it smooth yet keeping a rustic texture. Check that the surface feels clean and dry before moving on.
- Day 2: Design your sign in Cricut Design Space, selecting rustic fonts and images. Preview the design and make sure it fits your wood size before cutting.
- Day 3: Cut your vinyl or stencil material with the Cricut. Weed away excess vinyl carefully and use transfer tape to lift your design. The vinyl should lift in one smooth piece without tears.
- Day 4: Apply your vinyl or stencil to the wood, smoothing out all bubbles. Use paint to fill the stencil if needed. Wait for paint to dry completely, usually a few hours.
- Day 5: Remove the vinyl or stencil slowly and check for any paint touching outside the lines. Touch up with a small brush if necessary.
- Day 6: Apply a sealant like polyurethane to protect your sign from wear. Allow the sealant to cure as directed on the product label for durability.
- After 1 week: Inspect your finished sign for any needed final touch-ups or additional coats of sealant. Your sign should now be ready to display indoors or outdoors.
Frequently Asked Questions
Can I Use Reclaimed Wood for My Rustic Sign with Cricut?
Yes, reclaimed wood works well and adds natural character; just sand it smooth before cutting vinyl or stenciling to ensure good adhesion.
What Type of Paint Works Best for Rustic Cricut Wood Signs?
Acrylic paint is ideal because it dries quickly and sticks well to wood surfaces, giving a durable finish.
How Do I Prevent Vinyl from Peeling on a Rustic Wooden Sign?
Seal the wood before applying vinyl and use transfer tape carefully to avoid bubbles or gaps.
Can I Make a Rustic Sign with a Cricut Explore Air Instead of a Maker?
Yes, the Explore Air cuts vinyl and stencil materials fine; you just can’t use the knife blade for thicker cuts.
How Do I Add Distressing to My Cricut Rustic Sign?
After painting, lightly sand edges and surfaces to reveal wood and create that weathered, rustic look.
Are There Specific Fonts That Suit Rustic Wood Signs with Cricut?
Fonts like “Avenida Com” and other handwritten or serif styles work well to improve rustic charm.
Wrapping Up
Creating a rustic sign with a Cricut lets you personalize your home decor with unique wood designs that last. Taking each step carefully, from wood prep to sealing, ensures your sign turns out smooth, durable, and visually appealing. Start with selecting the right wood and designing in the Cricut software to get comfortable before moving forward with cutting and painting. Your creative rustic sign project will come together well by focusing on detail and using quality materials.