How to Make a Reverse Canvas Sign with Cricut Complete Steps and Vinyl Tips for Perfect Results
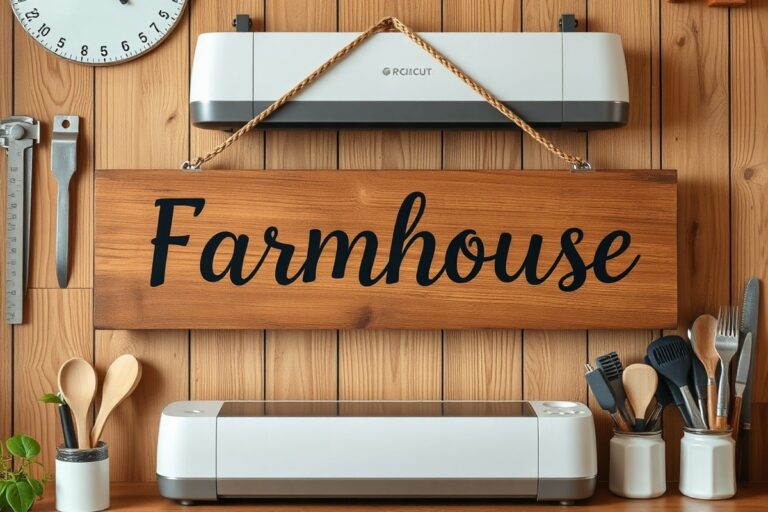
Making a reverse canvas sign using a Cricut offers an affordable way to design unique home decorations. Begin by detaching the canvas from its frame, apply your personalized vinyl decals made with the Cricut, and then put the frame and canvas back together to achieve a layered look. This method saves money and lets you customize your artwork easily.
Key Takeaways
- Remove the canvas carefully from the frame using a flat tool to avoid tearing the fabric.
- Design your vinyl graphics in Cricut Design Space before cutting for precise results.
- Use permanent adhesive vinyl or heat transfer vinyl depending on the canvas finish and desired durability.
- Set your heat press to 340°F for 50 seconds when applying pattern vinyl to canvas for best adhesion.
- Secure the canvas back to the frame with a staple gun, spacing staples 2-3 inches apart for a tight fit.
- Allow painted or stained frames to dry fully, at least 2 hours for acrylic paint or 24 hours for wood stain.
What Is a Reverse Canvas Sign and How It Works
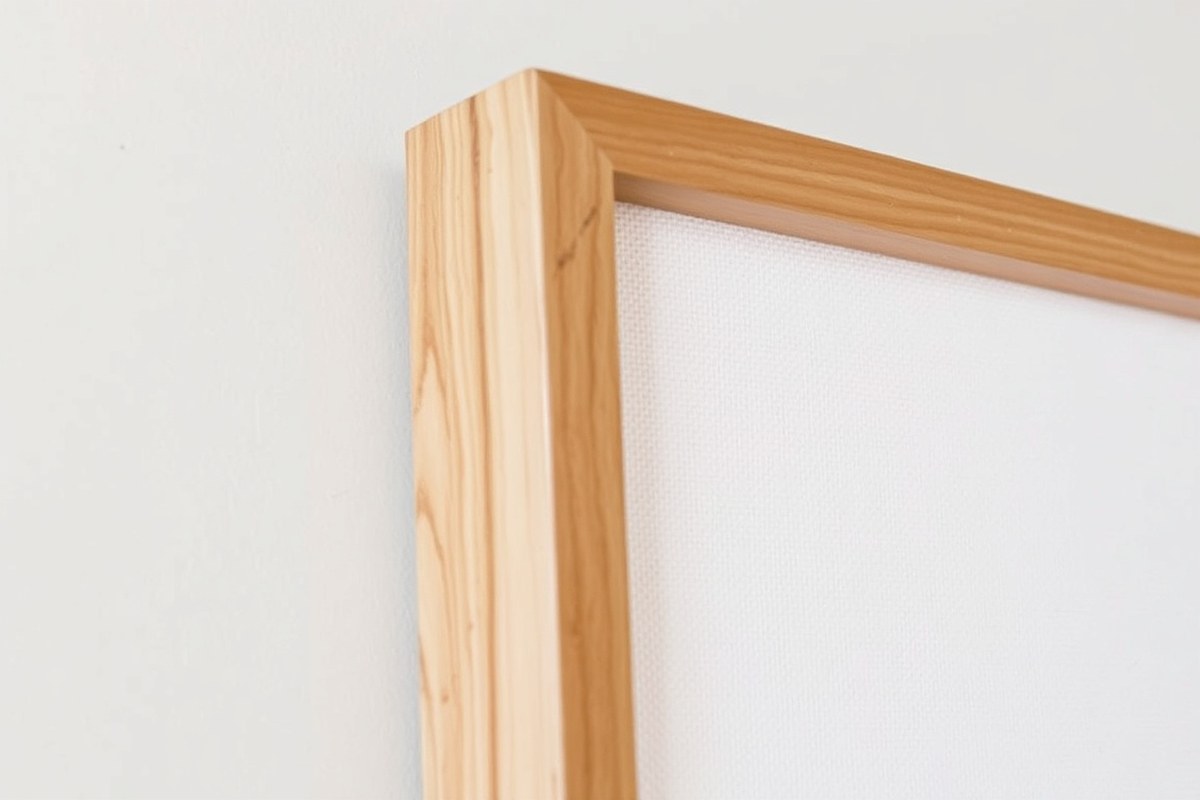
A reverse canvas sign is a creative craft project where you take a pre-stretched canvas, remove the canvas fabric from its wooden frame, and then reattach the same canvas to the back side of the frame instead of the usual front. This simple flip reveals the wooden frame as the new front of the sign, providing a rustic or farmhouse-style look. The canvas, now stretched on the opposite side, acts as a background or surface to display vinyl cutouts, paint designs, or other embellishments applied with a Cricut machine or by hand.
Choosing a reverse canvas sign over a traditional canvas painting or print offers a unique and trendy appearance that highlights the frame itself. This method often showcases the natural wood frame, which can be stained or painted for added personality. The reverse canvas style also gives a three-dimensional feel by layering lettering or images on the canvas surface in a bold, prominent way. It transforms a simple store-bought canvas into a piece that looks custom-made and crafted, often for much less money and effort than buying a professionally made sign.
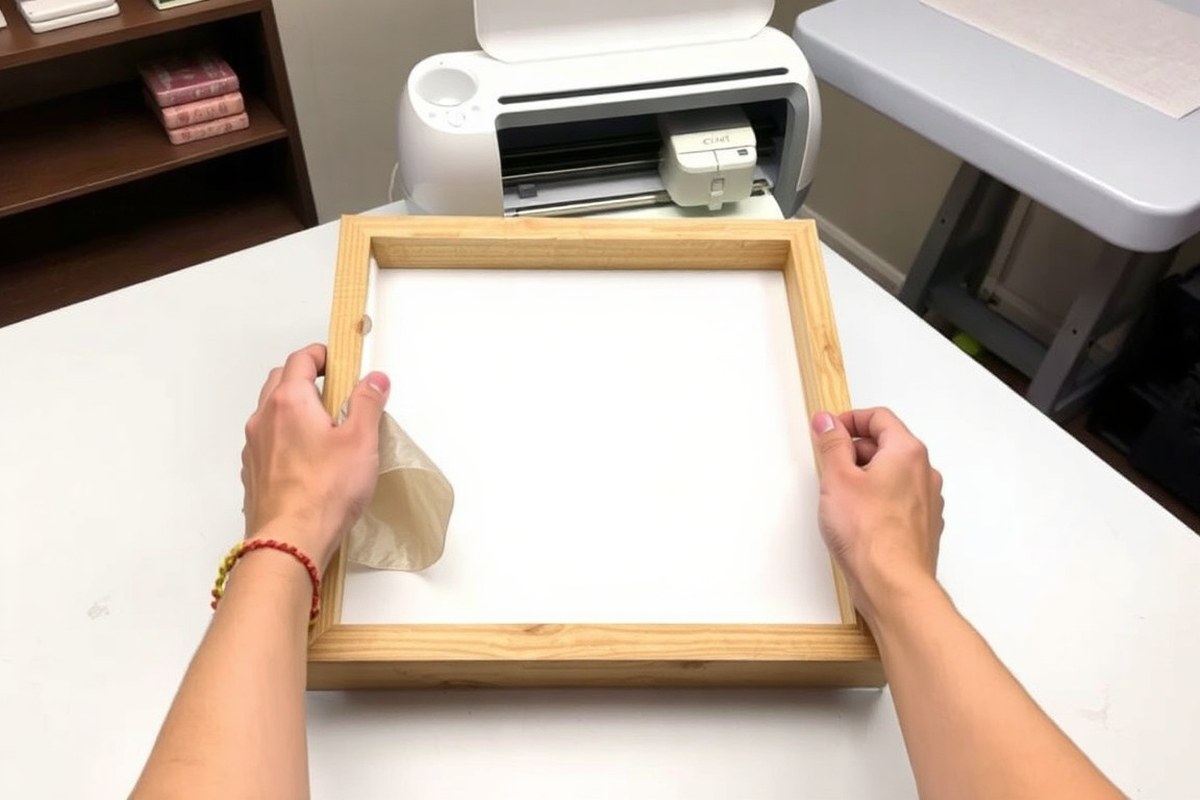
The core process involves removing the staples or tacks holding the canvas to the wooden frame, which you can do carefully with a flathead screwdriver or staple remover to keep the canvas intact. After detaching the canvas, flip the frame over and place the canvas on the back, stretching it evenly before stapling it back onto the frame’s backside. This reattachment flips the canvas and the frame’s wood to opposite sides, changing both look and function. The visible wood forms the sign’s border, and the canvas is ready for decoration.
Prices for materials can be very low, often less than $1 when you use supplies from dollar stores such as Dollar Tree. You’ll only need a basic canvas, a staple remover, and wood glue or a staple gun for assembly. This makes the reverse canvas project very budget-friendly and accessible for beginners. Good results show a tightly stretched canvas without wrinkles and a neat wood frame visible from the front. Poor results often happen if the canvas tears during removal or isn’t re-stretched tightly, causing sagging or uneven surfaces.
Reversing the canvas changes your crafting options by turning a flat painted or printed canvas into a sign with depth and texture. You can add heat transfer vinyl or adhesive vinyl cut with your Cricut for words and images, making it perfect for signs that say “Home Sweet Home” or personalized family quotes. This method also allows you to paint or stain the frame before assembly for a custom look. It works well for both simple phrases and intricate designs because the canvas surface is smooth and taut after reassembly. If you don’t have a Cricut, you can paint or stencil designs onto the canvas surface for similar effects.
Variations depend on the frame size and canvas type. Larger canvases may need more staples and careful stretching, while smaller ones are easier for beginners. Some crafters add distressing or fabric layers between the frame and canvas for extra texture. The process works with most standard wood frames and cotton canvas fabric, but cheaper canvases or thin staples might require extra care to avoid damage.
Essential Supplies and Tools for Reverse Canvas Projects
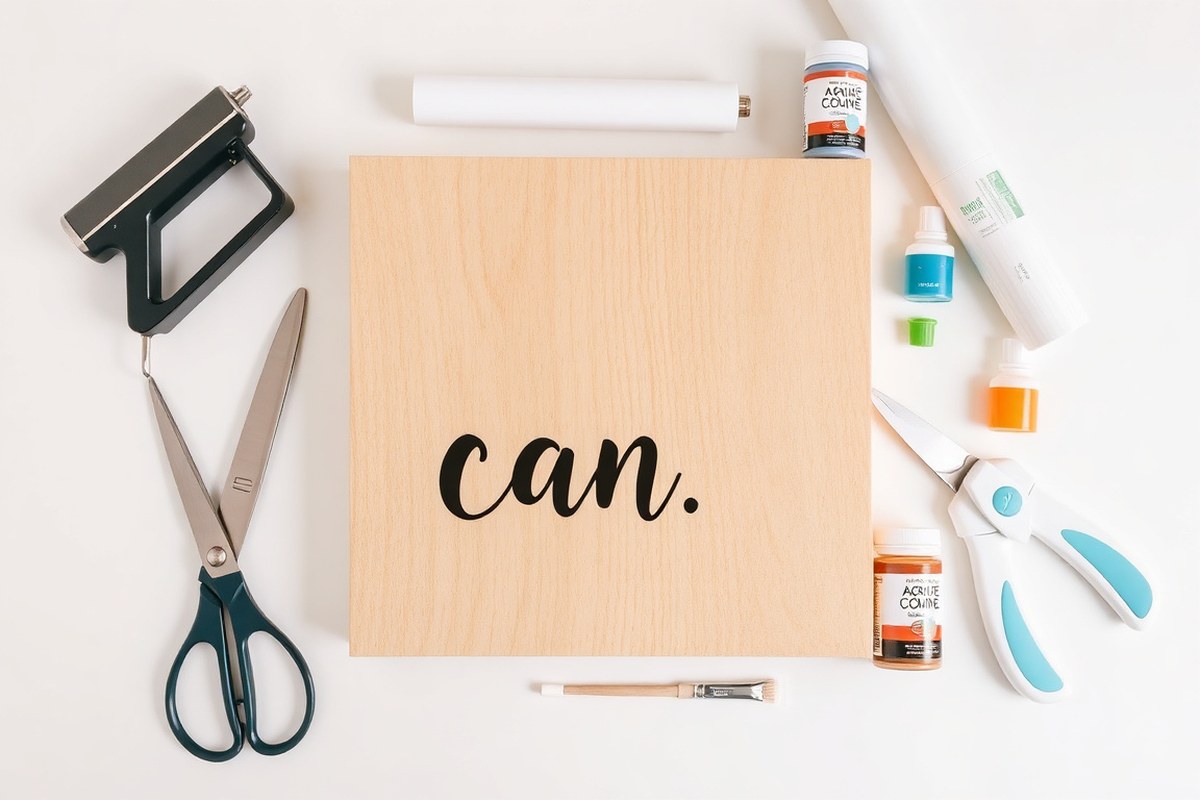
To make a reverse canvas sign, gather the right supplies and tools to ensure your project goes smoothly and looks professional. The essential materials include a stretched canvas with a wooden frame, which you’ll disassemble to reuse the frame. Choose iron-on vinyl (HTV) for your design because it adheres well to canvas and lasts over time. You’ll also need transfer tape to move your vinyl from its backing to the canvas accurately. For cutting your design, a Cricut machine and compatible cutting mats are necessary.
Besides the main supplies, a few basic tools help with frame disassembly and assembly. Use a flathead screwdriver or needle-nose pliers to remove the staples or nails holding the canvas taut. To reattach the canvas, a staple gun and staple remover will save time. A Cricut scraper or burnishing tool is important to firmly press vinyl onto the canvas and avoid peeling. Depending on your finish, paint brushes and acrylic paint work well for customizing the wooden frame. For mounting options, have nails, screws, or command strips ready.
Budget alternatives work well to minimize cost without sacrificing quality. Instead of buying new stretched canvases, check thrift stores or dollar stores for inexpensive frames and canvas materials. Dollar Tree offers craft-friendly canvases and decorative tins perfect for beginner reverse canvas projects. Replacing a Cricut machine with manual vinyl cutters or other cutting devices is possible but may require more skill and patience. For tools like the staple gun, consider borrowing or renting if it’s a one-time project.
- Stretched canvas with wooden frame (new or thrifted)
- Cricut machine with cutting mats
- Iron-on vinyl (HTV) and transfer tape
- Flathead screwdriver or pliers for staple removal
- Staple gun and staples for reattaching canvas
- Cricut scraper or burnishing tool
- Safety gear: gloves and eye protection
Safety gear is necessary since removing staples can cause cuts and flying debris; wear gloves to protect your hands and safety glasses to shield your eyes. Work in a well-lit, ventilated area, especially if you paint or use adhesives. Avoid rushing when puncturing or pulling staples to prevent injury or damaging your canvas and frame.
Always wear safety glasses when removing staples to protect your eyes from released fasteners and debris.
These supplies form the foundation for crafting your reverse canvas sign. Select materials based on your budget, workspace, and the final look you want. Prioritize safety and use the right tools to keep both your project and yourself intact.
Removing the Canvas from the Frame Safely and Cleanly
Removing the canvas from the wooden frame carefully prevents damage and preserves materials for reuse. Use proper tools to take out staples gently, avoiding tears. Adjust your approach based on the size of the canvas and staple type to keep both canvas and frame intact.
Tools Needed for Canvas Removal
A staple remover with a thin, angled tip works best for pulling out staples without tugging on the canvas fabric. Needle-nose pliers are handy for pulling stubborn staples after loosening them. A flathead screwdriver or an X-acto knife can help pry staples if needed but must be used cautiously to avoid puncturing the canvas. Utility scissors or a razor blade are useful for cutting excess canvas after removal. Having a clean, flat workspace with good lighting will make the process easier.
For larger canvases or those with many tightly spaced staples, consider a staple popper tool designed to slip under staples and lever them out gently. If the staples are rusted or deep, additional caution is necessary to prevent tearing.
Step-by-Step Removal Process
Follow these steps to safely separate the canvas from the frame while saving both:
- Lay the canvas face down on a flat surface, exposing the backside where the staples are.
- Use a staple remover or flathead screwdriver to lift the edge of one staple carefully, working slowly to avoid pulling on the fabric.
- Once loosened, grasp the staple with needle-nose pliers and pull it out straight to prevent stretching or tearing.
- Repeat for all staples along one edge before moving to adjacent sides, maintaining an even, gentle pace.
- After all staples are removed, carefully lift the canvas from the wooden frame without forcing any stuck parts.
- Use scissors or an X-acto knife to trim any excess fabric if necessary for a clean fit back onto the frame.
- Set aside the frame and canvas separately for your next project step.
Preventing Canvas Damage Tips
Maintain even tension on the canvas while removing staples to avoid tearing delicate areas. Start at the corners where canvas tends to be more vulnerable and proceed towards the center sides. Avoid pulling diagonally or yanking staples forcefully, which can cause holes or stretching.
For canvases with staples very close together, removing every single staple is not always necessary. In some cases, cutting the canvas free from the frame by slicing close to the staple line with a razor blade protects the fabric better. This method works especially well for smaller canvases or when staples are deeply embedded.
Keep your tools sharp and clean to prevent snagging fabric fibers. Wear gloves if you want additional grip and protection when using pliers to remove stubborn staples. Regularly check your progress and adjust your approach if you notice any fabric stress points developing.
Designing and Cutting Vinyl with Cricut for Reverse Canvas Signs
Designing and cutting your vinyl with Cricut Design Space lets you create personalized graphics and text for your reverse canvas sign. This process includes selecting or uploading a design file, choosing suitable fonts, and adjusting your cutting settings for clean, precise vinyl cuts that fit your canvas perfectly.
Choosing and Uploading Designs
Start by picking a design that fits your style and project size. Cricut Design Space supports SVG and PNG files, which are ideal for vinyl cutting. SVG files are preferable because they contain vector graphics that scale without losing quality.
You can use designs from Cricut Access, which offers thousands of free images and fonts as part of a $9.99 monthly subscription, or upload your own SVG files from sites like Pinterest where free cut files are available. To upload your own design, log into Cricut Design Space on a computer or compatible mobile device, open a new project, and click “Upload” to browse for your file.
Fonts should be easy to read at the size you plan to cut. Cricut Design Space includes many craft-friendly premium fonts, especially if you have Cricut Access. Avoid overly intricate fonts for small-sized cuts to prevent vinyl tearing.
Recommended Cricut Cut Settings for Vinyl
Proper cut settings ensure your vinyl cuts cleanly without ripping or wasting material. Heat transfer vinyl (HTV) and permanent adhesive vinyl like 651 vinyl have similar settings but differ slightly in blade pressure.
Before cutting, select the correct material setting in Design Space: for HTV, choose “Iron-On,” and for adhesive vinyl, choose “Vinyl.” Use a fine-point blade and set the cut pressure to “Default” or “More” depending on your machine model and vinyl thickness. Use a strong grip mat to keep the vinyl stable during cutting.
Always mirror your design before sending it to cut, especially if using HTV. This flips the image so it appears correctly once applied to your canvas. Load the vinyl with the shiny carrier sheet facing down to protect your design during cutting.
Tips for Sizing and Positioning Design
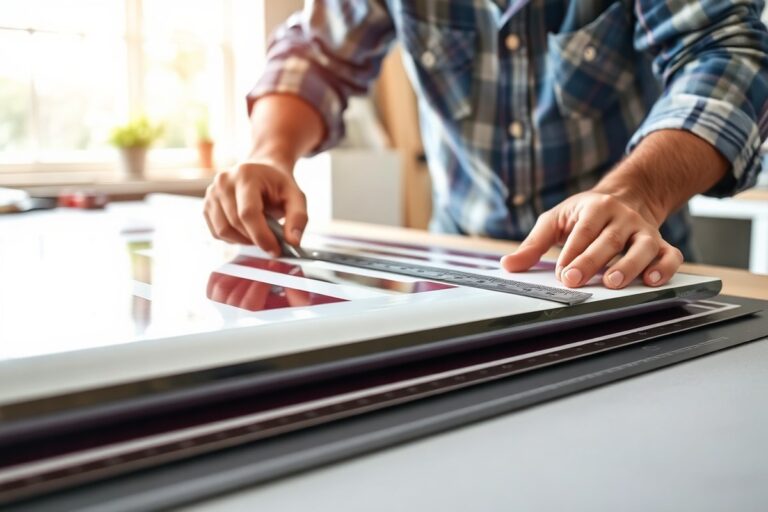
Measure the canvas area where you will apply the vinyl with the frame in place to avoid cutting a design that is too large or too small. Use a ruler or tape measure and note the width and height limits.
In Design Space, resize your design using the size tool to fit within your measured area. Leave some margin for error, keep the design slightly smaller than the canvas space to ensure it fits and aligns well. Position your design centered or according to your aesthetic preference on the virtual canvas layout.
A quick test print on regular paper sized to your design dimensions lets you check placement and size before wasting expensive vinyl. Adjust positioning or size if needed in Design Space and preview the cut lines.
- Open Cricut Design Space and start a new project.
- Upload your SVG or PNG design file or select one from Cricut Access.
- Choose a clear, craft-friendly font for any text, and type your message.
- Measure your canvas surface area for the vinyl design.
- Resize your design in Design Space to fit within these dimensions.
- Mirror your design if cutting heat transfer vinyl (HTV).
- Load the correct vinyl onto the cutting mat, shiny side down for HTV.
- Select the appropriate material setting in Design Space and start cutting.
Best Vinyl Types and Application Methods for Canvas
Heat transfer vinyl (HTV), often called iron-on vinyl, is the preferred type for reverse canvas signs because it bonds well to the canvas fabric. Regular adhesive vinyl can peel off or crack on the textured surface, whereas HTV is designed to fuse into fabric with heat, providing durability and a smooth finish. Using HTV ensures your design stays vibrant and secure through handling and dusting of the canvas sign.
Applying HTV requires careful temperature and time control to avoid damaging the canvas or the vinyl. A heat press or Cricut EasyPress works best, offering even heat distribution and precise temperature settings. For most HTV, including popular brands like Cricut Everyday Iron-on vinyl, setting the temperature to 340°F and pressing for 50 seconds delivers reliable and strong adhesion.
| Vinyl Type | Suitable For Canvas? | Recommended Heat Setting | Pressing Time | Pressing Surface |
|---|---|---|---|---|
| Heat Transfer Vinyl (HTV / Iron-on) | Yes | 340°F | 50 seconds | Heat press or Cricut EasyPress (no Teflon sheet needed for Everyday Iron-on) |
| Adhesive Vinyl | Not ideal | N/A | N/A | Peels easily on canvas surface |
Before pressing, preheat your canvas by pressing it for about 5 seconds without vinyl. This removes moisture and wrinkles to help the HTV bond better. Position your cut vinyl image on the canvas with the clear carrier sheet facing up. Apply firm pressure with your press or EasyPress. For the Everyday Iron-on vinyl, a pressing cloth or Teflon sheet is not required, but for other HTV brands, check if one is needed to prevent scorching or vinyl damage.
After pressing, allow the vinyl to cool slightly before peeling off the carrier sheet slowly and smoothly. Peeling while hot can cause the vinyl to lift; peeling too late may reduce its flexibility. Reapply heat for a few seconds if edges lift, but avoid excessive heat as it can damage the canvas fibers.
Tip: Always preheat your canvas and test your heat settings on a scrap piece of fabric to avoid ruining your project.
Reassembling the Canvas Onto the Frame Securely
Trimming and reattaching the canvas securely to the wooden frame is key to a polished reverse canvas sign. Proper alignment keeps the design centered and staples provide firm hold, preventing sagging or shifting. Trimming the canvas just inside the frame edges helps avoid fraying and bulk when folding the material over the back.
Use a sharp pair of fabric scissors or a rotary cutter to trim the canvas. Cutting close to the frame without cutting too short ensures enough material to staple firmly. To minimize fraying, trim straight and consider folding the cut edge under slightly before stapling. A staple gun spaced roughly 1 to 2 inches apart around the perimeter creates a secure attachment while distributing tension evenly.
- Stand the wooden frame upright on a flat surface with the painted or vinyl side facing down.
- Fold the excess canvas tightly over the back edges of the frame, keeping the canvas taut but not stretched.
- Trim the canvas about ½ inch away from the wood edge to reduce bulk under the staples and avoid fraying corners.
- Start by attaching the canvas to the back of the wooden frame, stapling from the middle of one edge. Place staples roughly every 1 to 2 inches for firm and even holding.
- Move to the opposite side and pull the canvas tight before stapling to maintain smooth, flat canvas over the front of the frame.
- Repeat this pulling and stapling process on the remaining sides, working from the center out toward the corners.
- Fold the canvas corners neatly without bunching before stapling them down securely.
- Inspect the attachment and add extra staples if any areas feel loose or puckered.
Stapling the canvas instead of just gluing improves durability and holds the tension needed to keep the artwork flat. Avoid stapling too close together or too far apart so the fabric won’t tear or sag. Using a staple gun costs around $10 to $20 for an entry-level model and staples run about $5 per box, an affordable investment for neat, long-lasting results.
Finishing the Sign: Painting, Staining, and Adding Embellishments
You can finish your reverse canvas sign by painting or staining the wooden frame, then adding any decorative touches you like. Both paint and stain work well, depending on your style. Make sure to allow ample drying time before assembling, so the finish doesn’t smudge or peel. Embellishments like 3D elements or extra vinyl details can personalize your project.
Choosing Paint vs. Stain
Wood stain and acrylic paint are the most common options for finishing your canvas frame. Wood stain soaks into the wood, highlighting its natural grain and giving a more rustic or classic look. Gel stains are especially good for a rich finish without blotching. You’ll want to use a stain specifically designed for wood to ensure even coverage and durability.
Acrylic paint offers more color flexibility and allows you to match any décor or theme. A useful tip is to thin acrylic paint with a few drops of water for a smoother application that won’t obscure the wood texture too much. Paint dries faster than stain but creates a more opaque finish. Either option can be applied with a brush or foam applicator.
Recommended Drying Times
Drying times vary based on what finish you choose and your environment. Plan to let wood stain dry at least 24 hours before handling or attaching the canvas back to the frame. This ensures the stain has fully penetrated and set, preventing smudging when you staple the canvas.
Acrylic paint generally dries to the touch within 1 to 2 hours, but waiting a full 4 to 6 hours before reassembly helps avoid any damage. Temperature and humidity affect drying; cooler or more humid conditions can extend drying by several hours. Working in a well-ventilated, warm room speeds drying and reduces fumes.
Creative Embellishment Ideas
Once the frame is finished, you can add embellishments to give your reverse canvas sign more character. Use Cricut-cut vinyl decals for extra graphics or lettering on the wood frame or canvas. Layering vinyl or mixing glossy and matte finishes adds depth and interest.
For a 3D effect, consider attaching small wood shapes, metal charms, or artificial flowers with hot glue. Ribbon, twine, or lace can wrap around the frame corners for texture. If you want to stay simple but stylish, try distressing the paint edges lightly with sandpaper for a vintage vibe.
Make sure glued elements have full contact and dry times are followed to avoid pieces falling off later. Embellishments typically take only a few dollars in supplies but can transform a basic canvas sign into a unique centerpiece for your home or gifting projects.
Displaying and Caring for Your Reverse Canvas Sign
Hanging your reverse canvas sign safely involves adding a secure hanging method since the original frame’s hanging hardware is usually removed during the project. Attach either sawtooth hangers, D-rings, or strong adhesive picture hanging strips to the back of the wooden frame. Use screws or nails compatible with the wood to fasten hardware, ensuring it supports the sign’s weight, typically between 2 to 5 pounds depending on the frame size and materials. For heavier or larger signs, consider using wall anchors with screws or French cleats for extra support. Mark the wall using a level to keep the sign straight and protect the wall surface by choosing appropriate hanging hardware.
Maintaining vinyl on a reverse canvas sign requires gentle cleaning to preserve the adhesion and print quality. Wipe the vinyl surface lightly with a soft, damp cloth; avoid scrubbing or using abrasive materials that can scratch or peel the vinyl. Avoid exposure to excessive moisture or direct water spraying, which can cause the vinyl to lift or bubble. Keep the sign away from prolonged direct sunlight to prevent fading and degradation of the vinyl adhesive, especially if you used standard permanent vinyl rather than outdoor-rated vinyl.
For the canvas and frame, dust regularly with a dry microfiber cloth to prevent dirt buildup. Using water occasionally is fine, but never saturate the canvas, as it may weaken the glue holding the canvas to the frame or cause warping. Avoid placing your sign in high-humidity areas like bathrooms or basements, as moisture can degrade both the canvas and wooden frame over time. Temperature fluctuations and direct heat sources can cause the frame wood to expand or contract, potentially loosening the canvas or vinyl.
Before hanging, check the reassembled canvas for any loose edges or gaps. You can add a small amount of hot glue inside the frame’s corner or along the edges where the canvas meets the wood for added stability, making sure it doesn’t bleed through to the front. Handling the sign by the frame rather than the canvas front reduces the risk of stretching or damaging the vinyl and paint.
For best long-term results, avoid cleaning products with alcohol or solvents on the vinyl, and always support your sign properly on the wall to prevent accidental falls or warping.
Using a checklist before hanging helps ensure safety and longevity: verify hanging hardware is firmly attached, the canvas and vinyl are secure, the sign is clean and dry, and the wall mount suits the sign’s weight. Remember that larger signs need sturdier solutions, and always use a level for straight placement. With proper hanging, gentle cleaning, and controlled environment conditions, your reverse canvas sign should stay attractive and intact for years.
Step-by-Step Action Plan
Follow these steps to create your reverse canvas sign efficiently, making sure each phase is clear and manageable.
- Before you start: Gather all supplies including your Cricut machine, vinyl, canvas frame, tools, and paints. Confirm you have the right vinyl type to ensure good adhesion on canvas.
- Day 1: Remove the canvas from the frame carefully without damaging the fabric or wood. Success means a clean separation with minimal tearing.
- Day 2: Design and cut your vinyl decals using Cricut Design Space. Check that cuts are clean and weeded fully for easy transfer.
- Day 3: Apply the vinyl to the canvas using recommended techniques. It’s ready when the vinyl lays flat and sticks firmly without bubbles.
- Day 4: Reassemble the canvas onto the frame, securing it tightly with a staple gun or tacks. The canvas should fit snugly without loose areas.
- Day 5: Paint or stain the wooden frame and add any embellishments if desired. Ensure paint dries smoothly and does not affect the vinyl application.
- Day 6: Display your finished project and begin regular care by dusting and avoiding harsh conditions to maintain its look.
Frequently Asked Questions
Can I Use Iron-On Vinyl Instead of Adhesive Vinyl for Reverse Canvas Signs?
Yes, you can use iron-on vinyl with a Cricut for reverse canvas signs. Using a Cricut EasyPress or household iron helps apply iron-on vinyl securely to the canvas surface, creating a durable design that withstands handling and display.
Is It Necessary to Seal the Canvas After Applying Vinyl for Durability?
Sealing the canvas after applying vinyl is optional but recommended for extra durability. A clear acrylic sealer spray protects the vinyl and canvas from moisture and fading, especially if you plan to display the sign outdoors or in humid areas.
Can I Make a Reverse Canvas Sign Without a Cricut Machine?
Yes, reverse canvas signs can be made without a Cricut by hand-painting or using stencils. This lets you create custom designs without a cutting machine, offering a more hands-on crafting experience for beginners or those on a budget.
What Is the Best Type of Paint to Use on the Frame for a Reverse Canvas Sign?
Acrylic paint is the best choice for painting the wooden frame of a reverse canvas sign. It dries quickly, has vibrant colors, and adheres well to wood, making your project look professional and last longer.
How Do I Prevent the Canvas from Wrinkling When Reattaching It to the Frame?
To prevent wrinkles, stretch the canvas evenly and staple it firmly as you reattach it to the frame. Tension control ensures a smooth, flat surface for your reverse canvas sign, improving its overall appearance.
Can I Create 3D Effects with Vinyl on a Reverse Canvas Sign?
Yes, layering different vinyl types or adding embellishments can create 3D effects on a reverse canvas sign. Combining adhesive and iron-on vinyl or adding raised elements improve your design’s texture and visual interest.
Key Points to Remember
Creating a reverse canvas sign with a Cricut lets you produce personalized décor with professional results. Focus on careful removal and secure reassembly to protect your canvas and frame. Start by choosing your design and cutting vinyl today to bring your project to life.