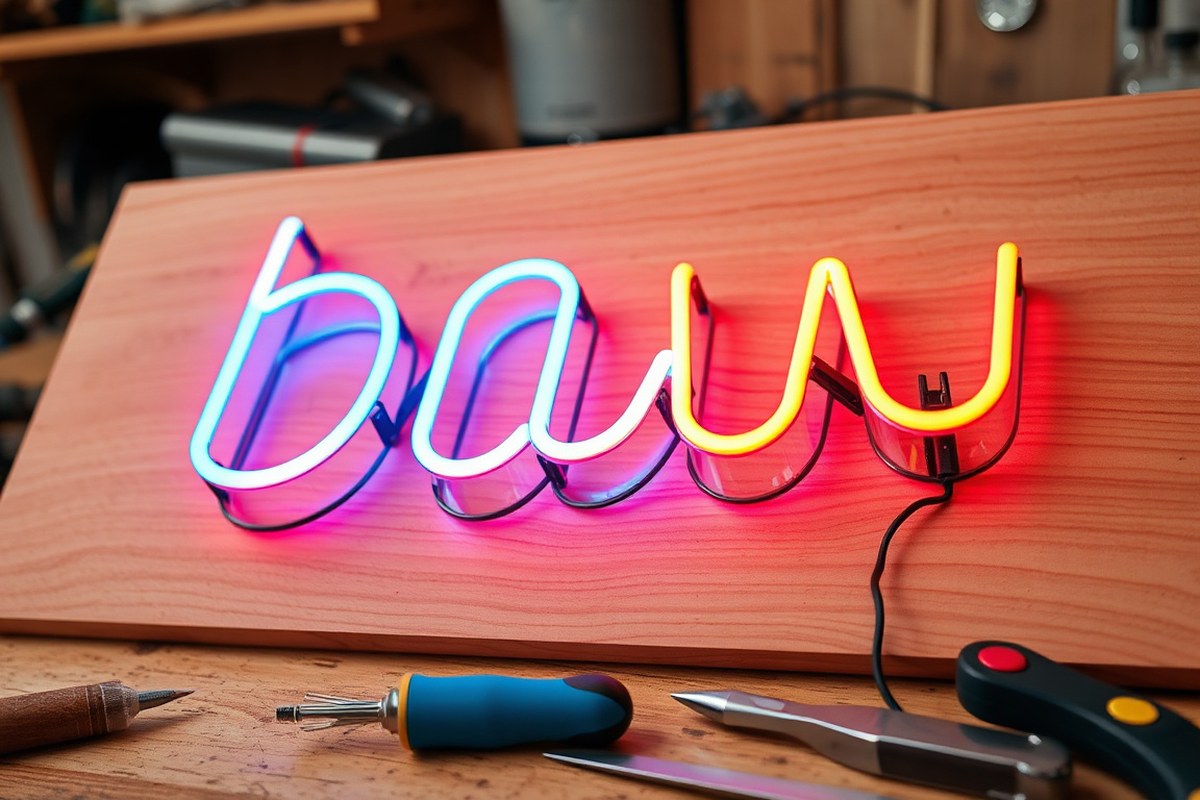
How to Make a Neon Sign at Home: Complete DIY Guide with Cost & Safety
How to make a neon sign at home starts with choosing LED neon flex, which is safer, affordable, and easier to work with than traditional glass neon. Using LED neon flex cuts costs by about 70% and lasts up to 50,000 hours, making it ideal for DIY projects. Begin by designing your sign with clear, simple fonts for easier bending and cutting.
Key Takeaways
- Use quality LED neon flex to ensure bright, long-lasting, and flexible neon signs for home use.
- Design your sign with letter heights of at least 3-4 inches for simple fonts and 4-5 inches for cursive.
- A simple single word neon sign typically takes 3 to 6 hours to create for beginners.
- Securely connect your LED strip to a 12V transformer-LED adapter to power your neon sign safely.
- LED neon signs are 8-10mm thick, ideal for small indoor wall-mounted signs sized between 12×6 and 24×12 inches.
- Cutting accuracy and careful bending are essential to prevent damage and achieve a clean design.
How to Make a Neon Sign at Home with LED Flex
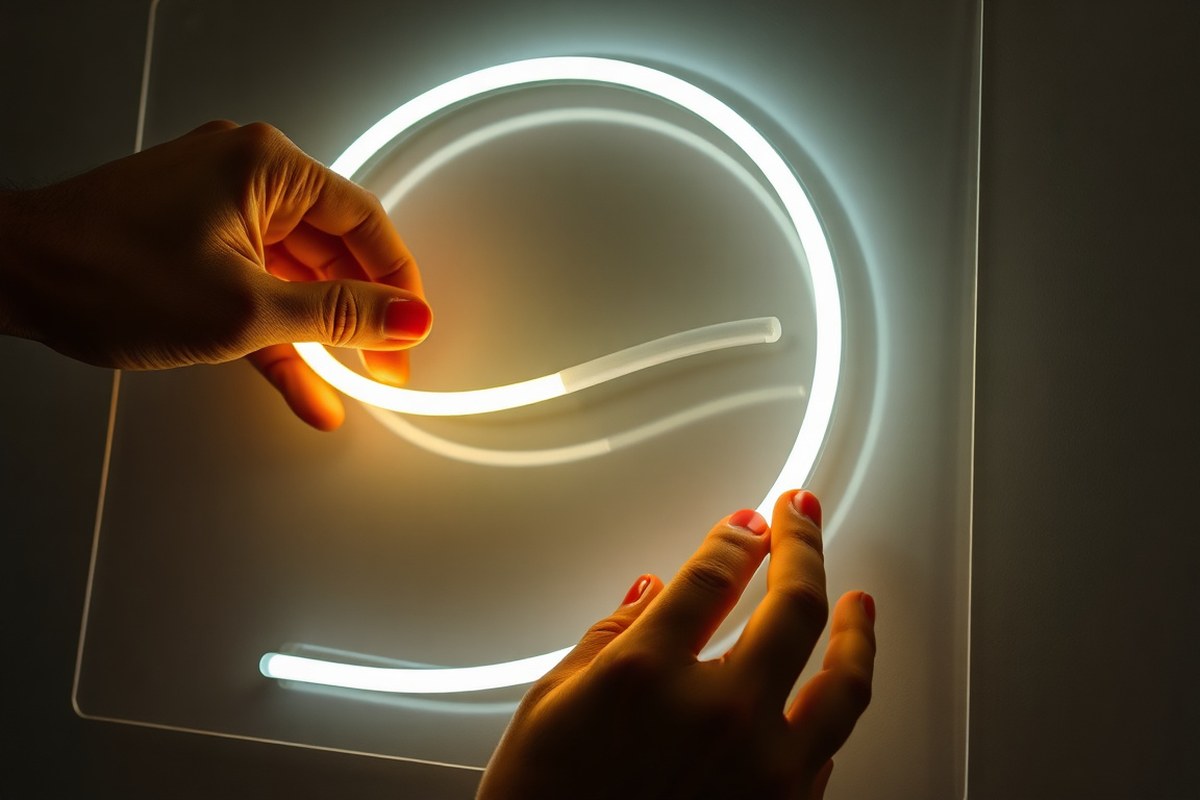
Creating a neon sign at home using LED neon flex is an affordable way to achieve the bright, colorful look of traditional neon without the risks of glass or high voltage. LED neon flex is a flexible, plastic-encased strip that mimics the neon effect, lasts 30,000 to 50,000 hours, and operates safely on low voltage. Making your own sign involves careful cutting, bending, and wiring, but with the right tools and steps, you can craft a unique neon display for your space.
Before you start, plan your design and ensure you have LED neon flex, a power supply (usually 12V transformer), cutting tools, mounting hardware, and basic electrical connectors. Only cut the LED neon flex at the specific cut marks printed along the strip to avoid damaging the LEDs or wiring inside. Shaping the tubing is best done gently by hand or with guides to match your design curves while avoiding tight bends that can break the internal wiring.
- Measure and Cut Your LED Neon Flex: Begin by measuring the total length needed for your design. Use scissors or a sharp blade to cut only at the marked cut points, usually every few inches, which ensures the strip remains functional and safe.
- Shape the LED Tubing: Gradually bend the LED neon flex around your marked design on a flat surface. Use gentle pressure to form curves and angles, avoiding sharp bends that could damage the internal wiring or the glow effect.
- Secure the Neon Flex to Your Backing: Attach the shaped LED flex to your backing board or frame using clips or adhesives designed for LED strips. This keeps the tubing stable and maintains your design’s shape.
- Connect the LED Flex to the Power Supply: Attach the LED neon flex’s connector to the 12V transformer-LED adapter. Double-check connections to ensure polarity is correct to prevent malfunction.
- Test the Neon Sign: Power on your neon sign in a controlled environment before final mounting. A properly functioning sign should illuminate evenly along its entire length without flickering or dim spots.
- Final Mounting and Touch-Ups: Once confirmed working, permanently mount your neon sign in the desired location. Secure wires neatly and cover any exposed connections for safety and aesthetics.
Costs for materials usually range from $30 to $100 depending on the length and quality of LED neon flex and power supply chosen. The tools needed are basic and often found in a home DIY kit. This method is 70% cheaper and much safer than traditional neon glass tubing, making it ideal for beginners and home projects.
Essential Materials and Tools You Need
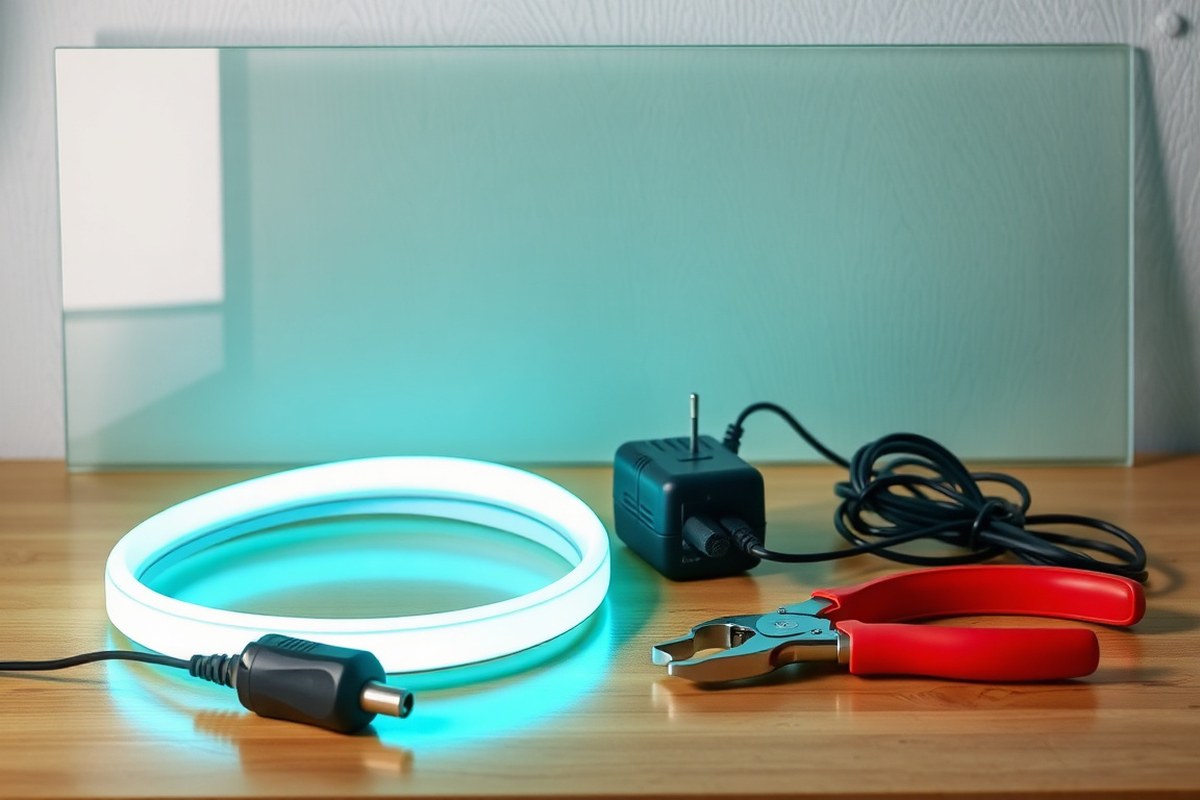
To make a DIY neon sign safely and successfully, you need specific materials, tools, and safety gear. Having these ready before starting keeps your project smooth, helps prevent accidents, and ensures a professional-looking result.
Core Materials for Your Neon Sign
The main materials vary depending on whether you’re using traditional glass tubing or LED neon flex. For most home projects, LED neon flex is safer, easier, and more affordable. Typical materials include:
- LED neon flex tubing: Flexible, safe low-voltage strips that simulate neon glow, usually 12 to 24 volts.
- Backing board: Acrylic or lightweight wood to mount your design, sized to fit your sign’s intended dimensions.
- Power adapter: A compatible low-voltage power supply with enough wattage, commonly 12 V DC and 2, 3 amps, to power your LED flex and ensure steady illumination.
- Wires and connectors: Basic electrical wire (18, 22 gauge) and connectors to link LED flex to the power adapter securely.
- Template or stencil: A printed or hand-drawn guide to shape your neon flex accurately.
- Mounting hardware: Small hooks, clips, or glue designed for delicate lighting installation.
Glass tube neon kits are available but require professional-grade equipment and training. For most DIY enthusiasts, LED neon flex offers a simpler and cheaper alternative.
Essential Tools for Assembly
Your toolset should cover cutting, shaping, attaching, and wiring. Having the right tools makes shaping and securing your sign easier and reduces the risk of damaging materials or injuring yourself.
- Utility knife or scissors: Sharp enough to cut LED neon flex tubing cleanly; scissors work if specified by manufacturer.
- Wire stripper/cutter: To prepare electrical wire for connections without nicking or damaging it.
- Soldering kit (optional): Useful for stronger, reliable electrical connections if your connectors require it. Soldering iron around 30, 60W with rosin core solder works well.
- Measuring tape or ruler: For accurate measurements to fit your backing board and template.
- Drill with small bits: Needed if mounting requires holes or anchors in wood or acrylic backing.
- Heat gun or hairdryer: Can help gently bend some types of LED flex tubing for tight curves without damage.
Having a flat, well-lit workspace and a small tabletop vice or clamps can also help stabilize materials during assembly.
Recommended Safety Gear and Precautions
Although LED neon flex operates at safe low voltage, some tools and materials involved require safety precautions to protect you from injury. Always wear:
- Safety glasses: Protect eyes from wire pieces, hot solder splashes, or acrylic shards.
- Heat-resistant gloves: Useful when handling hot soldering irons or heat guns to avoid burns.
- Dust mask or respirator: When drilling acrylic or sanding wood surfaces, wear a mask to avoid inhaling dust.
- Ventilated workspace: Ensure solder fumes or plastic fumes from heated tubing vent away from your breathing zone.
Also, unplug power supplies during wiring and test your sign only after completing all connections and securing everything properly.
Tip: Always check your LED flex’s voltage and current requirements before buying a power adapter to avoid overpowering or underpowering your sign.
Step-by-Step Preparation Checklist
Organizing every needed item before starting saves frustration. Use this checklist to verify you have all critical materials, tools, and safety gear:
- LED neon flex tubing sized to your sign length
- Clear backing board (acrylic or wood) cut to planned design size
- Power adapter rated for LED flex voltage and amperage
- Electrical wire and connectors compatible with LED flex terminals
- Template or pattern for your sign’s shape and lettering
- Sharp utility knife or scissors for clean cuts
- Wire stripper and optional soldering kit with solder and iron
- Measuring tape or ruler for accuracy
- Drill and bits if using screws or anchors for mounting
- Heat gun or hairdryer for shaping flexible tubing
- Safety glasses, gloves, and dust mask for protection
- Well-ventilated, well-lit workspace with a stable work surface
Designing Your Neon Sign for Best Results
Designing your neon sign starts with choosing clear shapes and smooth lines that work well with LED neon flex. Optimal sizes depend on where you want to display your sign and the flexibility of the material. Preparing your design file accurately as a vector or high-resolution image helps create a precise template for shaping the LED strips on your backing board.
Choosing the Right Font and Size
Fonts with rounded edges and continuous strokes are best for neon signs using LED flex. Avoid sharp corners and thin points because LED neon flex, usually 6 to 12 millimeters wide, does not bend well around tight angles. Script fonts and thick sans-serif styles often work best since their curves match the natural bend radius of the flex.
Keep your text size large enough to read easily from a distance, generally starting at around 12 inches tall for signs meant to be seen across a room. The size also depends on the length of the LED flex; common DIY projects use 2 to 5 meters of flex, translating to signs roughly 24 inches wide or more. Smaller signs can be made but may lose legibility and require very careful bending around curves.
Setting Dimensions and Stroke Thickness
Setting your design’s dimensions in software is important before cutting or bending. Use vector design programs like Adobe Illustrator, CorelDRAW, or free alternatives such as Inkscape to set your artboard to your intended sign size, for example, 24 by 12 inches. This lets you see exactly how much space your sign will fill and ensures it fits your planned display area.
Stroke thickness in your design must match the LED neon flex width, typically between 6mm and 12mm. Adjust the stroke width in your design software to this measurement so your template corresponds to the physical flex size. A stroke that’s too thin will cause gaps, and one that’s too wide might make bending awkward or cause overlap.
Creating a Cutting and Bending Template
Preparing a template is essential to guide your cutting and bending accurately. Export your design as a vector file (like CDR, SVG, or PDF) to maintain precision. Print or trace the design onto your backing board using a pencil or a fine marker. The lines represent where you will place and bend the LED flex.
Mark all continuous paths clearly because LED neon flex needs unbroken lines for uniform lighting. Remember, the minimum bend radius for LED neon flex is between 4 and 6 centimeters, depending on thickness. Ensure your design’s curves are gentle enough to respect this limitation or the flex could kink or break.
After marking, cut the backing board carefully along those lines if needed, or use it as a guide to attach the LED flex with clips or adhesive. The accuracy of this step affects the final appearance and durability of your sign, so take your time to get it right.
Choosing Between LED Neon and Traditional Glass Neon
Choosing between LED neon flex and traditional glass neon depends on several factors like cost, durability, safety, difficulty, and what kind of visual effect you want. LED neon flex is generally cheaper and safer, making it a better choice for beginners or those working on a budget.
Glass neon requires specialised skills because it involves bending glass tubes and handling high-voltage transformers, often around 15,000 volts. This high voltage increases the risk of electric shock and makes the project unsafe for novices. In contrast, LED neon flex runs on low-voltage electricity (around 12 volts), reduces fire risk, and operates cooler, which makes it safer and easier to work with. It also bends more easily when warmed slightly, allowing you to shape your sign without worrying about tubes snapping.
Durability differs notably. LED neon has a lifespan of 30,000+ hours, lasting about 3 to 5 years with typical daily use. Glass neon tubes last longer, anywhere from 8 to 15 years if carefully maintained, but they are fragile and prone to breaking. Glass signs are heavier, making installation more challenging. LED neon signs are lightweight and more flexible, so you can mount them on various surfaces with standard mounting clips.
The visual effect is a key consideration too. Glass neon produces a classic, bright, and vibrant glow that can be more vivid than LED neon flex. However, LED neon imitates this effect well with the benefit of multiple color options, dimming capability, and even RGB variations. Your choice depends on whether you value traditional brightness or want the versatility and safety of LEDs.
| Feature | LED Neon Flex | Traditional Glass Neon |
|---|---|---|
| Cost (materials only) | $20, $80 for tubes, $15, $30 for power supply | $50, $200 for tubes, $60+ for transformer |
| Installation Time | 2, 4 hours | 8, 12 hours (specialised skill needed) |
| Lifespan | 30,000+ hours (3, 5 years typical use) | 8, 15 years with care |
| Safety | Low-voltage (12V), cooler running | High voltage (15kV), fragile glass |
| Difficulty Level | Basic crafting skills sufficient | Requires specialised glass bending skills |
| Weight & Installation | Lightweight, easy mounting | Heavy, requires secure installation |
| Visual Effect | Good neon imitation, flexible colors | Classic bright neon glow |
LED neon flex offers a balance of cost savings and ease. You can find a 6-meter roll for about £35, plus around £55 for supplies like a clear acrylic board, power adapter with dimmer, mounting clips, wiring, heat shrink, and standoffs, totaling roughly £90. This setup is manageable even for DIY beginners and reduces time spent on assembly compared to glass neon, which may require hiring a professional or spending many hours mastering glass bending and gas filling.
Use LED neon flex if you want faster results and safer materials that won’t shatter or demand high-voltage components. Choose traditional glass neon if your priority is that authentic bright glow and you have access to expert skills or professional services. Remember that LED neon signs use less electricity, often dimmer controls, and come in rolls or tubes that can be heated slightly to make shaping easier, so shaping and mounting a DIY sign is more straightforward.
How to Wire and Power Your DIY Neon Sign Safely
Powering your DIY LED neon sign requires selecting the right adapter and wiring it properly to avoid damaging the lights. Using a 12V DC regulated power supply matched to your LED strip’s specifications ensures stable operation and a long lifespan. Correctly connecting the positive and negative wires prevents issues like flickering or no lighting.
Matching Adapter Voltage and Current
Check your LED neon strip to confirm it operates on 12 volts DC, the common voltage for these signs. Using a power supply with a higher voltage risks burning out the LEDs. Similarly, verify the current (measured in amps or milliamps) that your LED strip requires. The adapter should provide at least this current or more. Having a current rating higher than needed is safe, the LEDs will only draw what they require.
For example, if your LED strip requires 12V and 1.5A, pick a power supply rated for 12V DC output and at least 1.5A. Power supplies for LED neon signs typically cost between $10 and $20. Using a regulated adapter reduces voltage fluctuations that can cause flickering or irregular brightness.
Connecting Positive and Negative Wires
Your LED neon strip will have two wires: a positive (+) and a negative (−). Matching these correctly to the adapter’s terminals is important. Reverse polarity may prevent the sign from lighting or even damage it. Follow these steps to wire your sign:
- Identify the positive (+) and negative (−) wires on the LED neon strip.
- Locate the corresponding positive (+) and negative (−) terminals on the 12V DC adapter.
- Strip about 1/4 inch of insulation from each wire end for a clean connection.
- Attach the positive wire to the adapter’s positive terminal and the negative wire to the adapter’s negative terminal securely.
- Use wire connectors or solder connections to prevent loose wiring.
- Route wires neatly through holes drilled in the sign’s backing to keep the front appearance clean.
- Double-check all connections for security and correct polarity before powering up.
Warning: Never connect LED neon wires to a power supply without confirming polarity; reversing wires can prevent lighting or cause damage.
Testing Power and Troubleshooting
Once wired, power up your sign to verify it lights evenly and steadily. Watch for any dim sections, flickering, or areas that don’t light at all. These symptoms usually result from loose connections, poor solder joints, or wiring mistakes such as reversed polarity.
If the sign does not light, immediately check that the wires are connected to the correct adapter terminals. A simple swap of the positive and negative wires often fixes this. Dim or flickering areas require inspecting solder joints or connections and resoldering or securing loose wires. Avoid bending or pinching the neon strip to prevent hot spots or damage.
Mounting, Securing, and Finishing Your Neon Sign
Choosing the right backing material is key to mounting your LED neon flex sign properly. Wood and acrylic are top choices because they both provide sturdy support and can be customized easily. Wood backing offers a natural look and is easy to screw into, while acrylic gives a modern, glossy finish and allows light to pass through if you want a subtle glow behind your sign.
When mounting on wood, use small screws to attach the secure clips that will hold the LED neon flex tubing. Space these clips about every 6 to 8 inches along the flex strip to keep it firmly in place while still allowing some flexibility for curves or bends. Screw the clips gently to avoid splitting thinner wood panels. For acrylic, adhesive clips specifically made for plastic surfaces help avoid cracking or stress. Before applying adhesive clips, clean the surface with isopropyl alcohol to ensure good adhesion, then press clips firmly and let them set for 24 hours. Drill holes in acrylic backing if you prefer using mechanical fasteners, but be careful to use a drill bit sized properly for the screws and work slowly to prevent cracking.
Before permanently attaching your LED neon flex, test it by plugging it in to verify all sections light up correctly. This step prevents having to remove the tubing later due to issues. After testing, carefully press the flex tubing into the clips, making sure it lays flat and follows your design’s curves smoothly.
Hiding wires improves the overall look and keeps your installation neat. Route wires along the edges or behind the backing panel. For wood, you can groove shallow channels using a router or craft knife to hide wires inside the backing material, then cover with wood filler or paint. For acrylic, run wires through the edges or behind hanging hardware. Secure wires with small adhesive cable clips or clear zip ties positioned where they won’t disrupt the sign’s view. Avoid pinching or crushing wires, which can damage insulation and cause shorts.
Improving the backing’s appearance adds a professional touch. Paint wood backings with colors that complement your neon colors or apply wallpaper or vinyl decals to acrylic surfaces. Sand wood edges smooth and seal with clear polyurethane to avoid splinters. For acrylic, polish edges with fine grit sandpaper or a plastic polishing compound to give clean, transparent edges.
Proper mounting and finishing raise your sign’s durability and visual appeal. Using secure clips spaced well prevents sagging, while neat wire routing keeps the focus on the illuminated design. Backing customization lets you match your sign to the décor of the space where you’ll display it. Taking time to get these details right helps you achieve a polished, lasting neon sign that looks great in any room.
Safety Tips and Common Mistakes to Avoid
DIY neon signs using LED flex lighting are generally safe for indoor use because they operate at low voltage and produce minimal heat. Unlike traditional glass neon signs that use high voltage and fragile glass tubes, LED neon flex lights reduce the risk of electric shock and breakage. Still, you want to handle all electrical components with care and avoid exposing the sign to water or excessive moisture.
Wearing protective gear is important to keep your hands and eyes safe throughout the project. Use gloves to prevent cuts when bending the flexible tubing and safety glasses to shield your eyes from accidental snaps or sharp edges. If you trim or work near electrical wires, insulated gloves add an extra layer of protection. Always work in a well-lit, uncluttered area to reduce the chance of trips or mistakes.
- Wear safety glasses and gloves to protect eyes and hands
- Keep work area clean and dry to avoid slips or moisture damage
- Use low-voltage LED flex neon instead of glass tubes for safer handling
- Check all electrical cords for damage before use
- Avoid overbending the LED flex tubing to prevent breakage
Common beginner mistakes include uneven lighting sections, flickering, and poor mountings. Uneven light usually happens when the LED flex tubing is bent too sharply or not secured evenly. To fix this, maintain gentle curves with a minimum radius of about 1 inch and use mounting clips spaced every 4 to 6 inches for steady placement. Flickering often points to loose connections or a faulty power supply. Double-check all connectors for tight fits and use a compatible, tested LED driver rated for your sign’s wattage.
Mount your sign securely on a non-flammable surface to avoid fire hazards and unnecessary damage. PVC, acrylic, or wood backed with fire-resistant paint works well. Avoid hanging your sign near curtains, paper, or other flammable materials. Also, be mindful of environmental factors like temperature. High heat over 104°F can shorten the LED’s lifespan, and exposure to excessive moisture can cause electrical shorts or corrosion. Keep your neon sign in a cool, dry place for best results.
How Long Does a Homemade LED Neon Sign Last?
LED neon flex signs typically last between 30,000 and 50,000 hours before their brightness significantly diminishes. This range depends on factors such as the quality of the LED materials, how often you use the sign, and the operating environment. For example, using your neon sign for about 8 hours daily can give you roughly 10 years of use before you notice a decline in light output.
Durability and brightness over time can be affected by heat, moisture, and physical damage. High temperatures can degrade LEDs faster, so it’s important to install your sign in a well-ventilated area away from direct heat sources. Excess moisture, such as from outdoor exposure or humid indoor settings, can cause corrosion on connections or damage the LED strips if they aren’t waterproofed properly. Physical impacts, like bumps or scratches, may also break the flexible tubing or damage the wiring inside.
Maintenance plays a key role in extending your LED neon sign’s lifespan. Regularly dust the surface with a soft, dry cloth to avoid dirt buildup that could reduce brightness. Avoid using harsh chemicals or abrasive materials which can scratch the protective acrylic or silicone casing. For signs exposed to humidity or outdoor conditions, inspect the wiring and connections periodically for corrosion or wear. Applying a silicone sealant around edges can help keep moisture out.
Maintaining stable power is another way to protect your sign. Use a constant voltage driver designed for your LED neon flex’s specifications to prevent flickering or voltage spikes that shorten LED life. If you notice flickering or dimming, check that all connections are secure and that the power supply matches the sign’s voltage requirement.
Never use your homemade LED neon sign in excessively damp locations without proper waterproofing, as this can quickly reduce its lifespan and create electrical hazards.
The mounting method also impacts how long the sign lasts. Secure installations that avoid bending or kinking the flexible LED tubing reduce strain on the wires and increase durability. For a soft ambient effect and less direct exposure, you might consider adding a backlighting LED strip behind shelves or within the mounting panel. This backlighting not only improve the visual appeal but can also keep the sign cooler, indirectly boosting longevity.
Keen attention to these maintenance steps and environmental factors ensures your custom LED neon sign stays bright and functional for years. Proper care is relatively simple, costs little to nothing, and protects the time and effort spent creating your unique sign.
Step-by-Step Action Plan for Your DIY LED Neon Sign
Follow this plan to build your LED neon sign efficiently and safely, ensuring a great result every step of the way.
- Day 1: Start by drawing your design on paper or use a design app to complete the shape and wording. Make sure the design matches the size of the area where you plan to mount the sign.
- Day 2: Order or gather all essential materials, including LED neon flex, power supply, connectors, mounting board, and wiring. Check that all parts match your design measurements.
- Day 3: Cut the LED neon flex to length according to the design layout. Test each section by connecting it briefly to the power supply to verify lighting works.
- Day 4: Plan and assemble the wiring, making secure connections following safety guidelines. Use a multimeter to confirm connections are correct and steady.
- Day 5: Attach the LED neon flex to the mounting board using clips or adhesive. Ensure the placement matches your design and the flex is firmly secured.
- Day 6: Connect your completed neon sign to the power supply and do a full lighting test. Look for evenly distributed light and no flickering.
- Day 7: Mount your sign in the desired location safely using anchors or hooks appropriate for the wall type. Double-check stability after installation.
- After 1 week: Inspect the sign for any loose connections or dim spots and make adjustments as needed to keep it functioning well.
Frequently Asked Questions
What Are Common Mistakes Beginners Make When Making a Neon Sign at Home?
Beginners often cut LED flex incorrectly or bend it too sharply. Careful measuring and gentle handling helps avoid damage and ensures the final sign looks professional.
Can You Make a Neon Sign at Home Without Electrical Experience?
Yes, using LED neon flex or EL wire requires minimal electrical skill. These options are safer and easier to handle compared to traditional glass neon tubes.
How Do I Choose the Best Location for My DIY Neon Sign?
Pick spots where your sign gets noticed, like above a bed, a home bar, or workspace. Good placement improve its visual impact and complements your room’s style.
What’s the Difference Between EL Wire and LED Neon Flex for Homemade Signs?
EL wire is flexible and glows evenly but is less bright than LED flex. LED neon flex better mimics real neon and lasts longer, but costs more.
Can I Customize a Neon Sign with My Name at Home?
Yes, custom home bar signs with your name are popular and doable with LED flex. Designing a personal touch makes your sign unique and meaningful.
Is It Possible to Power a DIY Neon Sign with Batteries?
Yes, small LED neon signs can run on batteries for portability. Check power requirements and battery life to match your sign’s size and brightness.
Final Thoughts
Creating your own LED neon sign at home is a rewarding project that adds a custom, eye-catching element to your space. Focus on precision in cutting, wiring, and mounting to ensure your sign shines bright and lasts. Next, gather the materials and set aside time to follow your design step by step for the best results.