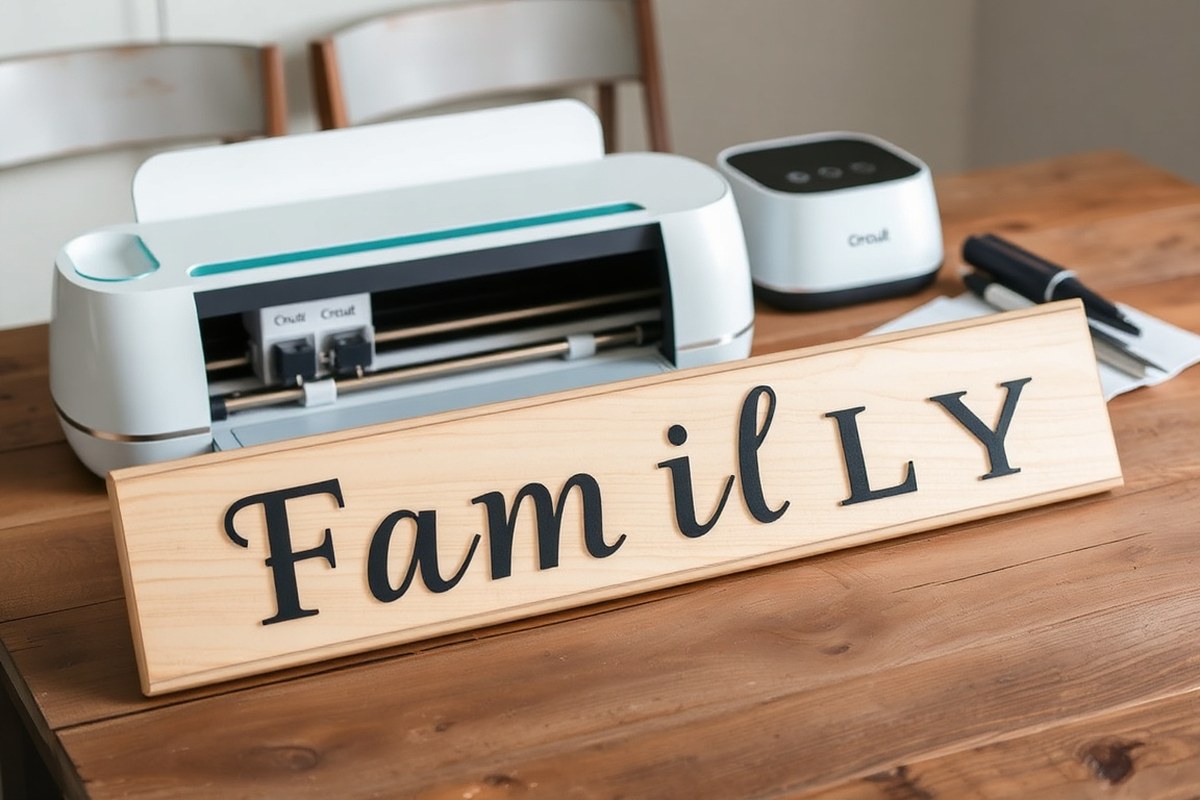
How to Make a Family Name Sign with Cricut: Simple Steps for Perfect Results
Learning how to make a family name sign with Cricut involves designing your lettering in Cricut Design Space, cutting it precisely, and applying it to a prepared wooden base. Using a Cricut machine lets you customize sizes and fonts for a personalized touch. Start by measuring your sign’s usable area correctly to ensure your design fits perfectly.
Key Takeaways
- Measure your sign’s usable area before designing to fit your family name properly in Cricut Design Space.
- Use the Shapes tool in Design Space to create a canvas that matches the size of your wooden sign base.
- Break oversized family names into smaller sections to cut on standard 8×12-inch basswood sheets.
- Choose your lettering material based on the look you want; options include vinyl, basswood, or iron-on vinyl.
- Select the correct mat size in Cricut Design Space to match your cutting mat, especially for large signs.
- Consider adding 3D elements by layering cut vinyl or wood for a more dynamic family name sign.
Materials and Tools Needed for a Cricut Family Name Sign
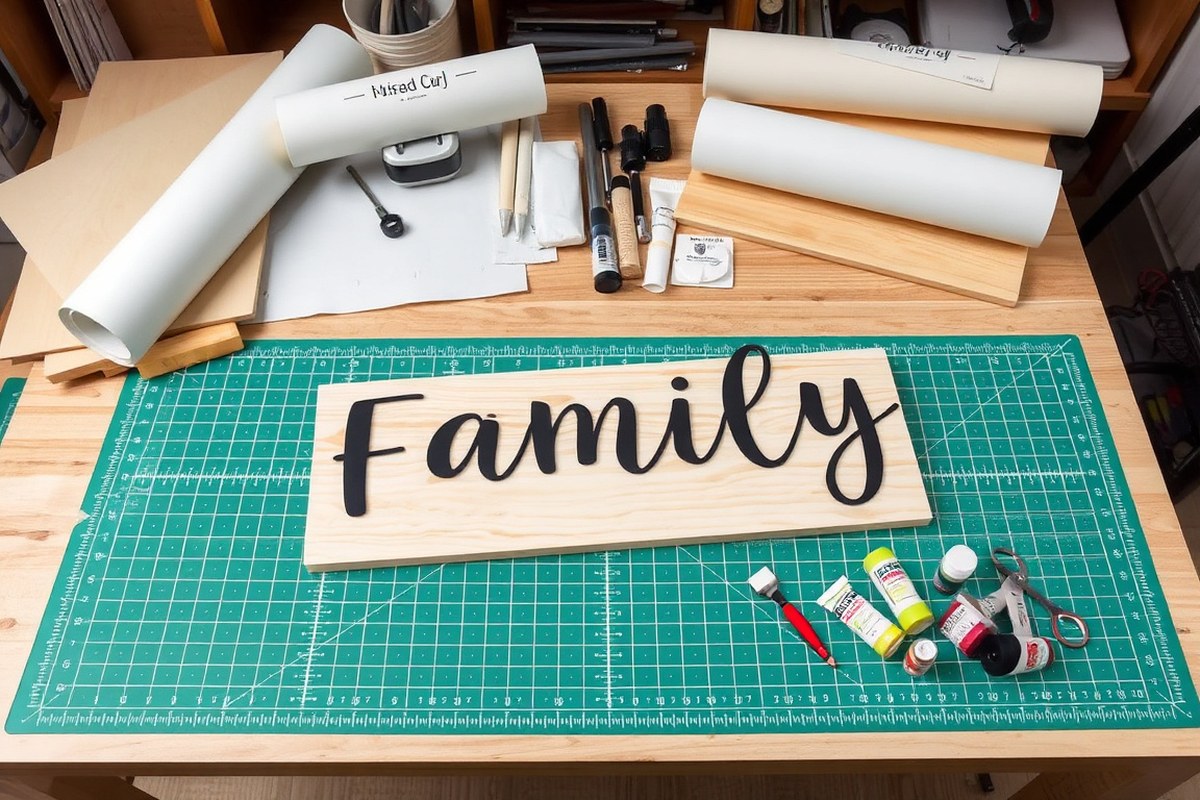
To make a family name sign with your Cricut, you need a combination of materials and tools that work well together. The base is usually a wooden plaque, and selecting the right type and thickness of wood is important. Basswood is a popular choice because it’s smooth and easy to paint or stain, typically available in thicknesses from 1/4 inch to 3/4 inch. Thicker wood offers a sturdy feel but adds weight and cost, while thinner wood can warp or chip more easily.
Your Cricut machine handles cutting the lettering or stencil, but a few other tools are essential. A strong grip cutting mat, ideally in 12×12 inches or 12×24 inches size depending on your sign size, keeps vinyl or stencil material stable. A vinyl scraper or burnishing tool helps transfer the cut vinyl or stencil without bubbles or tearing. Transfer tape is needed to move adhesive vinyl lettering precisely onto your wood sign. For painting wood, flat synthetic brushes in sizes 1 to 3 inches work well for even coverage of paint or sealant.
When it comes to vinyl, adhesive vinyl is best for signs that won’t need heat application. It sticks well to painted or sealed wood and is available in permanent or removable types. Permanent adhesive vinyl offers longer durability but isn’t removable once applied. Iron-on (HTV) vinyl can also be used if you plan to heat set your design on certain types of wood or canvas, but it requires a heat press or household iron with careful temperature control, typically around 300°F for 30 seconds. For beginners, adhesive vinyl is more straightforward and less likely to damage the wood.
- Wood sign base: basswood plaque, 1/4″ to 3/4″ thick
- Adhesive vinyl: permanent or removable
- Transfer tape for vinyl application
- Cricut cutting mat: 12×12″ or 12×24″ size
- Scraper or burnishing tool to apply vinyl
- Paint: acrylic or latex for base and details
- Flat synthetic paintbrushes, sizes 1″ to 3″
Other wood types like pine or plywood can be used but might require more sanding or priming before decorating. Vinyl choices vary by brand and finish; glossy, matte, or textured vinyl changes the look of your sign. Pick a mat size larger than your vinyl sheet to ensure clean cuts. Using good-quality transfer tape with medium tack prevents tearing delicate vinyl. For best paint results, use outdoor acrylic paint if the sign will be outside, and let paint dry for at least one hour before applying vinyl on top. Avoid thin wood plaques under 1/4 inch as they are prone to cracking when handled.
Designing Your Family Name in Cricut Design Space
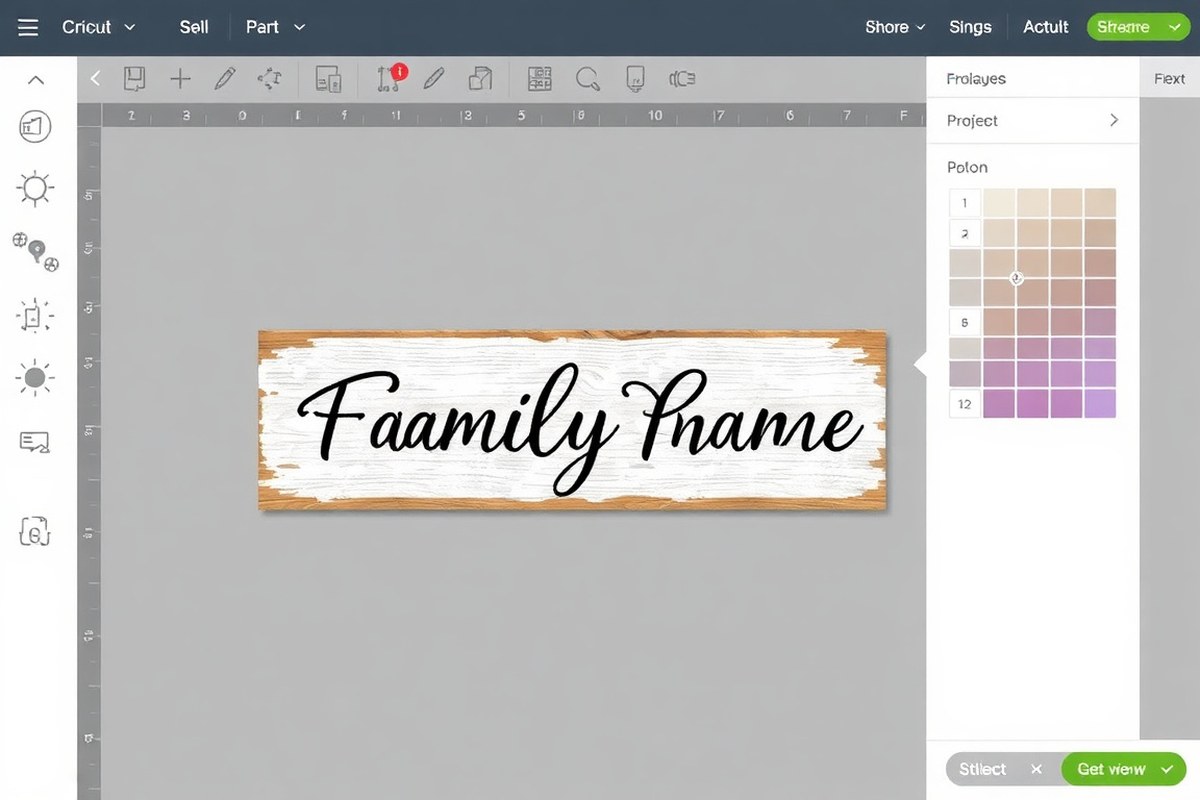
Creating your family name design in Cricut Design Space is a straightforward process that lets you fully customize fonts, styles, and sizes to suit your wooden sign. Careful selection of fonts and sizes improves readability and style when cut on wood. Proper positioning within the working area ensures the design fits well, maximizing both the visual impact and material use.
Adding and Styling Text
Start by opening Cricut Design Space and selecting the Text tool. Type your family name exactly as you want it to appear on the sign. Focus on fonts designed for clarity on wooden surfaces; simple serif or sans-serif fonts like “Cricut Sans” work well because their clean lines cut clearly and stand out against wood grain.
Contrast is key for wooden signs, so consider pairing a bold font for the family name with a delicate script for accents or a monogram. Adding a monogram is a popular way to give your design a personal touch. Use the text tool again to add initials or small accent words like “Est.” or established year. Adjust their size and placement accordingly.
Using the Offset Tool Effectively
The Offset tool adds a border or shadow around your letters, giving them more presence and depth, especially important on wood where shadows improve legibility. This feature, relatively new in Design Space, helps your design “pop” without complex layering.
Apply the Offset effect by selecting your text, then choosing “Offset” from the editing toolbar. Adjust the distance slider to create a border between 0.05 and 0.15 inches for a subtle but visible outline. This effect also protects the edges of the cut vinyl or paint from chipping easily.
Try creating separate offsets for the main family name and any monograms or accents. This makes layering simpler and visually balanced on your sign.
Sizing and Positioning the Design
Accurately sizing and positioning your design inside the canvas is important for a polished final product. Begin by creating a shape matching the usable area of your sign blank, typically 18.5 inches wide by 8.5 inches tall for common wood signs.
This shape acts as a template, helping you place and resize your text without exceeding the sign’s limits. Resize the text box holding your family name to fit comfortably within these dimensions, leaving some margin space around the edges for framing or natural sign borders.
Align the text centrally on your shape by selecting both and using the Align tool with Center Horizontally and Center Vertically. This balance prevents cutting errors and ensures your sign looks professionally done.
- Open Cricut Design Space and click on the Text tool.
- Type your family name and choose a clean, easy-to-read font like Cricut Sans.
- Add any monograms or accent text with smaller font sizes for contrast.
- Select your text and apply the Offset effect, adjusting it between 0.05” and 0.15”.
- Create a rectangle shape sized to your sign’s usable area (e.g., 18.5” x 8.5”).
- Resize and position your text inside this shape, keeping adequate margins.
- Use the Align tool to center the design within the rectangle.
- Hide or delete the rectangle before sending the design to cut.
Make sure you work within the actual size limits of your sign blank’s usable area to avoid cutting a design that won’t fit properly on your wood base.
Cutting Lettering and Stencils with Cricut
Cutting lettering and stencils with a Cricut involves selecting the correct material settings, preparing your designs carefully, and handling the cut pieces properly for a clean, professional look. This process applies whether you’re working with adhesive vinyl or thin basswood sheets. Proper cutting, weeding, and transfer methods ensure that your family name sign assembly goes smoothly and looks sharp.
Setting Material and Pressure for Cutting
Choose the exact material setting in Cricut Design Space to match what you’re cutting. For adhesive vinyl, use the “Vinyl” setting, which typically cuts at a default pressure suitable for 651 or 631 vinyl films. For 1/8-inch basswood sheets, or comparable thin wood sized around 8×12 inches, the “Basswood” setting works best, but you’ll need to split larger designs into smaller pieces to fit your 12-inch mat width. Adjust the pressure manually if the cuts aren’t complete, increasing it in small increments to avoid too deep a cut that might damage the mat.
Loading the mat straight and clean helps prevent shifting during cutting. Keep in mind basswood is thicker and tougher to cut than vinyl, so expect slower blade movement and potentially multiple passes depending on your blade and machine model, like the Cricut Maker which is designed for wood. Test cut a small piece first to refine your settings.
Creating and Using Stencils
Stencils make painting lettering onto your painted sign easier and more uniform. Begin by converting your text into a stencil design in Cricut Design Space. To create a stencil, ensure the letters are welded or joined properly except for inner cutouts (like inside “O” or “A”), which remain as bridges in your stencil to keep the shapes intact when cutting.
Arrange your stencil pieces on the mat, respecting the limits of the 8-inch basswood width by breaking the design into smaller sections if necessary. Use stencil vinyl or permanent adhesive vinyl for better paint resistance. After cutting, a stencil is ready to be placed firmly on your sign base for painting the letters.
- Select a stencil-compatible vinyl material in Design Space.
- Arrange your letters, making sure openings inside letters are bridged to avoid falling out.
- Load your cutting mat with the vinyl or basswood properly aligned and secure.
- Set the Cricut to the appropriate material setting and pressure.
- Initiate the cut and monitor the progress for missed spots.
- Unload the mat and carefully remove the stencil from the mat to prevent tearing.
- Apply the stencil to your sign and secure the edges before painting.
Weeding and Transferring Vinyl Letters
Weeding means removing the excess vinyl around and inside your cut letters. Use a weeding tool to peel away small pieces carefully, especially the inner parts of letters like “e” or “g.” Perform this on a flat surface with good lighting to avoid tears or missed spots. Make sure all the tiny bits are cleaned out to keep your lettering crisp.
Use transfer tape to move your weeded vinyl letters onto your sign. Cut a piece slightly larger than your lettering, lay it smooth on top, and burnish it down firmly with a scraper tool or credit card. Flip the design and gently peel the backing vinyl off, leaving the letters stuck to the transfer tape. Position the letters on your sign, press down well, and slowly peel away the transfer tape at a sharp angle. This keeps letters in place and prevents lifting.
Preparing and Painting the Wooden Sign Base
Preparing the wood base properly ensures your family name sign looks smooth and professional. Sanding removes splinters and rough spots that could affect how paint and vinyl stick. Priming creates a sealed surface that helps paint last longer and maintain true colors. Using the right paint type and applying it in thin, even coats prevents streaks and uneven textures. Each step matters because a well-prepared surface gives your Cricut vinyl or paint a strong grip and a neat finish.
Start with sanding the wood using fine-grit sandpaper (around 220 grit) to smooth out all surfaces, especially edges. This step takes about 5 to 10 minutes for a typical sign about 12 by 18 inches. After sanding, wipe the surface clean with a damp cloth to remove all dust. Use acrylic primer designed for wood, usually available for $5 to $10 per small can, to help the paint adhere better and prevent blotchy spots.
For painting, water-based acrylic paints work well indoors and can handle some outdoor exposure if sealed afterward. Apply two to three thin coats, allowing each layer to dry completely, typically 30-60 minutes depending on humidity. Painting the sides can add a nice finished look, or you may choose to leave the inside natural wood for contrast.
- Sand the wood surface with fine (220 grit) sandpaper until smooth and free of splinters.
- Wipe the sanding dust off with a damp cloth and let the wood dry fully.
- Apply a thin coat of acrylic primer evenly, avoiding drips; let it dry 1 to 2 hours.
- Paint your base coat with water-based acrylic paint, using thin, even strokes.
- Allow the paint to dry 30 to 60 minutes before applying additional coats.
- Apply a second or third paint coat for solid, uniform coverage, letting each dry thoroughly.
- Optionally, paint the edges for a polished look or leave them natural for style contrast.
- Let the final coat cure for several hours before applying vinyl or stencils.
Assembling and Applying Lettering to Your Sign
Aligning, applying, and securing your lettering correctly will ensure a professional, clean look on your family name sign. Proper positioning prevents crooked or uneven letters, which can distract from your design. Using transfer tape for vinyl letters helps keep them in place during application, while glue works best for wooden or thicker letters. Avoiding bubbles and wrinkles takes patience and the right technique.
Start by laying out your letters on the sign base before permanently attaching them. This gives you a visual guide to make adjustments, ensuring the name is centered and spaced evenly. Adhere vinyl with transfer tape, pressing gently at first to stick the letters, then applying firm pressure to secure them. For wooden letters, light glue application and careful placement prevent mess and mistakes.
- Position your letters: Place your vinyl or wooden letters on the sign using blue painter’s tape to hold them temporarily. Step back to check alignment and spacing, adjusting until the layout looks balanced and centered.
- Prepare transfer tape (vinyl only): Cut a sheet of transfer tape slightly larger than your lettering. Peel and stick it onto the vinyl, smoothing with a scraper tool or credit card to remove air bubbles and ensure good contact.
- Lift and place letters: Carefully peel the transfer tape away from the backing, lifting the vinyl letters. Align the letters over your sign base, then firmly press down, working from the center outward to avoid bubbles.
- Apply even pressure: Use a scraper or credit card to press the letters firmly onto the sign. Apply consistent pressure across each letter, ensuring all edges adhere to the surface.
- Remove transfer tape: Slowly peel back the transfer tape at a sharp angle. If any vinyl lifts, press it back down and apply more pressure before continuing.
- Glue wooden letters: Apply a thin layer of wood glue or craft adhesive to the back of each wooden letter. Position them on the sign base, held temporarily with blue painter’s tape if needed, then press firmly for 30 seconds.
- Secure glued letters: Use adhesive foam dots or a small weight to keep wooden letters in place while the glue dries, typically for about 1 hour.
- Fix bubbles or wrinkles: For vinyl, lift gently with a weeding tool or pin to release trapped air, then reapply with pressure. Avoid over-stretching to prevent distortion.
Press transfer tape down firmly with even strokes to avoid bubbles and wrinkles; peeling tape too fast or at a shallow angle can lift lettering unintentionally.
Sealing and Finishing for Durability and Style
Protecting and finishing your family name sign ensures it lasts and looks its best over time. The choice of sealant depends on where you plan to display the sign and the finish you want. Polyurethane, resin, and spray sealants each have distinct qualities that affect durability, appearance, and ease of application.
| Sealant Type | Best For | Finish | Durability | Application Tips | Approximate Cost |
|---|---|---|---|---|---|
| Polyurethane (Oil or Water-based) | Indoor and outdoor signs | Clear, glossy or satin | High; withstands wear and moisture | Use a synthetic brush for smooth coats; allow 4 hours drying; apply 2, 3 coats | $8, $15 per quart |
| Epoxy Resin | Indoor signs needing thick gloss and waterproofing | High gloss, glass-like | Very high; waterproof and scratch-resistant | Mix resin and hardener exactly; pour and spread evenly; cure 24, 72 hours | $20, $35 per kit |
| Spray Sealants (Acrylic or Clear Coat) | Quick indoor or outdoor touch-ups | Matte, satin, or glossy | Moderate; less thick protection | Spray 6, 8 inches away in light coats; dry 15, 30 minutes; 2, 3 coats | $5, $10 per can |
To apply any sealant smoothly, start with clean, dry paint on your sign. Use long, even strokes to avoid drips or bubbles. Avoid heavy coats that take too long to dry or cause uneven texture. Between coats, lightly sand the surface with fine-grit sandpaper (220 grit) to remove imperfections, then wipe off dust with a damp cloth. Recoat every 4 to 6 hours for polyurethane and spray sealants, allowing full cure times before handling or displaying. Resin requires a dust-free environment and patience during its longer curing period but provides a stunning, durable shine.
Weatherproofing is important for outdoor signs to resist moisture, sunlight, and temperature changes. Oil-based polyurethane generally offers better water resistance than water-based. Consider adding an extra clear coat layer after your main sealant for improved UV protection, especially if your sign faces direct sunlight. Spray UV-protectant clear coats can also extend outdoor sign life. For colder climates, choose sealants rated to stay flexible without cracking as temperatures drop.
Adding 3D elements or embellishments after sealing is possible but depends on the materials and adhesives you use. Lightweight decorations such as small bows or ribbons can be attached with hot glue or strong craft glue. Flat metal accents like washers, decorative nails, or thin metal strips can be nailed or glued onto the sign’s surface. To keep these awaiting finishing touches secure and weather-resistant, seal the base coat first. After adding embellishments, brush a final clear sealant layer around the edges and surfaces of the decorations to secure them and protect from wear. Avoid coating delicate items like fabric ribbons too heavily, which may stiffen or discolor them.
Decorative ideas include tying a seasonal or rustic bow around the sign’s edges, using wired ribbon that holds shape well, and adding metal nameplates or corner brackets for a polished touch. These add texture and personality without overwhelming your family name design. Costs vary depending on your choice, simple ribbons may cost under $5 per roll, while metal accents can range from $2 to $10 for individual pieces. Choose accents that match your sign style and intended display location, selecting weather-resistant materials for outdoor use.
Troubleshooting Common Cricut Sign Making Issues
Cutting problems with your Cricut often come down to blade sharpness, mat condition, or incorrect settings. A dull blade or debris on the blade can prevent full cuts, especially through thicker wood or vinyl. Check if the blade needs replacing or cleaning by gently removing buildup with isopropyl alcohol and a soft cloth. Also, examine your cutting mat. A mat that lost its stickiness will cause the material to shift, resulting in incomplete or uneven cuts. Replace mats after roughly 30 projects or when they no longer hold the material firmly.
Software settings are equally important. Double-check you are using the best file type for cutting, such as SVG files for crisp outlines in Cricut Design Space. For wood or thicker materials, choose the appropriate material setting to ensure the blade pressure and depth are sufficient. You may need to run multiple passes on hard wood, which the machine can handle when set correctly.
- Confirm blade is clean and sharp; replace if worn after 200-300 cuts
- Use a fresh, sticky mat to avoid material movement
- Choose the proper material setting in Cricut Design Space for wood or vinyl
- Check that the material lies flat with no wrinkles before cutting
- Download and upload SVG files for better cutting accuracy
- Run a test cut before the full project to gauge blade depth and pressure
- Consider multiple cutting passes for dense wood
Weeding vinyl can be frustrating when small parts stick or tear. Use a weeding tool to carefully lift excess vinyl, starting from corners. Warm vinyl slightly with a hairdryer to soften the adhesive when it won’t come off cleanly. This makes weeding easier and reduces the chance of missing vinyl pieces that disrupt your design. For stuck vinyl, pressing down firmly with a scraper tool can help secure letters to the transfer tape, preventing breakage during transfer.
Misaligned or damaged letters usually happen during application or if the transfer tape pulls too hard. To fix this, slowly lift the letter and reposition it while the adhesive is still flexible. Patch a torn letter by cutting a small matching piece of vinyl and pressing it tightly over the damaged spot. Align the patch carefully so it blends with the rest of the lettering. Performing a step-by-step transfer, lifting one letter at a time, helps prevent alignment troubles.
Creative Design Variations and Display Ideas
Customizing a family name sign brings personality and style to your home decor. Adding monograms, graphics, or seasonal themes can make your sign truly unique and meaningful. Thoughtful layout arrangements and display choices help your sign stand out and fit perfectly in your chosen space.
Adding Monograms and Graphics
Monograms create a classic, personalized touch on family name signs and can be added easily in Cricut Design Space. Use a large initial or combine first letters of family members’ names, then cut them from vinyl or iron-on vinyl (HTV). Layering materials such as wood, vinyl, and paint adds depth, cut the monogram in a contrasting color or material to the base sign for visibility. You can also incorporate small graphics like hearts, leaves, or home icons from Cricut’s built-in image library or SVG files you upload.
To add monograms or graphics, start by resizing them to balance the family name text. Position them to the left, right, or above the lettering, depending on sign dimensions. For example, on a rectangular sign, a monogram to the left with the full name beside it works well. In a circular sign, place the monogram in the middle and curve the family name around it. Use multi-layered vinyl designs or paint stencils to improve these elements, mixing textures such as matte and glossy finishes to add visual interest.
Layout Ideas for Different Sign Shapes
Rectangular signs are versatile and provide good space for longer family names or added phrases like “Established 2024.” Centering the text or aligning it to the left with decorative elements on the right creates a balanced look. Use horizontal or vertical text stacking to fit longer names without overcrowding. Adding decorative lines or subtle background patterns can help frame the name without distracting from it.
Round signs require a more circular layout approach. Curve text along the edges using Cricut Design Space’s text-on-a-path feature to hug the circle. Place a monogram or graphic in the center for a focal point. To improve the shape, add small embellishments, like painted dots or cut vinyl leaves, around the edge. Make sure the font size remains readable by testing with a printed template before cutting.
Experimenting with multi-layer designs combines painted backgrounds with vinyl lettering, which can create contrast and grab attention. For instance, paint the base a dark shade and use light-colored vinyl for the family name, or apply a translucent stencil layer over painted wood to introduce subtle texture. Multi-material layering typically takes extra prep time but results in standout signs suited for gifts or entryways.
Hanging and Display Techniques
Choosing the right hardware and placement ensures your sign looks polished and stays secure. Attach sawtooth hangers or D-ring hangers to the back of a wooden sign for easy wall hanging. For a softer look, use ribbon or twine threaded through holes or attached hardware, allowing the sign to hang from hooks or nails. Adding a ribbon also allows quick seasonal swaps when you want to refresh your decor.
Display location influences how you should mount the sign. In an entryway, hanging it at eye level near the door grabs attention. For outdoor porches, make sure hardware and finishes resist weather; sealing the sign with outdoor-grade sealant helps protect paint and vinyl from fading. Leaning signs against a mantel or shelf offers a casual display and lets you change signs with the seasons without wall damage. Incorporating hooks or clips into the sign base can hold seasonal decorations, enabling quick updates with bows, greenery, or themed ornaments.
Attach hanging hardware before applying ribbons or boards for easier assembly and a cleaner finish.
Step-by-Step Action Plan
Follow these steps to create your custom family name sign with your Cricut, ensuring each phase is completed before moving on to the next.
- Before You Start: Gather all materials and tools listed, including your wooden sign base, Cricut machine, vinyl or stencil materials, paint, and sealant. Confirm you have the correct size and style of fonts ready in Cricut Design Space.
- Day 1: Design your family name in Cricut Design Space and prepare your cutting mat. Test cut a small piece of vinyl to verify your machine’s settings; successful cuts result in clean edges and easy weeded letters.
- Day 2: Cut your lettering and stencils with the Cricut, carefully weed the excess vinyl, and apply transfer tape. Ensure your letters lift smoothly and maintain their shape when transferred.
- Day 3: Paint the wooden sign base as planned, allowing paint to dry fully between coats. Check the paint is opaque and evenly applied with no drips before moving on.
- Day 4: Apply vinyl letters or stencil to the wooden base, press firmly for good adhesion, and add any additional paint detailing if using stencils. Letters should stick flat without air bubbles or lifting edges.
- Day 5: Seal the sign using a clear protective coat suited to your paint and location of display. Let the sealant cure as directed on the label to ensure durability.
- After 1 Week: Inspect the sign for any peeling or damage and touch up as needed. Your sign is ready to display indoors or outside, depending on materials used.
Frequently Asked Questions
Can I Use Any Type of Wood for a Cricut Family Name Sign?
You can use various woods, but basswood is popular for Cricut signs due to its smooth surface. It cuts cleanly and paints well, making your lettering and stenciling look sharp and professional.
How Do I Create a 3D Effect on My Family Name Sign?
Adding 3D elements involves layering cut pieces or using thicker materials like basswood. This technique adds dimension, making your sign stand out more than flat vinyl or paint alone.
What Is the Best Way to Position Lettering on a Curved or Round Sign?
Use an SVG file designed for round signs, such as one from That’s What Che Said, for perfect alignment. Adjusting your design in Cricut Design Space before cutting helps ensure consistent spacing and placement.
Can I Reuse Stencils Made with Cricut for Multiple Family Name Signs?
Reusable stencils are possible if cut from durable materials like stencil vinyl or Mylar. Proper cleaning and storage after use will extend their lifespan for future projects.
Is It Necessary to Seal a Wooden Family Name Sign Before Painting?
Sealing the wood first prevents paint from soaking in unevenly and improves adhesion. It also protects the sign and keeps colors vibrant for longer indoors or out.
What Size Should I Make My Family Name Sign for Indoor Versus Outdoor Use?
For indoor signs, smaller sizes around 12×12 inches work well, while outdoor signs benefit from larger dimensions like 18×24 inches for better visibility. Material choice and paint type also affect durability outdoors.
Key Points to Remember
Making a family name sign with your Cricut is straightforward when you tackle each step carefully, from design to finish. Start by opening Cricut Design Space and experimenting with fonts to find the style you want. That first creative step will get your project moving and bring your personalized sign to life.