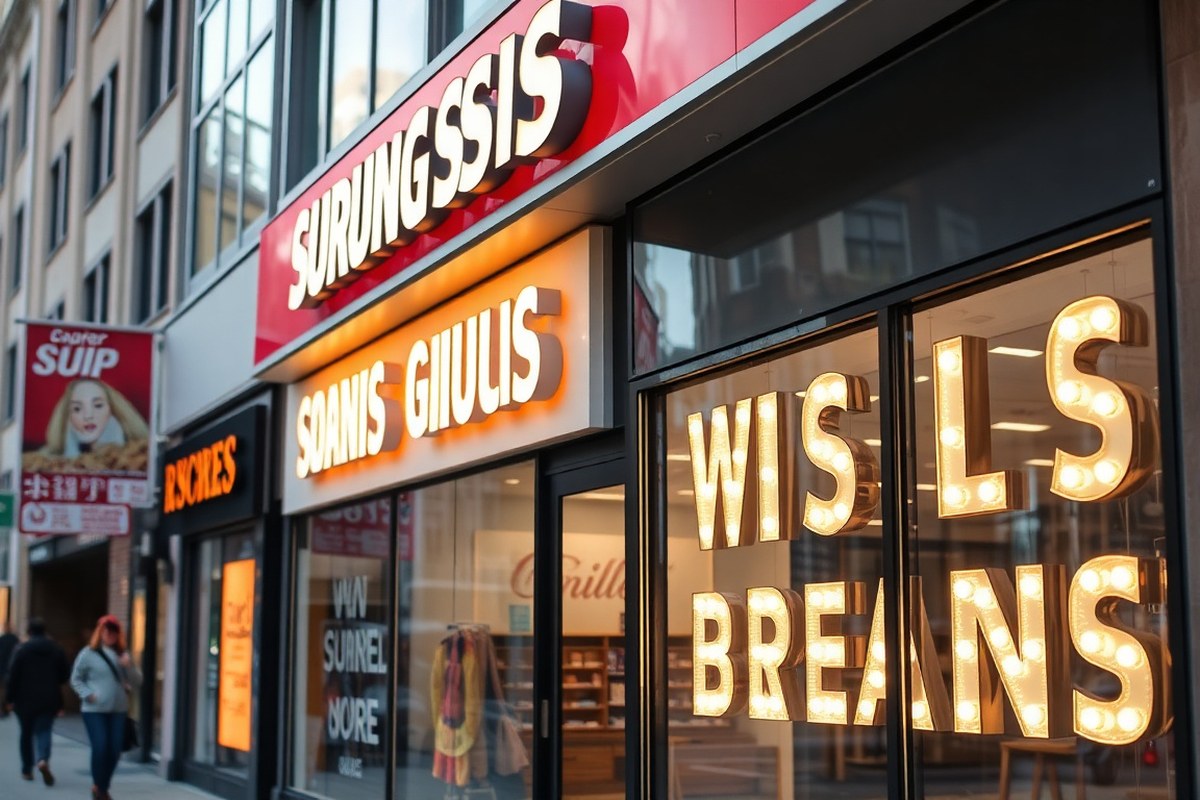
Storefront Sign Ideas to Boost Business Visibility: A Complete Guide
Storefront sign ideas that boost visibility use vivid illumination, clear messaging, and strategic placement to attract more customers. Combining channel letters, custom graphics, and lighting improve recognition and draws attention from a distance. Start by evaluating your storefront’s size and foot traffic to choose the right sign type that fits your brand and budget.
Key Takeaways
- Channel letter signs offer high visibility and can be seen from more than 500 feet, especially when illuminated.
- Projecting signs must follow local rules, such as the USSC limits on how far they can extend over sidewalks.
- Select a storefront sign size based on your building wall area and ensure at least 60% of the sign remains empty for readability.
- Vinyl window graphics provide an affordable, temporary signage option, costing around $500 or less.
- Use illuminated signs or neon designs to increase visibility during evenings and poor weather conditions.
- Customize signs with murals or unique graphics for a memorable brand presence that attracts foot traffic.
Best Storefront Sign Ideas to Attract More Customers

To attract more customers, the best storefront signs combine clear visibility, strong branding, and strategic placement. Channel letters stand out because of their bold, three-dimensional design and optional illumination, which draws attention day and night. Illuminated cabinet signs cover larger areas and work well for businesses located near highways or in busy shopping centers, creating a billboard effect that can boost foot traffic by 15 to 20 percent on average, according to a FedEx Office survey.
Adding window graphics or vinyl banners personalizes storefronts, displaying promotions or seasonal messages in eye-catching colors. These options cost less upfront and are easy to update frequently, making them ideal for businesses like cafes, boutique retailers, or service providers who want to engage passersby with timely offers. Blade signs, which extend outward from the building, capture the attention of pedestrians walking nearby, especially in dense downtown settings. Combining a blade sign with channel letters can maximize visibility from multiple angles.
Different business types benefit from tailored sign concepts. Retail stores typically rely on prominent illuminated signs combined with vibrant window graphics showing products or deals. Restaurants succeed with awning signs that double as shading structures, alongside menu boards or sandwich boards placed near sidewalks to invite spontaneous visits. Apartment complexes and office parks often use monument signs at entrances to establish a professional presence. Shopping malls and business complexes blend several sign types, such as blade and monument signs, together to guide customers through multiple tenants.
Combining sign types requires harmonizing materials, colors, and fonts to keep branding consistent. For example, pairing dimensional letters with matching illuminated cabinet signs creates a cohesive look while drawing attention from different distances. Using contrasting colors boosts readability and helps signs stand out against building facades. To do this cheaply and quickly, vinyl graphics with bold hues and simple messaging are effective.
Costs vary widely depending on size, materials, and complexity. Channel letters typically cost $250 to $1,000 or more per letter installed, with illuminated versions at the higher end. Window graphics and banners can start under $100 for smaller designs and go up with size and customization. Professional installation is key for ensuring longevity and legal compliance, especially for electrical signs that require permits and inspection.
Good results show in increased foot traffic and brand recognition, with customers recalling the sign’s message or look. Poor results often happen when signs are cluttered, illegible from a distance, or inconsistent with branding, which can confuse or deter customers. Working with reputable sign companies like Dave’s Signs or Lamomo Neon, which specialize in commercial and neon signs, can help create eye-catching storefronts that stay clear and appealing in busy environments. Combining permanent signs with timely temporary signage like A-frames or banners further encourages customers to stop in and explore your offers.
Comparing Common Storefront Sign Types: Benefits and Costs

Choosing the right storefront sign involves balancing visibility, durability, and cost. Channel letters, lightbox signs, blade signs, and window graphics each serve different purposes and budgets. Their materials and illumination options affect lifespan and how well your sign stands out to potential customers.
Channel Letters: Visibility and Price Overview
Channel letters are individual three-dimensional letters mounted to your building’s facade. They’re often illuminated through front lighting or halo backlighting, making them visible from over 500 feet away, especially at night. This high visibility makes channel letters the top choice for retail storefronts aiming to attract customers from a distance.
Cost ranges from about $500 to well over $5,000 depending on size, letter count, and lighting options. Basic illuminated sets typically start around $4,000, with halo-lit styles costing up to 30% more. Non-illuminated dimensional letters cost less and last a long time but work best for stores that close before dark.
Materials usually include aluminum or steel for durable, weather-resistant frames and acrylic for the letter faces. These materials offer a lifespan of 7 to 15 years, depending on exposure to weather and maintenance.
Lightbox Signs: Illumination Benefits
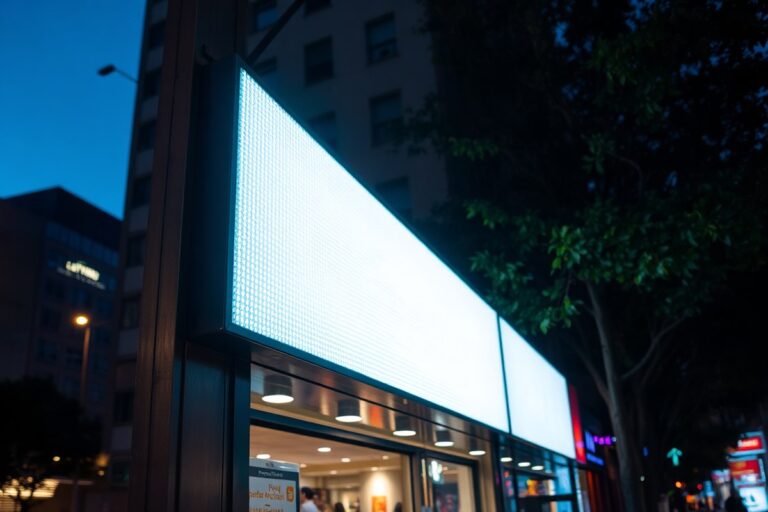
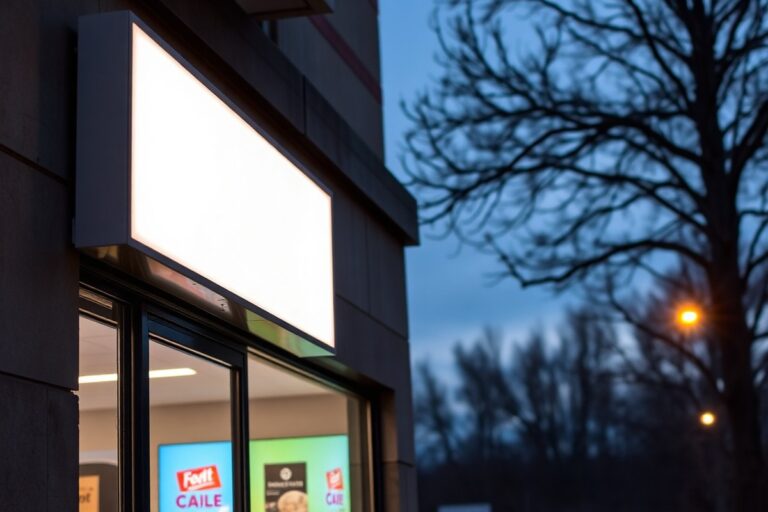
Lightbox signs, also called illuminated cabinet signs, feature a box with a translucent face and internal lighting. They provide bright, even illumination that makes your branding visible day and night, across a wide viewing angle. This style is especially effective for businesses in plazas or strip malls where space for channel letters is limited.
Costs for lightbox signs typically range from $3,000 to $12,000, depending on size and complexity of graphics. Materials usually include aluminum framing and acrylic or polycarbonate faces that diffuse light evenly. Lightbox signs are energy efficient when combined with LED lighting and last around 10 years, but their flat appearance gives them less depth compared to dimensional letters.
Blade and Dimensional Signs: When to Choose
Blade signs (also called projecting signs) extend perpendicular from your storefront, catching the eye of pedestrians on the sidewalk. Built from metal or wood, they can be illuminated or unlit and typically require a sign permit and electrical permit if lit.
Dimensional letters mounted flat without illumination cost less and suit businesses active mostly during daylight. Blade signs range in cost from $1,000 to $6,000 depending on size and lighting choice. Both sign types are ideal for narrow storefronts or dense pedestrian areas where visibility from the front is limited.
Window Graphics and Vinyl Decals: Cost-Effective Options
Window graphics, including vinyl decals and perforated films, offer affordable ways to brand your storefront with bold colors or messages. They often cost between $500 and $2,000 depending on coverage and complexity, with a turnaround time of 5 to 7 business days.
Materials vary from opaque solid vinyl for lettering to frosted or perforated vinyl for full-window coverage that allows one-way visibility. These options protect interior privacy while showcasing your branding or promotions. Window graphics have a shorter lifespan, usually 3 to 5 years, but they provide flexibility for seasonal campaigns and promotions without requiring electrical permits.
| Sign type | Best for | Lit or unlit | Typical permit required | Price range (approx.) |
|---|---|---|---|---|
| Front-lit channel letters | Main building identity | Lit faces | Sign and electrical permits | $4,000 to $20,000 |
| Halo-lit channel letters | Upscale, subtle illumination | Lit wall behind letters | Same as front-lit letters | Up to 30% more than front-lit |
| Non-illuminated dimensional letters | Stores closed before dark | Unlit | Sign permit | $500 to $3,000+ |
| Lightbox signs | Strip malls, plazas | Lit faces | Sign and electrical permits | $3,000 to $12,000 |
| Blade signs | Pedestrian areas, narrow storefronts | Lit or unlit | Sign and sometimes electrical permits | $1,000 to $6,000 |
| Window graphics and vinyl decals | Branding and seasonal promotions | Unlit | Usually not required | $500 to $2,000 |
This table helps you compare sign types at a glance, focusing on where and how each performs best. Permit needs frequently depend on your city’s sign code and whether your sign includes electrical components, so check local rules before ordering.
Tip: Illumination greatly boosts your sign’s visibility after dark but means higher installation costs and permit requirements.
How to Select the Right Size and Placement for Storefront Signs
Selecting the right size and placement for your storefront sign is key to making a strong first impression and attracting customers from varying distances. The size needs to balance clear legibility with proportionality to your building, while placement should maximize visibility for both foot and vehicle traffic.
Determining Sign Size Based on Viewing Distance
The United States Sign Council suggests sizing capital letters at one inch for every 30 feet of distance between the sign and viewer. For instance, a sign intended to be viewed from 60 feet away requires letters that are at least 2 inches tall. Larger letters can make the sign easier to read, but letters that are too large might dominate the overall design.
Measure typical distances from sidewalks, parking lots, and roads where your business will be seen. Balance these distances with your building’s dimensions. A large wall can support a bigger sign without crowding, while a smaller storefront needs a modest size to avoid overpowering the facade. Following local codes, such as Spokane’s allowance of 1.5 square feet per linear foot of wall, helps ensure compliance.
Maximizing Visibility Through Strategic Sign Placement
Most effective signs are placed above the main entrance or centrally on the building facade to catch pedestrian and driver attention. Consider your business’s “line of sight” by locating the sign at eye level for pedestrians and easily visible for drivers at typical speeds on nearby streets. Projecting signs can boost visibility on busy sidewalks but must stay within city limits, generally not exceeding two-thirds of the sidewalk width.
Illumination also affects placement choices. Signs with built-in lighting, like backlit panels or channel letters, work well in darker areas or for evening and night traffic, sustaining visibility regardless of daylight. Keep electrical code requirements in mind, ensuring nearby sign outlets and proper disconnects are accessible for electric signs.
Legibility and Spacing Considerations to Boost Impact
Letter font, color contrast, and spacing are as important as size in ensuring legibility. Use high-contrast colors between the text and background, black on white or white on dark colors, so your sign is readable from a distance. Keep letter spacing wide enough to prevent letters from merging but avoid gaps so large they slow reading.
Avoid overly intricate fonts and long strings of text. Keep your message brief with ample spacing on either side to allow the eye to recognize words quickly. Adequate vertical and horizontal spacing around the sign lets it stand out from other building features without visual clutter.
Practical Steps and Checklist for Sign Sizing and Placement
Start by measuring your building’s frontage and identifying the main viewing distances from the street and pedestrian paths. Use the legibility index to calculate minimum letter height. Sketch your building facade and mark potential sign locations to assess visibility angles for both walkers and drivers.
Verify local sign codes for maximum allowed size and projection limits. Choose lighting options that match your business hours and surroundings. Consult with a professional sign company to refine design, ensuring compliance with regulations and electrical needs. Expect costs for materials and installation to scale with size, illumination, and complexity, ranging from a few hundred to several thousand dollars.
Using Illumination and 3D Designs to improve Storefront Signs
Illuminated signs generally outperform non-lit signs by offering greater visibility and attracting attention around the clock. They provide a continuous brand presence that can be seen from much farther distances, especially in low-light conditions or at night. This extended visibility helps increase foot traffic by making your storefront stand out on busy streets or in shopping districts where competing signs vie for attention.
LED lighting has become the preferred choice for illuminated storefront signs due to its energy efficiency and versatility. LED neon signs, for example, use flexible strips that mimic traditional neon but consume significantly less power and require less maintenance. They allow for bright, tailored designs that can incorporate programmable features like scrolling animations or color changes, which add dynamic visual appeal. Neon lighting, on the other hand, offers a classic look with vibrant color but usually costs more to operate and maintain because of higher energy use and fragile glass tubes. Fluorescent and external lighting remain options but are less common for modern retail signs because of brightness, energy, and durability factors.
Three-dimensional (3D) letters and designs add depth and texture to signs, making them noticeably more attractive. Channel letters are a popular 3D option; they are individually crafted letters that can be backlit with halo lighting or fully illuminated inside. This technique creates a bold, professional appearance, especially when the letters are raised a few inches off the sign surface to catch natural and artificial light. 3D elements improve readability by casting subtle shadows, improving contrast, and increasing sign legibility from various angles. This is particularly useful in areas where customers approach from different directions.
To effectively incorporate illumination and 3D features, start by deciding if your business operates during evening hours or in a dimly lit environment, as lighting offers the most impact under these conditions. Choose LED neon strips or channel letter signs for a balance of aesthetic appeal, durability, and cost efficiency. Custom 3D designs typically require 7 to 14 business days for fabrication, so plan your order timeline accordingly. Installing programmable LED systems allows you to update your sign’s look or messaging without replacing physical components, providing long-term versatility.
One common mistake is overusing dynamic lighting effects, which can distract rather than attract. Keep animations subtle and select colors that align with your brand palette for maximum impact. Also, ensure that illumination levels comply with local regulations and do not cause light pollution that might annoy neighbors or reduce visibility. Investing roughly $1,000 to $4,000 for quality LED channel letter signs or custom 3D illuminated letters can yield a good return in customer engagement, especially in high-traffic retail areas.
Using 3D shapes combined with soft, consistent LED illumination creates a modern, eye-catching storefront that improves over plain and flat signs. This increase in visibility and attractiveness can lead to sustained higher customer interest and a stronger brand presence in your retail location.
Creative Storefront Signage: Customizing with Graphics and Murals
Custom storefront signage using murals, graphics, and unique shapes helps you showcase your brand personality and attract attention from a distance. Large-scale artistic murals turn your building’s exterior into a vibrant canvas that tells your story or highlights products. Choosing bold colors, thematic designs related to your niche, and incorporating your logo within the mural can make it clear who you are and what you offer, encouraging more foot traffic.
Window graphics offer a flexible way to add branding and seasonal messaging without permanent installation. These vinyl or perforated films print in high resolution and apply directly to glass. You can feature promotional slogans, product images, or your logo in full color. Applying branded window graphics is fairly quick, often completed within a day, and cost-effective, with prices ranging from $10 to $30 per square foot depending on complexity. They also allow for easy updates or removal when branding changes.
Custom-shaped signs are another effective method to create visual impact. Instead of standard rectangular panels, consider shapes that relate to your product or brand theme, like a coffee cup shape for a café or a shoe silhouette for an athletic store. These signs can be fabricated using materials like acrylic, metal, or wood and then painted, printed, or illuminated for stronger presence. Custom shapes add dimension and make your storefront unforgettable, especially when combined with 3D lettering that casts shadows and improve legibility.
Investing in artistic and custom storefront signage is worthwhile when your goal is to differentiate your business from surrounding competitors or convey a lifestyle or community message. You will see the most return if the signage is high quality, professionally installed, and complements the physical design of your storefront. Artistic murals may cost several thousand dollars depending on size and artist, but they become landmarks that customers will recognize. Similarly, custom signs with unique shapes or backlit elements typically start at $1,000 and up, with prices varying by complexity and material.
For a strong visual message, combine these elements strategically. For example, a mural can cover a large façade, your windows can carry promotional graphics, and a uniquely shaped illuminated sign can identify your business name above the door. Before beginning, check local sign codes and obtain any necessary permits, as most municipalities regulate size, lighting, and placement to ensure safety and aesthetic consistency.
Always verify sign permit requirements with your local municipality before installation to avoid costly removals or fines.
Temporary and Supplementary Signs That Maximize Foot Traffic
Temporary signs like A-frame signs, vinyl banners, and social media window decals provide flexible and cost-effective ways to boost foot traffic. These signs grab attention for sales, events, or new products and complement your permanent storefront signs by adding timely messaging. Their lower cost and easy setup make them ideal for testing different promotions or targeting specific days or seasons.
A-frame signs work well right outside your door or on sidewalks where pedestrian traffic is high. They typically cost between $50 and $200 for a durable frame plus $20 to $50 for interchangeable printed panels. Use bold, simple text promoting current deals or events, and update the message weekly or with each promotion. Because A-frame signs sit at eye level, they increase impulse stops from passersby, especially near busy intersections or shopping districts.
Vinyl banners offer larger display space and visibility from a distance. Produced in 2 to 3 business days, they cost a fraction of permanent signs, often $3 to $7 per square foot depending on size and print quality. Mount banners with bungee cords or hooks on façade walls, above entryways, or from banner stands near entrances. Made from heavy-duty 18 oz vinyl, banners withstand weather for several weeks, making them excellent for announcing seasonal sales or grand openings. Remember to check local ordinances, since temporary banners may be subject to time limits or exemptions.
Window decals add a powerful layer of promotion for storefronts with large glass areas. Printed on clear or opaque vinyl and applied directly to windows, these decals transform your windows into social media engagement points. You can display your Instagram handle, a hashtag, or QR codes linking to event pages or promotions. Social media window decals inspire customers to interact with your brand inside and online, increasing both foot traffic and online visibility.
- Place A-frame signs within a few feet of the curb to intercept pedestrian flow
- Design vinyl banners with bright colors and contrasting fonts for distance readability
- Update A-frame messages every 7 to 14 days to reflect current offers
- Use window decals to promote hashtags and encourage social sharing from the storefront
- Check local sign rules to ensure temporary signs comply with size and duration limits
- Combine banner displays with sidewalk A-frames for layered messaging
- Remove banners promptly to avoid wear and fading that reduce professional appearance
Effective use of these temporary signs means clear, concise messaging designed around your most compelling offers. Promotions like “50% off today only,” “Live music tonight,” or “New summer arrivals” directly motivate walk-in visits. Well-maintained signs also reflect positively on your brand, while worn or outdated displays can deter customers. Investing in easy-to-update signs lets you adapt quickly to market trends and seasonal customer needs without the delays or higher expense of permanent signage upgrades.
Avoiding Common Storefront Sign Mistakes and Meeting Regulations
Starting with local sign regulations ensures your storefront sign meets legal requirements and avoids costly penalties or removal. Every city or municipality sets rules covering sign size, height, illumination, and placement. Common restrictions include limits on sign dimensions relative to your storefront frontage, bans on flashing lights, and restrictions on digital or neon signs. Check your city’s building department or zoning office for sign codes and permit requirements before ordering a sign. Permit applications often require submitting detailed drawings and can take several weeks to approve, so allow time in your project schedule and budget fees that may range from $50 to $500 depending on location and size.
Clear, simple design is essential to avoid common signage mistakes that reduce impact. Avoid cluttering your sign with too many words or images; aim for six words or fewer and a maximum of two font styles. Strong contrast between lettering and background improves readability from a distance, especially important if your sign is near a busy street. Bold, sans-serif fonts sized so letters are at least 6 inches tall help drivers and pedestrians quickly absorb your message. Colors should support your brand but rely on strong contrast rather than lots of varying shades. Good design captures attention without overwhelming viewers or making messaging confusing.
Maintenance often gets overlooked, but it directly affects your sign’s lifespan and effectiveness. Dirt buildup, fading from UV exposure, and worn wiring on illuminated signs degrade appearance and function. Clean your sign at least quarterly using mild soap and water to avoid damaging finishes. Inspect electrical components annually to prevent outages or hazards. Signs generally last 7 to 10 years with proper upkeep before materials or lighting require replacement. Neglect can cut that lifespan in half. Setting a routine maintenance schedule and keeping a record of inspections helps catch issues early and protects your investment.
Creating a checklist can simplify compliance and design quality: (1) Research local sign codes and apply for permits early, (2) Design with simplicity, strong contrast, and minimal text, (3) Choose font sizes and colors that prioritize readability, (4) Plan for regular cleaning and electrical checks, and (5) Budget time and money for maintenance over the sign’s life. Working with an experienced sign company can also help you avoid regulatory pitfalls and design errors that hurt your brand. They bring both knowledge of local rules and a focus on visual clarity, saving you time and money while ensuring your storefront sign works effectively.
Step-By-Step Guide to Choosing and Installing Storefront Signs
Choosing and installing a storefront sign involves evaluating your location, setting a realistic budget, selecting the right sign type, and working with reliable professionals. These steps help ensure your sign is effective, durable, and installed on time.
Assessing Storefront and Location
Start by closely examining your storefront and surrounding area. Measure available wall or window space and note architectural features, like awnings or lighting, that could affect sign placement. Also, consider foot and vehicle traffic patterns to decide where the sign will gain the most visibility.
Check local regulations and permits required for signage in your area to avoid legal issues. Material choice depends heavily on climate, metal or acrylic signs work well for outdoor durability, while vinyl is good for temporary indoor signs. Matching the sign style with your building’s look influences customer perception and brand consistency.
Budgeting and Selecting Sign Type
Set a clear budget before contacting vendors to guide your sign type decision. Basic flat panel signs can start around $200 to $500, while illuminated or 3D channel letter signs often range from $1,000 to $5,000 or more based on size and complexity.
Decide the sign style that fits your budget and business goals, balancing cost with impact and longevity. Permanent materials might cost more upfront but reduce replacement frequency. Temporary signs cost less but may require frequent updates or face quicker wear. Here’s a checklist for your budget planning:
- Determine overall budget including design, fabrication, permits, and installation
- Choose between permanent and temporary sign solutions
- Consider illuminated versus non-illuminated signs for visibility
- Account for maintenance costs over time
- Include potential costs for professional graphic design
- Plan for any electrical or structural adjustments your building may need
Factor in energy costs if choosing illuminated signs, and remember that high-impact materials like aluminum or acrylic offer longer service life, which can be more cost-effective long term.
Hiring Professionals and Installation
Contact several sign companies to compare portfolios, certifications, and pricing. Ask each these questions:
- Do you handle permitting and code compliance?
- What is your typical project timeline from design approval to installation?
- Can you provide references from businesses with similar signs?
- Do you offer design assistance or revisions before manufacturing?
- What warranties do you provide on materials and workmanship?
- Who supervises installation and ensures quality control?
Most sign projects take four to six weeks from initial consultation to final installation, depending on custom design complexity and permitting speed. Scheduling installation during business off-hours minimizes disruption. Professionals ensure proper mounting, electrical wiring, and safety compliance to avoid costly mistakes or delays.
Confirm all design and permit details clearly with your sign company before installation to prevent unexpected costs or legal issues.
Your First 30 Days: A Quick-Start Plan
Use this plan to quickly create and install an effective storefront sign that draws customers and fits your business needs.
- Before you start: Research local sign regulations to ensure your design and size comply. Confirm compliance to avoid costly delays.
- Day 1: Choose a sign type that fits your budget and location, such as channel letters or illuminated signs. Check online reviews or ask for samples to confirm quality.
- Week 1: Decide on your sign’s size and placement based on foot traffic patterns and sightlines. Visit your storefront at peak hours to observe visibility.
- Week 2: Work with a designer or use a sign company to create a custom graphic or 3D element that matches your brand. Request a proof and make sure it clearly conveys your message.
- Week 3: Schedule installation with a licensed professional to ensure safe and code-compliant mounting. Confirm the sign is securely installed and illuminated if chosen.
- After 4 weeks: Monitor customer responses and foot traffic. Compare sales or inquiries before and after installation to measure impact.
Frequently Asked Questions
What Are Some Unique Materials to Use for Storefront Signs?
Using wood, metal, or acrylic can give your storefront sign a distinctive look. These materials offer durability and allow for custom finishes that match your branding style while standing out from common vinyl or plastic signs.
How Often Should Storefront Signs Be Updated or Replaced?
Storefront signs should be reviewed every 3 to 5 years for wear and branding relevance. Weather damage and changes in your business identity might require updates sooner to maintain a fresh and professional appearance.
Can Storefront Signs Impact Local SEO?
Yes, having clear, visible storefront signs can improve local SEO by helping customers find your physical location. This visibility boosts foot traffic and can increase online search relevance through local listings.
What Are Some Effective Ways to Maintain Storefront Signage?
Regular cleaning and inspection prevent damage and fading of your signage. For illuminated signs, checking electrical components and bulbs ensures they stay bright and attractive, prolonging the sign’s lifespan.
How Do Storefront Sign Colors Affect Customer Perception?
Colors can influence moods and attract attention; for example, red can create urgency, while blue conveys trust. Choosing colors that align with your brand and target audience helps your sign communicate the right message.
Are Digital Storefront Signs Worth the Investment?
Digital signs can be more expensive upfront but offer flexibility with dynamic content updates. They attract attention with movement and bright displays, which can be beneficial for promotions but might require higher maintenance.
Final Thoughts
An effective storefront sign is key to boosting your visibility and attracting more customers. Focus on clear design, proper placement, and compliance with local rules to get the best results. Start by assessing your location’s viewing angles today to plan a sign that stands out where it counts most.