How to Install a Monument Sign: A Complete Step-by-Step Guide for Best Results
How to install a monument sign starts with obtaining the proper permits and confirming local codes for size and placement. Next, prepare the site by ensuring proper setbacks and a stable foundation using reinforced concrete. Follow a clear step-by-step process that includes excavation, foundation curing, sign assembly, and final inspections to achieve a durable, visible, and compliant installation.
Key Takeaways
- Check municipal codes for maximum monument height, typically between 3 and 8 feet, before designing your sign.
- Secure all necessary permits and approvals, including encroachment permits near public rights-of-way or state highways.
- Set your sign back 5 to 20 feet from the curb, with closer placement improving readability and drive-by impact.
- Use 3,000-4,000 psi concrete for the foundation and allow 24-48 hours curing before backfilling the site.
- Plan for a total timeline of 6 to 12 weeks from design through installation to accommodate permit review and construction.
- Design letters so each inch corresponds to roughly 30 feet of viewing distance to improve sign legibility.
What Is a Monument Sign and Why Use One?
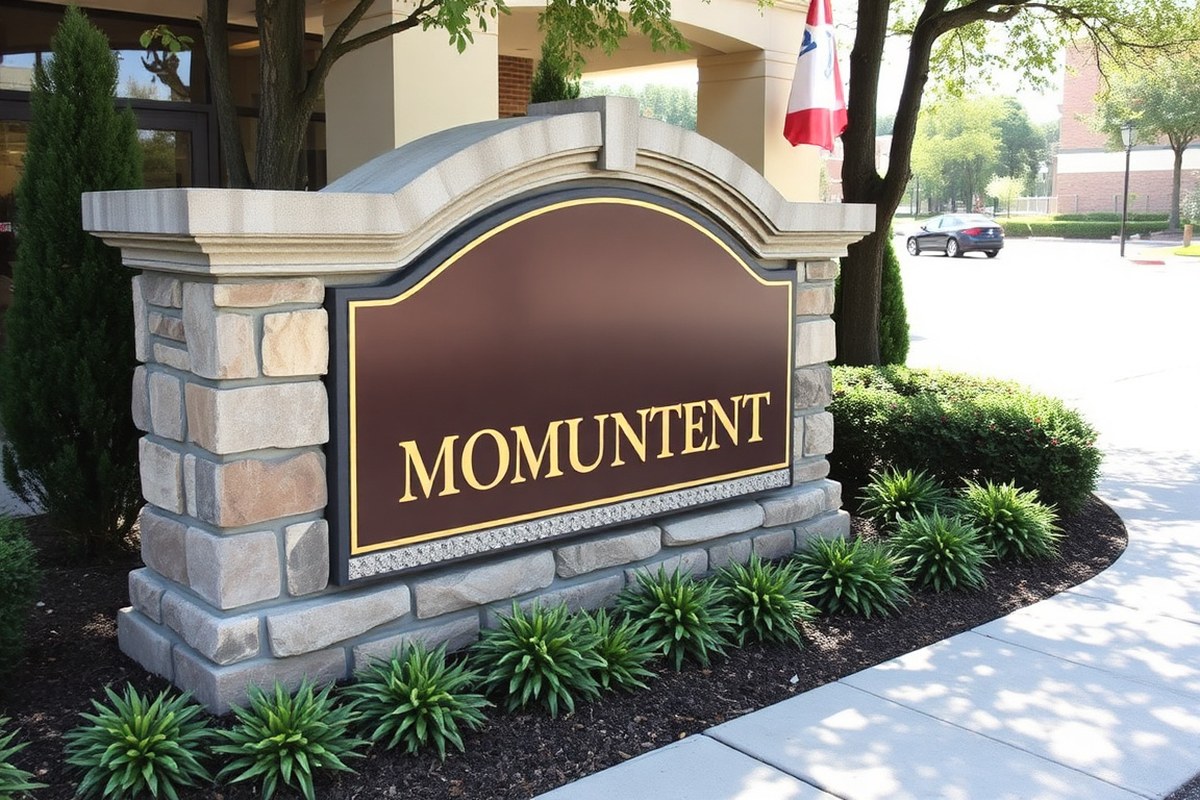
A monument sign is a freestanding, ground-mounted sign that typically features a solid base matching the surrounding architectural style or landscape. Its low-profile structure sets it apart from taller pole signs, providing a substantial, often rectangular display surface that can house a company’s logo, name, and essential information. The height usually ranges from 3 to 8 feet, complying with municipal sign codes that dictate size and setback requirements. The base often requires a poured concrete footing around 24 to 48 inches in diameter, reinforced with rebar and anchor bolts to ensure stability depending on the sign’s size and local soil conditions.
Businesses use monument signs primarily because they improve visibility at entrances or along sidewalks, marking locations clearly and professionally. A well-designed monument sign is visible to drivers at speeds of 30 miles per hour or more when placed correctly near ingress and egress points. These signs help reinforce brand identity by complementing a business’s architectural style, colors, and logo. This visual consistency builds trust and makes a strong first impression. For shopping centers or campuses, monument signs act as effective wayfinding tools, encouraging foot traffic and guiding visitors to various tenants or departments. LED retrofitting existing monument signs can boost visibility during nighttime hours without a full replacement.
The construction materials and protective coatings play a important role in the sign’s longevity. Options such as aluminum, Dibond, and specialty woods like Dura-Wood or ARMOUR-Wood come with durability grades that can protect the colors and surfaces for 10 years or more. This long-term weather resistance means you won’t need frequent repairs or replacements, making the initial investment of $5,000 to $15,000 (or more for custom, larger models) cost-effective over time. In comparison, cheaper or less durable signs may need replacement within five years, increasing overall costs.
Installing a monument sign involves thoughtful site preparation, including compacting crushed stone for a stable base and ensuring the footing meets the sign’s weight and size requirements. Anchor bolts embedded 7 to 12 inches into the concrete secure the sign, preventing shifting from wind or accidental impact. Poorly designed or placed signs often appear bulky and are difficult to read quickly, defeating their purpose to attract attention and communicate clearly. Since municipalities often have permit review windows between two and six weeks, planning for these timelines helps avoid unexpected delays.
The practical benefits go beyond simple visibility. A monument sign can improve a property’s curb appeal and contribute to a cohesive branding strategy. When the sign aligns with your business’s design standards and local regulations, it signals professionalism and stability. This improve brand recognition can increase customer engagement and even sales. Investing in a monument sign combines durability, strategic placement, and aesthetic value to provide ongoing advantages that often outweigh the initial outlay and effort.
Types of Monument Signs and Material Comparisons
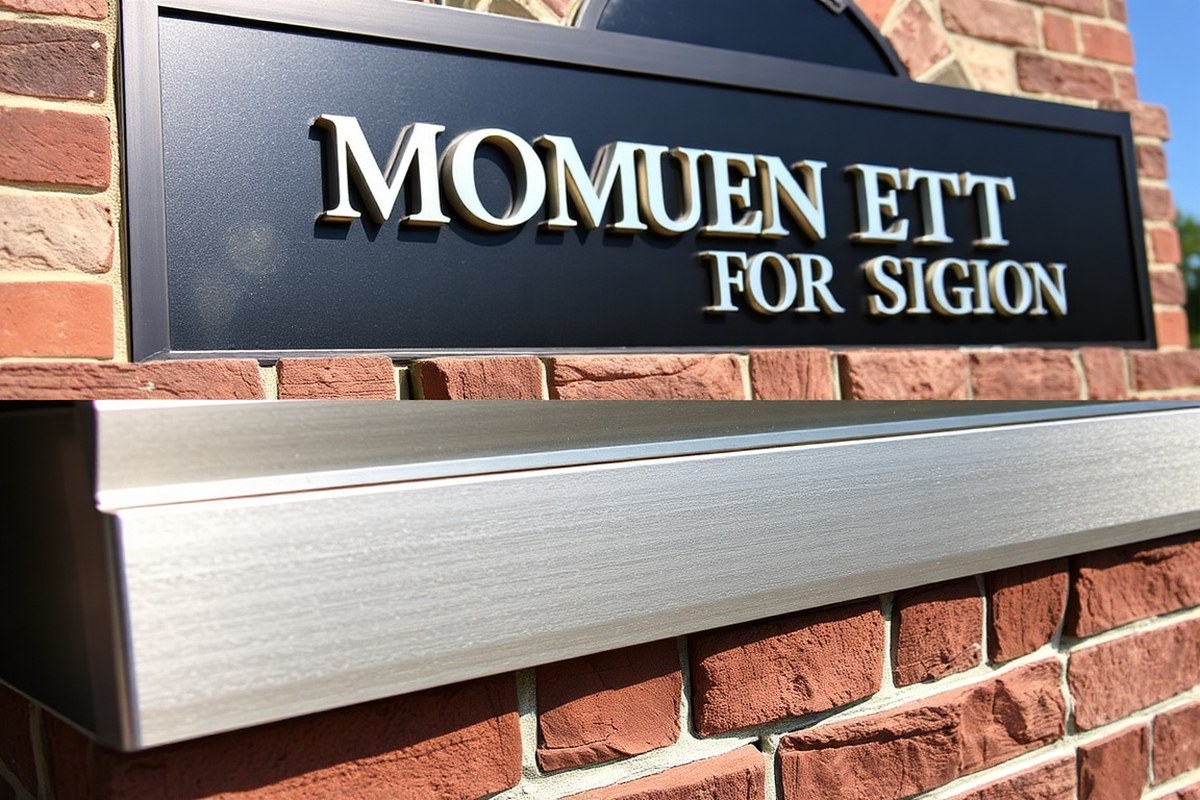
Monument signs come in several types, each suited for different settings and business needs. The most common are stone, brick, metal, wood, and high-density foam. Stone and brick options offer traditional and sturdy bases, often blending well with a building’s architecture, while metal and foam provide more modern or cost-effective solutions. Choosing the right base material depends on your business style, location, budget, and how long you want the sign to last.
Stone monument signs are highly durable and create an elegant, lasting impression. Brick offers the same durability but is usually less expensive and adaptable to various architectural styles. Metal, especially aluminum, delivers a sleek, modern look with good lifespan but may cost more than brick or foam. High-density foam is the most budget-friendly and versatile, but it is less durable, making it suitable for temporary or lower-impact locations. Wood gives a natural, rustic look but typically requires more maintenance to avoid weather damage. To compare these materials clearly, here is a summary of their durability, aesthetic qualities, and typical costs:
| Material | Durability | Aesthetic Qualities | Cost |
|---|---|---|---|
| Stone | High | Traditional, elegant | High |
| Brick | High | Versatile, matches architectural elements | Medium |
| Metal (Aluminum) | High | Modern, sleek | Medium/High |
| High-Density Foam (Acrylic/Lexan) | Medium | Versatile, cost-effective | Low/Medium |
| Wood | Medium | Natural, rustic | Medium |
Stone or brick bases suit businesses aiming for a solid, permanent presence, such as banks or schools, especially in commercial zones with larger allowable sign sizes. Metal is a good choice for companies wanting a contemporary look that can endure harsh weather. Foam works well for seasonal businesses or when initial costs need to stay low, but it may fade or chip after a few years in direct sun or extreme climates. Wood signs fit businesses with a rustic or natural brand identity but should be treated regularly to prevent rot or warping.
Tip: Check your local zoning regulations before picking materials, since some areas restrict size and require materials that visually match the neighborhood.
Permits, Codes, and Regulations for Monument Signs
Most municipalities require a permit before you install a monument sign. This permit ensures your sign meets local zoning laws, building codes, and safety standards. You’ll need to begin by contacting your local planning or building department to request the specific application forms and instructions. The process usually involves submitting a site plan showing the exact location of the sign on your property, elevation drawings, and if the sign is illuminated, electrical schematics are also required.
Local regulations typically include strict height limits and setback requirements. Setbacks refer to how far the sign must be placed from property lines, sidewalks, and streets. These setbacks usually range from 5 to 20 feet, depending on the road type and zoning district. Height limits are often between 2 to 6 feet tall to keep the sign proportional to the surroundings and ensure visibility without obstructing sightlines. A good rule is to view the sign’s height from a driver’s perspective at eye level, approximately 3.5 to 4.5 feet tall, to confirm legibility.
Illuminated signs or those near highways may face additional restrictions such as brightness limits, wiring inspections, and reflective surface rules. For signs over 4 feet tall or in areas with strong wind or unusual soil conditions, many areas require engineered foundation details stamped by a licensed engineer. This includes footing designs, which usually require excavation 18 to 36 inches deep and 12 to 30 inches in diameter based on frost lines and wind load data.
- Research local sign codes and zoning regulations by contacting your city or county office.
- Prepare a site plan with exact monument sign location, setbacks, and elevation drawing.
- Include electrical schematics if your sign will be illuminated.
- Submit an application and pay any required fees; processing times vary but plan for 2-6 weeks.
- For signs over 4 feet or in special conditions, hire a licensed engineer to design the foundation.
- Schedule required building inspections after footing and installation are complete.
- Confirm any additional highway or environmental regulations if your sign is near a major roadway.
Cost for permits also varies widely, from under $100 in some municipalities to several hundred dollars in larger cities. Waiting for approval can add time, so plan installation schedules with processing times in mind. When these steps are followed carefully, your monument sign is more likely to pass inspections without costly rework or fines. Skipping permit requirements or ignoring setback rules can result in removal orders or legal issues.
Preparing the Site Before Installing the Sign
Preparing the site involves confirming the exact sign location, checking for utilities below ground, digging to the proper depth, and building a solid footing suited to soil and frost conditions. These steps ensure your monument sign is stable, visible, and compliant with local rules.
Stakeout and Setback Verification
Begin by validating the exact placement of the monument sign according to property lines, zoning setbacks, and easements. This helps avoid compliance issues and conflicts with neighboring properties. Confirm the approved location by measuring distances from streets, sidewalks, and other fixed points using standard surveying tools or GPS.
Consider sightlines to ensure maximum visibility and apply the general rule that each inch of letter height corresponds to about 10 feet of viewing distance. Check local setback requirements, which often govern how far the sign must be from property edges and can limit its maximum size.
Utility Marking and Texas 811 (or Local Equivalent)
Before any digging, it’s essential to locate underground utilities to prevent damage, costly repairs, and safety hazards. Contact the local utility locating service such as Texas 811 at least two to three business days before excavation. They will mark water, gas, electric, telecommunications, and sewer lines on your site. Utility marking typically involves:
- Submitting an excavation description and exact location
- Waiting for utility companies to respond and mark lines with color-coded flags or paint
- Verifying markings visually and adjusting plans if necessary to avoid conflicts
- Documenting the utility marks for reference during digging
Ignoring utility checks increases risk of service outages and violations of local regulations, potentially stalling the project and increasing costs.
Excavation Depth and Footing Preparation
The footing depth depends on soil type, frost line, and sign weight. A typical footing depth ranges from 24 to 48 inches deep, but in colder climates, you must excavate below the frost line to prevent frost heave damage. For example, frost lines often reach about 30 to 36 inches in many U.S. States.
Start excavation by removing soil to the planned depth and width based on engineered drawings or sign manufacturer specifications. The hole must be square or rectangular with straight sides to simplify foundation formwork. Avoid digging too shallow or wide, as this compromises footing strength and may cause sign instability.
Foundation Materials and Rebar Placement
Use reinforced concrete poured into forms to create a foundation that supports the sign’s weight and withstands wind loads. The concrete mix typically has a compressive strength of 3,000 to 4,000 psi, suitable for most monument sign footings.
Place rebar inside the footing excavation before pouring concrete to add tensile strength. Follow engineered plans for rebar size and spacing; a common layout uses #4 (½-inch diameter) rebar spaced 12 inches on center in a grid pattern. Secure anchor bolts into the wet concrete precisely where the sign base will attach. Allow the concrete to cure fully for at least 7 days before mounting the sign to achieve sufficient strength and durability.
Step-by-Step Monument Sign Installation Process
Installing a monument sign involves careful sequencing to ensure structural integrity and visual appeal. The process begins with placing anchor bolts into concrete footings, followed by assembling the steel frame and mounting the sign panels. Final steps include leveling the sign, sealing surfaces, and performing thorough alignment and safety checks.
Installing Anchor Bolts and Setting Concrete
Anchor bolts provide the essential connection between the monument sign and its foundation. Begin by positioning an anchor bolt template in fresh concrete to precisely place the bolts. Concrete footings must be fully cured, which can take 24 to 48 hours depending on temperature and mix, before attaching structural components.
If working with existing cured footings, epoxy anchors can secure bolts directly into the concrete. The bolts must be aligned within the specified tolerances to avoid future issues with frame installation and panel mounting. Ensure the embedment depth matches engineering requirements, typically several inches deep to resist wind loads and weight.
Improperly aligned anchor bolts can cause costly rework; always double-check measurements before concrete sets or epoxy cures.
- Position the anchor bolt template in wet concrete, adjusting for precise alignment.
- Allow the concrete to cure fully, typically 24 to 48 hours, before proceeding.
- Install epoxy anchors if using cured footings; torque anchors after 24 hours.
- Protect the bolts from corrosion by applying galvanizing or powder coating as specified.
Mounting Steel Frame and Structural Elements
The steel frame forms the backbone of the monument sign and must be installed with attention to square, plumb, and level conditions. Use rigging equipment rated for the weight, as precast panels often weigh 800 to 1,500 pounds each. The frame should be anchored securely to the installed bolts.
Pay close attention to welding quality and bolt torque to maintain frame integrity. Installing a moisture barrier and drainage systems within the frame prevents water damage to the core structure. Corrosion protection, such as powder coating or galvanizing, extends the frame’s lifespan, especially in outdoor environments.
- Lift the steel frame into place using appropriate rigging equipment.
- Secure the frame to anchor bolts, checking for plumb and level alignment.
- Install moisture barriers and drainage weep systems within hollow sections.
- Apply corrosion-resistant coatings to exposed steel surfaces.
Attaching Panels and Applying Graphics
Panels contribute to the sign’s visible appearance and must fit accurately to the steel frame. Cut panels to design specifications, then mount them securely, typically using stainless steel fasteners to resist rust. Larger signs might feature dimensional elements, such as logos or crosses, which attach to the panel surface and require additional support points.
Graphics are applied to panels once mounted. Use UV-stable materials and adhesives suited for outdoor exposure. Installing graphics correctly prevents premature fading and peeling. For double-sided signs, apply graphics on both sides before final assembly.
- Cut and fit panels to the steel frame, ensuring tight tolerances.
- Secure panels with stainless steel fasteners at designated mounting points.
- Attach dimensional elements like logos or letters using structural backing.
- Apply graphics with UV-resistant adhesives or vinyl films.
Final Leveling, Sealing, and Inspection
Once all components are installed, confirm the monument sign is perfectly level and plumb using a precision level and laser tools. Seal all joints and edges with weatherproof sealants to prevent moisture infiltration. Drainage systems should be checked for proper function to avoid water pooling inside the sign.
Perform a complete safety check, including torque verification of anchor bolts and fasteners. Document as-built elevations and take photos for records and final approval. Scheduling a final inspection with local authorities is often required to comply with permitting regulations.
- Check and adjust the sign’s level, plumb, and structural alignment.
- Seal all panel joints and vulnerable edges with waterproof caulking.
- Test drainage features to ensure water exits the sign enclosure properly.
- Conduct torque inspections on anchor bolts and frame fasteners.
- Document installation details and schedule any required inspections.
Skipping sealing or alignment checks can lead to costly repairs and diminished sign lifespan, so allocate enough time for thorough final work.
Design and Legibility Guidelines for Effective Sign Placement
Maximizing the legibility of a monument sign involves carefully sizing the letters, choosing colors that stand out, positioning the sign for clear sightlines, and balancing design elements to promote branding without clutter. Applying proven rules for letter height relative to viewing distance, using high-contrast colors and readable fonts, and placing the sign with appropriate setbacks will ensure drivers and pedestrians can quickly absorb the message. Clean, simple graphics that complement the text further improve visibility and brand recall.
Letter Height and Viewing Distance Ratios
A key factor in sign legibility is matching letter height to the expected viewing distance. The United States Sign Council recommends about one inch of capital letter height for every 30 feet a viewer will stand from the sign. For clearer results, applying a ratio closer to 1 inch per 10 feet is common in busy environments or higher speed roads. For instance, if your monument sign will be viewed from 80 feet away on a moderately trafficked street, choose letters about 8 inches tall. This size ensures legibility without wasting space or increasing cost unnecessarily.
To size your letters, measure the typical distance drivers or pedestrians will be when seeing your sign clearly. Multiply that distance by 0.1 (for the 1 in:10 ft rule) to get the letter height in inches. For example, a sign facing a parking lot 40 feet away needs 4-inch high letters. This formula helps avoid guesswork and creates a plan for consistent visibility across various environments.
Color Contrast and Typography for Visibility
Color choice is critical for quick reading and driver recognition. High contrast between letters and backgrounds improves legibility. Dark letters on a light background or white letters on a dark base create the clearest visuals under daylight or street lighting. Avoid color combinations that cause blending or glare, such as red and green or bright yellow on white.
Simple, sans-serif fonts like Helvetica or Arial work best because their clean lines help letters remain distinct at a distance. Avoid overly decorative or script fonts that reduce readability, especially on signs viewed at speeds between 25 and 40 mph. Capital letters are generally easier to read for brief glances, so use upper-case for key words or your business name to maximize impact.
Placement Relative to Curb and Sightlines
Position monument signs with a clear line of sight from the road or pedestrian paths. Setbacks vary by local codes but maintaining a 3- to 5-foot clear sight triangle from road edges prevents obstruction and improves safety. The sign should face approaching viewers directly or at a slight 5- to 7-degree angle on angled roads to increase reading ease without requiring sharp eye movement.
Considering typical travel speeds helps determine sign placement height and location. Signs placed too close to the curb or behind landscaping may reduce visibility. A monument sign for a busy street should be low enough to stay within a driver’s natural sightline but high enough to avoid blocking by parked vehicles or snowbanks. Proper positioning reduces driver distraction and encourages quicker message recognition, essential for commercial sites.
Simple vs Complex Graphic Elements
Integrate branding by including logos and company colors, but keep design elements simple to avoid crowding. Logos should cover no more than 30% of the sign face area. Too large or detailed graphics consume space needed for text and decrease legibility. For example, a logo sized at one-third of the sign surface allows ample room for the company name and contact details while reinforcing brand identity.
A pared-down layout with minimal decorative elements keeps the focus on important information. Use color sparingly for accents or borders that define the sign edges. This approach achieves a professional appearance without overwhelming viewers, ensuring your message is clear at a glance and leaving a lasting brand impression.
Common Installation Mistakes and How to Avoid Them
Incorrect site preparation and footing are common pitfalls in monument sign installation. Failing to install adequate footings based on engineered drawings can lead to sign instability or damage. To avoid this, use detailed, engineer-approved footing plans that consider soil type and local wind loads. Footings generally require concrete poured to specific depths, often around 3 to 5 feet, to ensure solid anchoring. Skipping soil compaction or ignoring drainage can cause settling issues and misalignment over time.
Poor design choices, such as using inappropriate materials or finishes, affect the sign’s durability. For example, unprotected metal parts risk galvanic corrosion unless you use stainless steel fasteners or galvanized concrete-filled footings. Powder-coated finishes typically last 5 to 10 years before touch-ups are needed, so selecting the right coating for your environment can extend longevity. Consider LED modules rated for approximately 50,000 hours, which equates to 5 to 11 years under normal use. Neglecting these factors may cause premature wear or costly repairs.
Alignment and leveling errors happen when installers rely solely on visual checks without precise measurements. Even slight tilting or off-center placement ruins the professional appearance and may violate local ordinances. Always use a site survey and design plans for exact positioning. Employ laser levels and measuring tools to ensure the base and sign face are perfectly horizontal and plumb.
Professional help is advisable to prevent costly failures, especially for complex signs or sites requiring permits and inspections. Licensed contractors have experience with local codes, inspection scheduling, and proper installation techniques. Engaging professionals can streamline the process, prevent rework costs, and ensure compliance with regulations that might require 1 to 3 site visits and $50 to $500 in fees.
- Use engineer-stamped footing plans tailored to local soil and wind conditions
- Compact soil and ensure proper drainage before concrete pouring
- Choose corrosion-resistant materials like stainless steel fasteners
- Check sign level and plumb with laser tools, not just eye measurements
- Schedule inspections early and budget permit fees to avoid installation delays
- Consider hiring licensed installers for complex or code-sensitive projects
- Plan for regular maintenance such as powder-coat touch-ups every 5-10 years
Following these practical steps helps prevent common installation mistakes that compromise safety, appearance, and lifespan. Preparing the site thoroughly, adhering to approved plans, and using precise installation methods deliver a monument sign that stands strong and visually effective for years.
Timing, Cost Factors, and Maintenance After Installation
Installing a monument sign typically takes about 3 to 7 days, depending on factors such as site conditions, weather, and materials used. The critical time comes from pouring the concrete foundation and allowing it to cure properly. Concrete usually needs at least 48 to 72 hours to reach sufficient strength for mounting the sign, but full curing can take up to 28 days. Avoid rushing this step because insufficient curing can lead to cracks or instability, reducing the sign’s lifespan.
Several key cost drivers influence the total expense from design through installation. Material choice is one of the largest factors. Masonry or precast concrete signs cost more upfront but offer durability exceeding 50 years, which can lower long-term replacement costs. Aluminum or steel signs with high-quality coatings generally last 20 to 30 years and balance cost and maintenance. High-density urethane (HDU) signs are less expensive but typically last 10 to 25 years depending on finish quality. Additional cost factors include site preparation, such as excavation and grading, electrical work for lighting, and permitting fees. Labor rates vary regionally and can add 20 to 40 percent to material costs. Budgeting for proper foundation work and quality lighting components pays off in fewer repairs and replacements down the line.
Proper maintenance keeps a monument sign visually appealing and structurally sound over many years. For coatings, clean the surfaces with mild soap and water every 6 months and perform touch-ups on paint or sealants to prevent moisture intrusion. Check lighting fixtures quarterly to ensure bulbs or LEDs are working and replace any damaged components promptly to maintain visibility and electrical safety. Structural elements like posts and mounts require inspection annually for rust, corrosion, or loose fasteners. If you installed a concrete base, look for early signs of cracking or settling and address minor issues before they worsen. A structured maintenance schedule helps extend the sign’s service life and preserves your investment.
Post-installation inspections often depend on local regulations, but a recommended checklist includes verifying the sign is plumb and securely anchored, confirming electrical components meet code, and ensuring landscaping or obstacles do not block sightlines. Inspect the sign within the first month after installation to catch any settling or adjustment needs. Follow up with quarterly or semi-annual reviews to maintain structural and aesthetic integrity. Document inspections to track condition and schedule timely repairs.
Allow concrete to cure fully before mounting your monument sign; rushing this step can cause foundational cracks that are costly to fix later.
Your Quick-Start Action Plan for Installing a Monument Sign
Follow this plan to make sure your monument sign installation is smooth, compliant, and effective from day one.
- Before You Start: Verify local permits and zoning rules to avoid legal issues. Your project is ready when all approvals are documented.
- Week 1: Prepare the site by clearing debris and marking exact locations based on your sign design. Confirm site readiness by checking measurements against your plan.
- Week 2: Order materials that match your design specifications, prioritizing durability and maintenance needs. You’ll know it worked when all components arrive on time and intact.
- Week 3: Install the foundation with proper excavation and concrete work. Success means a level, stable base that meets load requirements.
- Week 4: Assemble and secure the monument sign structure following your manufacturer’s instructions. Check stability and alignment before finalizing.
- After Installation: Inspect the sign for visibility from key angles and lighting conditions. Adjust lighting or positioning as needed to ensure legibility.
- Ongoing: Schedule regular maintenance checks every 6 months to clean and repair your sign, extending its lifespan and appearance.
Frequently Asked Questions
What Tools Are Essential for a Successful Monument Sign Installation?
Basic tools include a level, shovel, drill, tape measure, and concrete mixer. Using the right tools ensures proper alignment, secure anchoring, and a stable foundation for long-lasting results.
How Deep Should the Foundation Hole Be for a Monument Sign?
The foundation hole should typically be 3 to 4 feet deep. This depth stabilizes the sign against wind and weather, preventing shifting or tilting over time.
Can You Install a Monument Sign on Uneven Terrain?
Yes, but additional site preparation like grading or building a stepped foundation may be needed. Proper leveling ensures the sign is upright and visible from the intended viewing angles.
Is It Necessary to Use a Professional for Electrical Work on Illuminated Monument Signs?
Yes, licensed electricians must handle wiring to comply with electrical codes and safety standards. This prevents hazards and ensures the lighting operates correctly.
How Often Should Monument Signs Be Cleaned to Maintain Appearance?
Cleaning every 6 to 12 months typically suffices to remove dirt and grime. Regular cleaning preserves visibility and prevents material deterioration, particularly in harsh weather regions.
What Is the Typical Weight Range of a Custom Monument Sign?
Weights vary widely based on materials but often range between 500 and 2,000 pounds. Knowing the weight helps plan for appropriate equipment and foundation support during installation.
Wrapping Up
Installing a monument sign correctly sets a strong foundation for your brand’s presence and ensures compliance with local regulations. Take time to follow your site preparation and foundation steps carefully, as these affect long-term durability. Start by confirming all permits and zoning requirements in your area to avoid delays or penalties during installation.