How to Make a Tin Sign: A Complete DIY Guide with Proven Steps
Learning how to make a tin sign starts with choosing the right metal sheet, such as tin, aluminum, or steel, and picking a size that suits your space. Designing your sign with clear, readable text scaled appropriately to the metal sheet, like 2 to 3-inch tall letters for a 12×18 inch sign, ensures good visibility. Begin by preparing your metal surface with proper cleaning and priming to help paint and detailing last longer.
Key Takeaways
- Use a 12×18 inch tin sheet for home signs, or 24×36 inches for larger business signs.
- Design your sign with 2, 3 complementary colors to improve readability and visual appeal.
- Apply 2, 3 thin primer and paint coats, allowing 30 minutes to 1 hour drying time between coats.
- Seal your finished sign with a clear protective coating to prevent rust and preserve the design.
- Choose UV-resistant sealants for signs exposed to direct sunlight to avoid fading.
- Drill mounting holes before affixing your sign securely with screws or bolts suitable for the installation surface.
How to Make a Tin Sign Step-by-Step
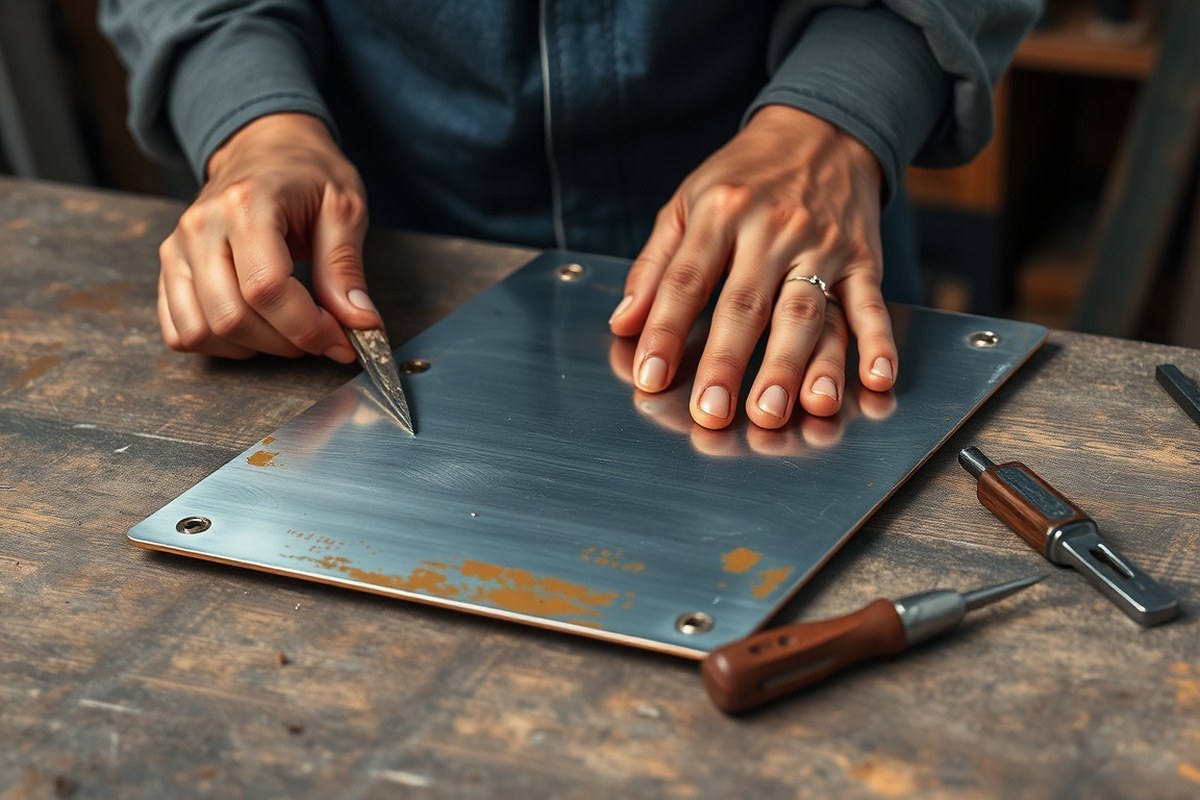
Making a tin sign involves several clear steps, from initial planning to final installation. Generally, you should expect the full process to take a few days depending on drying times and complexity. Each stage builds on the last, so following the workflow methodically helps ensure good results.
The process begins with selecting and preparing your metal sheet, usually aluminum or steel for easier cutting and durability. Next, you transfer your design, then cut and shape the metal as needed. Painting and detailing come after, followed by sealing to protect the surface. Finally, mounting hardware is attached for installation.
- Plan your design and gather materials. Budget for about 1 to 2 hours to finalize your design on paper or software like Adobe Illustrator, and gather your tin sheet, paints, brushes, and tools. Proper planning saves time later.
- Transfer the design onto the tin sheet. Use carbon paper or stencils to trace your design. This usually takes 30 to 60 minutes depending on the detail. Accurate transfer prevents errors during cutting and painting.
- Cut and shape the metal. Use tin snips or a metal shear for straight cuts; shaping tools if creating dimensional signs. Cutting a 12×18 inch sign can take 30 to 90 minutes. Wear gloves and eye protection here to avoid injury.
- Prepare the surface by sanding and cleaning. Sand lightly to remove burrs and rough spots, then wipe off dust with a clean cloth. This step ensures paint will adhere properly. Budget around 20 to 30 minutes.
- Paint the base coat and add details. Apply one or two coats of metal-appropriate paint with drying time of 30 minutes to 1 hour between coats. Add lettering or designs using stencils or brushes. Detailing may add another 1 to 2 hours.
- Seal the sign with a clear protective coating. Use a clear acrylic or polyurethane spray to protect paint from weather and wear. One to two coats are typical, with drying times ranging from 1 to 3 hours each depending on product instructions.
- Attach mounting hardware and install the sign. Pre-plan mounting points before drilling holes to avoid weakening the sign. Typical mounting takes 15 to 30 minutes depending on method and location.
Good results show a smooth, evenly painted surface with sharp lettering and secure mounting. Rough cuts, paint chips, or improperly sealed areas can cause premature rust or damage. Adjust times based on the project’s size, your skill level, and materials you choose.
Choosing the Right Materials and Tools for Tin Signs
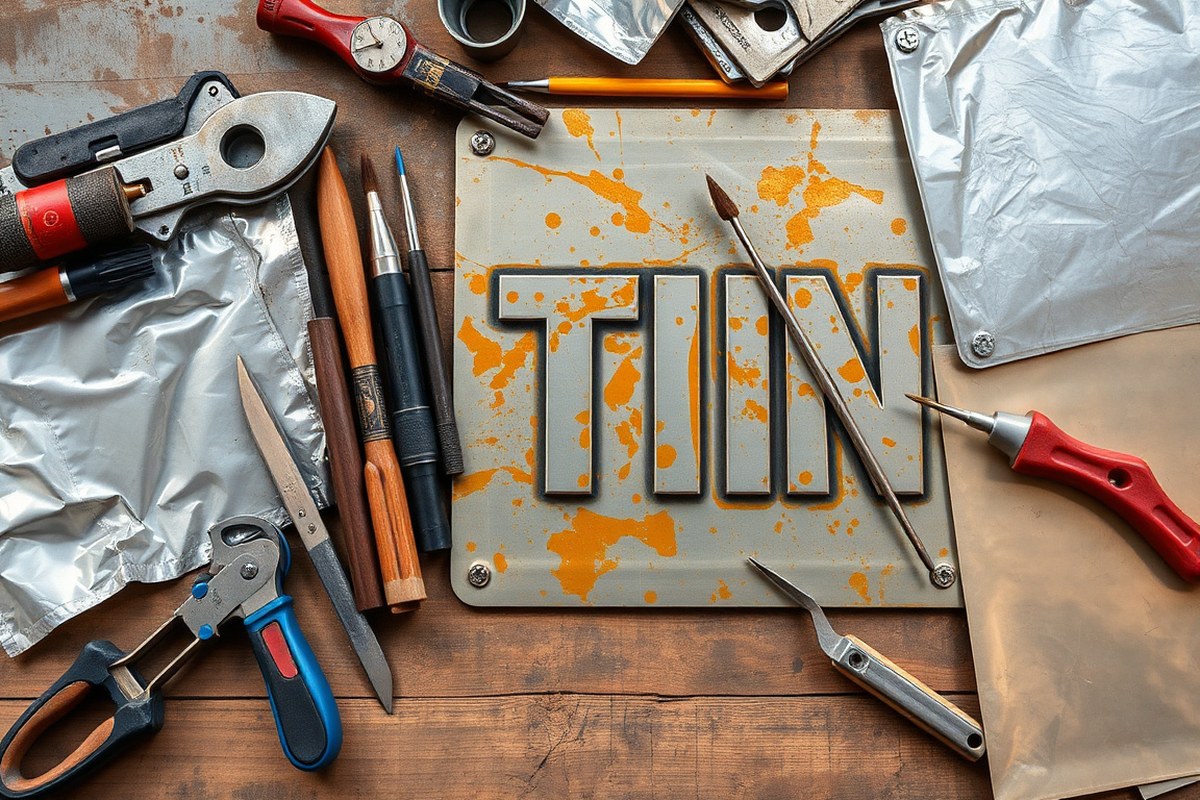
Selecting the right metal type and thickness is key for making tin signs that last and look professional. Aluminum stands out as a top choice because it’s lightweight, rust-proof, and works well both indoors and outdoors. It typically comes in gauges 16 to 22, which balance durability with ease of cutting and shaping. Steel offers more strength but is heavier and prone to rust unless treated. Pure tin is less common but can be used for decorative signs, though it’s softer and less durable outdoors. Your choice depends on where the sign will be used, how much wear it will face, and your budget.
Thickness matters because it affects how easy the metal is to work with and how durable the sign will be. Thinner sheets (22 gauge) cut and bend easily but can dent or warp, while thicker sheets (16 gauge) offer better longevity and sturdiness but need stronger tools and more effort.
Gathering the right tools makes your work smoother and safer. For cutting, tin snips handle thinner gauges, while a jigsaw with a metal blade or an electric shear helps with thicker metals. A Cricut machine suits small aluminum sheets for intricate designs. Sandpaper or a metal file smooths edges. For shaping, use a rubber mallet and a steel block. Painting requires brushes or spray paint made for metal. Don’t forget safety gear like gloves and goggles.
| Metal Type | Weight | Rust Resistance | Gauge Range | Best Use | Cost Range |
|---|---|---|---|---|---|
| Aluminum | Lightweight | Rust-proof | 16, 22 | Indoor/outdoor signs | Moderate ($15, $40 per 12×12 inch sheet) |
| Steel | Heavy | Rusts unless coated | 16, 20 | Outdoor signs needing strength | Low to moderate ($10, $30 per 12×12 inch sheet) |
| Tin | Light to medium | Low rust resistance | 20, 24 | Decorative, indoor use | Low ($8, $20 per 12×12 inch sheet) |
Essential tools include tin snips for straight and curved cuts, a metal file or sanding block to smooth sharp edges, and sturdy gloves to protect your hands. Optional tools like an electric shear or jigsaw with a metal blade speed up the process for thicker metals. A CNC or Cricut machine can cut detailed designs for small signs. For shaping, a rubber mallet paired with a metal block helps create bends or embossed effects.
Always wear cut-resistant gloves and eye protection when cutting and shaping metal sheets to avoid injury from sharp edges and flying fragments.
Choosing metal and tools tailored to your sign’s size, design, and location ensures a durable final product. Aluminum sheets at 18 to 20 gauge offer a practical balance for most home and small business projects. Investing in a few specialized tools upfront saves time and achieves cleaner, more professional results.
Designing Your Tin Sign for Impact and Readability
Designing your tin sign involves careful planning of your layout and selecting fonts and colors that stand out and stay readable on metal. Your design must balance aesthetics with practical considerations like size and contrast. Using the right software and preparing files correctly will make transferring your design to tin smoother and more accurate.
Choosing Fonts and Colors
For tin signs, font size and style are critical to ensure your message is clear from a distance. Letters between 2 and 3 inches tall work well on common sign sizes like 12×18 inches, helping text remain legible without overcrowding your metal surface. Sans-serif fonts or bold, simple serifs improve readability, especially when viewed quickly or from afar. Thin or intricate fonts risk losing detail during cutting or painting on metal.
Color choices should focus on strong contrast. Using two to three complementary colors helps create an eye-catching yet harmonious design. High-contrast pairs like black on white or dark blue on light yellow are effective. Keep in mind that certain finishes or lighting conditions can dull colors slightly. If your sign will be outdoors, opt for paints or coatings designed to resist fading and chipping on metal.
Design Layout Tips for Metal Signs
Plan your layout with spacing and scaling in mind. Leave breathing room between text and graphics to prevent an overcrowded look. Align elements either centered or left-justified, depending on the message and viewing angle. A simple design generally provides better impact on metal, especially when combined with large, readable fonts.
Converting your design to a vector file (such as SVG or AI formats) is essential for metal cutting tools, which rely on precise paths to cut or engrave the surface. Start by sketching your concept to scale, then create a digital version with smooth, clean lines. Avoid small details under 1/8 inch wide, as these can be difficult to cut cleanly and risk breaking off.
Software Tools for Creating Designs
Several graphic design programs simplify creating tin sign layouts and preparing vector files. Adobe Illustrator is widely used for its powerful vector tools and compatibility with most metal cutting software. Free alternatives like Inkscape also produce SVG files suitable for cutting machines. Some design platforms offer templates specifically for metal signs, helping beginners get started with correct sizing and font recommendations.
When saving your design, use formats accepted by your cutting equipment, this usually means SVG, DXF, or AI files. These file types preserve shapes as vectors rather than pixels, providing the smooth lines necessary for clean cuts. Check your cutter’s manual or software for exact format requirements. Export your design at actual size and review the final file in the software to confirm accuracy before transferring to your metal surface.
Transferring Your Design Onto Tin Sheets
Transferring your design onto a tin sheet can be done using carbon paper, stencils, or vinyl cutters. Each method suits different types of designs based on complexity and precision needs. Preparing the tin surface beforehand is essential to ensure good paint adhesion and clean lines.
Using Carbon Paper for Simple Transfers
Carbon paper works well for basic line drawings or single-color designs with simple shapes. It’s an affordable, low-tech option that requires minimal equipment. Before transferring, clean the tin surface with a degreaser and lightly sand it with fine-grit sandpaper (around 320 grit) to create a slightly rough texture for the carbon paper to mark better. To transfer the design:
- Place the tin sheet on a flat surface and secure it to prevent movement.
- Put the carbon paper on the tin with the carbon side facing the surface.
- Position your design printout or drawing over the carbon paper, securing it with tape.
- Trace the design firmly with a pencil or stylus, following the lines carefully.
- Remove the paper and carbon sheet to check the transferred outline.
- Touch up any faint areas with a pencil before painting.
Carbon paper is less accurate with fine details and complex shapes and may leave faint or smudged lines. It costs less than $10 for a pack of multiple sheets and requires only pencils and tape. It suits DIY projects with simple graphics or text.
Applying Stencils for Letters and Logos
Stencils provide a reusable way to apply clean lettering or logos onto tin, especially for medium-detail work. They help maintain consistent shapes and sizes. Prepare the tin surface the same way as for carbon paper: clean and lightly sand for better paint adhesion. Here’s how to apply a stencil:
- Secure the stencil on the tin with painter’s tape to avoid shifting.
- Apply a thin coat of metal primer and let it dry according to instructions, usually 20 to 30 minutes.
- Use a stencil brush or a small foam roller to apply paint in light, even layers to avoid bleeding under the edges.
- Wait briefly between light coats, typically 5 to 10 minutes each, to build opacity without drips.
- Carefully peel off the stencil before the paint is completely dry to avoid peeling paint with it.
- Do touch-ups with a fine brush if needed once the paint is fully dry.
This method offers cleaner edges than carbon paper but requires buying or cutting stencils, which can be costly if custom-made (around $20 to $50 or more depending on size). Stencils are ideal for logos or block lettering but may struggle with intricate details smaller than about 1/4 inch.
Using a Vinyl Cutter for Precision
Vinyl cutters like a Cricut or Silhouette offer the highest precision for transferring designs onto tin. They cut vinyl sheets into stencils or direct transfer masks that fit complex shapes, logos, or detailed lettering exactly. Before you start, clean and sand the metal surface as described for the other methods and apply a suitable metal primer. Steps to transfer your design with a vinyl cutter:
- Create or upload your design in the cutter’s software, adjusting size and details as needed.
- Load adhesive vinyl into the cutter and cut the design.
- Weed out the unwanted vinyl, leaving only the design areas on the backing paper.
- Apply transfer tape over the vinyl design, smoothing out air bubbles.
- Peel the backing off, then carefully press the vinyl design with transfer tape onto the tin surface.
- Remove the transfer tape slowly, leaving the vinyl stencil on the tin.
- Paint over the stencil using spray paint or brushes, applying several thin coats.
- Once dry, peel off the vinyl stencil gently to reveal sharp, clean edges.
This method requires purchasing a vinyl cutter ($150 to $300 for basic models), vinyl sheets ($15 to $25 per pack), and transfer tape. It is best for detailed logos, script fonts, or multi-color layered designs. Results offer crisp lines without smudging or fading common with other methods.
Cutting, Shaping, and Preparing the Tin Sign Surface
Cutting thin tin safely requires the right tools and protective gear. Use tin snips or a fine-toothed saw for clean cuts along your marked lines. Secure the metal sheet firmly to prevent slipping and wear gloves, goggles, and ear protection to protect yourself from sharp edges and flying debris. After you cut the tin, check for any rough or jagged edges that could cause injury or affect the painting process.
Smoothing those edges is key to both safety and finish quality. Deburr the cut edges with sandpaper or a metal file; 80- to 120-grit sandpaper works well for removing sharp points and rough spots. Hold the tin securely while sanding, wearing gloves to avoid cuts. Sand not only the edges but also slightly rough up the tin’s surface before painting. This helps paint adhere better, preventing peeling or chipping later.
Proper surface preparation includes cleaning and degreasing the tin. Use rubbing alcohol, acetone, or another metal-safe degreaser applied with a lint-free cloth to remove dirt, oils, and fingerprints. Make sure the metal is completely dry before moving on. Avoid skippping this step because any residue stops paint from bonding properly. For extra prep, gently use a wire brush if there’s rust or oxidation, then clean again.
- Wear thick work gloves, safety goggles, and hearing protection before cutting tin.
- Use tin snips or a fine-toothed saw to cut along guide marks on the metal sheet.
- Secure the metal to a sturdy work surface to avoid movement during cutting.
- Deburr edges with 80-120 grit sandpaper or a metal file, smoothing all sharp points.
- Sand the entire surface lightly to improve paint adhesion.
- Clean the tin thoroughly with rubbing alcohol or acetone and a lint-free cloth.
- Allow the metal to dry fully before painting to avoid adhesion problems.
Always deburr and clean your tin sign surface before painting; skipping these steps risks rough edges and poor paint adhesion that can damage your work.
Different project needs can influence your methods. For example, using a Cricut machine on thin metal foil sheets requires extra care not to over-stress the material, while working with thicker, commercial-grade sheet metal calls for industrial cutters like plasma or laser machines. Hand sanding and filing after any mechanical cutting ensures every edge is smooth and safe. Spending time on this prep work prevents uneven painting and extends the life of your finished sign.
Painting, Detailing, and Adding Lettering to Tin Signs
Start by applying a rust-resistant metal primer to ensure paint sticks well and lasts. Paint thin base coats of enamel or acrylic in your chosen background color next, allowing full drying between layers to avoid smudges. Finish with details and lettering using small brushes, paint pens, or stencils for clean lines and sharp graphics.
Applying Primer and Base Coats
Primer is essential to prepare the tin surface. A rust-resistant metal primer designed for steel or tin prevents peeling and improves paint adhesion. Brush-on or spray primers are both fine; spray gives a smoother finish but requires a well-ventilated space.
Apply 2 to 3 thin coats of primer. Let each coat dry for 1 to 2 hours, following the product’s label instructions. After the final primer coat, wait a full 24 hours before painting your base color to ensure the surface is fully dry and prevent smearing.
Enamel or acrylic paints are ideal for a base coat on tin. For bigger surfaces, spray paint offers a smooth finish, while a quality brush suits small signs and detailed work. Apply 2 to 3 thin layers, letting each dry for 30 minutes to 1 hour, to prevent drips and runs.
Techniques for Detail Painting
Adding details requires precision. Use small, fine-tipped brushes or paint pens designed for metal. Paint pens are especially good for outlining or small accents since they reduce the chance of smudging.
Dry time for detailed paint is usually around 1 to 2 hours. Work in light layers to prevent blobs or runs. Keep your hand steady and paint slowly for the best results. Avoid thick or heavy strokes that can cause pooling and uneven texture.
To protect your work as you go, wait until each layer is dry before adding more details. This patience reduces smearing and ensures clean edges. For highly detailed work, consider taping off sections or using fine stencils.
Options for Lettering and Graphics
Lettering can be hand-painted, stenciled, or created with paint pens. Hand-painting requires steady hands and fine brushes, while stencils offer more uniform and easy-to-repeat lettering. Peel stencils off while paint is slightly wet to avoid jagged edges or smudging.
Use vinyl stencils or cut your own from stencil sheets. Secure the stencil firmly with painter’s tape to prevent paint bleeding under the edges. For more graphic variety, combine stencils with hand-painted accents or use paint pens to add highlights and shadows. Other options for lettering are vinyl decals or stickers applied after the base coat dries, though these might need a clear sealant for durability on metal signs exposed to weather.
- Clean the tin surface thoroughly and dry it before starting.
- Apply 2-3 thin coats of rust-resistant metal primer, allowing 1 to 2 hours drying between coats.
- Wait 24 hours after the last primer coat for full drying.
- Apply 2-3 thin base coats of enamel or acrylic paint, drying 30 minutes to 1 hour between each coat.
- Use fine brushes or paint pens to add detailed designs, waiting 1 to 2 hours for drying.
- Apply stencils for lettering, taping them firmly and removing while paint is slightly wet.
- Touch up any edges or smudges with detail paint pens or small brushes.
Sealing and Protecting Your Tin Sign for Longevity
Sealing and protecting tin signs is essential to prevent weathering, UV damage, rust, and wear, especially when your sign is exposed to outdoor conditions. The best sealants for tin signs generally fall into two categories: clear acrylic spray sealants and marine-grade polyurethane coatings. Clear acrylic sprays provide good UV protection and are easy to apply, with drying times around 15 to 30 minutes per coat. Applying two to three thin coats, allowing each to dry fully, usually offers sufficient protection for indoor signs or outdoor signs with moderate exposure.
For outdoor tin signs exposed to more severe weather, opting for a marine-grade polyurethane is recommended. This type of sealant offers superior corrosion resistance and UV protection due to its thicker, harder finish. With polyurethane, you should apply at least two coats, waiting 4 to 6 hours between layers in temperatures above 65°F. Full curing can take up to 24 to 48 hours, so plan your project schedule accordingly. This approach helps keep steel-based signs free from rust and preserves paint vibrancy. Aluminum signs benefit from these sealants as well, though aluminum naturally resists rust better than steel.
Indoor signs face fewer threats, so a simple acrylic spray is typically enough to maintain the finish and prevent wear from handling or dust. Applying more than three coats indoors might cause excessive build-up and diminish the sign’s aesthetics. Outdoor signs, by contrast, require a more durable method to defend against rain, sun, and oxidation. Rust protection is critical for steel signs; let your sealant fully dry before mounting, and regularly inspect the sign for chips or coating damage. Promptly resealing or touching up any worn areas will extend the sign’s life.
Pick sealants that block UV rays and are specifically made for outdoor metal projects. These can usually be found at stores like Home Depot or Lowe’s and often state these features on the label. Marine varnishes tend to be pricier than acrylic sprays but can protect your outdoor sign for several more years. Prices generally range from $8 to $20 per can, each covering roughly 30 to 50 square feet with a single coat. For the best finish, apply sealants in a ventilated area where the temperature stays between 60°F and 80°F.
Signs that carry an intentionally aged or rusted look need special care. Without sealing, rust can spread uncontrollably, weakening the metal. Use a clear rust-inhibiting sealant designed for metal surfaces to lock in the patina without allowing further corrosion. This method preserves the vintage appearance while preventing damage. Alongside sealing, make sure that mounting hardware is corrosion-resistant or replaced annually if signs of wear appear, ensuring overall longevity and safety.
Mounting Your Tin Sign Safely and Securely
Select mounting hardware based on your tin sign’s size, weight, location, and surface. Small signs under 2 pounds often mount well with adhesive strips rated for outdoor use, especially on smooth surfaces like glass or painted drywall. Medium signs between 2 and 10 pounds require screws or bolts, while large signs over 10 pounds need heavy-duty anchors or standoffs to prevent sagging and withstand outdoor conditions.
For wood surfaces, use wood screws with weather-resistant coatings if outdoors. Drywall installations call for drywall anchors combined with screws to avoid damage. Brick, concrete, or masonry walls require masonry screws or anchors drilled with a hammer drill. Always select stainless steel hardware outdoors to resist rust.
| Sign Size / Location | Recommended Hardware | Typical Weight |
|---|---|---|
| Small (under 2 lbs) | Heavy-duty adhesive strips or hooks | Up to 2 pounds |
| Medium (2 to 10 lbs) | Screws or bolts with anchors (if needed) | 2 to 10 pounds |
| Large (over 10 lbs) | Heavy-duty anchors, standoffs, or brackets | Over 10 pounds |
Drilling holes in tin requires care to avoid bending or cracking. Use a cordless drill with a metal drill bit sized slightly larger than your hardware (around 1/8 to 1/4 inch). Clamp the sign firmly on a soft surface like a scrap piece of wood. Mark hole locations evenly spaced along the top or corners using a ruler and a marker.
Start drilling at a slow speed, applying steady gentle pressure. Let the bit do the work; pushing too hard can deform the metal. After each hole, deburr edges with fine sandpaper or a metal file to remove sharp bits and prevent rust. Plan for at least two holes for small signs and four or more for heavier ones to distribute weight evenly.
Always wear safety goggles when drilling metal to protect your eyes from metal shavings.
Follow this step-by-step mounting process:
- Measure and mark your wall or surface ensuring proper height and spacing.
- Use a level to mark horizontal drill points for screw or anchor holes.
- Pre-drill pilot holes in the mounting surface if needed (wood or drywall).
- Insert anchors into drywall or masonry holes before screwing.
- Hold the sign in place while screwing in hardware to maintain alignment.
- Check the sign for level one final time before fully tightening screws.
- For outdoor signs, periodically inspect mounts for rust or looseness.
Positioning the sign perfectly level and stable improves visibility and longevity. Using a carpenter’s level during all marking and installation stages avoids crooked signs. If mounting outdoors or in windy locations, consider using standoffs that hold the sign a half-inch off the wall to reduce stress and damage.
Step-by-Step Action Plan
Follow this action plan to create your custom tin sign efficiently and with confidence. Each step builds on the previous one to help you move smoothly from design to installation.
- Before you start: Gather your tin sheets, cutting tools, paints, and sealants. Confirm your workspace is clean and well-lit to avoid mistakes during cutting and painting.
- Day 1: Finalize your design using simple graphics and clear text. Print or sketch your design to have a precise template before transferring it to the tin.
- Day 2: Transfer your design onto the tin sheet using carbon paper or a stencil. Check that all lines are visible and accurately placed before cutting.
- Day 3: Cut and shape your tin sheet safely with proper gloves and eye protection. Make smooth edges using a file to prevent injuries and ensure a professional look.
- Day 4: Paint your tin sign with base coats using spray or brush paints designed for metal. Confirm even coverage and let it dry completely before adding details.
- Day 5: Add lettering and finer details using stencils or hand-painting with steady strokes. Inspect your work for sharpness and correct any smudges immediately.
- Day 6: Apply a clear sealant to protect your sign from weather and wear. Make sure the sealant dries fully; this locks in your paint and extends the sign’s life.
- Day 7: Mount your tin sign with appropriate hardware based on the installation surface. Test that the sign is secure and level to avoid damage or accidents.
Frequently Asked Questions
What Metal Is Best for Outdoor Tin Signs?
Aluminum is best for outdoor use due to its resistance to rust and corrosion. Steel can be used if properly sealed but tends to rust over time when exposed to weather. Tin sheets work well indoors or in low-exposure areas.
How Do I Scale Text for Different Tin Sign Sizes?
For a 12×18 inch tin sign, use 2 to 3 inch tall letters to ensure readability. Larger signs like 24×36 inches require proportionally bigger lettering, typically around 4 to 6 inches tall, to maintain impact from a distance.
Can I Use Regular Spray Paint on a Tin Sign?
Regular spray paint can work but may peel or fade quickly outdoors. Use paint designed for metal surfaces and add a UV-resistant clear coat to protect colors and prevent rust or corrosion on your sign.
What Is the Best Way to Shape Tin Sheets Without Damage?
Use metal snips for simple cuts and smooth edges with fine sandpaper afterward. Avoid using excessive force to prevent bending or warping the metal, and work slowly for clean, precise shapes.
Are There Specific Coatings for Aging Tin Signs?
Yes, you can use rust activators or patina solutions on a scrap piece first to test your aging technique. Seal the aged look with a clear protective coating to stop uncontrolled rust and preserve the desired effect.
How Should I Mount a Heavy Tin Sign Securely?
Drill holes and use screws or bolts that suit the mounting surface, like wood or brick. Choose hardware rated for outdoor use if placing the sign outside to ensure long-term stability and safety.
Wrapping Up
Creating a tin sign combines basic metalworking with creative design, producing a durable and personalized decoration or product. Working methodically ensures your sign stands out and lasts. Start your project by choosing a simple design and trusted materials to gain confidence before trying more complex styles.