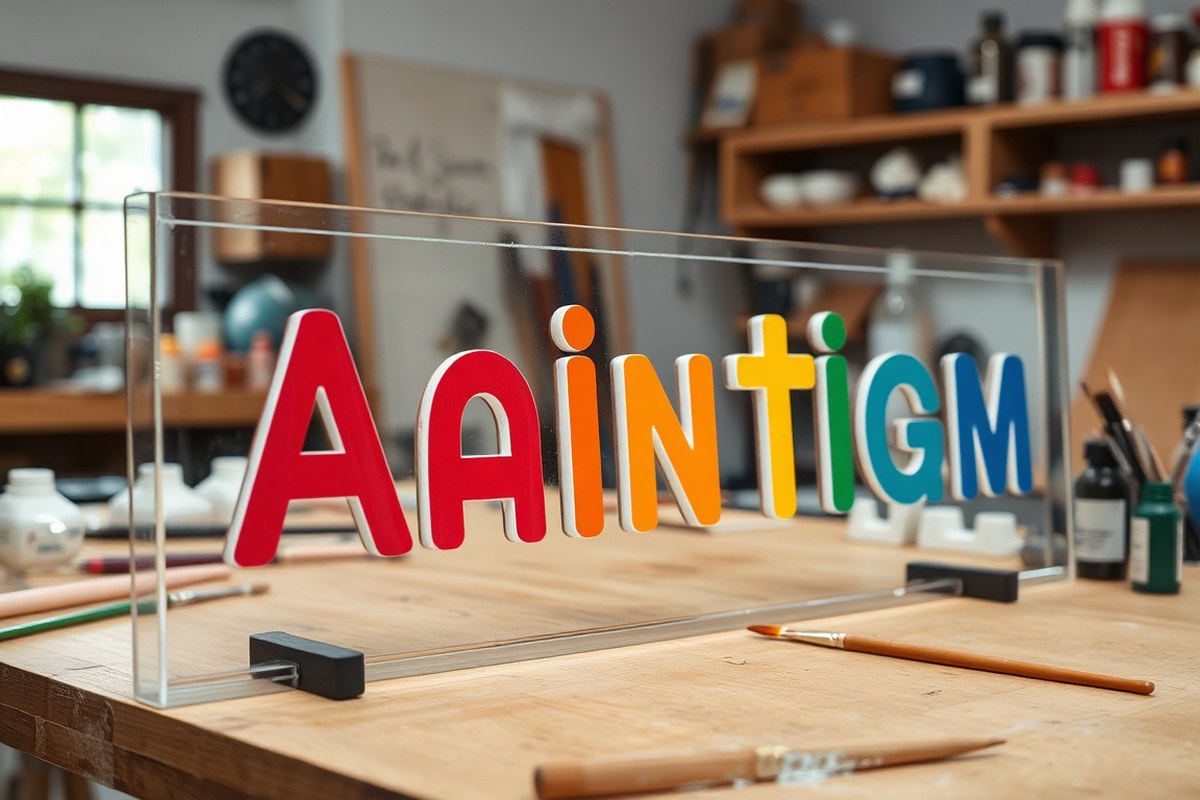
How to Make a Sign with Acrylic Paint: A Complete Guide for Beginners
How to make a sign with acrylic paint starts with choosing the right materials and preparing your surface properly. Acrylic paint works well on smooth, clean surfaces like primed wood or clear acrylic sheets. Begin by cleaning and sanding the surface to ensure paint adhesion and a smooth finish for crisp designs.
Key Takeaways
- Use acrylic paint thinned with up to 10% water for smooth underpainting or base coats.
- Choose synthetic brushes with firm bristles designed for acrylics to control paint application.
- Label paint wells clearly and mix only enough paint to use within 15 minutes to avoid drying skin.
- Apply a base coat and allow it to dry for at least 24 hours to achieve a durable finish.
- Add texture by mixing 10% acrylic gel medium into paint for thicker strokes and visible brush marks.
- Try shadow lettering by painting a dark base letter then offsetting a lighter color for depth.
What Materials and Tools Are Needed for Acrylic Painted Signs
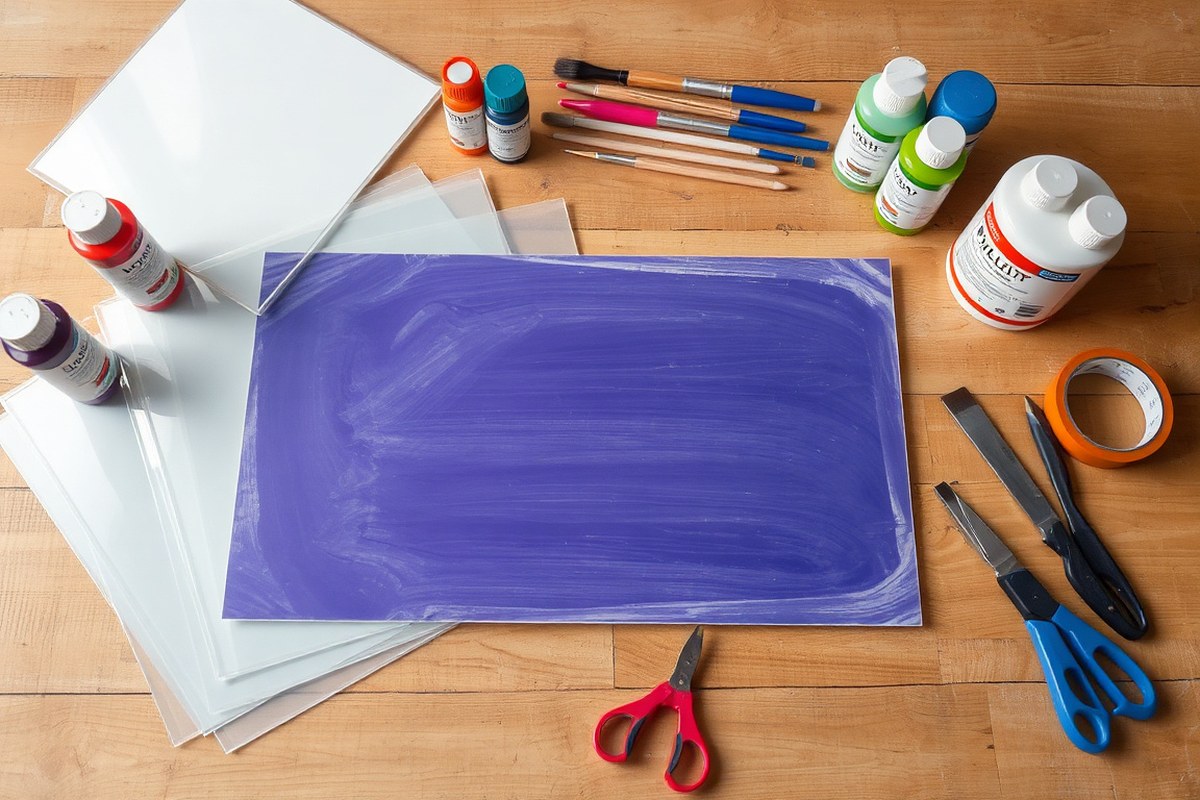
Selecting the right acrylic sheet is critical for a quality sign. Use cast acrylic sheets rather than extruded; cast acrylic offers better clarity, durability, and scratch resistance, making it ideal for visible signage. Sheets that are 1/8 inch (3 mm) thick balance ease of cutting and sturdiness for most DIY signs. Thinner sheets can crack during cutting or mounting, while thicker ones are heavier and harder to work with.
Acrylic paints formulated specifically for signage perform best on these surfaces. Look for water-based acrylic sign paints that dry quickly yet provide vibrant, opaque colors. Brands like Golden High Flow Acrylic and Liquitex Basics Acrylic are popular choices. Golden High Flow dries to the touch in about 15, 25 minutes and fully cures after 72 hours, offering excellent adhesion and smooth opacity. Liquitex Basics is more beginner-friendly and cost-effective, drying touch-ready in 20, 35 minutes and curing in 2, 3 days. Avoid craft acrylics in small bottles for large signs because they run out quickly and may lack opacity.
Choosing the right brushes improves paint control and final look. Synthetic pointed round brushes in sizes 0 to 2 work best for lettering and detail, while flat brushes sized 6 to 10 suit background fills. Brushes like Escoda Reserva Flat Liners provide crisp lines with minimal brush drag. Clean brushes promptly to maintain their shape and durability.
- Cast acrylic sheet, 1/8 inch thick (approx. $20, $50 per 12″x12″ sheet)
- Water-based acrylic sign paint, 2, 4 oz bottles (Golden High Flow or Liquitex Basics)
- Synthetic round and flat brushes, sizes 0 to 10
- Painter’s tape to protect edges
- Fine grit sandpaper for surface prep if needed
- Spray adhesive or double-sided tape for temporary positioning
- Protective sealant spray (optional) for durability
Adhesives like spray adhesive or double-sided tape help hold stencils or vinyl in place while painting. Use minimal amounts to avoid residue on the acrylic. Sealants are optional but recommended if the sign will be handled often or outdoors. A clear acrylic spray sealant can protect paint from scratches and UV damage. Test any sealant on a scrap before full application.
Safety gear includes nitrile gloves to prevent skin contact with paint and dust masks during cutting or sanding acrylic sheets. Eye protection is also advised when using cutting tools like scoring knives or routers. Work in a well-ventilated area to avoid paint fumes. Always read and follow safety instructions on all product labels.
How to Prepare Acrylic Surfaces Before Painting
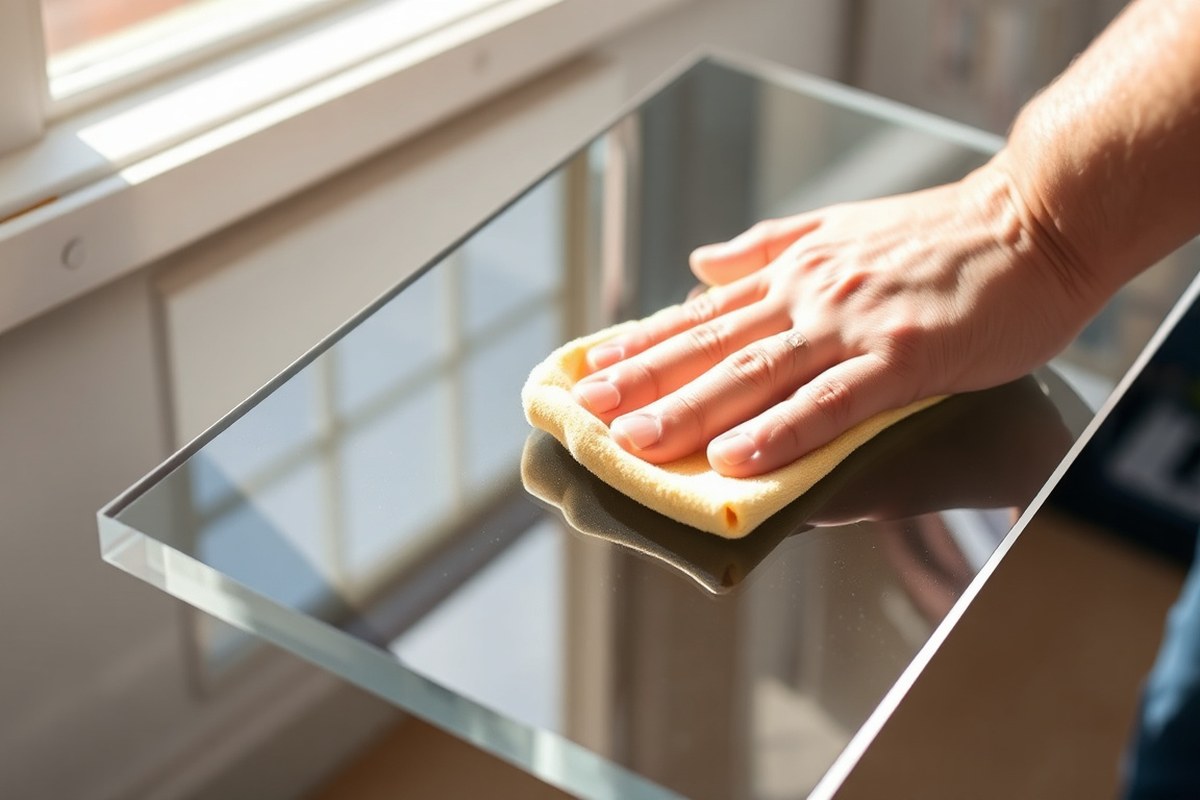
Preparing the acrylic surface correctly ensures paint sticks well and your sign looks smooth and professional. Clean, lightly sand, and control dust to avoid bumps and peeling. Handle protective film carefully to protect the acrylic until just before painting.
Cleaning the Acrylic Sheet
Cleanliness is key for acrylic paint adhesion. Acrylic often comes with residues like dust, oils from handling, or packaging grease that prevent paint from sticking properly. Use a mild soap and lukewarm water solution to wash the surface, then rinse thoroughly and dry with a lint-free cloth.
After washing, wipe the surface with isopropyl alcohol on a soft cloth to remove any remaining oils or fingerprints. Avoid using abrasive cleaners or solvents that can damage or cloud the acrylic. Cleaning removes invisible contaminants that cause uneven paint or peeling later.
Sanding and Smoothing Edges
Light sanding helps paint adhere by slightly roughening the slick acrylic surface. Use fine-grit sandpaper between 400-600 grit to avoid scratches that show through paint. Sand gently in a circular motion across the painting area, avoiding deep scratches or gouges.
Edges may have sharp or uneven cuts from shaping. Use a 320-grit sanding sponge or fine sandpaper to smooth and soften edges for safety and a clean look. Don’t sand too aggressively; a light sanding removes sharp edges without dulling the acrylic’s clarity.
Managing Protective Film and Dust
Most acrylic sheets come with protective film on both sides to prevent scratches. Remove only the side you plan to paint right before starting to keep dust and debris away. Leaving the backing on the unpainted side protects against damage during handling.
Work in a clean, dust-free area to prevent particles from settling on wet paint. Wipe your workspace and tools before beginning. Wearing gloves reduces skin oils transferring to the acrylic. Avoid blowing or shaking dust off; use a dry microfiber cloth instead for gentle cleaning without scratching.
- Remove protective film from the side to be painted, but keep the backing on the reverse side to protect the acrylic.
- Wash the acrylic with mild soap and lukewarm water, then rinse thoroughly.
- Dry with a lint-free microfiber cloth to avoid any fibers sticking on the surface.
- Wipe the surface gently with isopropyl alcohol on a soft cloth to remove oils and fingerprints.
- Sand the painting surface lightly using 400-600 grit sandpaper in a circular motion.
- Smooth the edges and corners with a 320-grit sanding sponge to remove sharpness and burrs.
- Clean the entire sign again with a dry microfiber cloth to remove sanding dust.
- Set up your painting workspace in a low-dust environment, wearing gloves to avoid fingerprints.
Tip: Do not remove both protective films at once; leave at least one on during prep and painting to avoid scratches and dust settling on the acrylic.
Best Painting Techniques for Professional-Looking Acrylic Signs
Start with a smooth, even base coat to create a solid foundation for your acrylic sign. Use precise lettering techniques and tools to achieve clean lines and shapes. Adding shadows and layering builds depth, while paint pens let you add crisp, fine details easily.
Applying Base Coats and Underpainting
Applying a base coat evens out the surface and helps paint adhere better, especially on acrylic. Use a sash brush, wider with firm bristles, to cover large areas uniformly. Thin your acrylic paint slightly with water, around 10-15%, to get smooth, even coverage without brush marks. Allow the base coat to dry fully, typically 30 to 60 minutes at room temperature, to prevent lifting when you paint over it.
Underpainting with a neutral color like white or light gray brightens colors painted on top and improves opacity with fewer layers. For outdoor signs, consider a marine-grade primer beneath your base coat for added durability against weather. Applying multiple thin layers, about two to three, is better than one thick layer because it avoids drips and uneven drying.
Creating Clean Lettering and Designs
Choose brushes designed for lettering to get crisp edges. Script liners, also called rigger brushes, are long and thin with fine bristles perfect for delicate strokes, flourishes, and thin lines. For larger, block-style letters, flat or sash brushes hold more paint for consistent coverage.
Keep your brushwork smooth and confident. Avoid overworking an area, as going back over partially dry paint can lift it and cause streaking or halos. Use steady, even pressure and try to load your brush with enough paint for continuous strokes.
- Transfer your lettering design using a stencil, carbon paper, or project directly with a pencil.
- Paint the main letter shapes with a brush appropriate for their size, flat brushes for broad strokes, script liners for thin lines.
- Use consistent stroke weight, holding your brush perpendicular to the surface for even edges.
- Allow lettering to dry completely before touching or layering to avoid smudging.
Adding Shadows and Dimension with Layering
Build depth by layering paint and adding shadows behind letters. Start with a solid base letter in a color like dark gray. Then paint a second, lighter shade of the letter offset about 1/8 inch down and to the right at roughly 30% opacity. This simple drop shadow creates the illusion of dimension without complex perspective shading.
For more advanced 3D effects, carefully paint highlights and shadows on letter edges to simulate volume. Use a small flat brush or script liner to add thin shadow lines and light spots where light would naturally hit. Multiple thin paint layers work best to maintain crisp edges and controlled color intensity. Let each layer dry fully before adding the next to prevent paint lifting and streaking.
Using Paint Pens for Fine Details
Paint pens offer excellent control for fine lettering, outlines, and intricate details that are tricky with brushes. Choose high-quality acrylic paint markers like Uni POSCA, known for strong pigmentation and smooth flow on acrylic surfaces. Press lightly to avoid blobs and practice steady strokes on scrap material first.
Use paint pens for outlining letters after the main paint layers are dry to sharpen edges. They’re also great for adding small flourishes, dots, or highlights that improve your design’s polish and readability. Clean the pen tip by wiping it with a damp cloth if paint buildup slows flow. Store pens horizontally to keep them from drying out.
How to Cut and Shape Acrylic for Custom Signs Safely at Home
You can comfortably cut and shape acrylic at home using simple hand tools or basic power tools, depending on the thickness and design you need. Thin sheets up to about 1/8 inch are perfect for scoring and snapping, while thicker acrylic up to 1/2 inch or 3/4 inch requires saws or rotary tools for curved cuts. Prioritizing safety gear like goggles and gloves keeps you protected from sharp edges and plastic shards.
Scoring and Snapping Thin Acrylic Sheets
Scoring and snapping works best for acrylic sheets up to about 1/8 inch thick. This method is affordable and doesn’t require power tools. Start by firmly clamping the acrylic sheet to a flat surface. Use a scoring knife to make a deep line along a straightedge, applying firm pressure. Score the same line 5 to 7 times to weaken the acrylic evenly.
- Place the sheet over a sharp edge, like a metal ruler or workbench edge, with the scored line hanging slightly off.
- Hold the sheet firmly on the clamped side and press down on the overhang. It should snap cleanly along the scored line.
Repeated scoring and snapping reduce splintering and improve edge straightness. This method cannot do curves or complex shapes. Avoid scoring acrylic thicker than 1/8 inch because it won’t snap cleanly and might crack unevenly.
Using Power Tools for Curves and Shapes
For acrylic thicker than 1/8 inch or curved cuts, power tools are the safer and more effective choice. A jigsaw fitted with a fine-tooth plastic blade can handle curves and irregular shapes. Cut slow to avoid melting the acrylic due to friction.
A rotary tool with a cutting wheel or a small saw can also shape detailed edges or smooth corners. Secure the acrylic firmly before cutting to prevent slipping. Use moderate speed and let the tool do the work to avoid cracking.
| Tool/Method | Cuttable Thickness | Cut Types | Cost Range | Skill Level |
|---|---|---|---|---|
| Scoring Knife | Up to 1/8 inch | Straight lines only | $10, $20 | Beginner |
| Jigsaw with Plastic Blade | Up to 3/4 inch | Curves, irregular shapes | $40, $100 (tool); $10 blade | Intermediate |
| Rotary Tool with Cutting Wheel | Varies; detail cuts on thick or thin | Curves, intricate shapes | $20, $150 (tool and accessories) | Intermediate |
Choosing the right tool depends on your acrylic thickness, desired shape, and budget. Scoring and snapping is cheap and simple for straight edges. Saw and rotary options expand your flexibility at increased cost and skill.
Edge Smoothing and Finishing Techniques
After cutting, acrylic edges usually need smoothing to avoid sharpness and improve appearance. Use fine-grit sandpaper starting around 220 grit to remove burrs and roughness. Sand evenly along the edge on a flat surface.
For a glossy finish, progress to higher grits up to 600 or 800. You can polish the edge with a soft cloth and optional acrylic polishing compound to regain clarity. Avoid aggressive sanding that creates heat and warps the edge.
Always wear safety glasses and a dust mask during sanding to protect eyes and lungs from plastic particles. Pausing often allows plastic to cool, preventing heat damage.
- Safety checklist before cutting acrylic:
- Wear safety glasses or goggles
- Use gloves to protect hands from sharp edges and tools
- Secure acrylic firmly to a stable surface
- Work in a well-ventilated area
- Use a dust mask when sanding
- Keep tools sharp and appropriate for acrylic thickness
How to Create Clean Lettering and Graphics on Painted Acrylic
Achieving crisp, professional lettering and graphics on acrylic signs depends largely on precise masking and stenciling techniques. To prevent paint bleed underneath stencils, apply vinyl stencils to a perfectly clean, dust-free surface. Use application tape and a squeegee to press the stencil firmly onto the acrylic, smoothing out any air bubbles that can cause uneven paint edges. Applying thin layers of acrylic paint by brush or spray over the stencil helps avoid excess paint buildup that leads to bleed.
Masking tape is an affordable and effective tool for straight lines and sharp edges. High-quality painter’s tape with low tack adheres well without damaging the acrylic surface. Carefully press down the tape edges before painting. Paint lightly near the tape edge to minimize seepage, and remove the tape while the paint is still slightly wet for clean lines. Combining masking tape borders with vinyl stencils can create precise custom shapes and letters more accurately than freehand brushwork.
Adding shadow or outline effects around letters can improve readability and create a layered, professional look. After the main letter color has dried, usually waiting 15 to 30 minutes, use a fine-tipped paint pen or small brush to apply a contrasting shadow or outline. This technique increases depth and helps letters stand out against busy or similarly colored backgrounds. Use shadow colors slightly darker or lighter than the main lettering for subtle but effective contrast.
For lettering styles, paint pens offer control and variety. Water-based acrylic paint pens are widely recommended since they dry quickly, resist fading, and clean up easily with water. Brands like Posca, Sharpie Oil-Based Paint Marker, and Montana Acrylic markers range from fine 0.7 mm to broad 2.5 mm tips to suit different fonts and graphic details. Choose a pen tip size that matches your desired letter thickness and allow the paint to dry fully before layering or touching up.
Correcting letter mistakes requires care to avoid damaging nearby painted areas. Immediately wiping fresh paint with a damp cloth can fix small smudges. For dried paint errors, use a fine brush dipped in a small amount of acrylic paint remover or rubbing alcohol applied precisely on the mistake, then carefully repaint the area with matching colors. Practice on scrap acrylic before attempting to fix visible errors on your sign to avoid over-removal or surface damage.
Apply paint pens with steady, light pressure and store them capped properly to prevent drying and ensure consistent ink flow for sharp lettering.
Protecting and Finishing Painted Acrylic Signs for Durability
To protect your acrylic painted sign and extend its lifespan, apply a clear finish that seals and shields the paint from moisture, scratches, and UV exposure. The best types of finishes include spray sealants and brush-on varnishes, each with advantages depending on your project’s size and detail.
Spray sealants are popular because they provide light, even coats without brush marks, reducing the risk of paint lifting or blending issues. Use a high-quality acrylic clear spray designed for art or outdoor use, which dries quickly (usually within 15-30 minutes) and remains flexible to prevent cracking. Apply two thin coats, waiting about an hour between applications. Spray sealants cost around $8 to $15 per can and work well for intricate or large signs.
Brush-on varnishes offer more control when sealing detailed lettering or stenciled areas. Choose a non-yellowing, water-based acrylic varnish to avoid yellowing over time. Apply two coats with a soft synthetic brush, allowing each coat to dry for 1 to 2 hours. Avoid over-brushing to keep finishes smooth. Brush-on options typically cost $10-$20 for an 8 oz bottle, making them good for smaller signs or touch-ups.
| Finish Type | Best Use | Dry Time per Coat | Cost Range | Key Benefits |
|---|---|---|---|---|
| Spray Sealant (Acrylic Clear Spray) | Even coating on large or detailed signs | 15, 30 minutes | $8, $15 per can | Light coat, no brush marks, quick drying |
| Brush-On Varnish (Water-Based Acrylic) | Small signs or precise areas | 1, 2 hours | $10, $20 per 8 oz | Greater control, less risk of overspray |
To avoid yellowing or cracking, select high-quality, non-yellowing acrylic finishes. These perform best indoors or in shaded areas. Signs exposed to direct sunlight or moisture require UV-resistant and waterproof sealants. Also, allow your paint to fully cure (typically 24 to 48 hours) before sealing.
Improper sealant application, such as applying thick coats or rushing drying times, can cause bubbling, cracking, or clouding. Maintain proper ventilation while spraying and test your finishing product on a small area first. Keep your signs protected from scratches and moisture with a few simple habits:
- Place signs in covered or low-traffic areas to minimize abrasion.
- Use a soft, damp cloth for cleaning, avoid harsh chemicals or scrubbing.
- Store signs flat and upright with spacers to prevent scratching surfaces.
- Reapply clear coat every year or two if the sign is outdoors.
- Avoid direct contact with water by sealing all edges thoroughly.
Periodic maintenance includes gentle cleaning with water and mild soap followed by a soft dry cloth. Inspect the sign for signs of wear and reseal if you notice dull spots or any paint lifting. Taking these steps helps maintain vibrant colors and a smooth protective surface over time.
How to Frame, Mount, and Display Acrylic Signs Effectively
Framing acrylic signs not only adds style but also protects the edges and supports the sign’s weight. A flush-fitting frame is a top choice for acrylic signs because it holds the sign securely while hiding internal wiring if you include LED lighting. Choose UV-filtering acrylic panels instead of glass to prevent condensation when framing indoors. Paint or stain the frame to match or contrast with your sign’s colors, which improve its visual appeal. Floating-style mounts that use wall standoffs create a modern, stylish look by suspending the sign a short distance from the wall. They’re common in reception areas and offices where a sleek appearance is desired.
When mounting your acrylic sign, the choice of hardware should depend on the display surface and whether you want a permanent or temporary setup. For walls, wall anchors combined with screws provide solid support, especially for signs thicker than 1/4 inch or larger than 12 by 24 inches. Wall standoffs can be installed with anchors to create the floating effect mentioned earlier. In no-drill zones, strong adhesive pads or mounting tapes will hold lightweight signs but avoid this method for heavier pieces or outdoor use, where weather can reduce adhesion. Rope or chain are options if your sign is designed for events or needs to be hung temporarily from hooks or poles.
Freestanding acrylic signs are available in mirrored, transparent, or opaque finishes and are perfect if you don’t want to drill into walls. These signs come preassembled and can hold themselves upright on flat surfaces such as desks, shelves, or entryway tables. Consider the sign’s thickness, generally 3mm to 10mm, to ensure it stands without tipping over. Larger signs may require a weighted base or additional support to stay stable.
Proper lighting shows off acrylic signs best. Use LED lighting as it’s energy-efficient and creates bright, even illumination ideal for painted or engraved surfaces. Place lights at the top or bottom edges behind or beneath the sign to avoid harsh shadows and reflections. Avoid direct overhead lighting, which can cause glare on the glossy surface. Installing dimmable LED strips or spotlights lets you adjust brightness to suit indoor or evening environments. Position bulbs or strips so light hits at a slight angle to reduce mirror-like reflections that hide your sign’s details.
To avoid shadows and reflections, keep the sign surface clean and use matte finishes around the frame or mounting area. Matte frames cut glare and make the sign easier to read. If placing your sign near windows, consider UV filters on the framing panel and place lights where natural sunlight won’t cause reflections. Testing various angles with a small quick-mount light before final installation can help you find the best lighting setup.
Common Mistakes and How to Fix Painted Acrylic Sign Problems
Peeling or scratching of paint on acrylic signs often happens when the surface wasn’t cleaned properly or if the paint wasn’t fully dry before handling. To avoid this, make sure you wash the acrylic with mild soap and water, then dry it completely. When paint begins to peel, gently sand the area with fine-grit sandpaper, remove the dust, and apply a thin, fresh coat of paint. Using a clear acrylic sealer after the paint dries can also reduce the risk of future peeling and scratches.
Uneven coats or drips usually occur when paint is applied too thick or all at once before the first layer dries. To fix this, gently sand the bumpy areas after they are dry using very fine sandpaper. Then, apply a thin, even layer of paint. Waiting 15 to 30 minutes between coats helps prevent drips and uneven texture. Using a small foam roller can distribute paint evenly and reduce brush marks on larger signs.
Letters that bleed or blur mostly result from using paint that is too runny or moving tape removal at the wrong time. To stop bleeding, use thicker acrylic paint or apply an extra base coat as a barrier. Remove any painter’s tape when the paint is slightly tacky, this means not wet but not fully dry, to prevent peeling the paint away with the tape. Once blurring occurs, allow the paint to dry completely, then carefully use a fine detail brush to sharpen the edges.
Dust and bubbles in the paint come from painting in dusty environments or shaking paint too vigorously, which traps air. Fix small bubbles by brushing gently until they pop or letting them dry and then sanding smooth. Painting inside a clean, dust-free space reduces these issues. Instead of shaking, stir the paint slowly to avoid bubbles.
Drying problems arise when conditions are too cold, too humid, or there is wind that can blow dust on the wet paint. The ideal temperature range for acrylic paint is between 65°F and 85°F with low humidity. Painting outside on hot or windy days may cause uneven drying and later cracking of the paint. To avoid this, paint in a shaded, sheltered area or indoors and allow 24 hours for paint to fully cure before handling or sealing.
- Clean acrylic surface thoroughly before painting to avoid peeling
- Apply thin coats and wait 15-30 minutes between layers for even coverage
- Remove painter’s tape when paint is tacky, not dry or wet, to prevent peeling
- Paint in a dust-free, temperature-controlled environment to reduce defects
- Use fine sandpaper to smooth drips, bubbles, or dried imperfections before repainting
- Seal finished signs with a clear acrylic sealer for protection
Always label your paint wells and mix only enough paint for about 15 minutes of use to avoid it drying out and causing uneven surfaces.
Step-by-Step Action Plan for Your Acrylic Painted Sign
Follow these steps to create a clear, durable custom acrylic sign with paint.
- Before you start: Gather all materials and tools, including acrylic sheets, acrylic paints, brushes, masking tape, sanding paper, and sealant. Confirm you have everything to avoid interruptions.
- Day 1: Prepare the acrylic surface by cleaning it with soap and water, then lightly sanding to ensure paint adhesion. The surface should feel slightly rough, not slick.
- Day 2: Sketch your design or lettering on paper, then transfer it onto the acrylic using masking tape and a pencil or paint pen. Check that the layout fits correctly on the sign.
- Day 3: Paint your design using acrylic paint with fine brushes for details and wide brushes for background areas. Let each layer dry fully before adding another, which usually takes 30 minutes to an hour.
- Day 4: Inspect the painted sign for any uneven spots or mistakes, then touch up as needed. The paint should look solid and smooth without visible brush strokes.
- Day 5: Apply a clear acrylic sealer or varnish in a thin, even coat to protect the paint. Allow 24 hours to dry; the sign should feel hard and not sticky when ready.
- After 1 week: Frame or mount your sign as desired, ensuring it’s secure and displayed where it won’t be exposed to extreme weather or direct sunlight for long periods.
Frequently Asked Questions
Can I Paint the Back of an Acrylic Sign to Make It Stand Out?
Yes, painting the back of an acrylic sign can make the colors pop and add depth. This technique creates a glowing effect when light passes through, improving the visual appeal of your sign when mounted on a wall.
Is Acrylic Paint Suitable for Large Signs?
Acrylic paint usually comes in small bottles, making it less practical for large signs. For bigger projects, consider another paint type or purchase larger volumes of acrylic paint to avoid running out mid-project.
How Long Should Paint Dry Before Adding Designs to a Wood-Backed Acrylic Sign?
Allow paint on the wooden backing to dry for at least 24 hours to cure properly. This ensures a hard, durable surface that prevents smudging or paint lifting when adding your design.
Can Acrylic Paints Be Used on Any Surface for Sign Making?
Acrylic paints are versatile and can be applied to many surfaces like wood, metal, and plastic. However, surface preparation is key to ensure paint adhesion and longevity of your sign.
How Can I Get a Smooth, Even Coat of Acrylic Paint on My Sign?
Use a high-quality flat brush and apply thin layers of paint slowly to avoid brush marks. Let each layer dry before adding the next to achieve an even and professional finish.
Is It Easier to Write on Acrylic Signs with Paint Brushes or Paint Pens?
Paint pens are the easiest way to write on acrylic because they offer controlled, clean lines without brush strokes. This helps create sharp, legible lettering on your signs.
Wrapping Up
Creating a professional-looking acrylic painted sign is a straightforward process when you follow the right steps and focus on preparation, painting technique, and sealing. Take your time with each phase to ensure a lasting, attractive result. Your next action is to choose your sign’s design and gather your materials so you can start in the right order today.